
Easter crafts: the loveliest decoration ideas
. The Easter season is something very special. Spring is on its way, the birds are chirping cheerfully again and the first little flowers are starting to bloom. It really makes us want to bring some fresh ideas into our homes. Dyeing Easter eggs is great fun, but what other DIY projects are there? We show you the best craft ideas to do with children at Easter.
Making Easter baskets
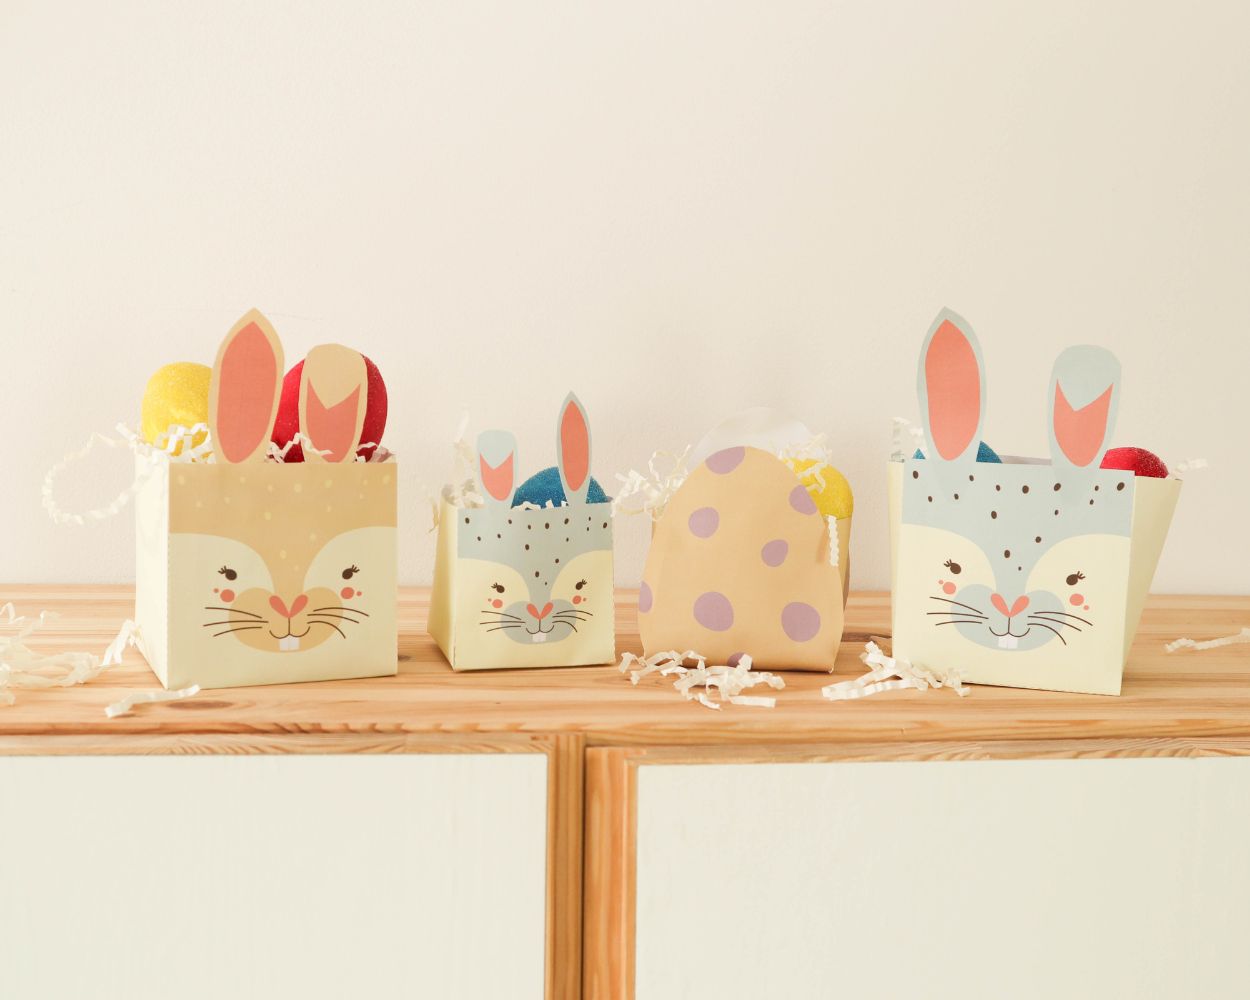
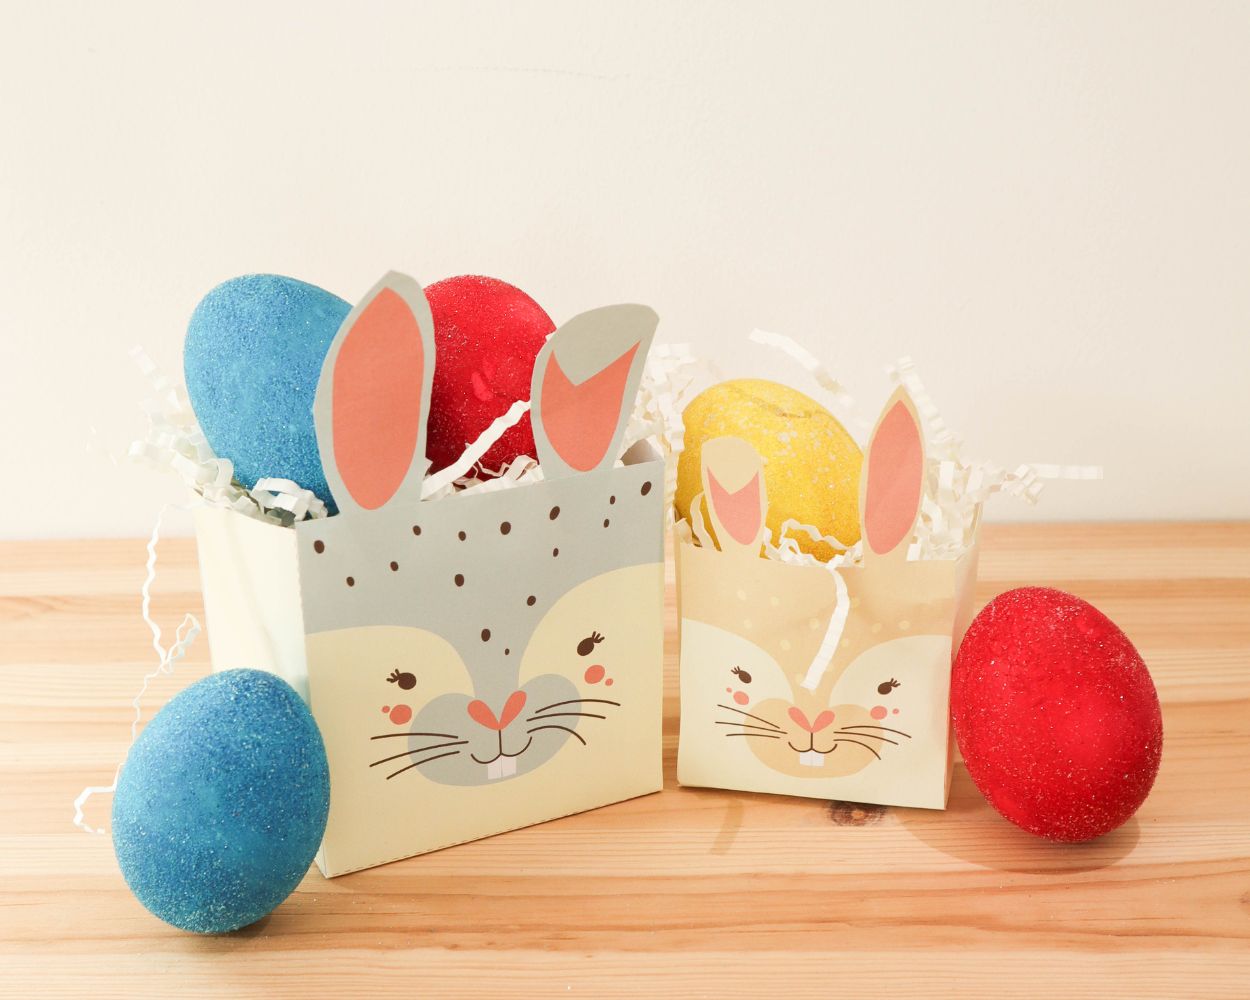
An Easter basket is a must-have ! Whether as a decoration or to collect little gifts from the Easter Bunny on Easter Sunday.
With this super-simple DIY, you’ll have a cute, homemade Easter basket in no time at all . You can download the free craft template using the form below.
Here’s how to do it:
- You can download our craft templates via the following form at . Simply print them out – ideally in colour and on slightly sturdier paper – at .
- Now choose your favourite design (Easter bunny or Easter egg) and cut it out along the outlines.
- Now apply glue to the marked areas and stick them together. Your Easter basket is ready to use!
Dyeing Easter eggs with
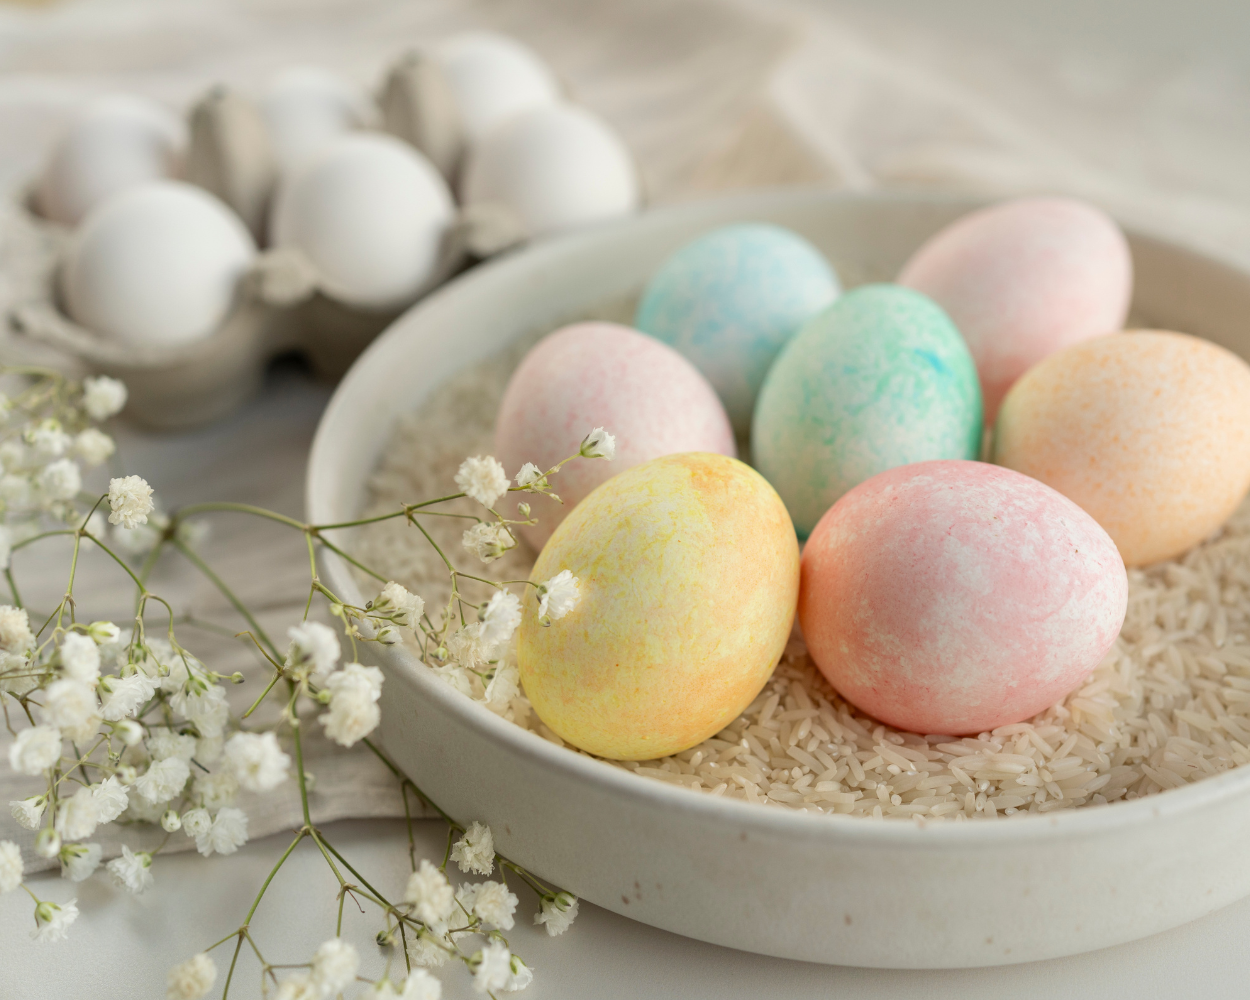
children: Dyeing eggs at Easter is THE classic among DIY and craft ideas for Easter and is simply a must every year . But how about a bit of a change?
This time, we’ve dyed our eggs using shaving foam and sugar. And one thing we can say for sure: it was great fun and we were really impressed with the results.
Crafting with salt dough
–
We
love salt dough, don’t you?
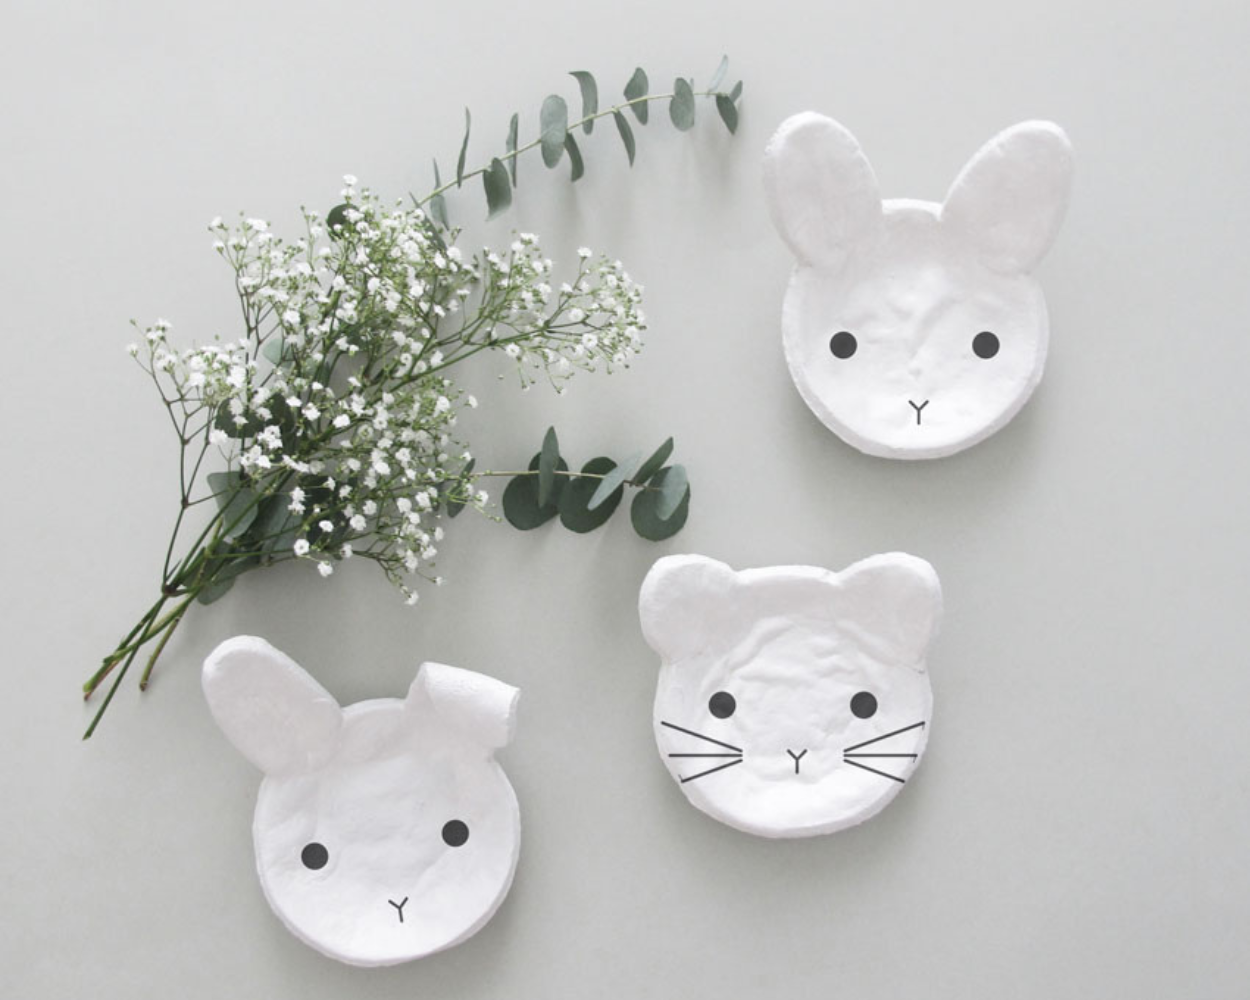
Well, we’ve got a brilliant collection of cute Easter ideas made from salt dough for you, such as those from the Rockmyday blog.
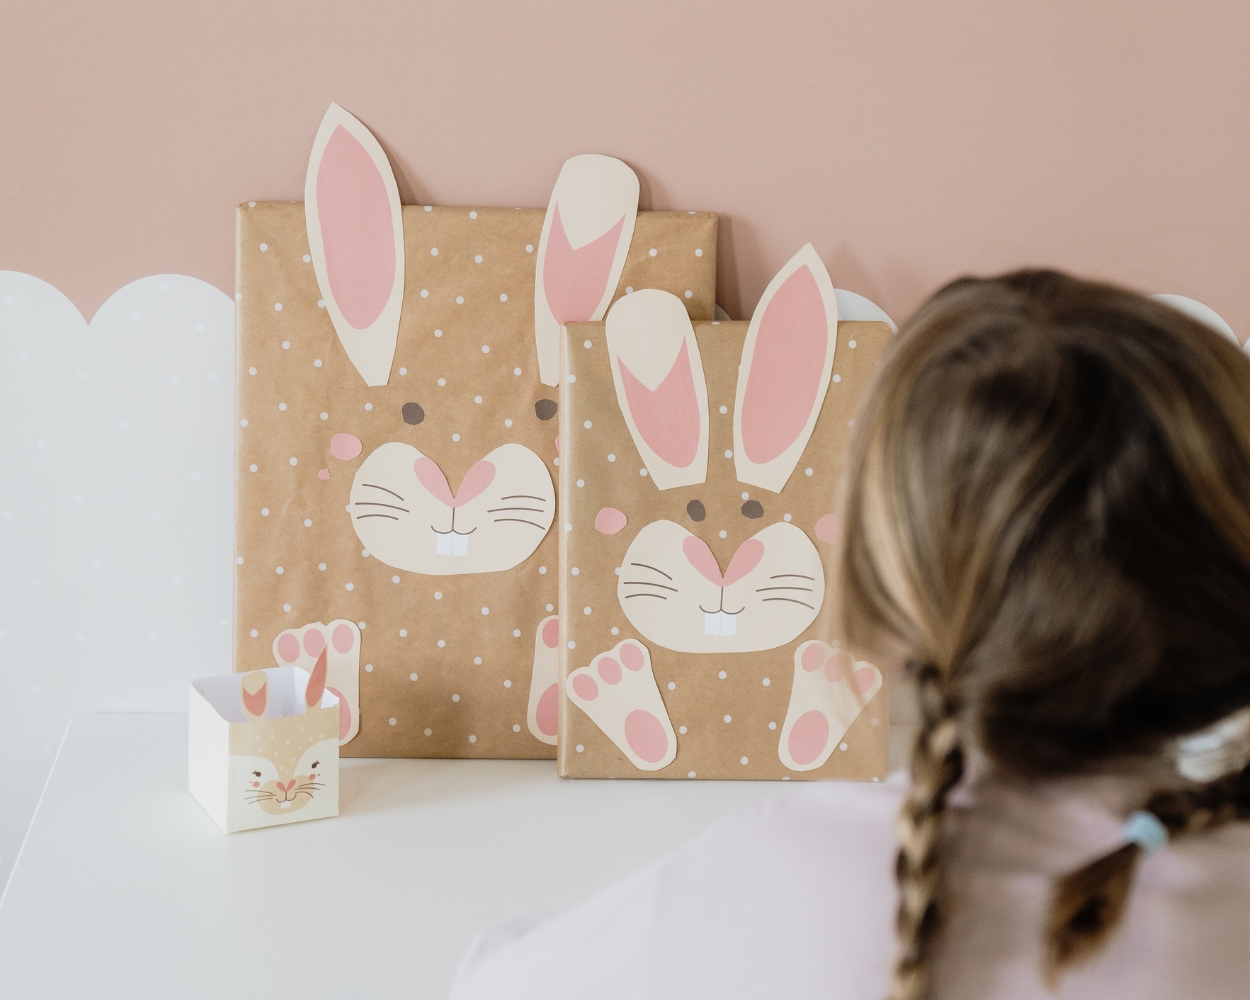
Wrapping Easter presents
Need a creative idea for wrapping your Easter presents? Then we’ve got a craft idea for you that’ll let you easily turn your presents into cute little bunnies. Simply stick some colourful bunny ears and a face onto the wrapped presents. You can draw the faces onto the presents with pens, or use our craft template.
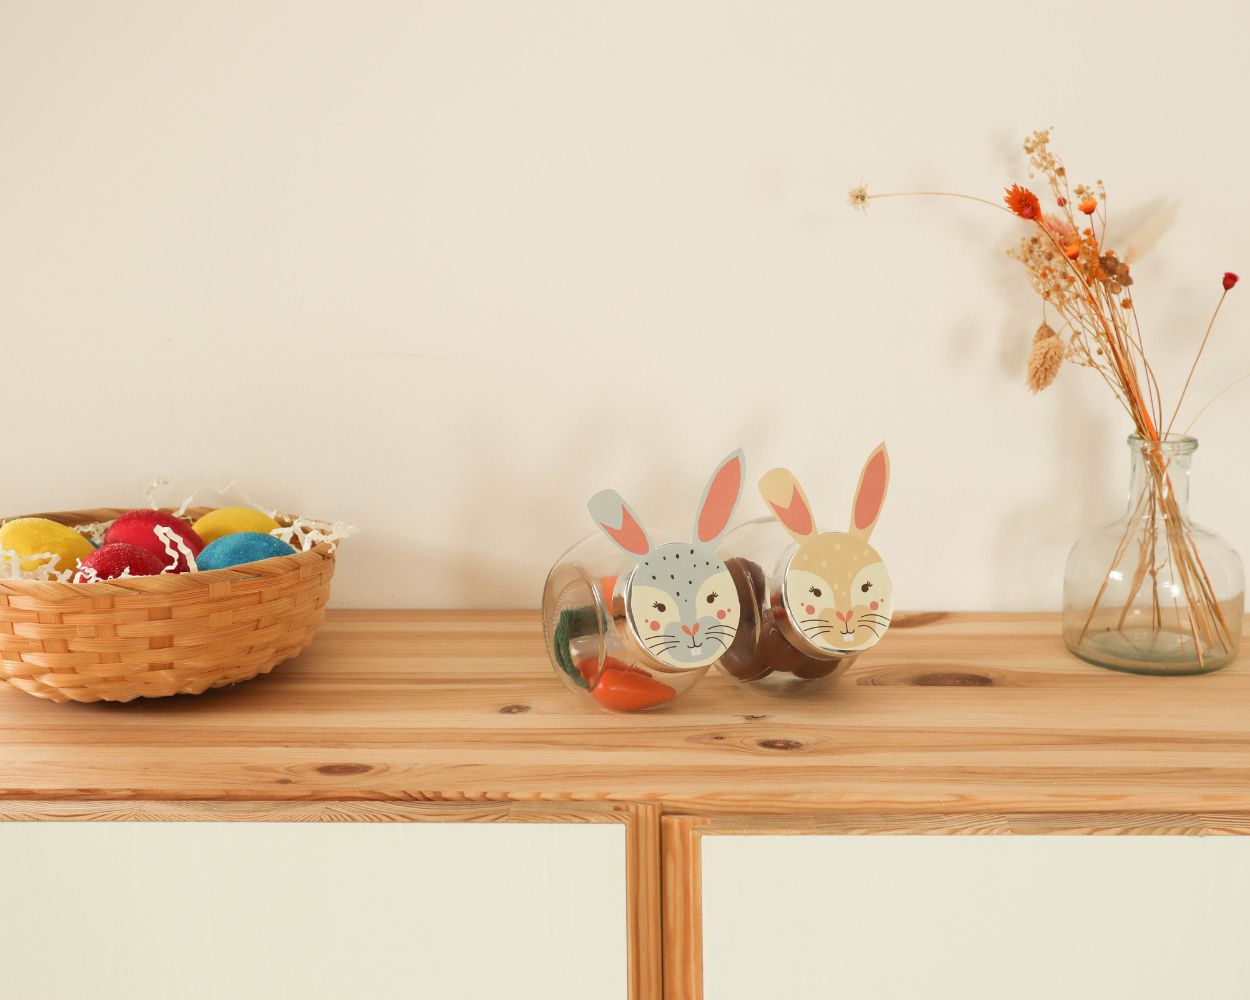
Easter decorations made from spice jars
Easter bunnies made from spice jars? It’s possible!
We’ll show you how to use our free printable template to turn ordinary spice jars into cute Easter decorations in no time at all.
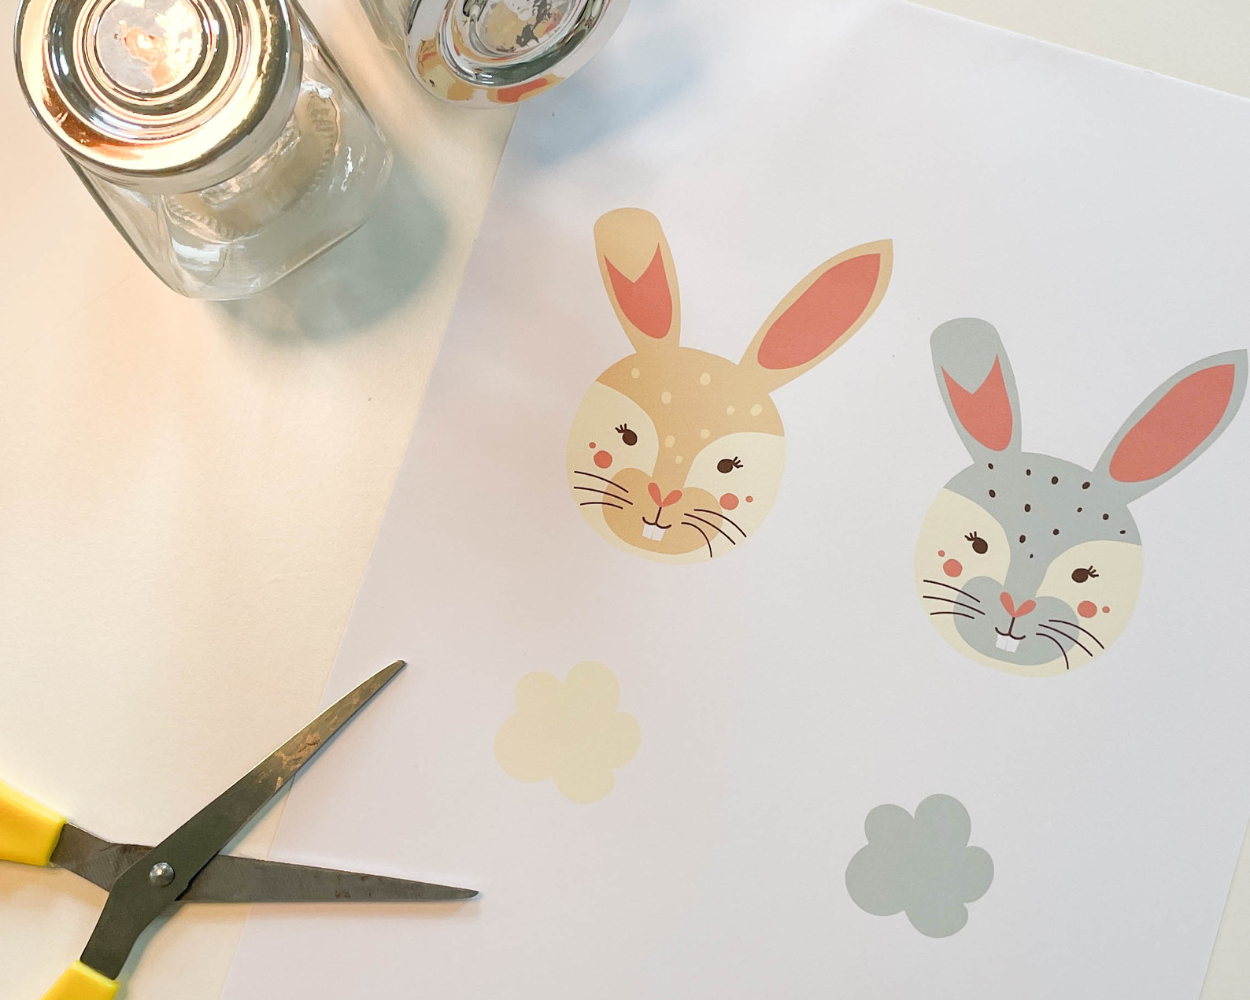
You’ll need:
- spice jars, some
- sturdy paper for your
- printer, a free craft template for ‘Easter bunnies made from spice jars’,
- scissors and
- glue, and some treats to fill your Easter basket
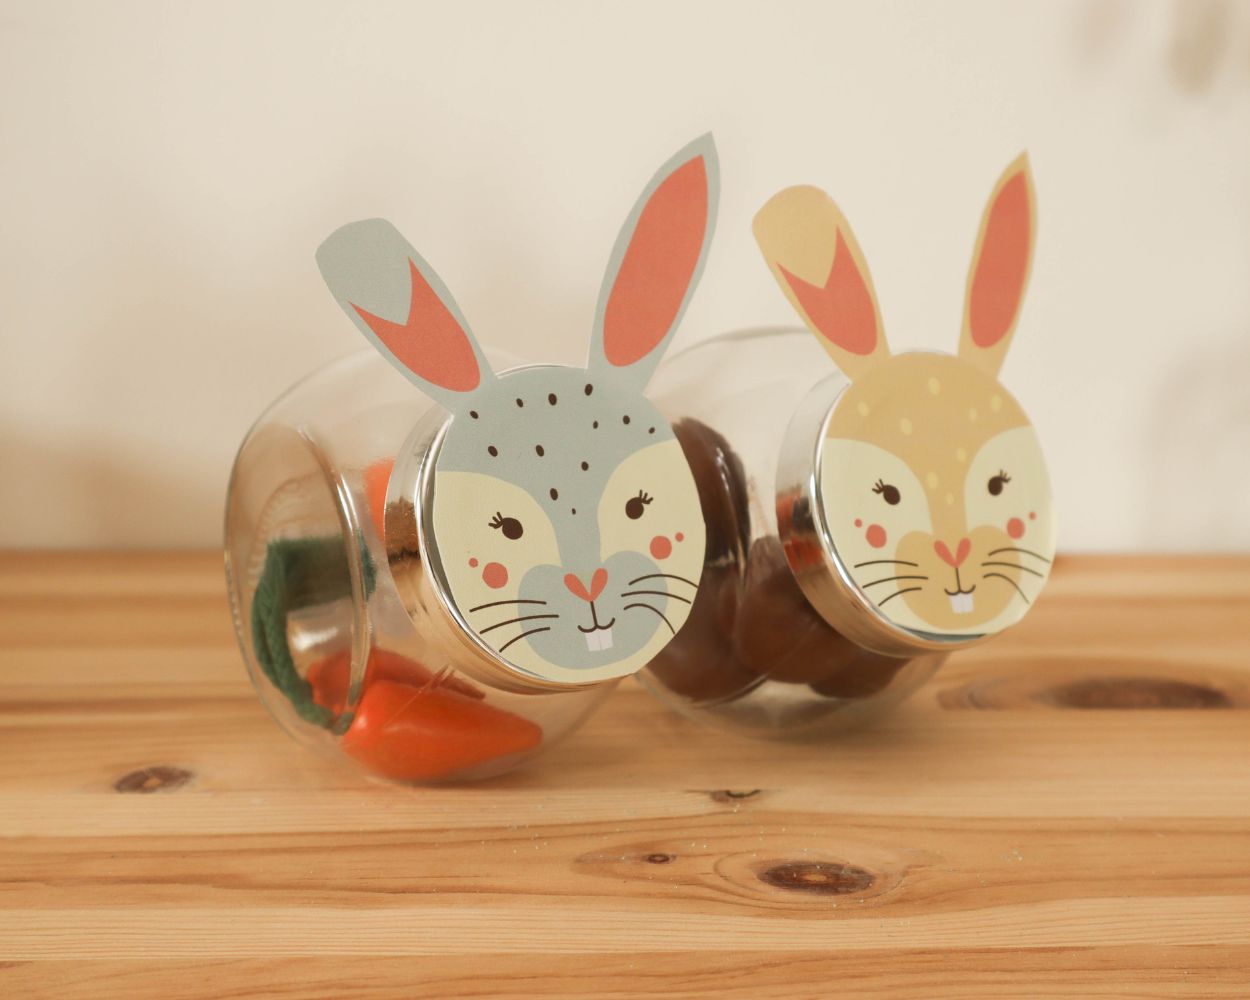
Here’s how to do it
- Simply print out the craft template – at , ideally in colour and on slightly sturdier paper.
- Now cut out the rabbits along the outlines.
- Next, coat the back side of the cut-out rabbit heads with glue and stick them onto the lid of the spice jar.
And there you have it – your fillable Easter bunny is ready to go!
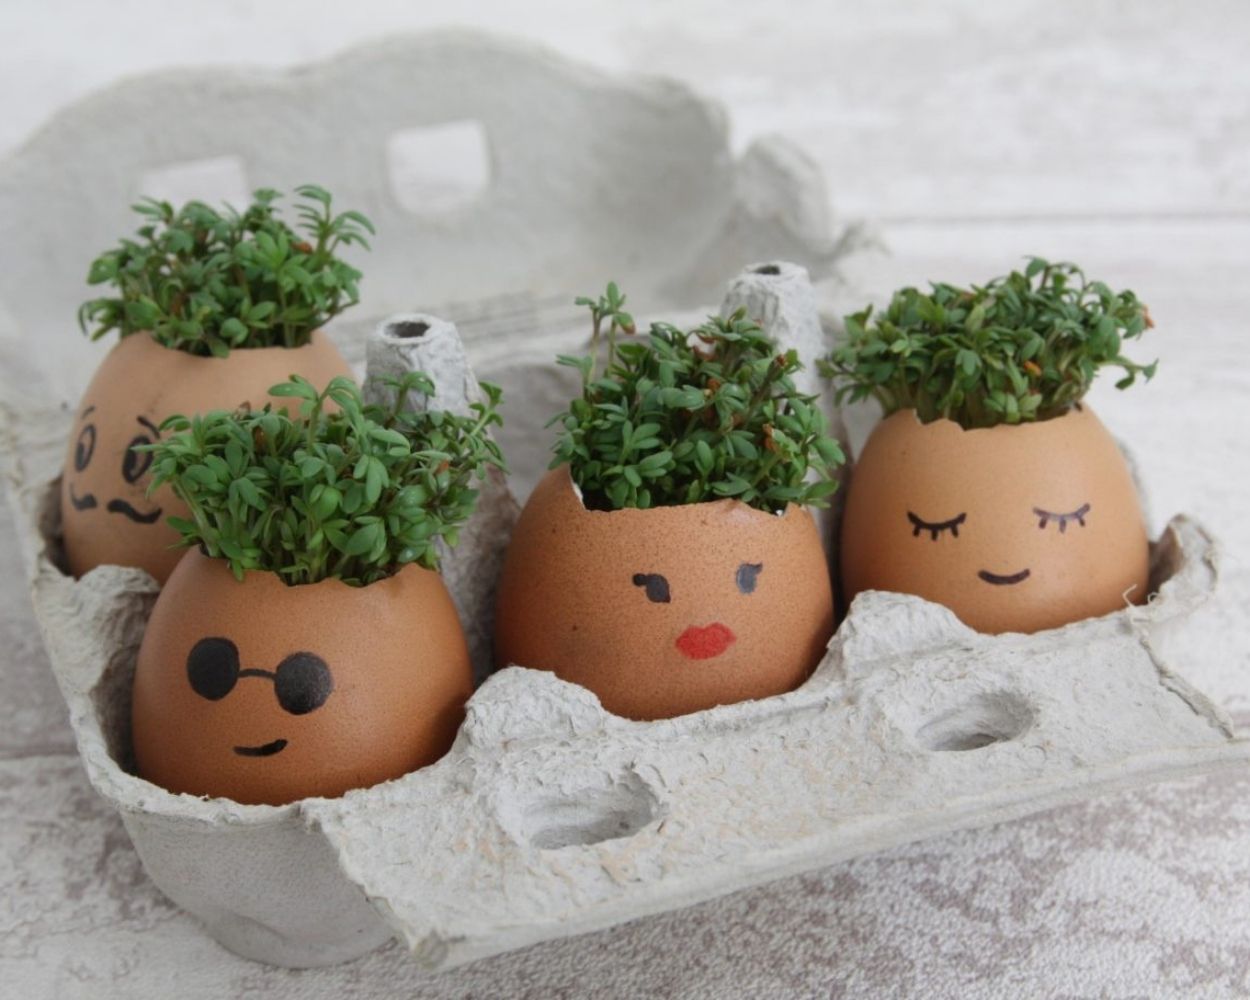
Cress eggs as Easter decorations
In parts of Scandinavia, it is traditional to sow grass just before Easter to herald the arrival of spring. We thought you could also use cress for this. Then you can even eat the whole lot afterwards.
Image source: DIY Family
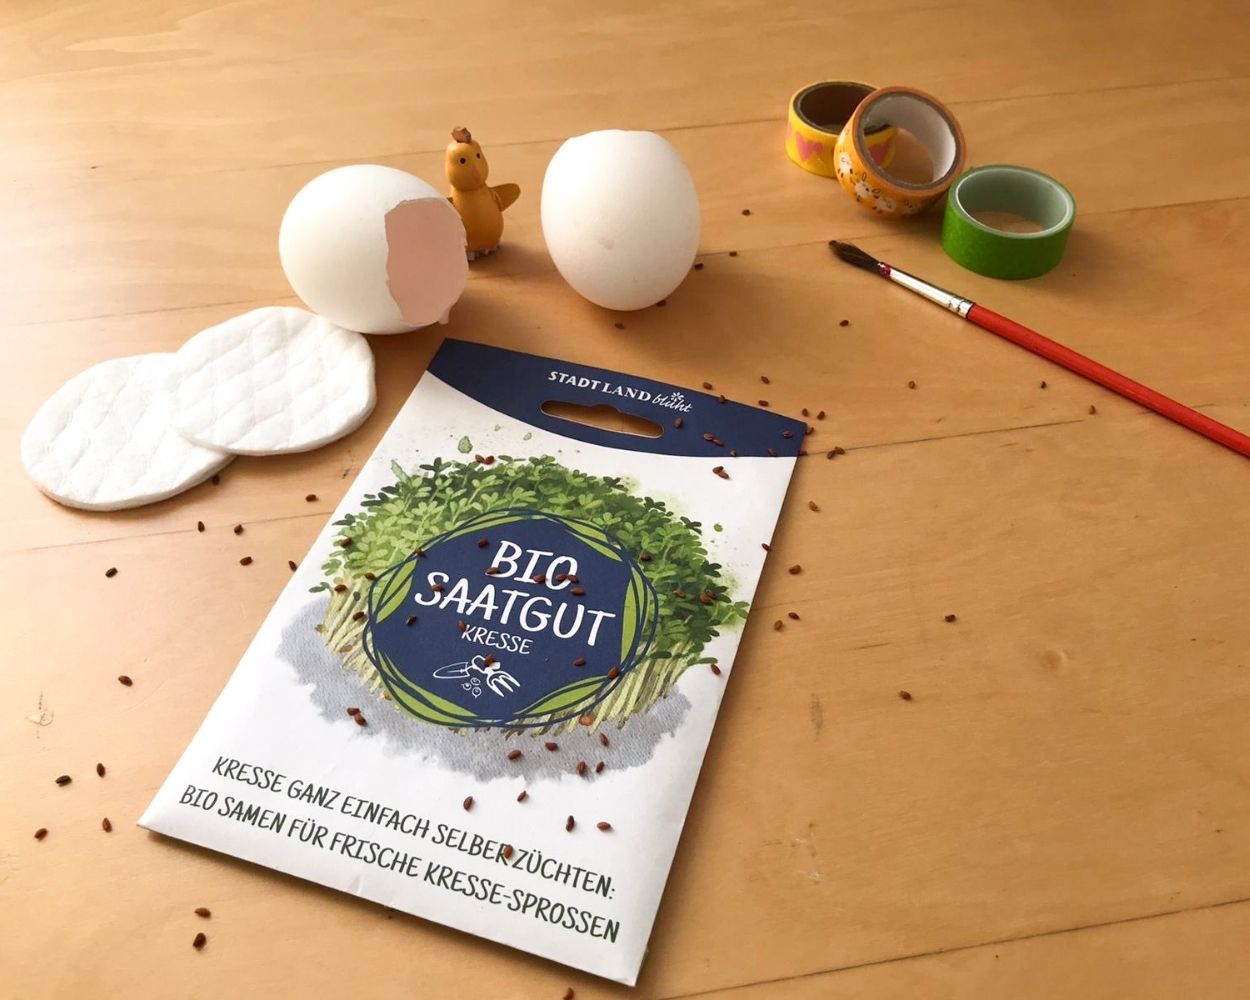
You’ll need
- several
- eggs, cress seeds, cotton wool
- or cotton wool pads
- , and, if required, pens or paint to decorate the eggs
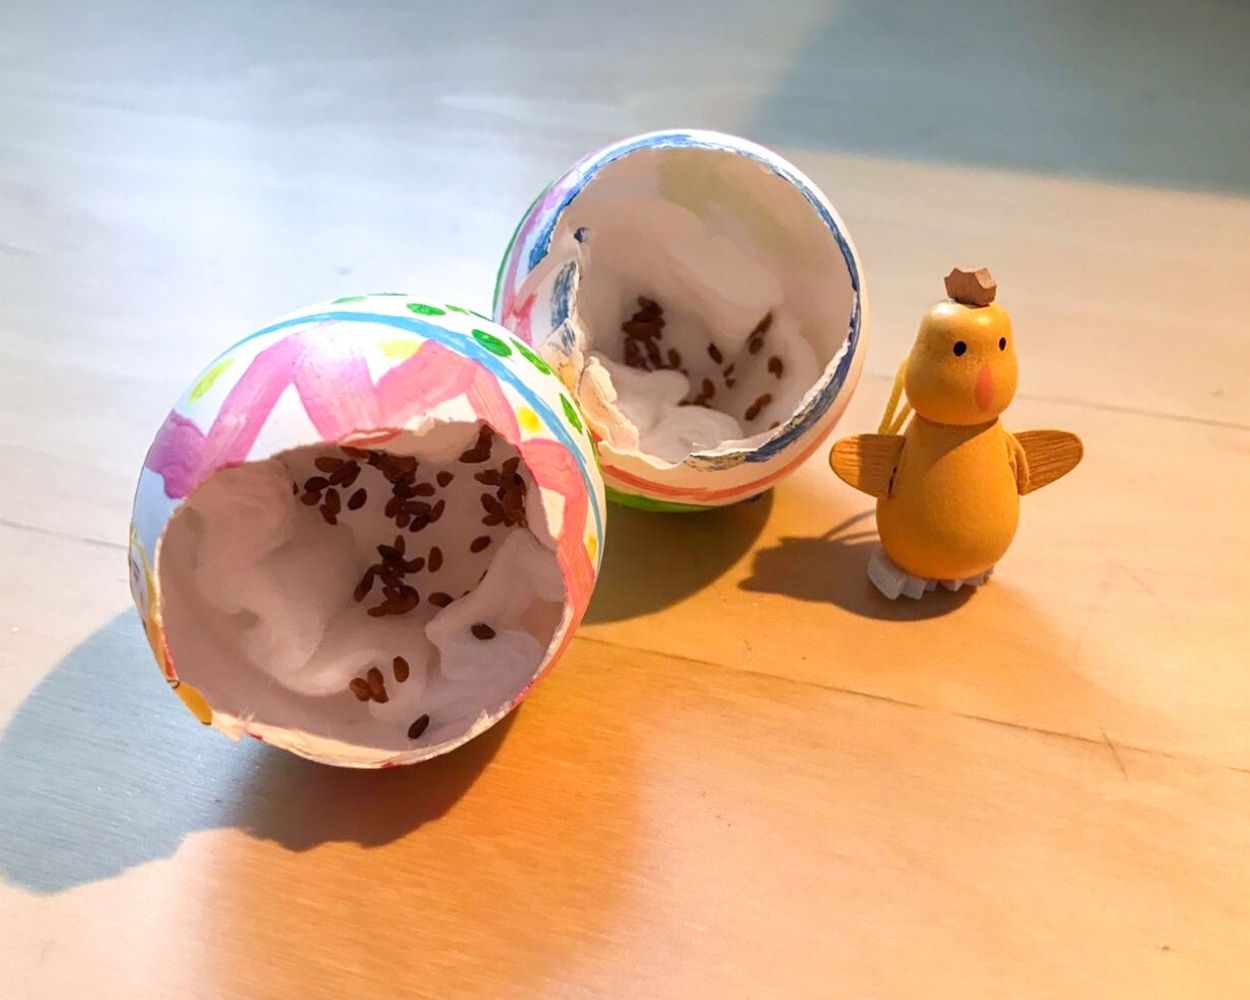
Here’s how to do it
- : Gently tap the eggs
in one spot so that you can snap off the top half.
Make sure that most of the egg remains intact, as you
still want to plant the cress inside.
- Next, you can paint the eggs however you like. As the eggs may come into contact contact with water when watering the cress, it’s a good idea to use waterproof paint.
- Now all you need to do is place 1–2 cotton pads or a piece of cotton wool into each egg and scatter the cress seeds on top.
-
To ensure the cress grows, it needs to be watered regularly. It shouldn’t be standing in water
, but make sure the cotton wool is always slightly
damp. After a while, the cress should have grown well
and look something like the one from the DIY Family.
Our tip:: You can use the contents of the egg to make scrambled eggs, for example.
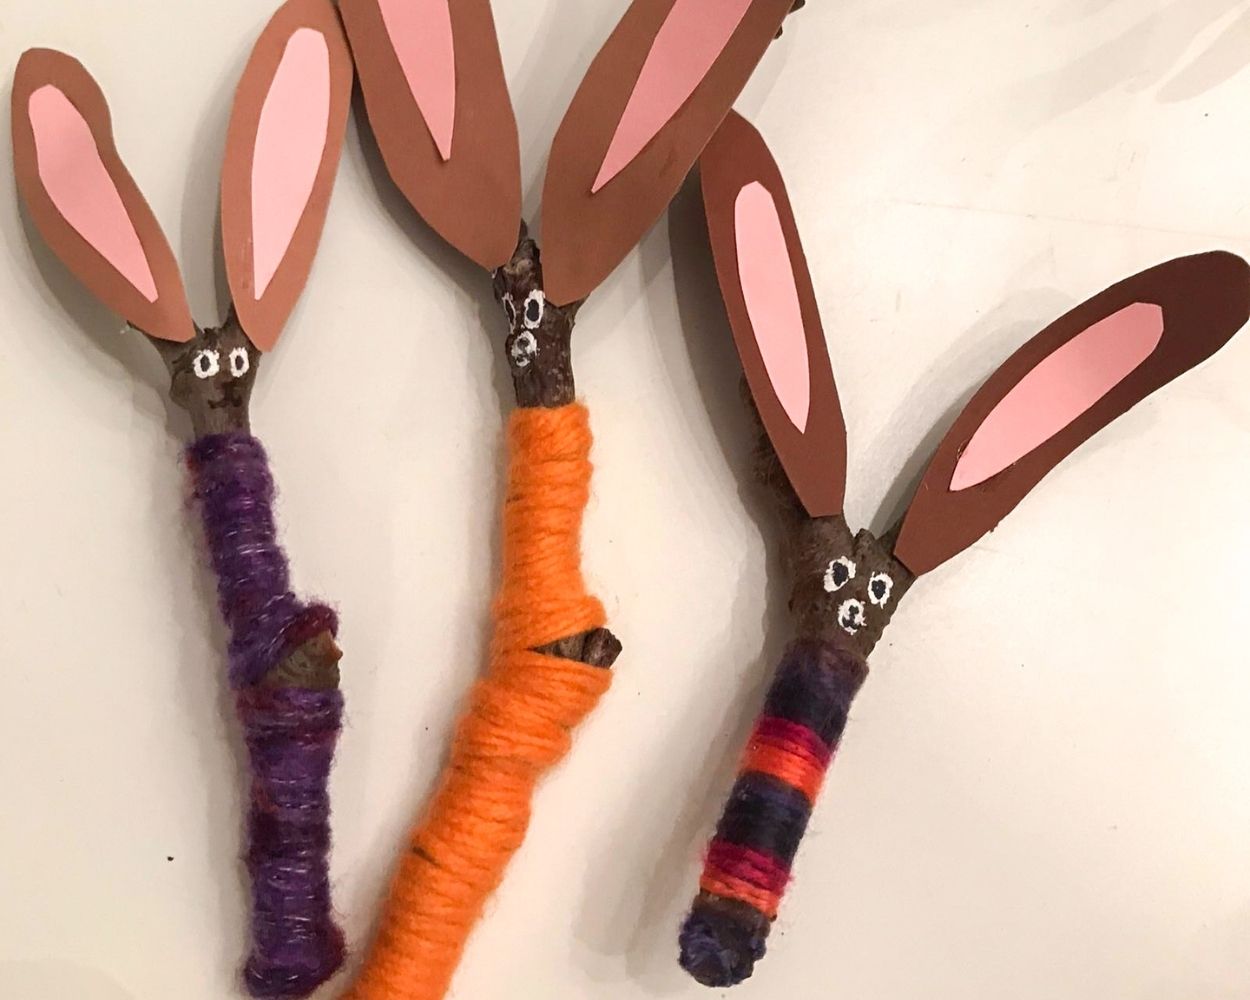
Easter
Bunny made from twigs
This lovely idea, found at
, is perfect for our very little ones. First, you’ll need to head out into the fresh air at
, as you’ll need several small forked twigs.
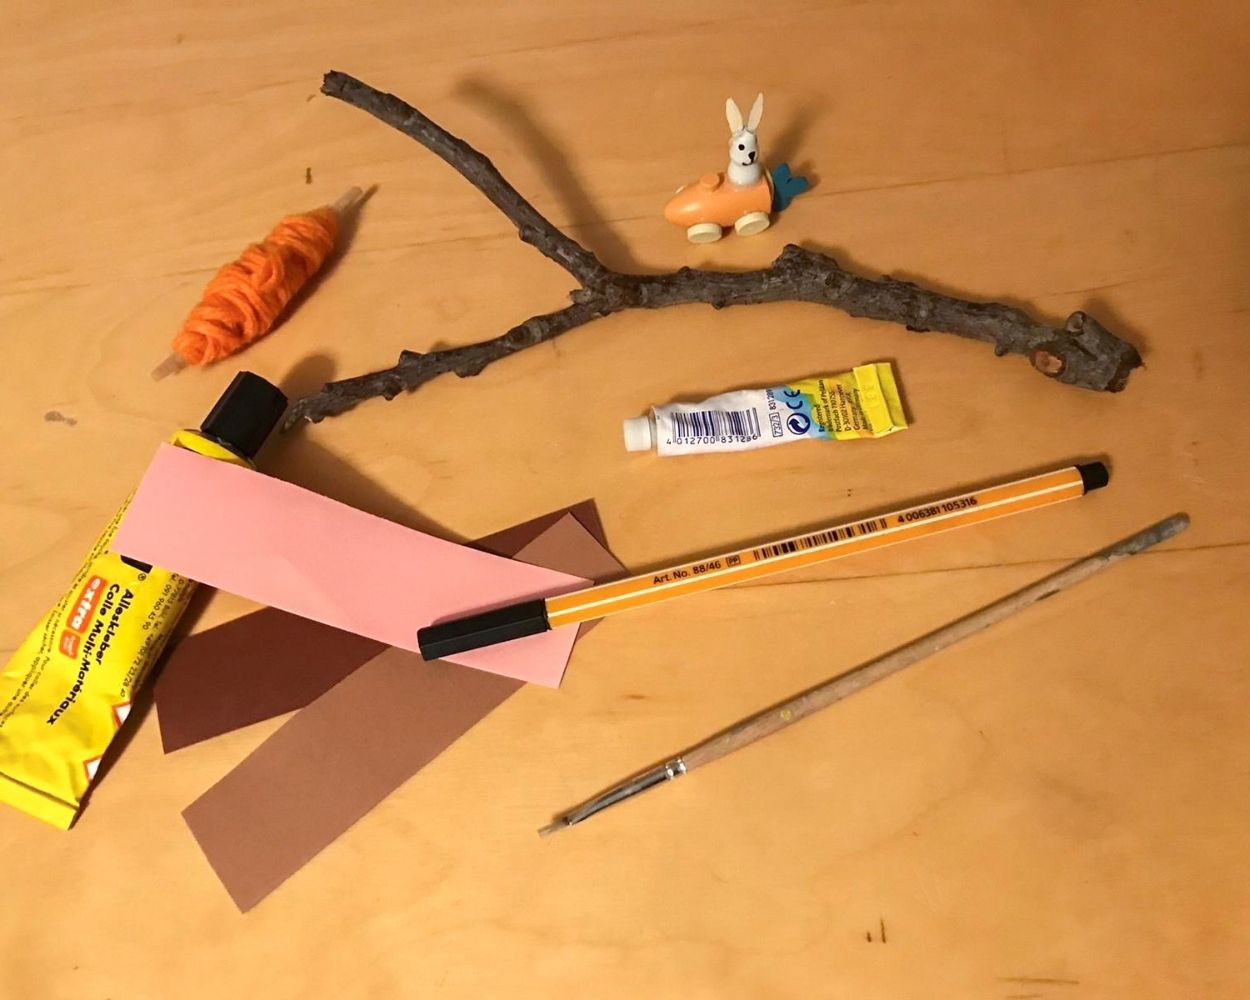
Here’s what you’ll need:
- small branches
- , wool, felt ribbons or similar,
- 1 white and 1 black pen for painting the branches.
- Optional: craft paper in your favourite colour and glue
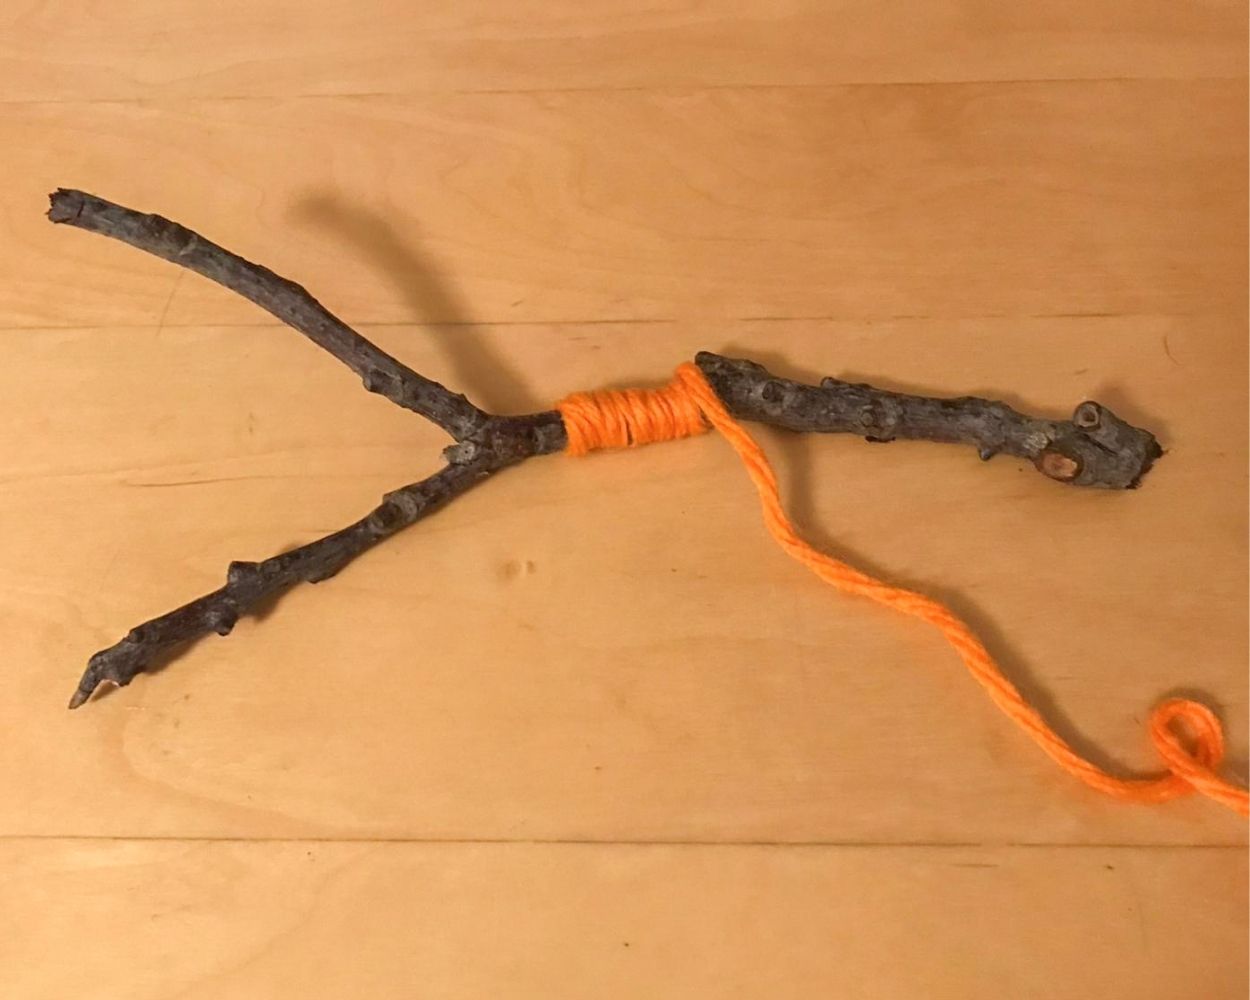
Here’s how to do it
- First, wrap the wool round the long part of the twig. But leave a little space up to the fork.
- That’s where you’ll next draw the bunny’s eyes using a white and black pen.
- The long rabbit ears are formed by the forks in the branch. If you’d like even cooler ears , you can now cut out some rabbit ears from craft paper and stick them onto the twig. Cute, isn’t it?
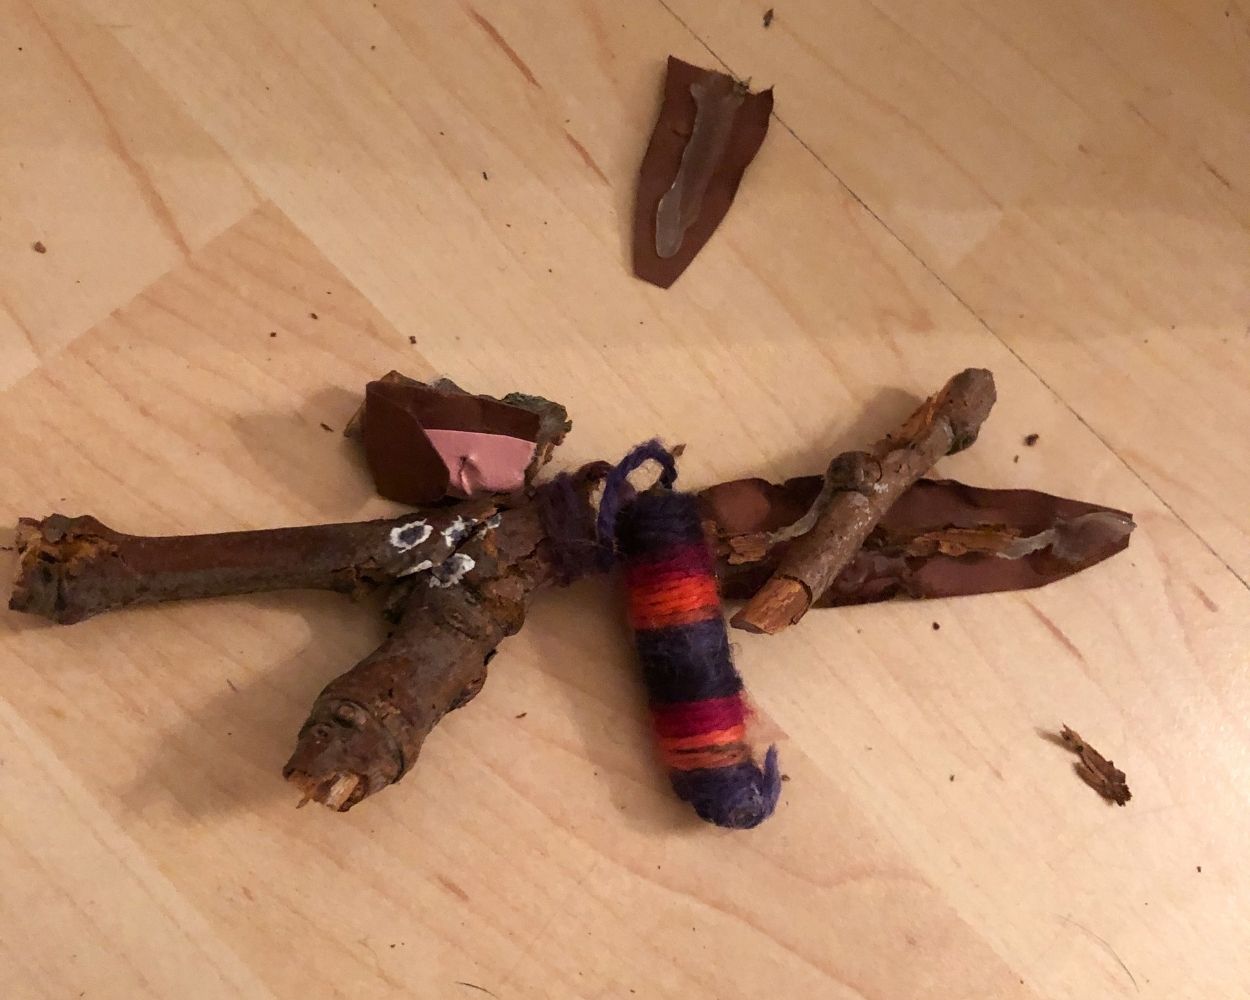
But watch out – dogs love these cute bunnies too. This is what happened when our office dog Poldi got his paws on our Easter bunny...
Happy Easter!
Or discover more craft ideas for the whole family.