Crafting with salt dough – recipe and creative DIY ideas
Crafting with salt dough is one of the most popular creative activities for children. With just a few ingredients, you can quickly make this versatile modelling clay yourself and turn it into creative artworks, decorations or toys. We’ll show you a simple salt dough recipe, give you tips on shaping, baking and painting, and bring you a collection of the best salt dough ideas for the whole year.
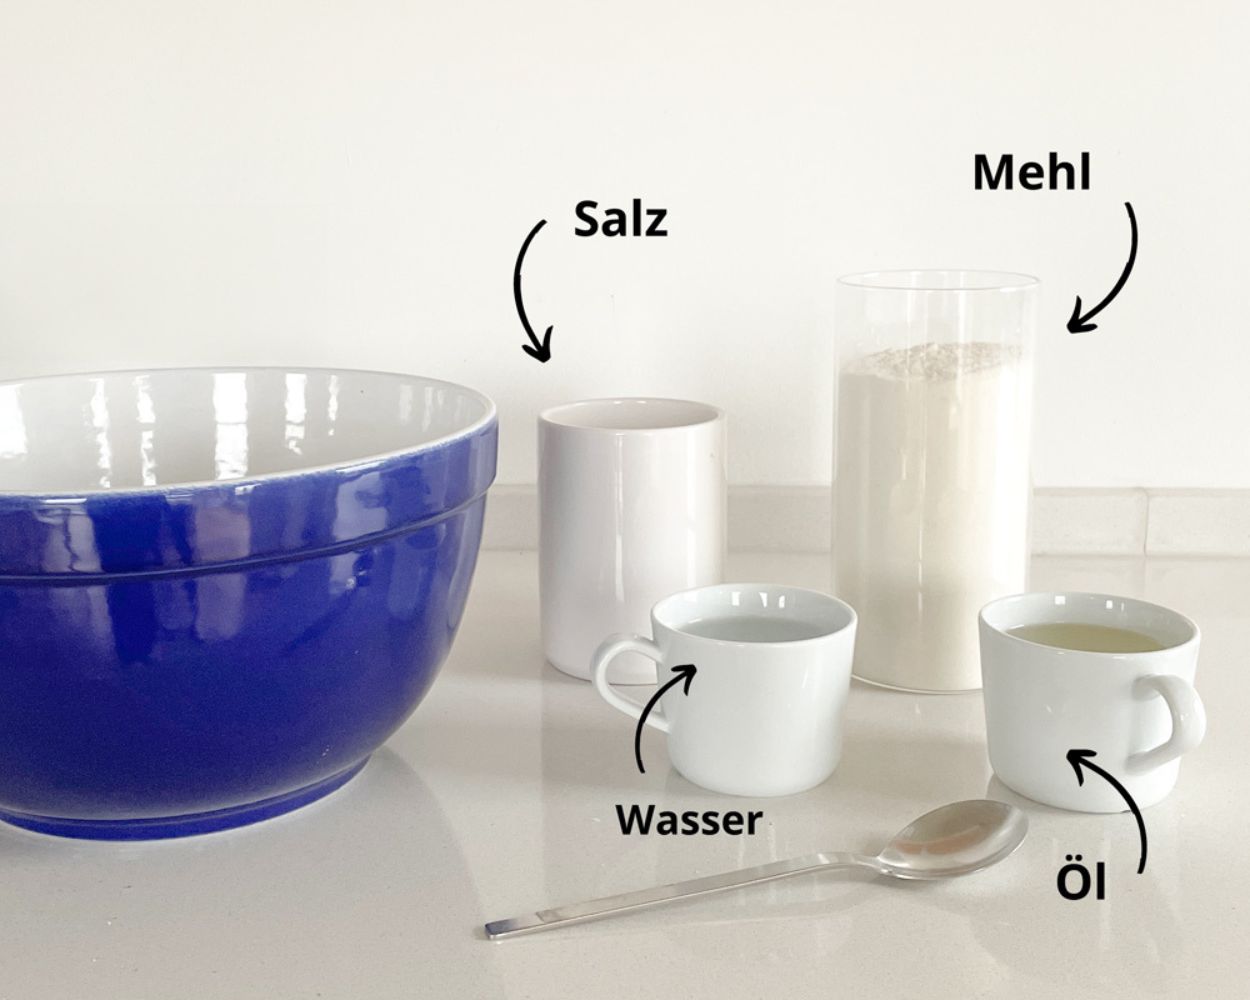
Crafting with salt dough: It’s that easy!
- 2 parts flour
- 1 part water
- 1 part salt
- a little oil
You can adjust the quantities depending on what you’re planning to make. Simply mix the ingredients together and knead into a modelling clay – and then you’re ready to go!
Crafts with salt dough for play shop and play kitchen
Make your own little treats with ease: Here you’ll find the best salt dough ideas for play shop and play kitchen.
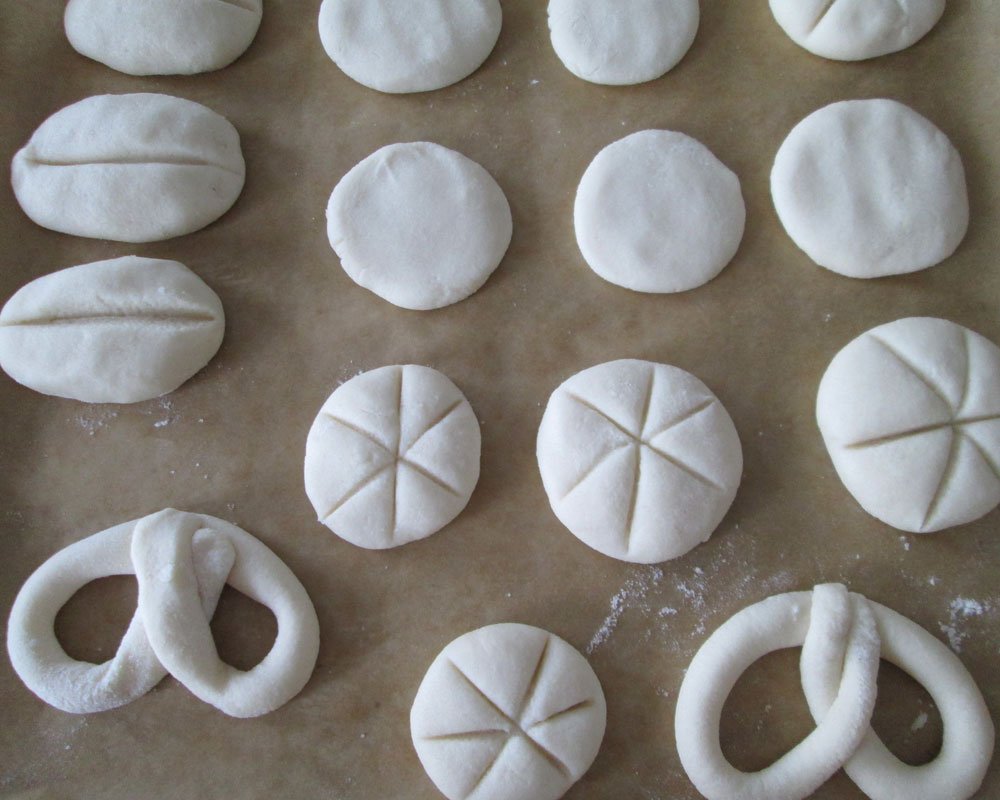
Shaping rolls, pretzels and bread from salt dough
“Man does not live by bread alone”, as the saying goes. That’s why, as well as loaves of bread, we’ve also shaped and baked authentic Bavarian pretzels and rolls with a top and a base. Off they went into the oven at a temperature of around 150 degrees on the fan setting.
Crafting with salt dough is quite quick, because after just about 45
minutes in the oven, the shapes are already rock-hard – and once they’ve
cooled down, they’re ‘ready to play with’ for the play kitchen or the play shop!
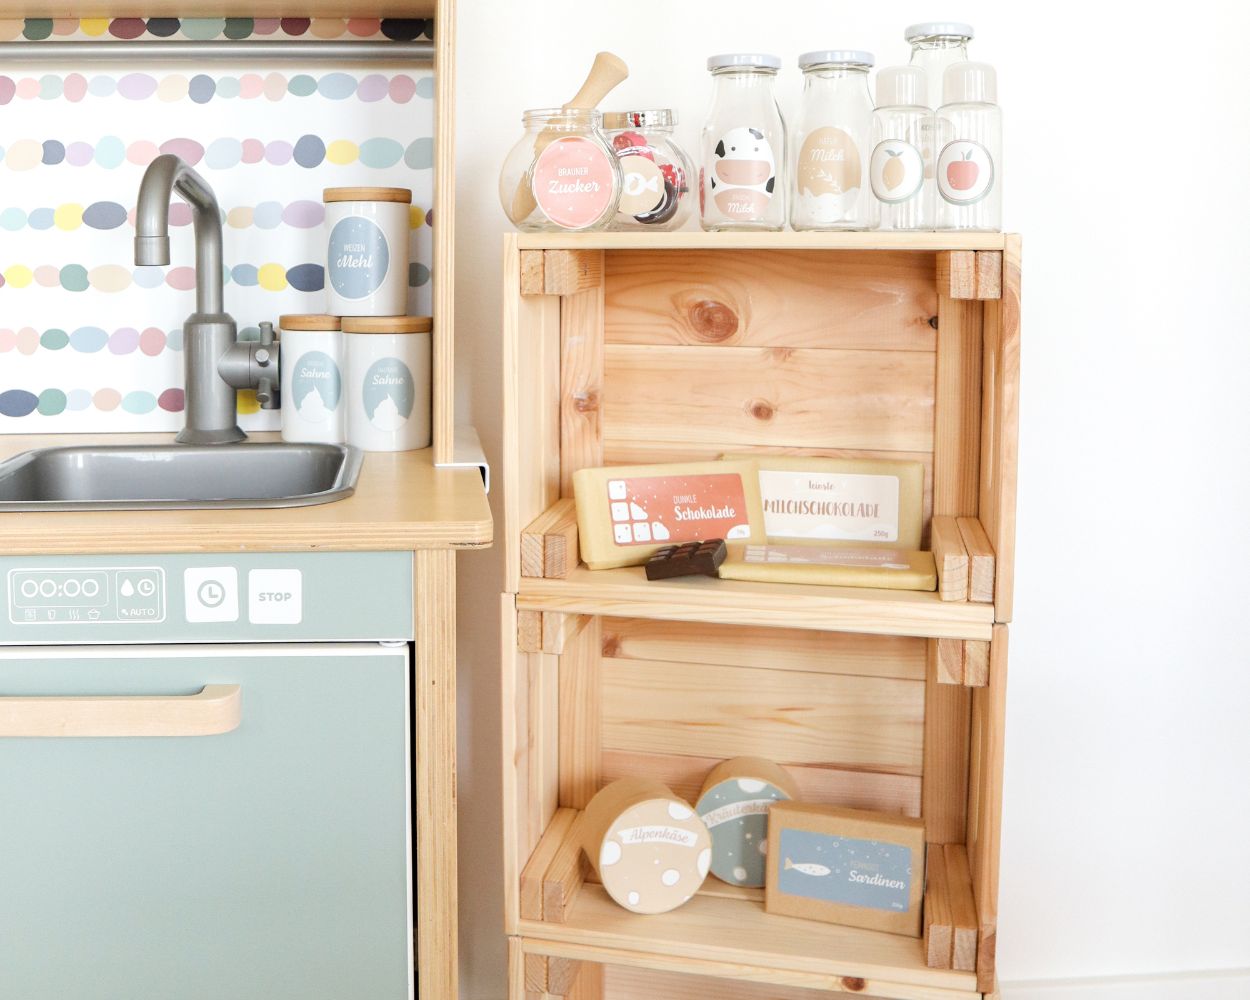
The finishing touches with the embroidery set
To add the finishing touches to your baked goods and make them look a bit prettier, you can use our embroidery set. Inside, you’ll find wrappers for sausages and cheese, as well as other cool details for your DIY accessories.
The children especially love the bread roll bases and tops, as these are perfect for topping with homemade cold cuts such as sausage and cheese made from felt or foam rubber. Other ingredients such as lettuce, tomatoes and onion rings are also a must on Limmaland rolls .>
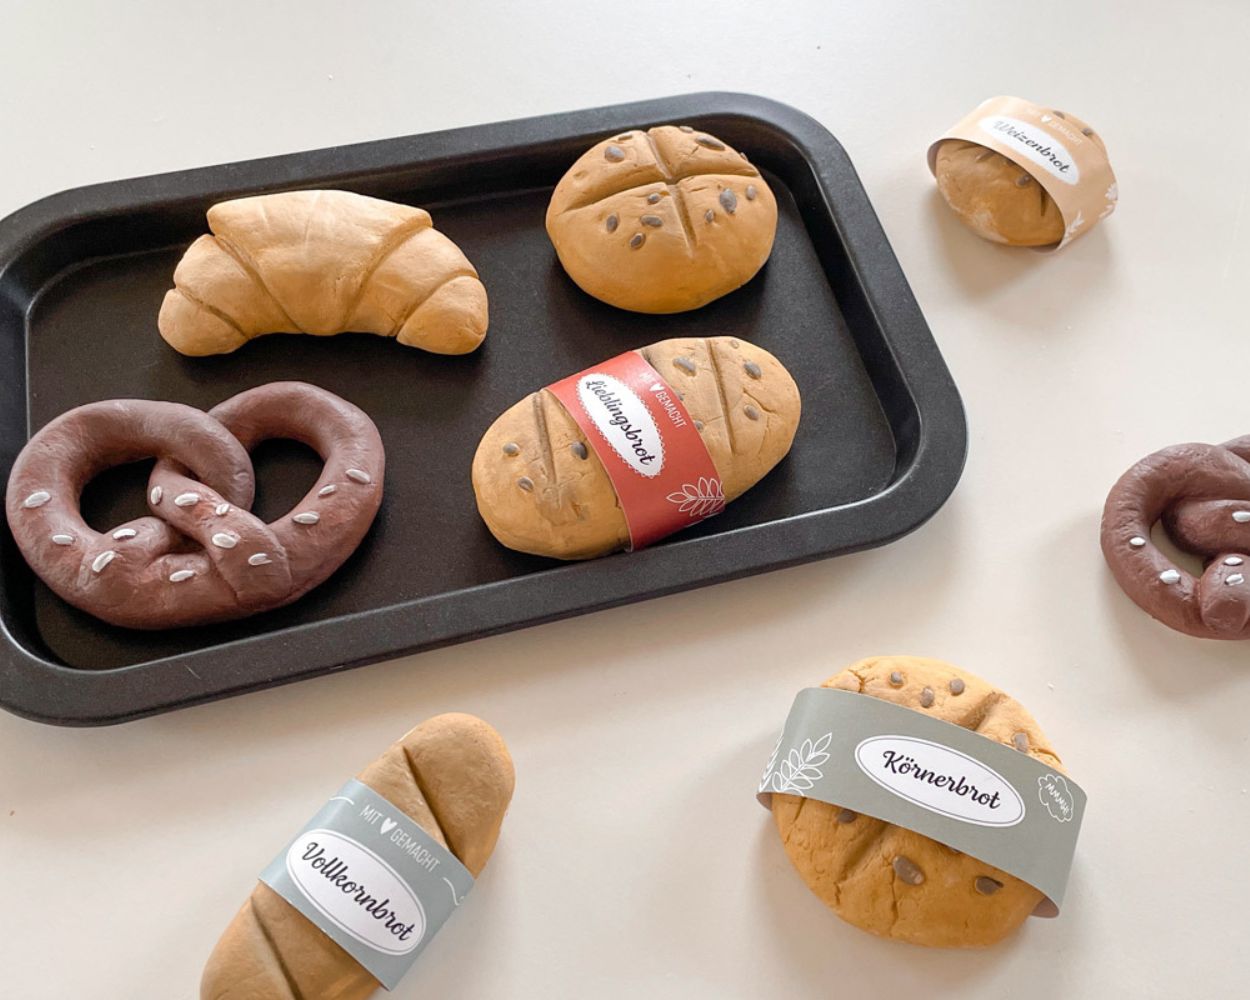
Painting salt dough creatively is great fun!
It’s great fun to paint your homemade salt dough with ordinary acrylic paint once it has cooled down.
This turns plain pretzels into brown ones in no time at all. And a few white dots painted on them look just like salt. Paint certainly looks good on the loaves of bread too! We haven’t tried this out yet, but we can well imagine it working.
Perhaps you’ll also decorate your baked goods with seeds – there are no limits to your creativity when it comes to decorating !
Once
you’ve finished
making things with salt dough, it’s finally time for some fun!
When everything’s ready, you can sell your homemade baked goods at your market stall. Get that authentic market vibe with the Limmaland decal LILLE BUD. It’ll turn your wall into a trendy play shop and you won’t even need any extra furniture. The decal set is available in four colour options and always comes with the option to add your own text .
Easter salt dough ideas
There are sooo many brilliant craft ideas you can make with salt dough, especially at Easter. We’ve put together a selection of the best ideas for you.
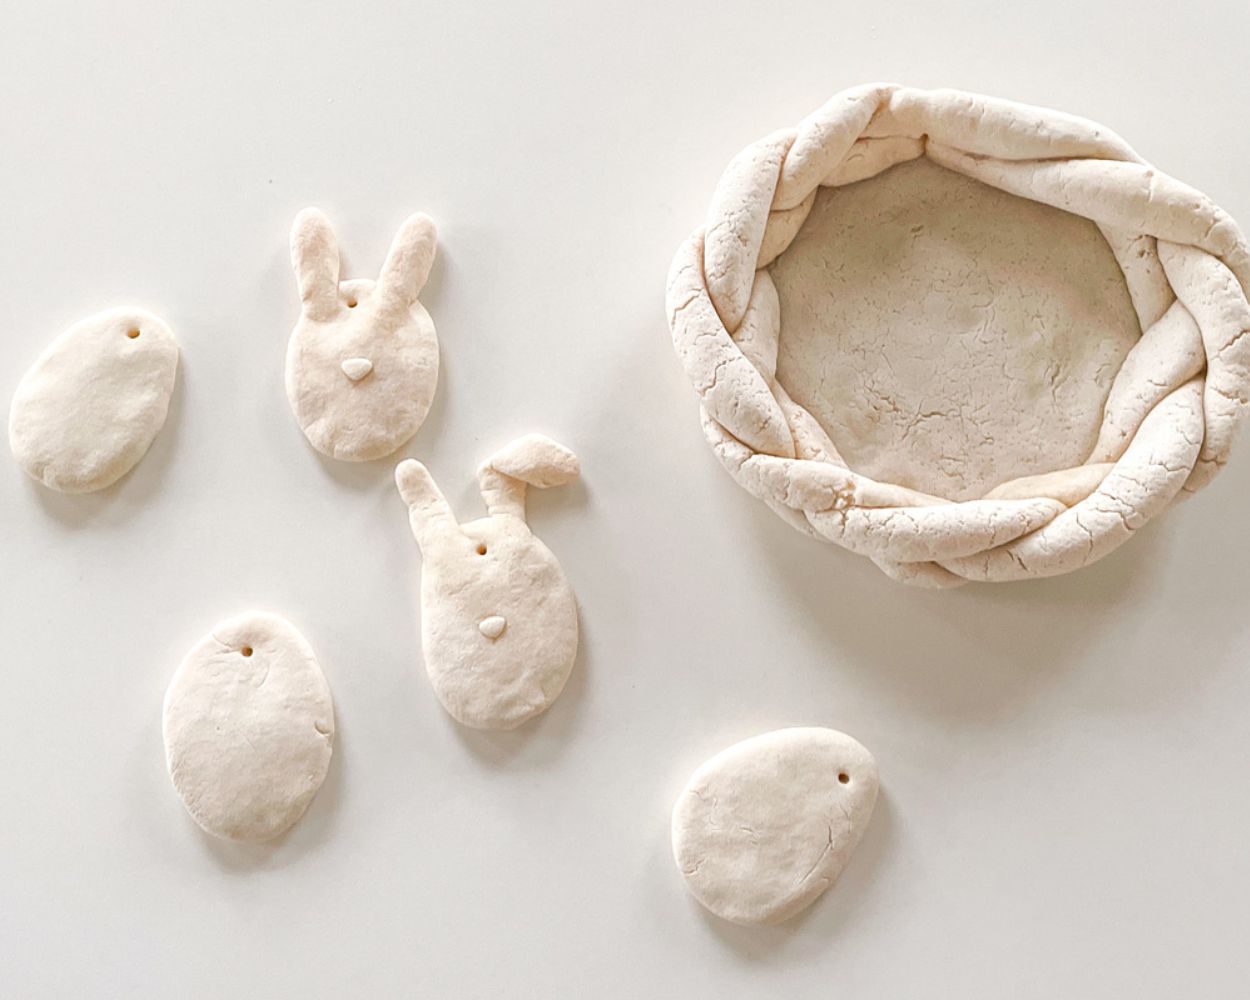
Easter basket made from salt dough
Making your own Easter basket is a standard part of the curriculum for most of our children in nursery and primary school.
But we’ve rarely seen an Easter basket made from salt dough. And yet it looks so lovely. You can, of course, continue to use it after Easter as a little basket for bits and bobs in the children’s bedroom.
Here’s how to make your own Easter basket:
All you need are the ingredients from the salt dough recipe and, if you like, some paint to colour it in.
- Mix the salt dough together.
- Now the salt dough is ready to be shaped. Roll it out and use a round object (bowl, saucepan or similar) to cut out a circle. This will serve as the base.
- Now shape 3 rolls, each about 1 cm in diameter. You can decide on the length of the salt dough rolls depending on the size of the base.
- Now place the three rolls side by side and plait them like a plait.
- Wrap the salt dough plait around the base. Press the plait lightly against the base and seal the ends.
- Finally, the Easter nest needs to be baked in the oven at 150 degrees on the fan setting for about 45 minutes so that it hardens.
- If you like, you can decorate the finished nest with paint to suit your taste.
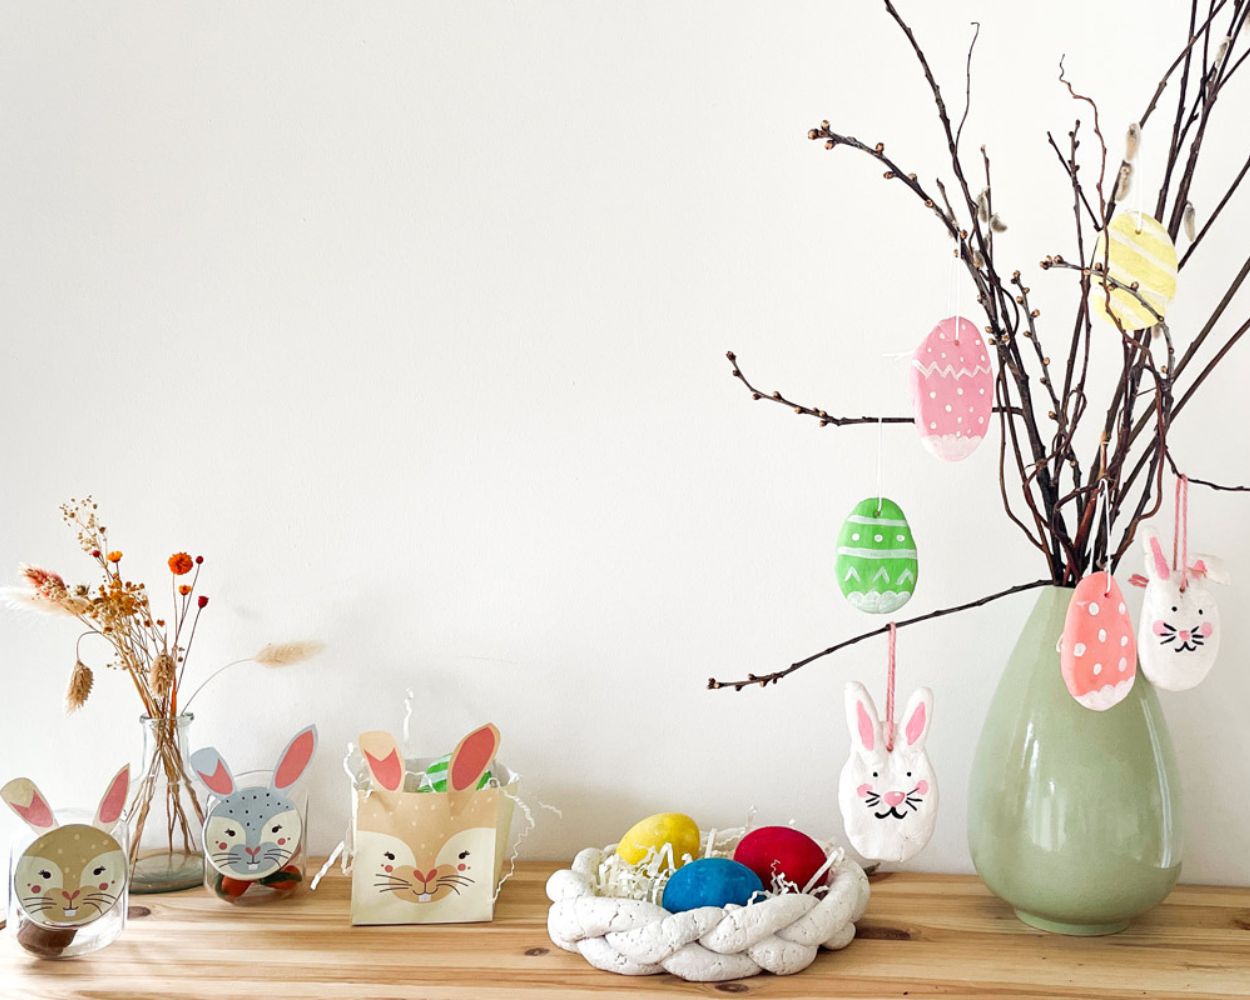
Easter decorations made from salt dough
Create your own Easter pendants from salt dough, shaped like Easter eggs or cute Easter bunnies, and add a personal touch to your Easter decorations!
These versatile tags are perfect as a charming addition to vase arrangements, as original gift tags for Easter presents, and much more. Let your creativity run wild and bring an extra touch of Easter magic into your home!
Here’s how to make your Easter tags:
All you need are the ingredients from the salt dough recipe and some paint.
- Mix the salt dough together.
- Now the salt dough is ready to be shaped. Take a piece of the salt dough and shape it into an oval. If you add two little ears to the oval, it becomes a cute Easter bunny
- Now use a toothpick or skewer to pierce a small hole at the top edge of each of your unique salt dough creations.
- Then bake the Easter tags in the oven for about 45 minutes at 150 degrees on the fan setting so that they harden.
- Thread a thin piece of string through the hole you’ve made and tie a loop.
- If you like, you can paint the finished Easter hangers.
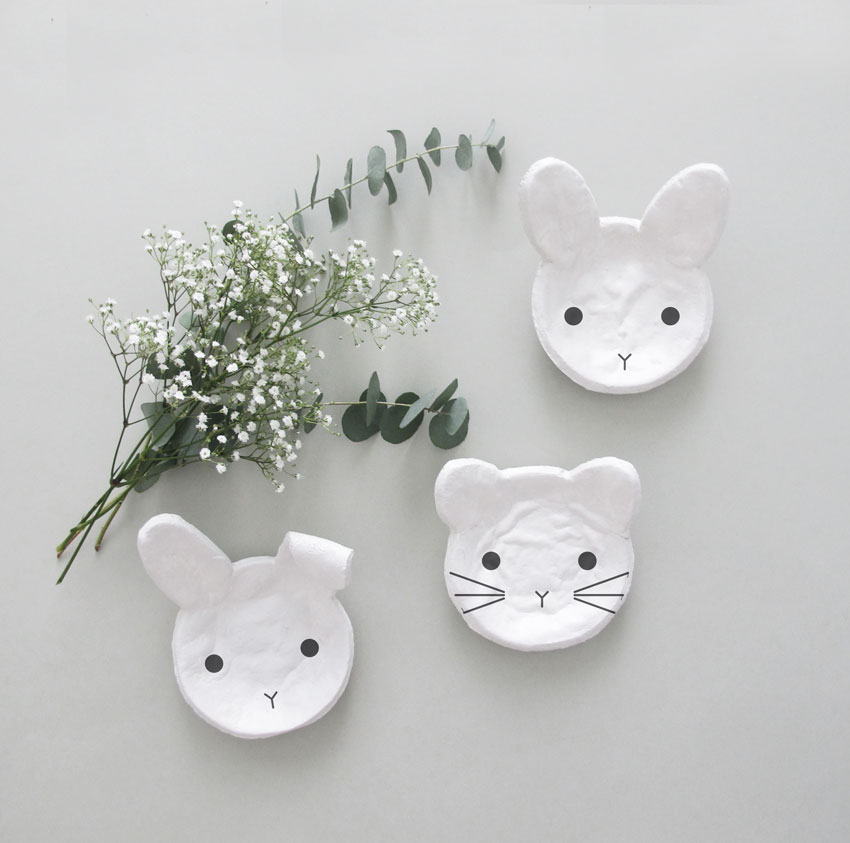
Mini salt-dough bowls
We
also
think this idea for little Easter bowls from the Rockmyday blog is absolutely adorable.
These charming little bowls in the shape of a rabbit’s head are perfect for displaying little treats and jewellery, or simply as decoration in a child’s bedroom.
Here’s how to make your mini bowl:
- Roll out the salt dough until it’s flat.
- Now cut out the shapes you want from the salt dough. It’s best to sketch the shape you want onto a sheet of paper first and use this as a template.
- Place the salt dough in small ramekins to create the rounded shape. Make sure the ramekins are well dusted with flour so that the salt dough comes away easily after baking.
- Now bake the salt dough in the little bowls for 45–60 minutes at 150 degrees.
- If you like, you can now paint the mini bowls. For example, with cute bunny faces. So cute!
Salt dough ideas for autumn
We’ve also got a brilliant idea for autumn – here’s how you can kick off the season with some salt dough.
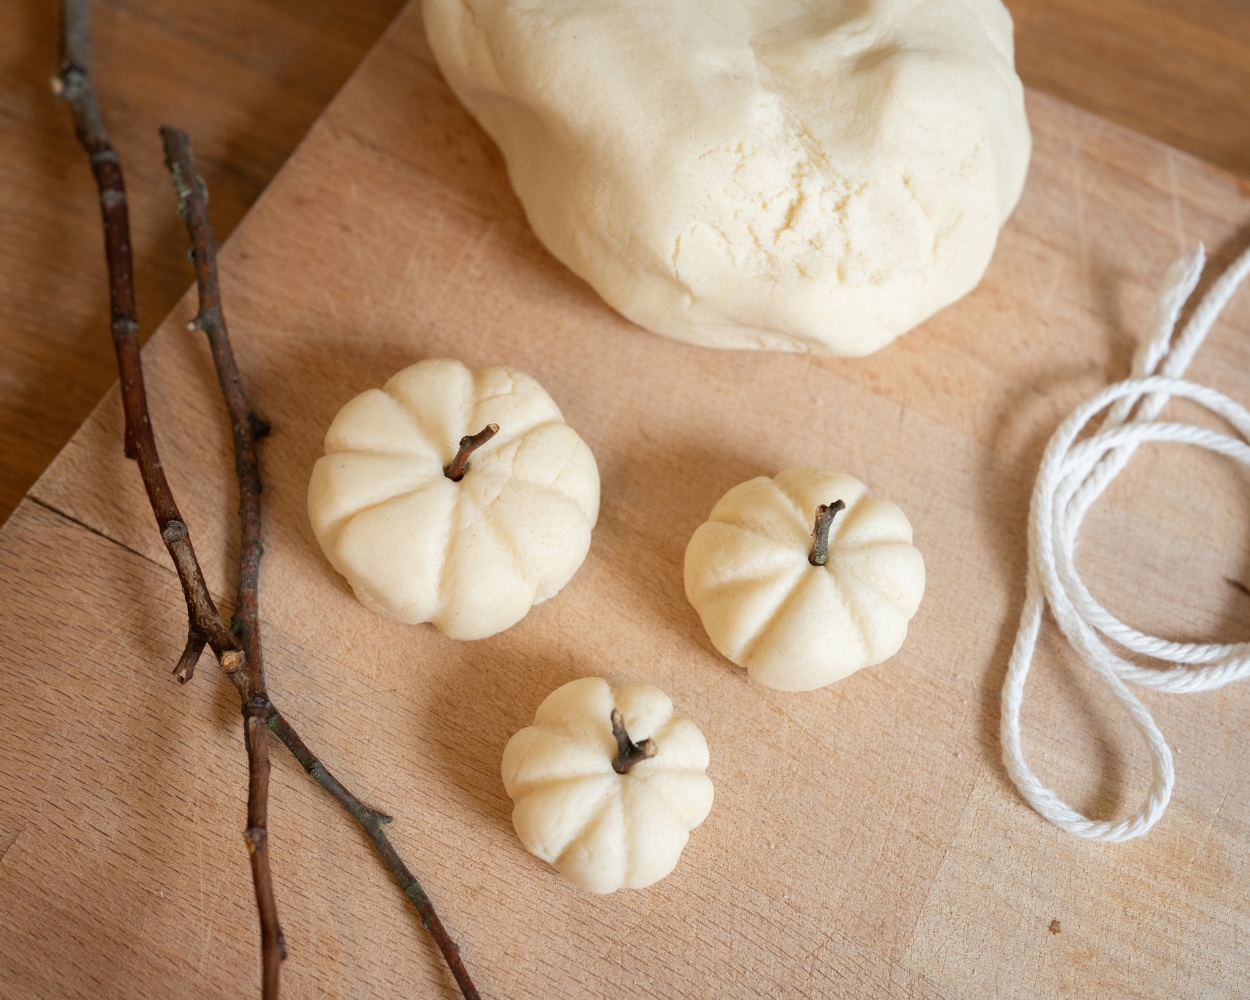
Autumnal pumpkins made from
salt dough
Pumpkins
made
from salt dough are a brilliant craft idea for autumn and add a natural touch to the children’s bedroom! In just a few simple steps, you can shape golden pumpkin decorations out of salt dough – not only is it fun to make, but it also fits perfectly with the autumnal atmosphere. All you need is some ready-made salt dough, small twigs for the stems and some paint to colour them in.
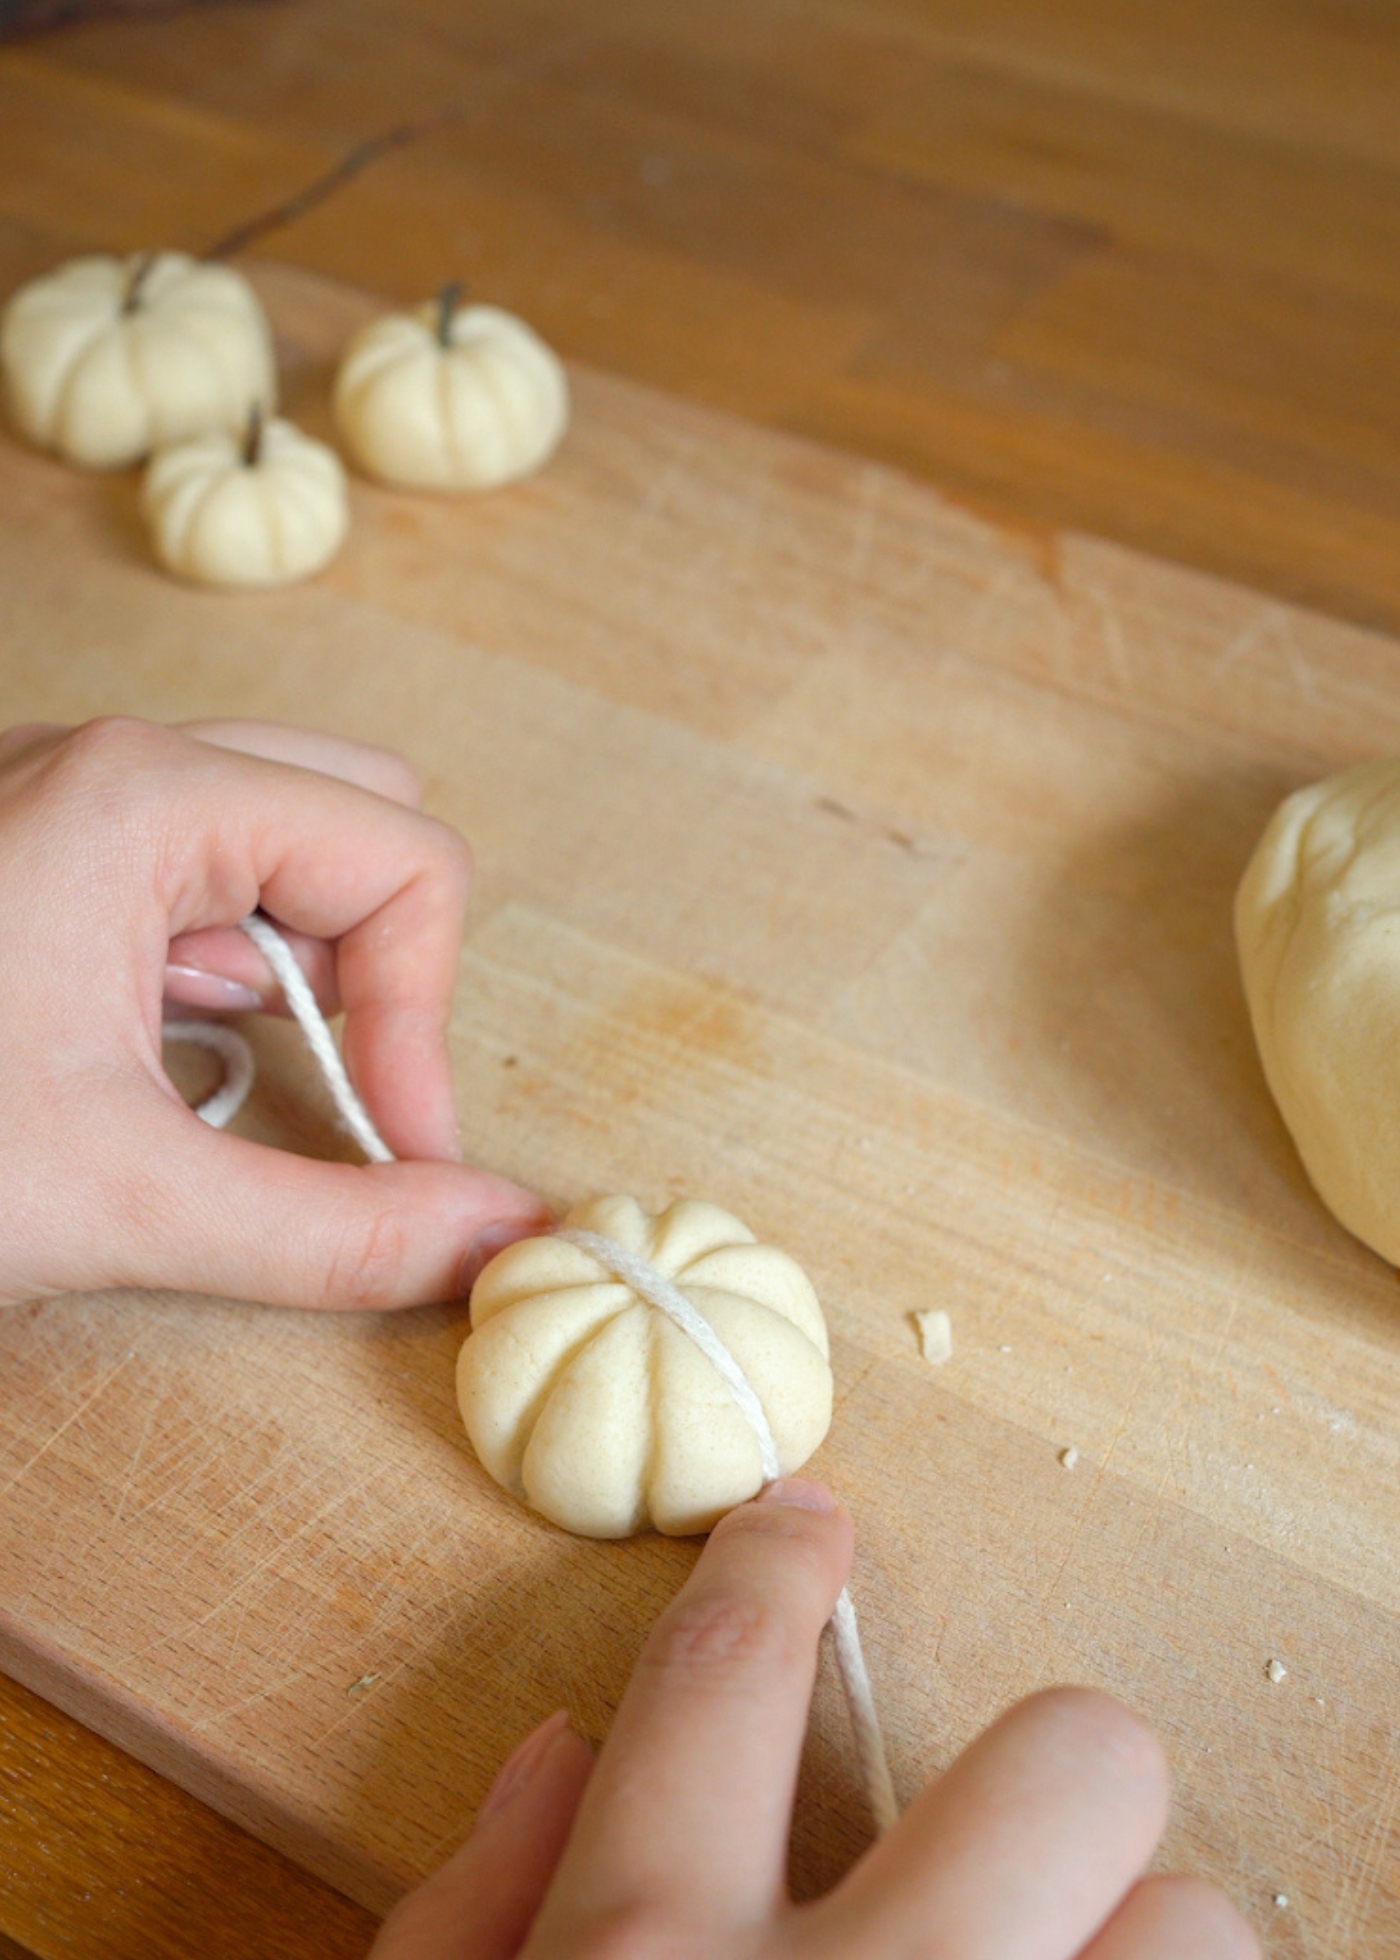
Here’s how to do it:
- Shape
- the prepared salt dough into a ball of the desired size.
- Now take a piece of string or cotton cord and wrap it around the ball as if you were dividing it into several sections.
- Pull the string tight to form the characteristic pumpkin ridges. Repeat this with several pieces of string so that the pumpkin is evenly segmented all round.
- Once the pumpkin is shaped, simply insert a small piece of twig into the top to act as a stalk.
- Bake the salt dough as usual for 45 minutes at 150 degrees in the oven.
- Once cooled, paint them in autumnal colours as you like.
Salt dough ideas for Christmas
But even during the festive Christmas season, there are countless creative craft ideas using salt dough. We’ve put together the best ideas for you.
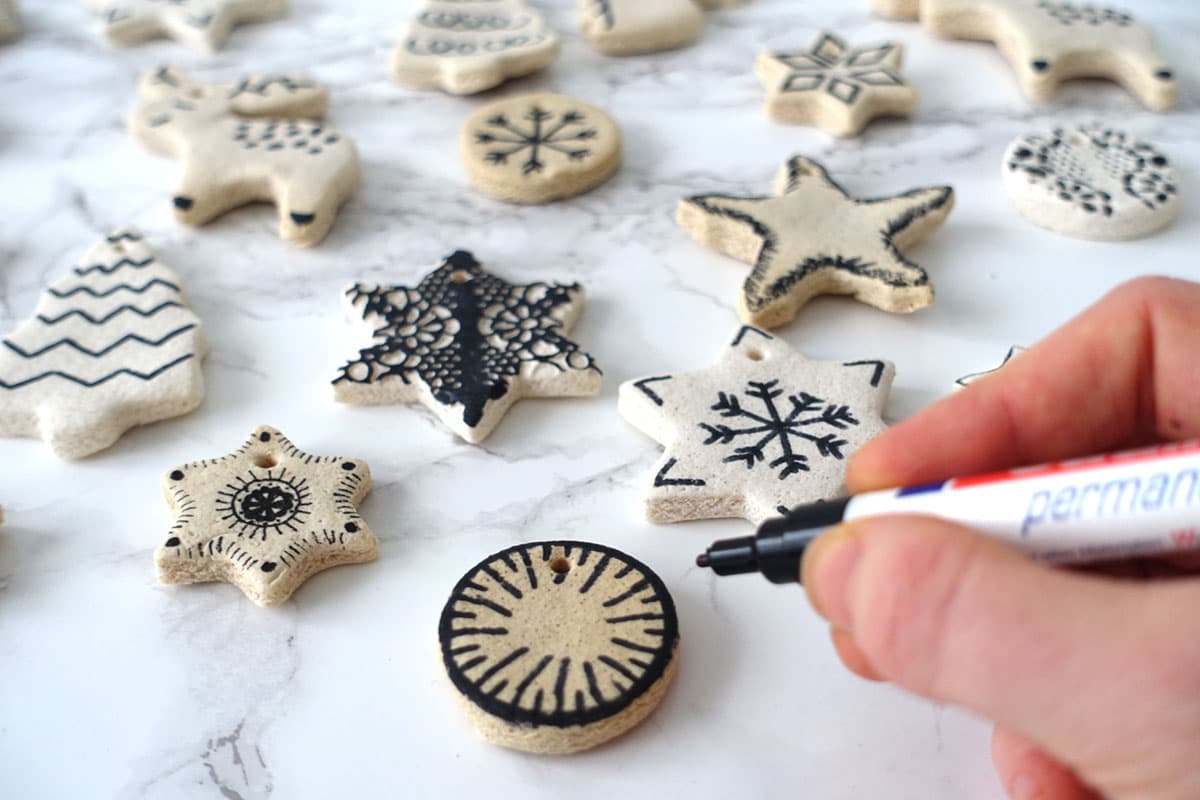
Salt dough Christmas tree decorations
The most popular time for making things with salt dough is probably around Christmas. It is wonderfully cosy; you spend a lot of time at home with your family and , of course, at some point the Christmas tree gets decorated too.
Salt dough is particularly well suited for making decorations. On the Paradieschen blog, we’ve discovered a pretty and modern black-and-white version . To make them, cut out stars or circles and colour the dried salt-dough shapes – which are already white – with a black pen.
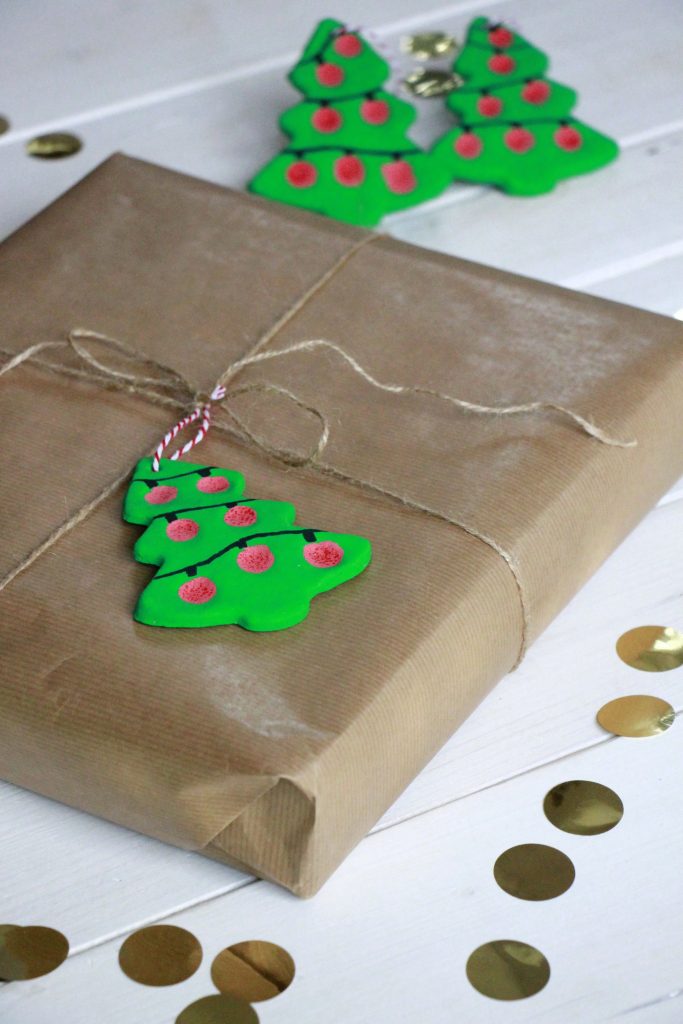
Christmas gift tags made from salt dough
. These salt dough tags don’t just look great on the Christmas tree. When tied to a present with a piece of string, they add a lovely touch to any gift .
Anika from the Lavendelblog particularly likes them to be colourful. Your children are sure to love them too!

Advent wreath made from salt dough
We’ve discovered
a
rather unusual but particularly clever idea on Dörthe’s ars textura blog – an Advent wreath made from salt dough.
To make it
,
she first cuts out stars using the ‘ ’ and arranges them in a circle. The ‘ ’ cookie cutters should overlap slightly. A hole is pressed into four of the salt dough cuttings to accommodate the candles. Then everything is baked and the stars are subsequently glued together . This idea is a little more labour-intensive but is also a real eye-catcher.
We hope you have lots of fun crafting and playing!
More creative craft ideas
Discover more craft ideas for you and your little ones.