Making a children’s camera
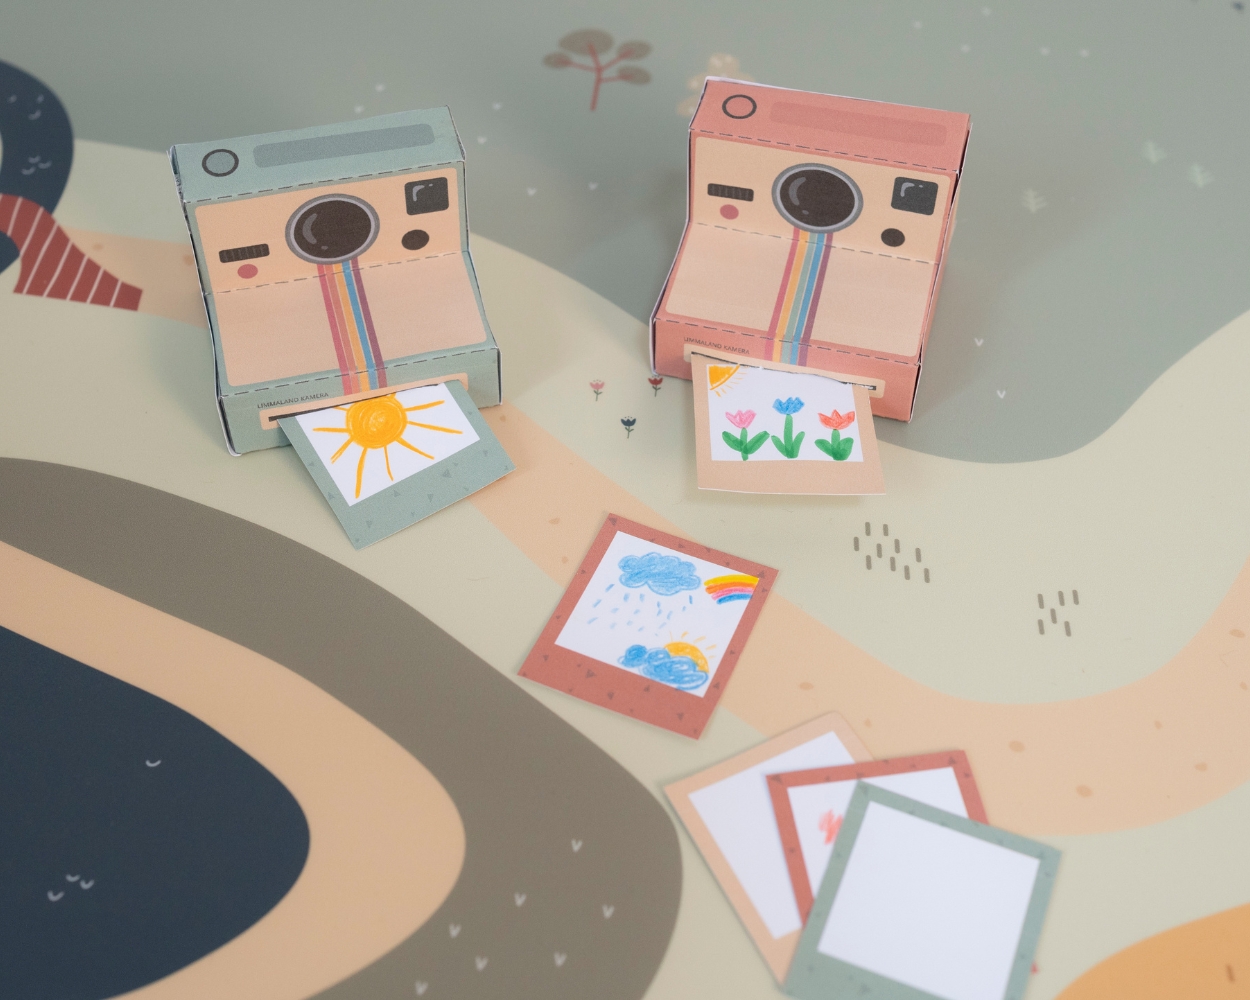
Children love discovering the world around them – and what could be more exciting than capturing these experiences just like real photographers? With our craft template, you can design your own camera together with your child and immerse yourselves in imaginative photo adventures through play. Whether as an accessory for role-play, a creative addition to a make-believe world or simply as a colourful decoration in the children’s bedroom – the DIY camera looks great anywhere!
And best of all: the camera is really easy to make from card – it’s sustainable, creative and great fun. The kids can easily colour in the photos themselves. So grab the template and let’s get started!
Step-by-step guide to the children’s camera
What you’ll need:
- the free craft template in 2 colours (download via the form below)
- sturdy paper (at least 200 grams), ideally in A3 format
- a pair of scissors or a craft knife
- some craft glue
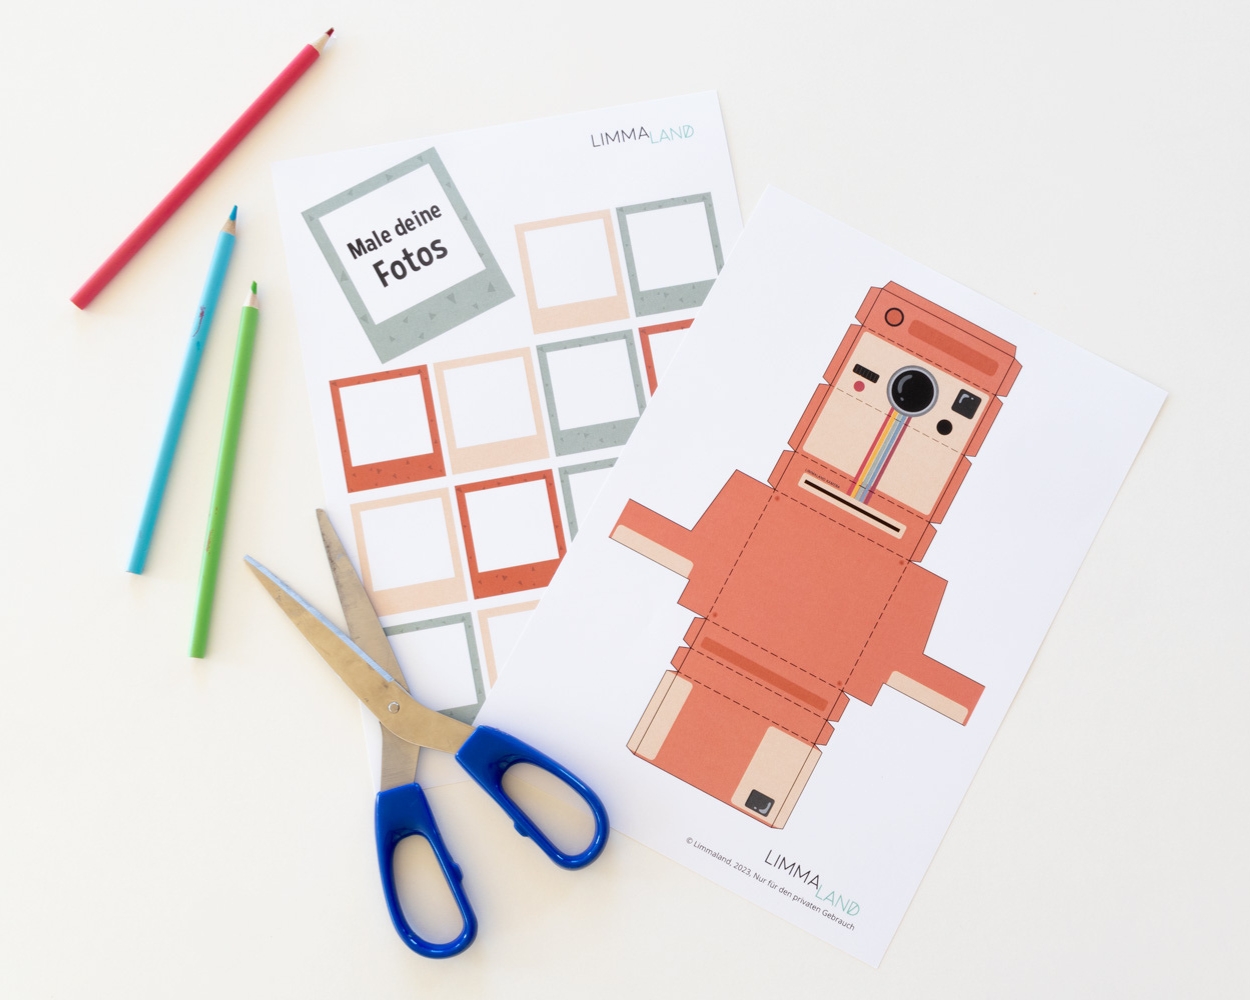
Print out the children’s camera craft template
First, choose your preferred craft template in yellow or blue and download it. You should use paper weighing at least 200 grams for printing. You’ll get the best results in A3 format. Otherwise, the camera will be quite small.
Here’s how to do it:
Step 1: Grab a pair of scissors or a craft knife and cut out the paper camera. Note: Don’t forget to cut out the black slot for the photos – BEFORE you stick the pieces together.
Step 2: Now fold the craft template along the marked lines.
Step 3: Now simply stick the pieces together along the designated adhesive tabs
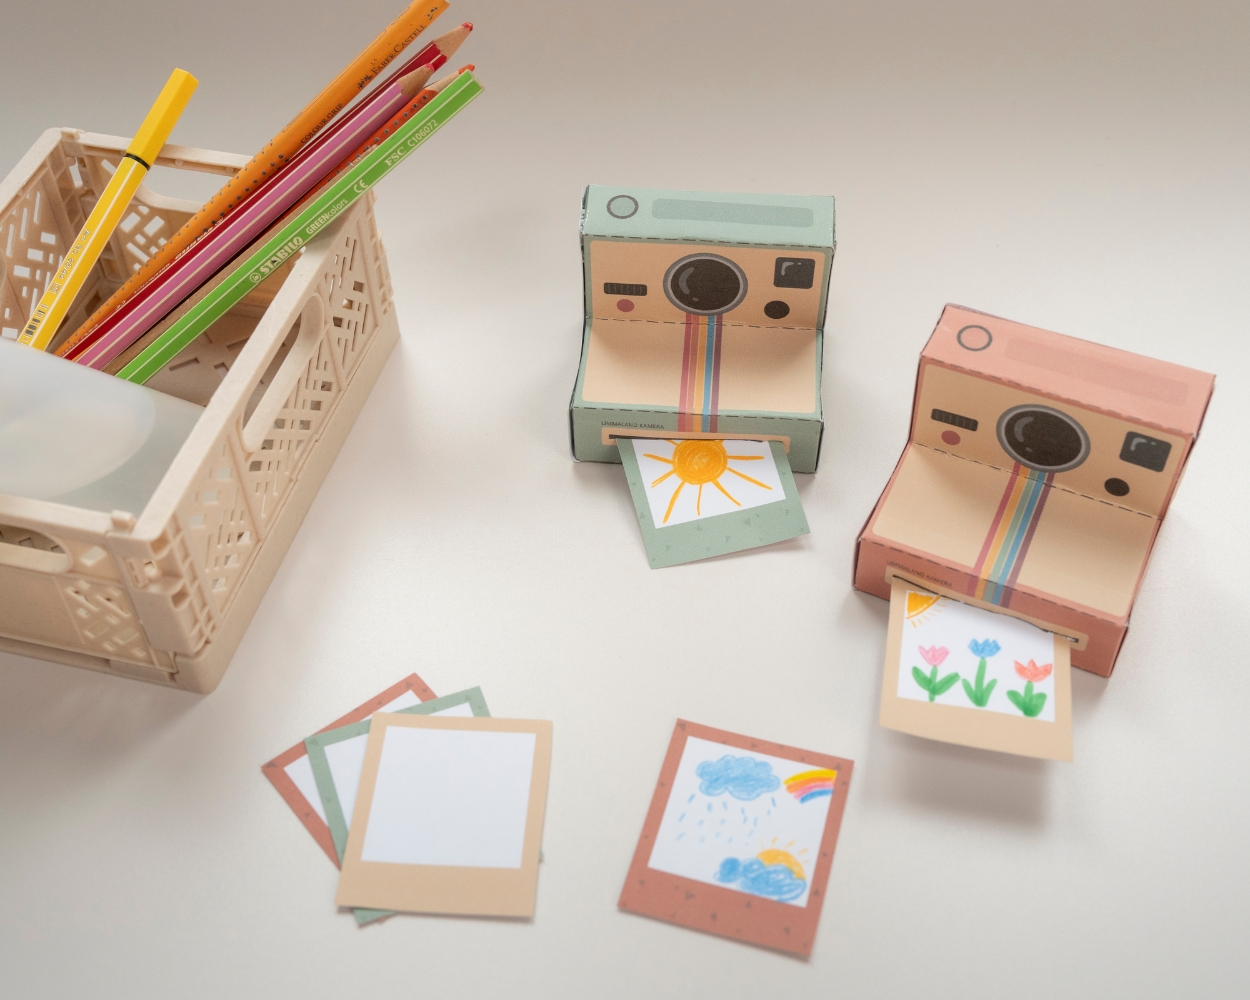
DONE! It’s that easy to make a camera for, or together with, the little ones.
Polaroid photos to colour in
Even more craft ideas