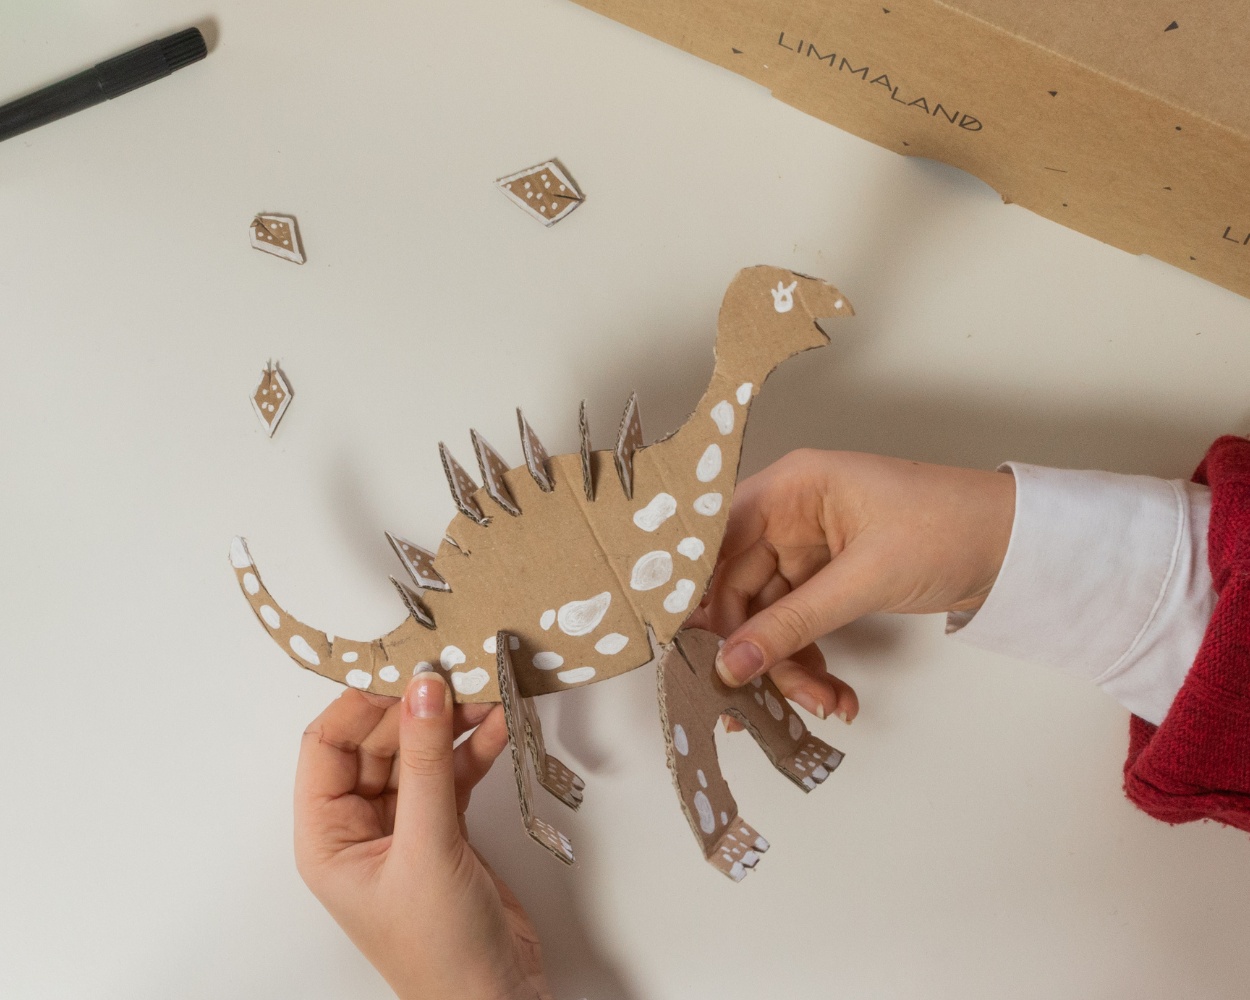
Making cardboard animal figures
Here at Limmaland, we’re big fans of upcycling projects. And it’s not just creative ideas for IKEA hacks in the children’s bedroom that we find interesting: today, it’s all about the shipping box. Because you can use them to create whole worlds that work really well as decorations and toys.
Best of all: we’ve prepared the templates for you to download for free. So – grab that cardboard box and let’s get started!
Here’s what you’ll need for your craft project
- Cardboard – e.g. an old parcel box
- Template for stick-on animals
- Scissors
- Pencil or similar
- A craft knife and cutting mat
- Thick pens or paint and a paintbrush for colouring
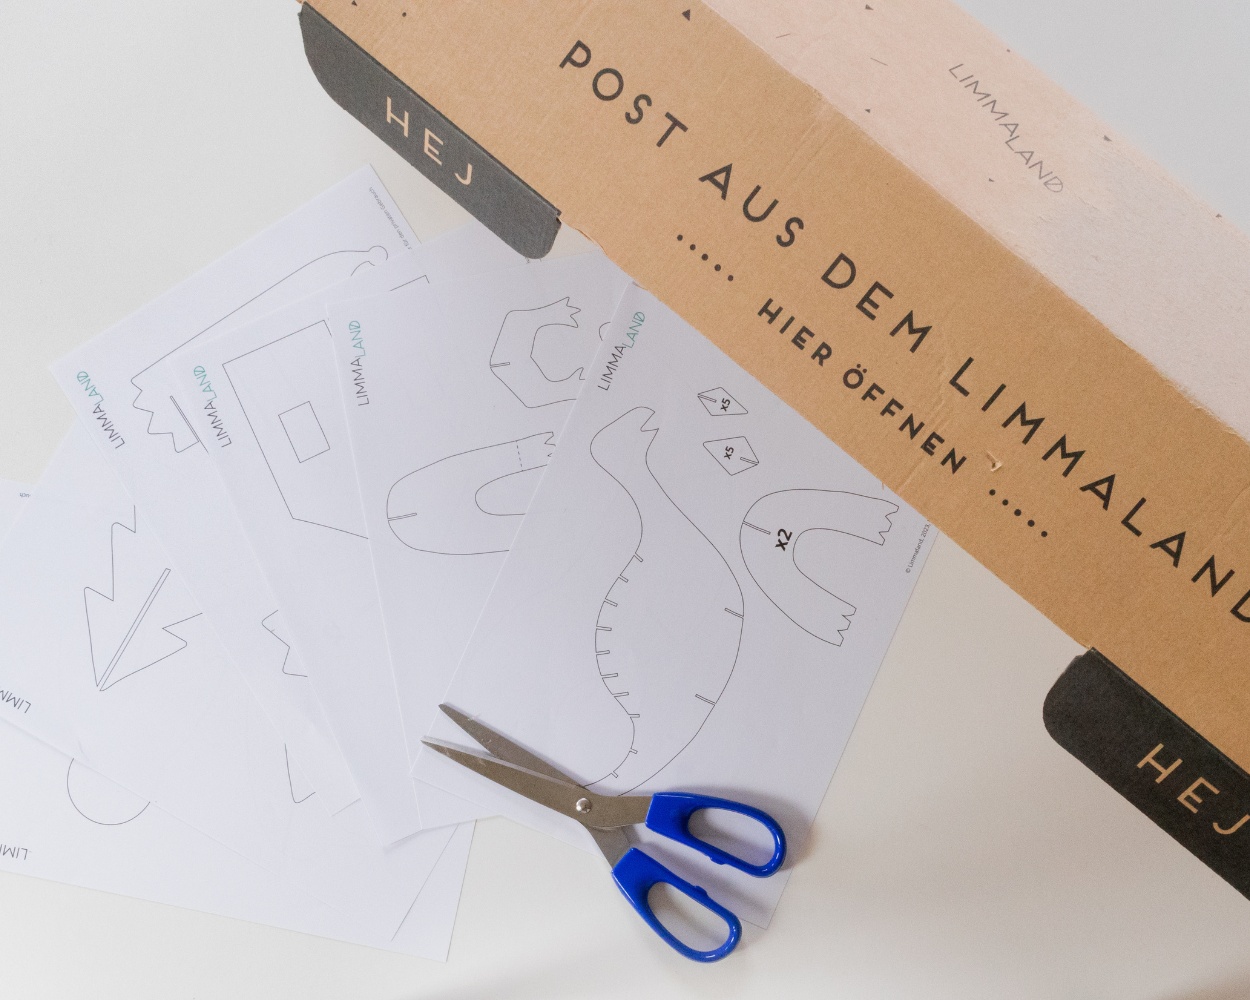
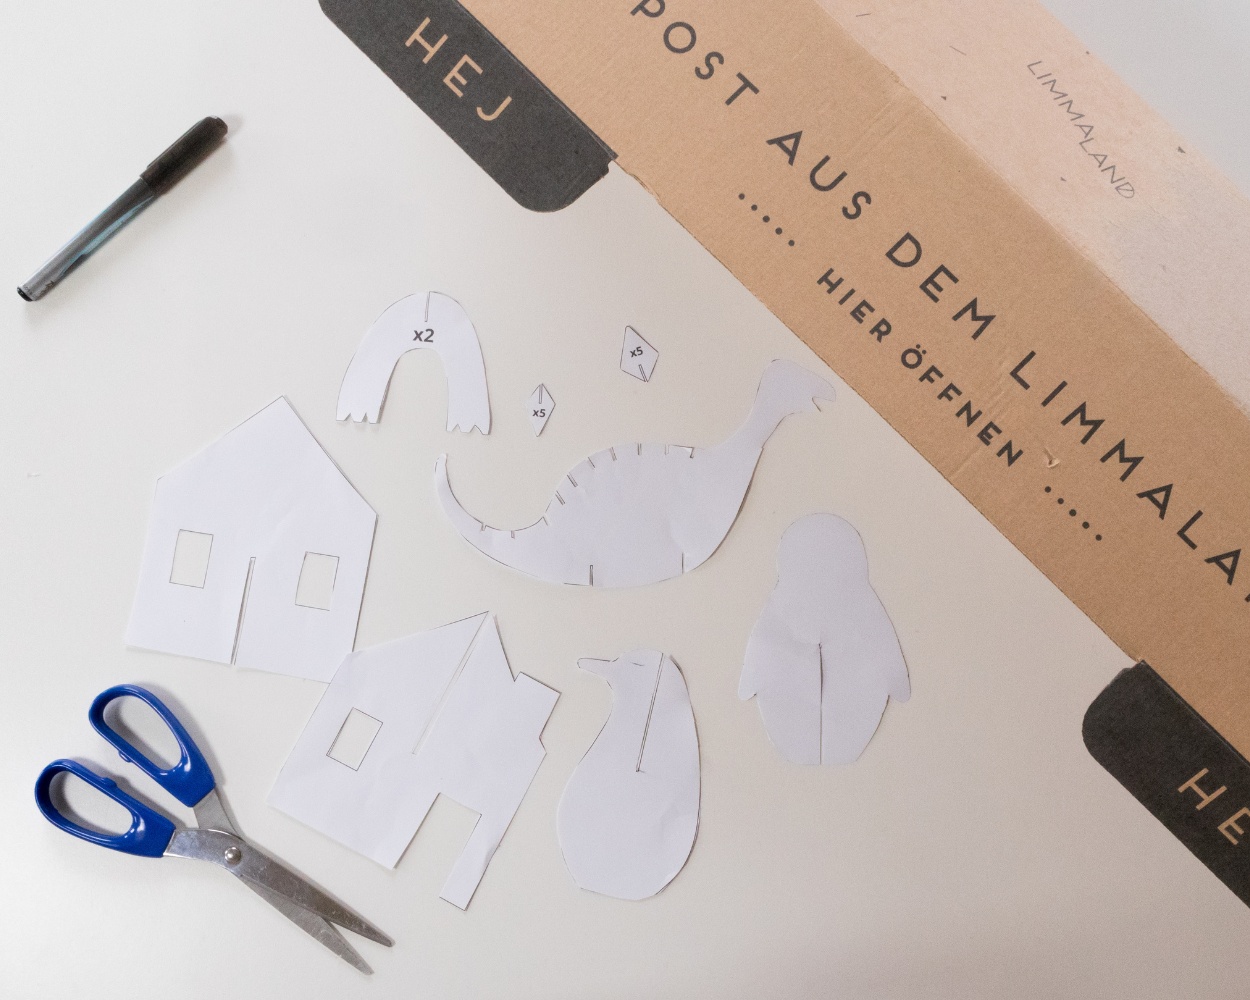
1. Download the craft template & cut it out
You can download the templates for the various flower arrangements free of charge. Then print out the templates you want and cut them out with scissors.
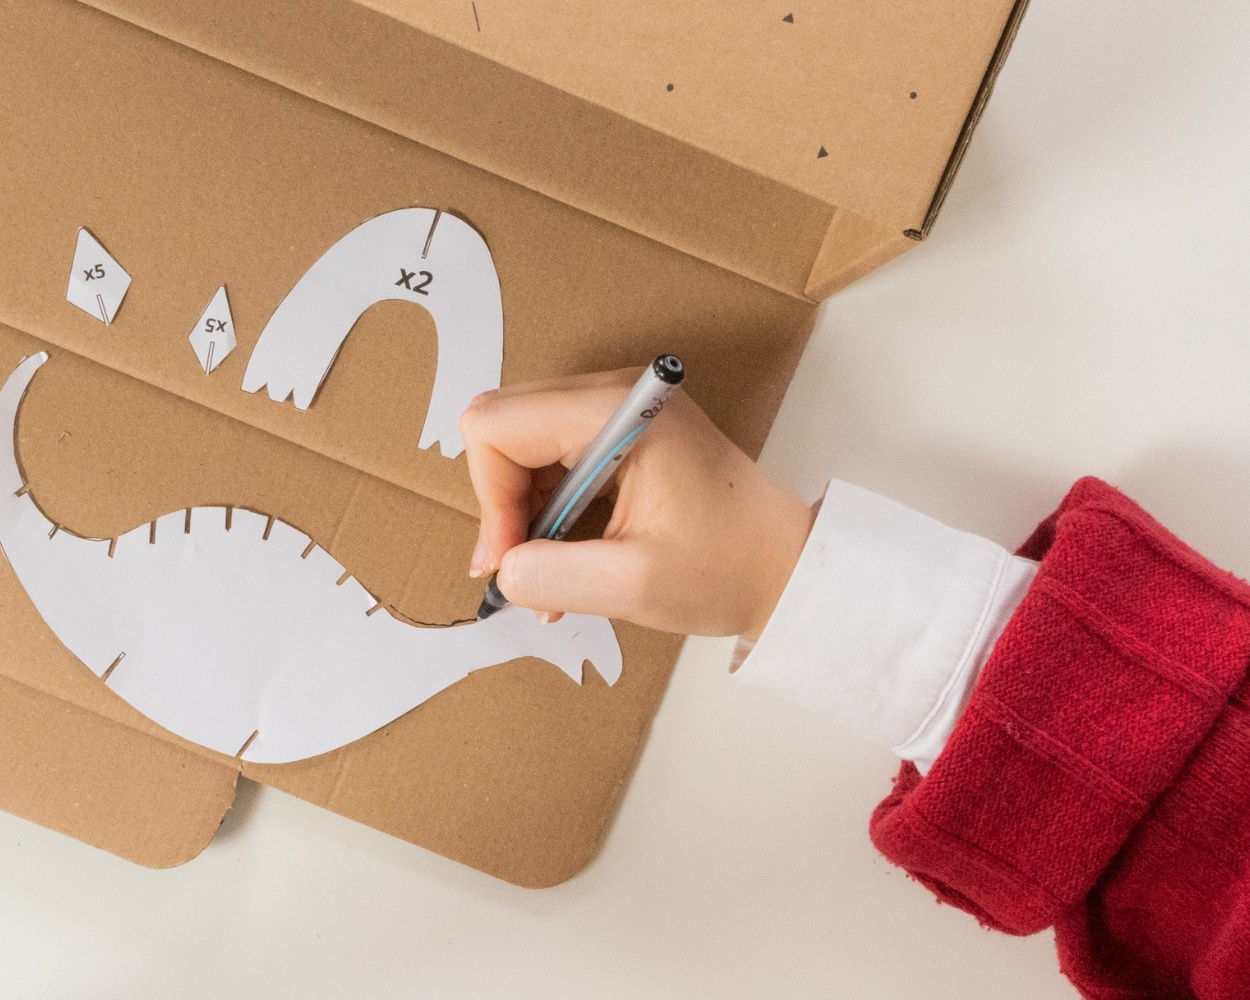
2. Sketching out the parts for your model
Grab a pencil and, using the cut-out templates, trace the individual pieces for your plug-in world onto the shipping box or piece of card.
Please note: Some pieces are needed more than once. We’ve noted the exact number on the template for you.
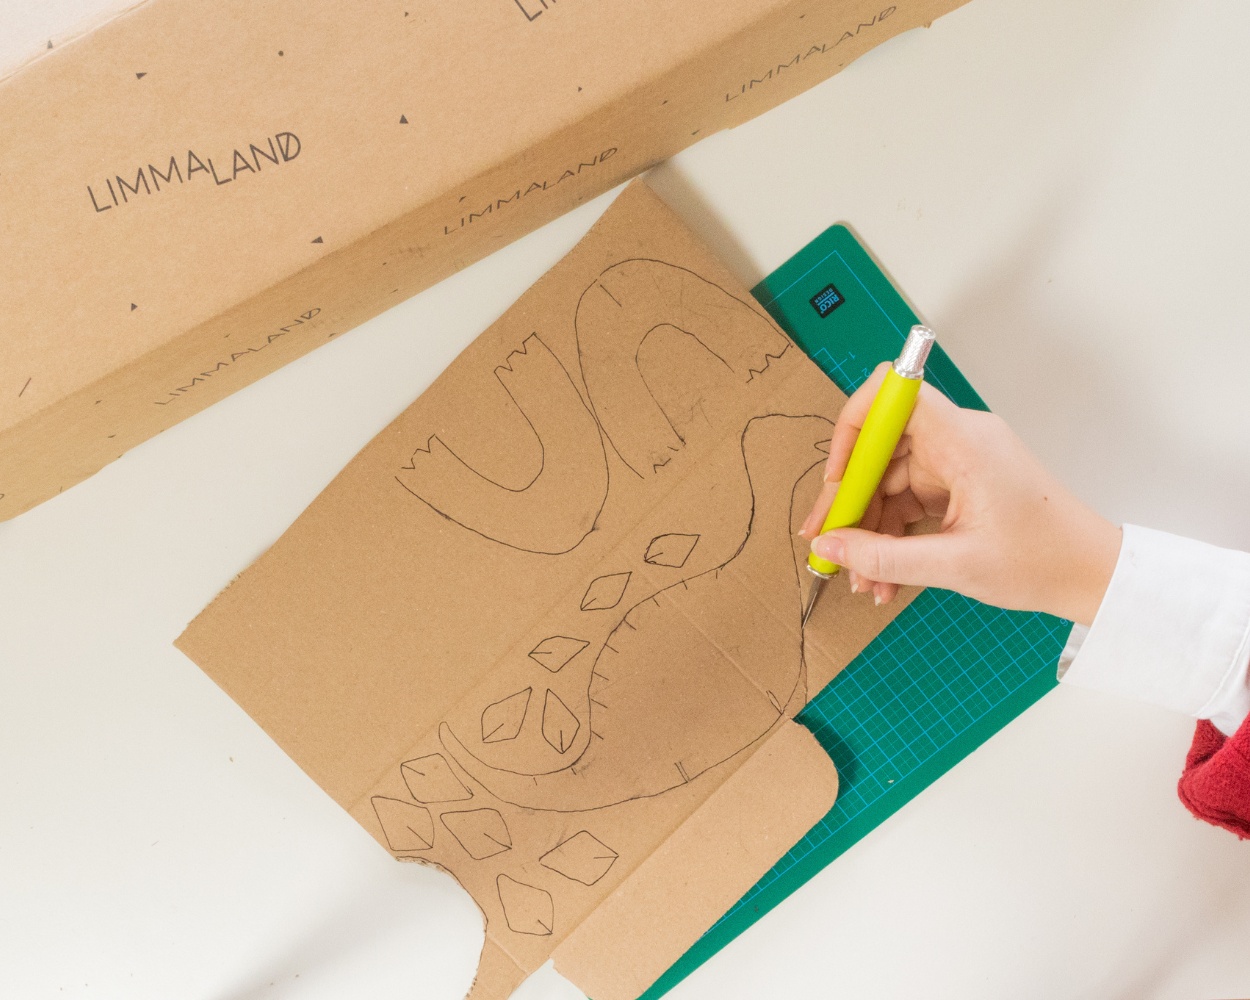
3. Cut out the animals from card
You can now cut out the pre-drawn individual pieces from the cardboard. This works best with a craft knife, as cutting with scissors can be quite a struggle depending on the thickness of the cardboard.
Important: Don’t forget to use a cutting mat!
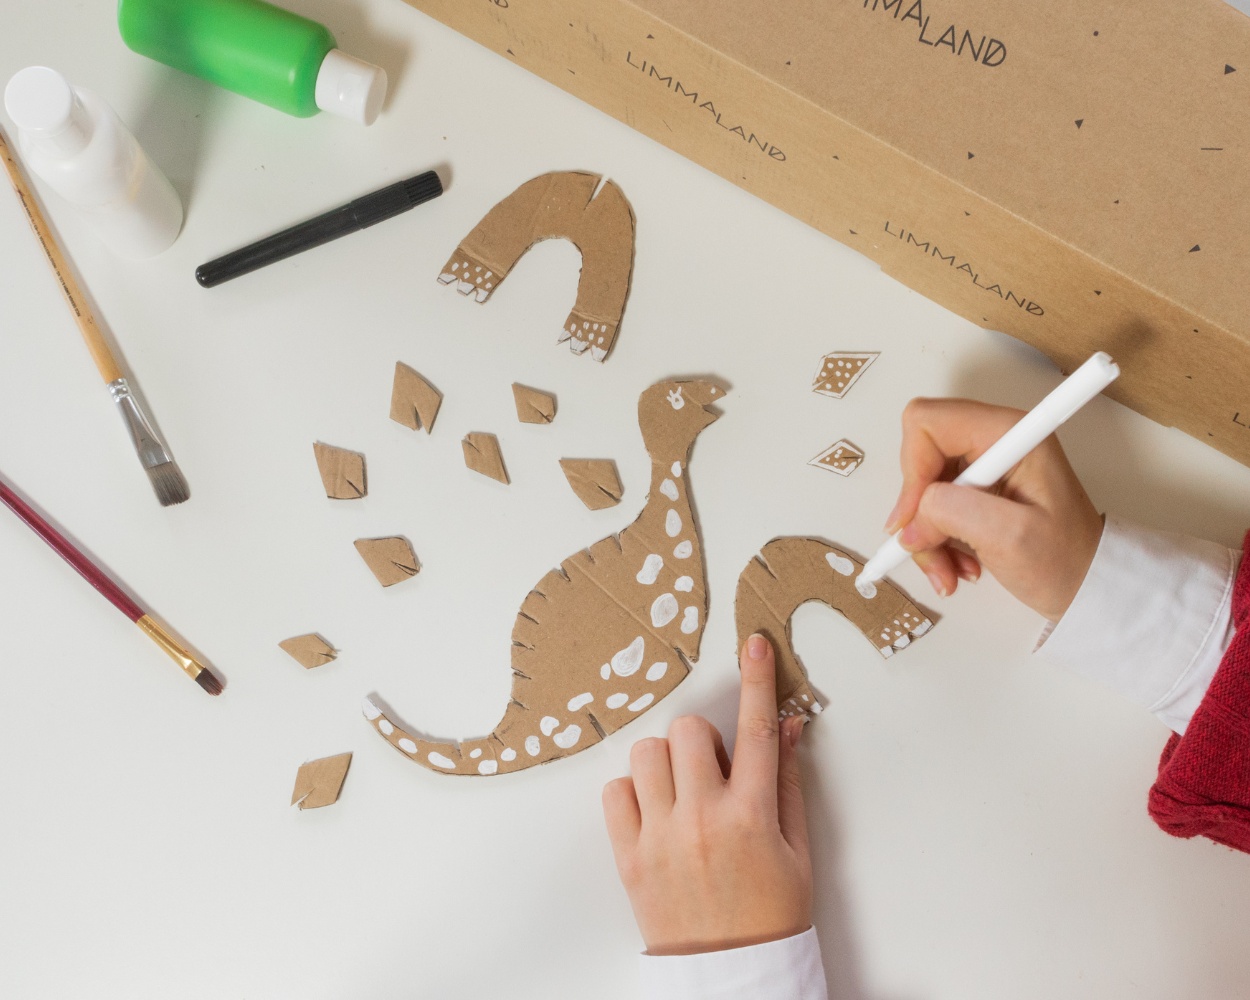
4. Painting the cardboard pieces
To make the plug-in world look even nicer, we’ve painted the individual pieces. We’ve gone for white accents on the brown cardboard. But you can let your creativity run wild – perhaps you’ll go for a colourful design?
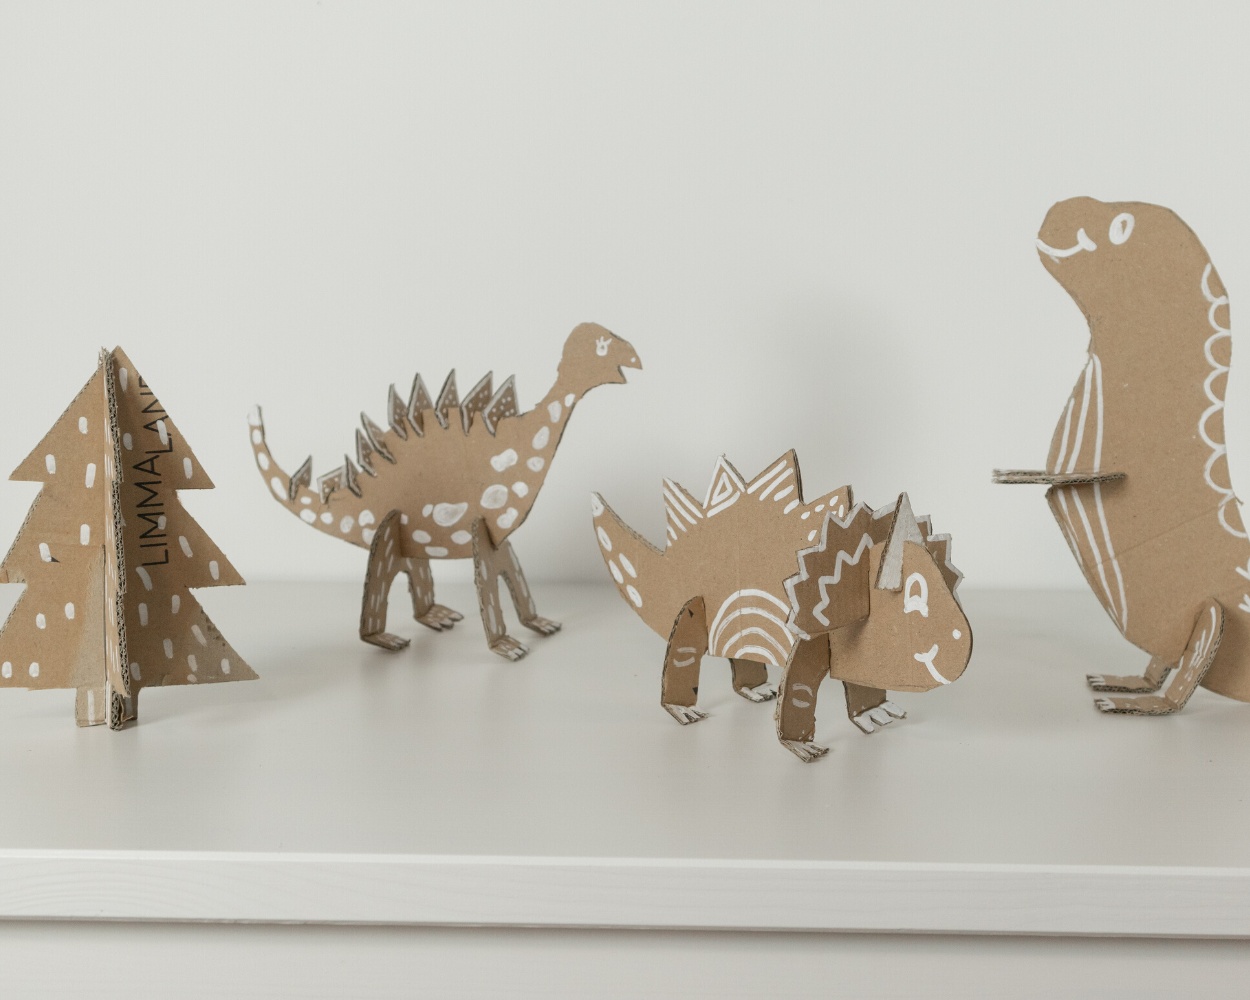
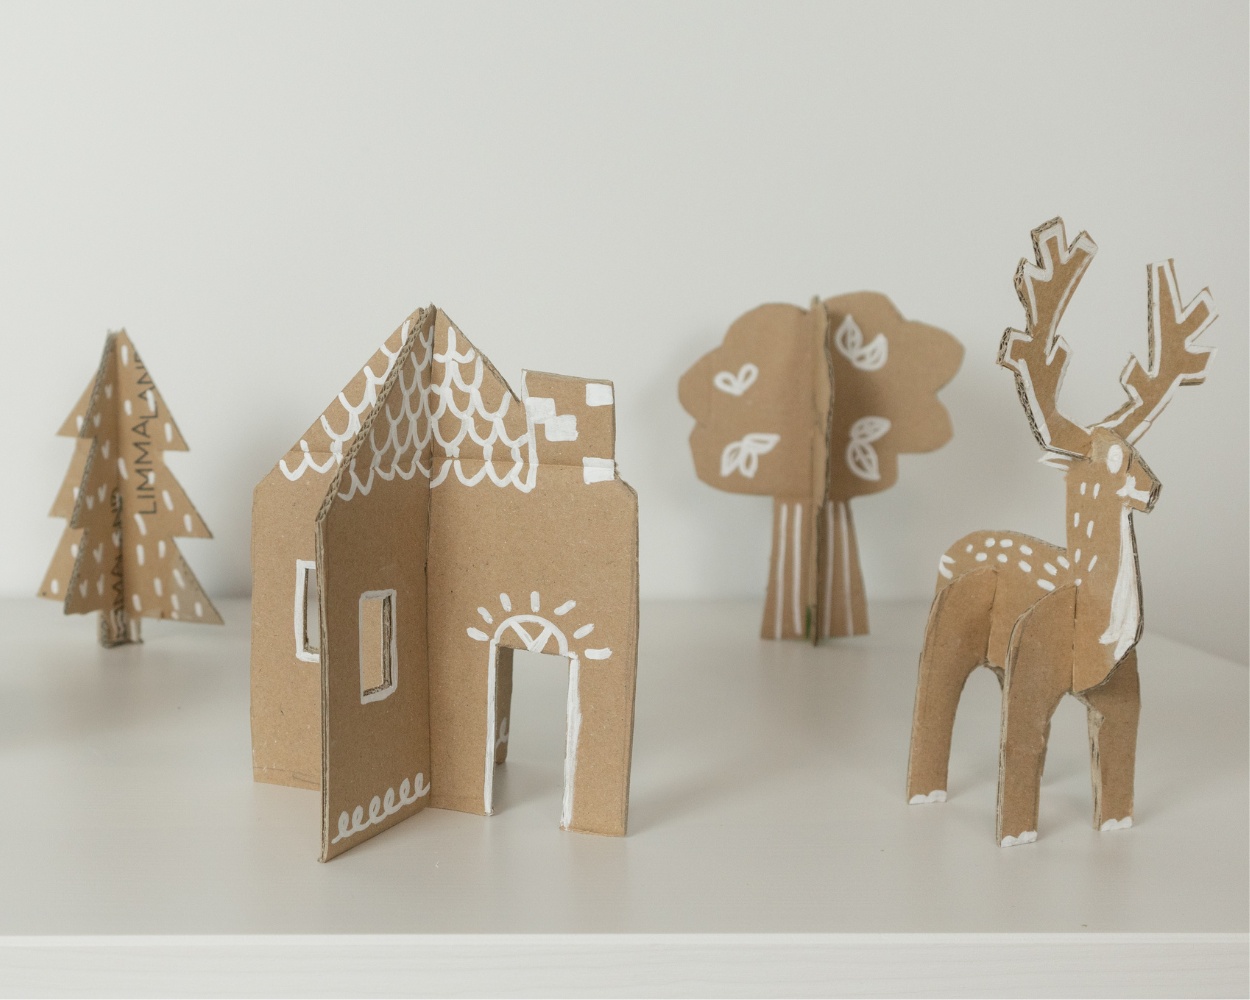
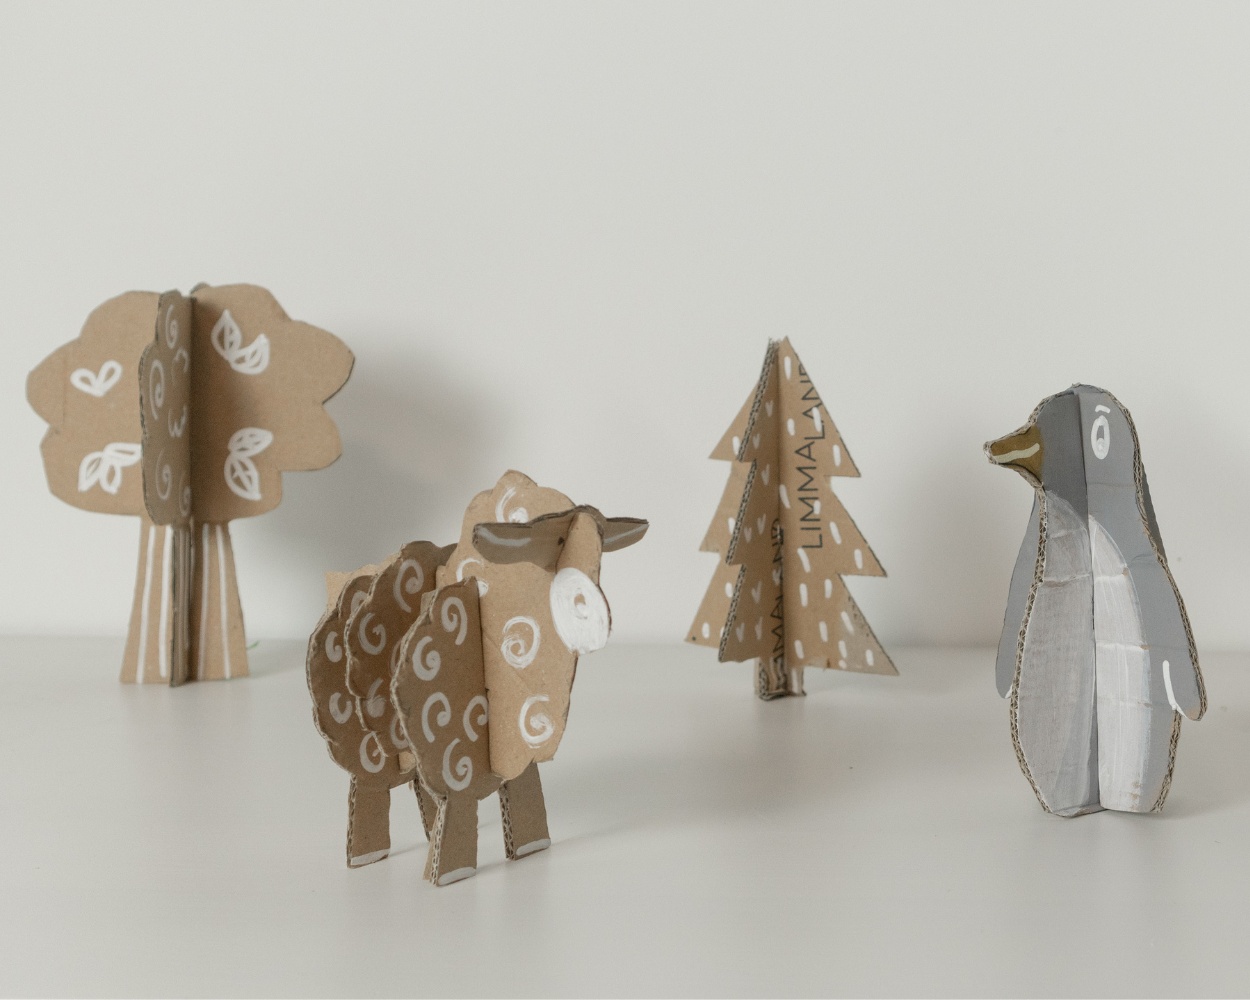
5. Assemble the individual parts
Once the paint has dried, you can simply slot the pieces together. And now it’s time to play and enjoy! We hope you have lots of fun upcycling your shipping box.
Even more craft ideas