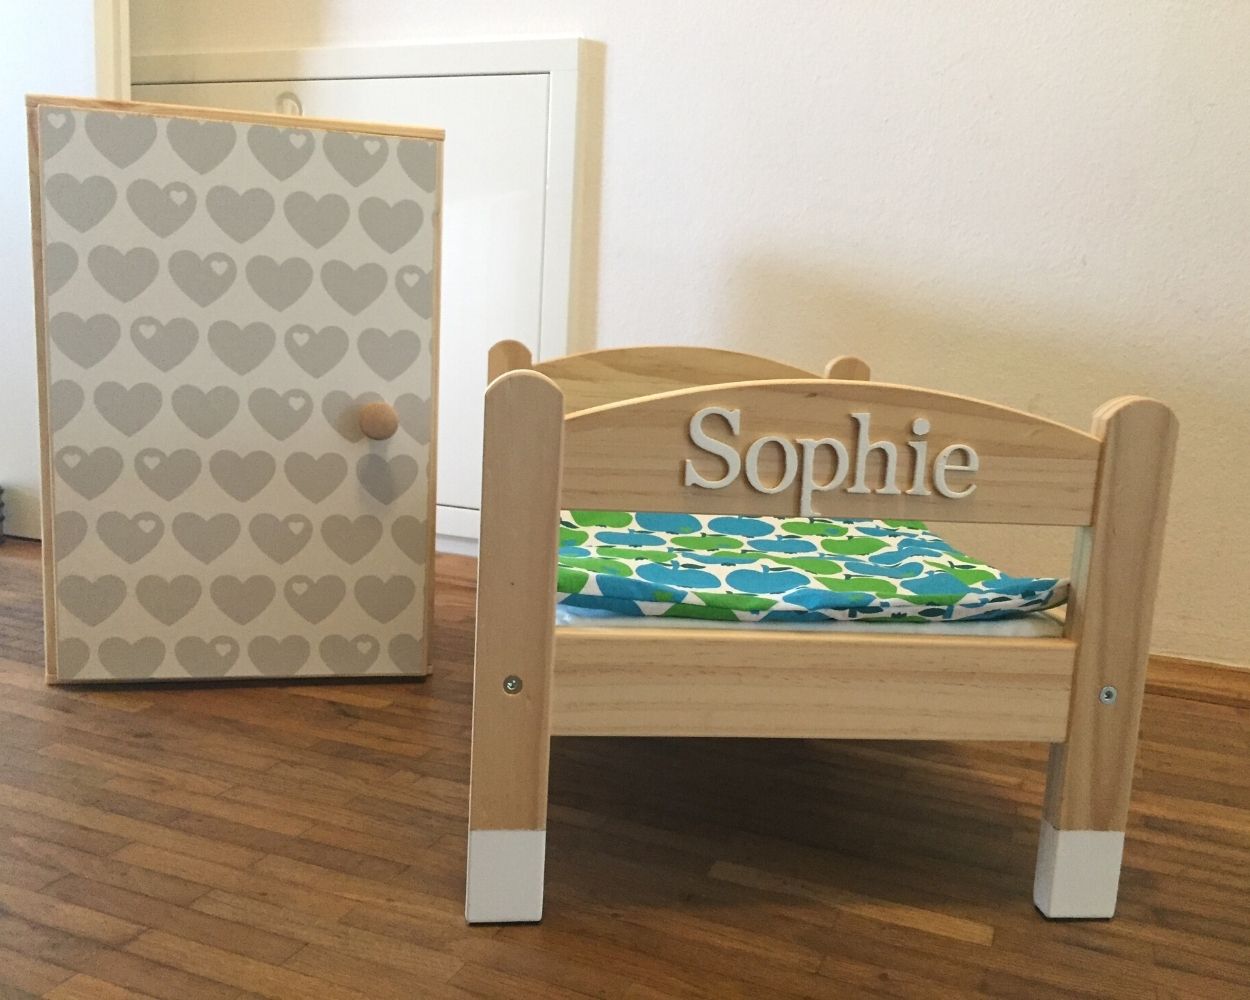
Build your own doll’s wardrobe from an IKEA box
It's that simple:
Here’s what you’ll need:,
- an IKEA KNAGGLI box, a
- wooden board measuring 45 x 30 cm
- , a piece of Limmaland decal of your
- choice, two simple furnitur
- e
- hinges
- , a
- handl
- e, a round wooden rod 29 cm long
- , a cordless screwdriver
- ,
- screws
- , possibly some wood glue.
Do you have everything ready? Then let’s get started and build a wardrobe for your favourite doll!
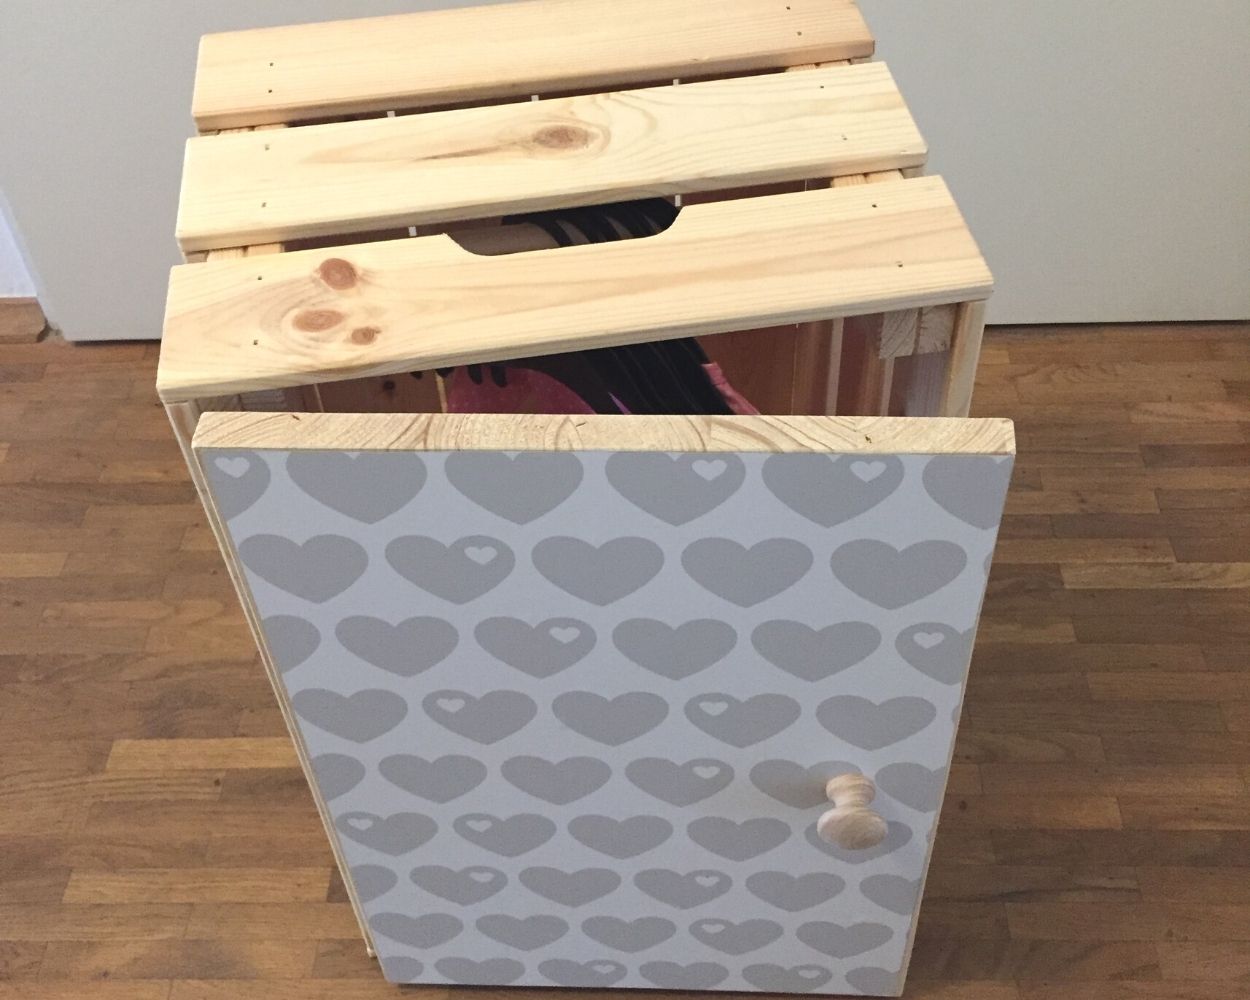
Step 1: Assemble the wooden box
. First of all, head to to get your KNAGGLIG box and put it together. It’s quick and easy – just follow the instructions supplied by IKEA. Then nothing can go wrong, guaranteed.
Step 2: Decorate the cupboard doorNow
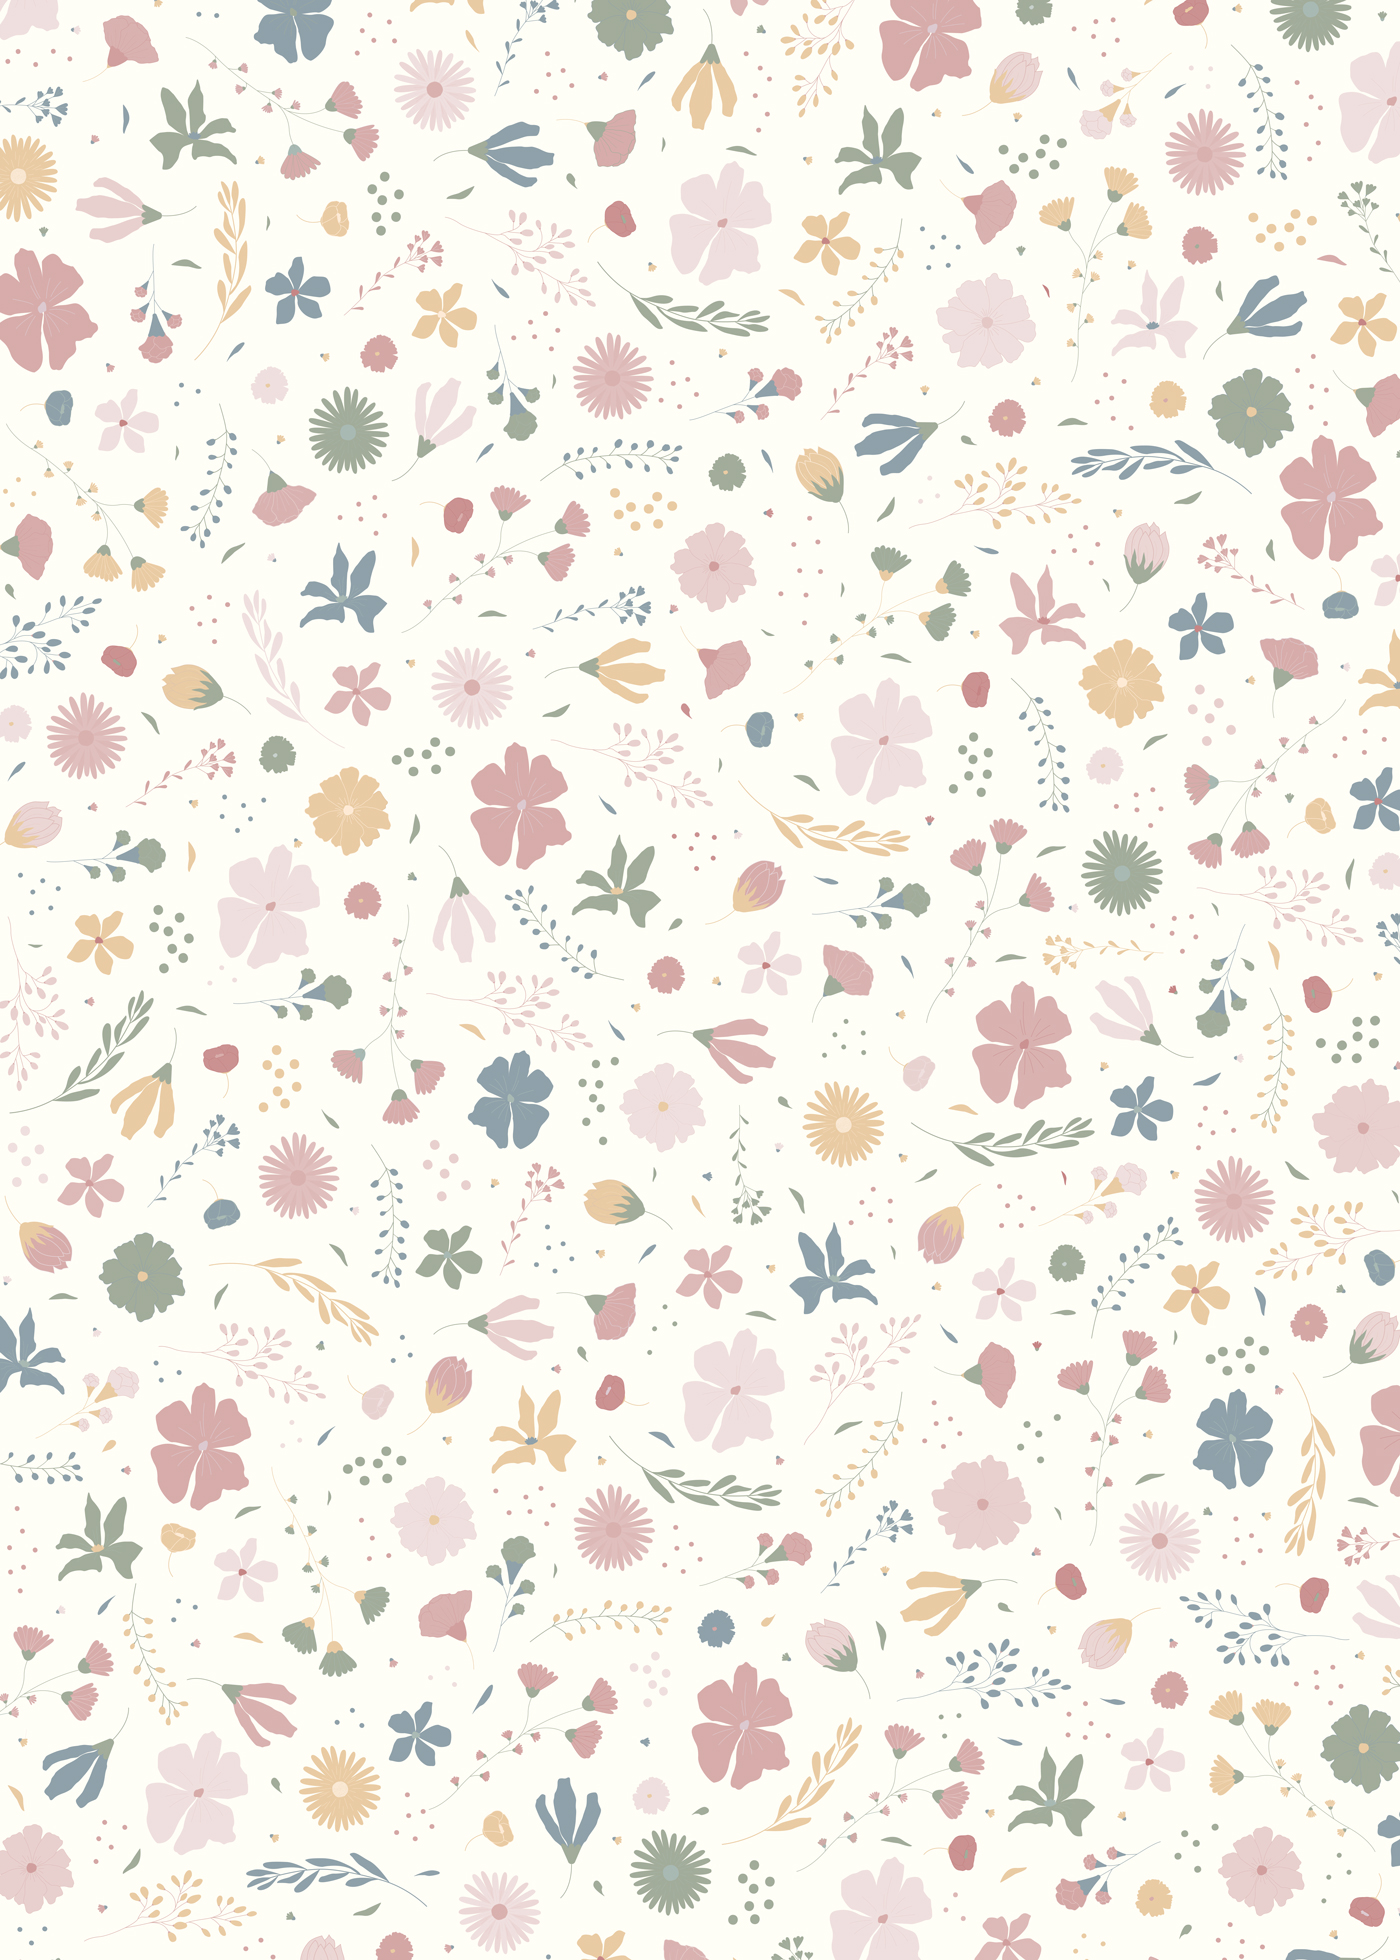
it’s time to move on to the decal from Limmaland. What’s your favourite film? You’ll find all the colours and patterns here : yard goods. Cut the furniture film of your choice to the size of the wooden board . Next, stick the film onto the cupboard door. Is everything in place? Then grab your cordless screwdriver and drill a hole in the board for the door handle. And then simply fit the knob . It’s looking great already, isn’t it?
Choose the right decal as your yard goods for your DIY project now!



Step 3: Attach the door to the doll’s wardrobe
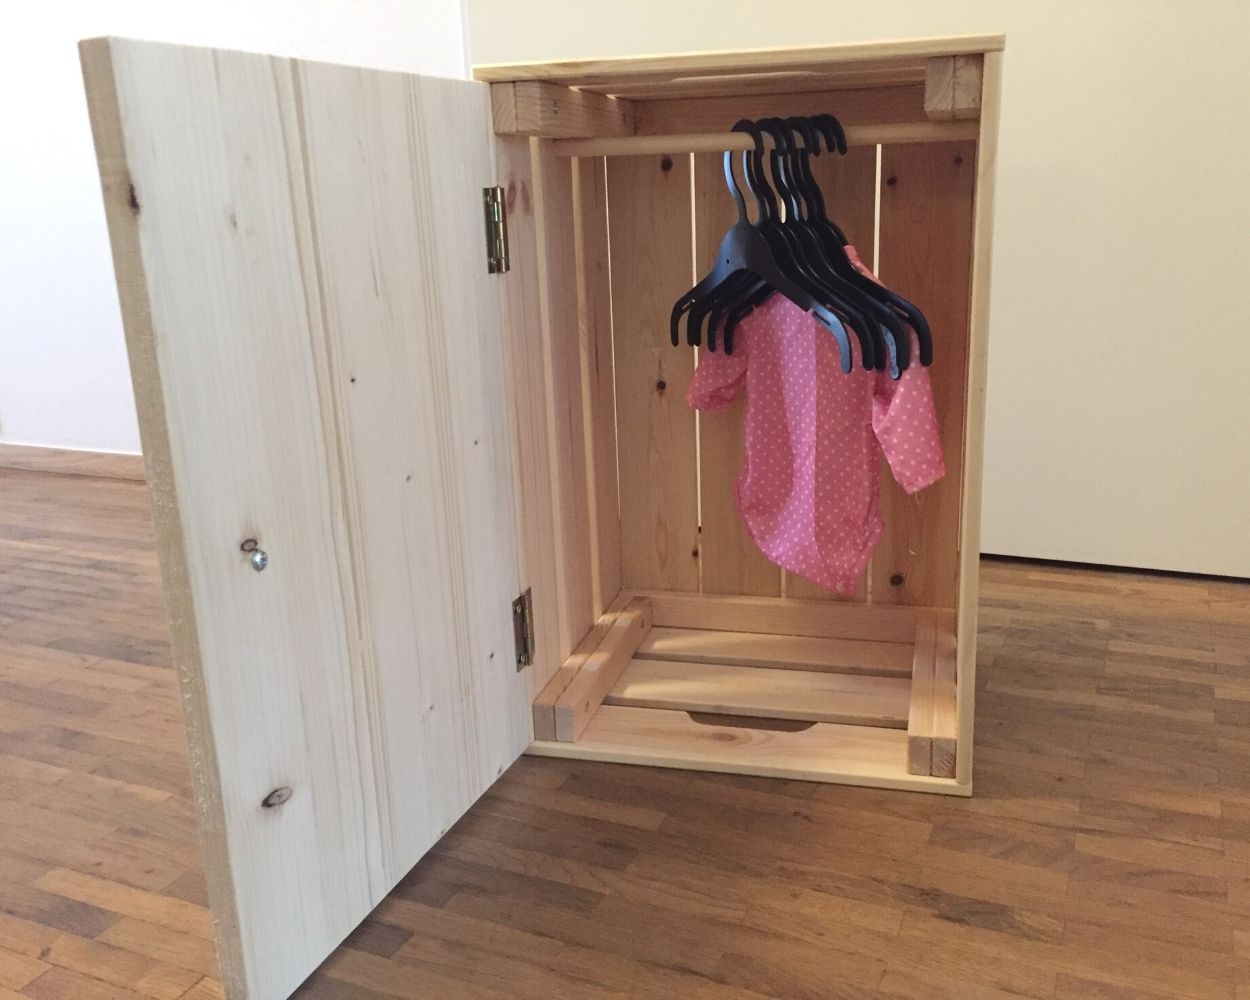
We’ll carry on straight away at : Using the two furniture hinges, you can now attach the wardrobe door – which has been embellished at – to the KNAGGLIG box. With the cordless screwdriver , you’ll have the screws tightened in no time at all.
Step 4: Insert the clothes rail
. Our doll’s wardrobe may already look spot on from the outside, but one small yet essential detail is still missing: the clothes rail! To do this, use the round wooden rod you picked up from the DIY store. Now clamp this into the IKEA wooden box – just like in a real wardrobe. If you want to be on the safe side , you can dab a little wood glue onto the ends of the rod. Then leave it to dry, and everything will be rock-solid. Done! It’s that easy to build your own doll’s wardrobe! Now all you have to do is fit out your new piece of furniture. You can get small hangers for the doll’s wardrobe for very little money from numerous online shops. And then you can tuck all those colourful doll’s dresses away in the wardrobe .
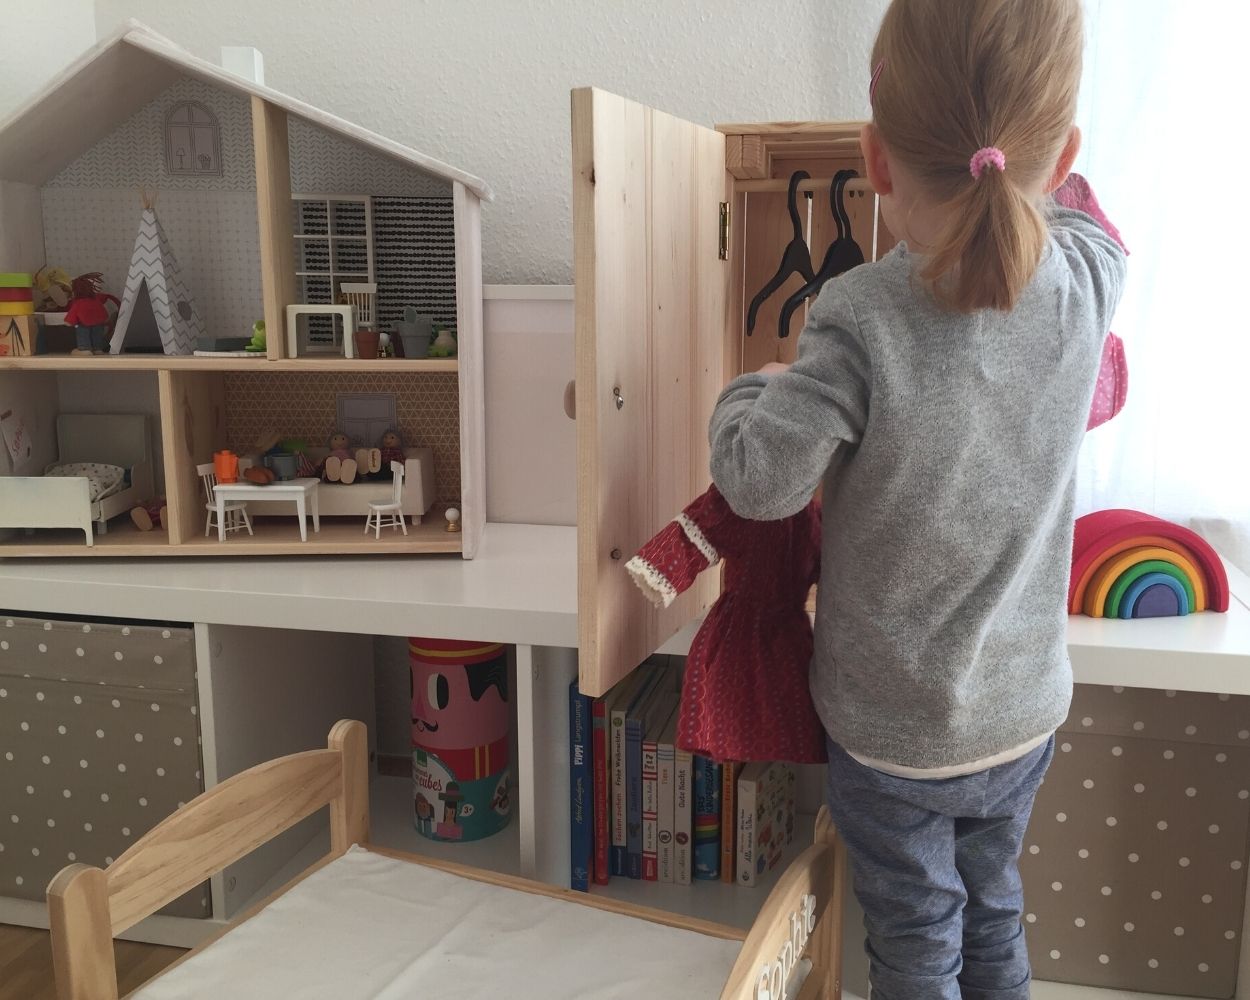
Perfect Match: dollhouse and wardrobe
. In our shop, you’ll also find all sorts of different colours and patterns for the IKEA dollhouse – there’s guaranteed to be something to suit every taste at decal.
Even more craft ideas for you and your kids