Dyeing Easter eggs with children
Discover creative dyeing techniques with simple step-by-step instructions – for a colourful Easter with the whole family. 🎨🐰🥚
Three ways
to create magical Easter eggs
Colourful eggs are definitely a must for Easter, aren’t they? But those ready-dyed eggs from the supermarket are a bit dull, aren’t they?
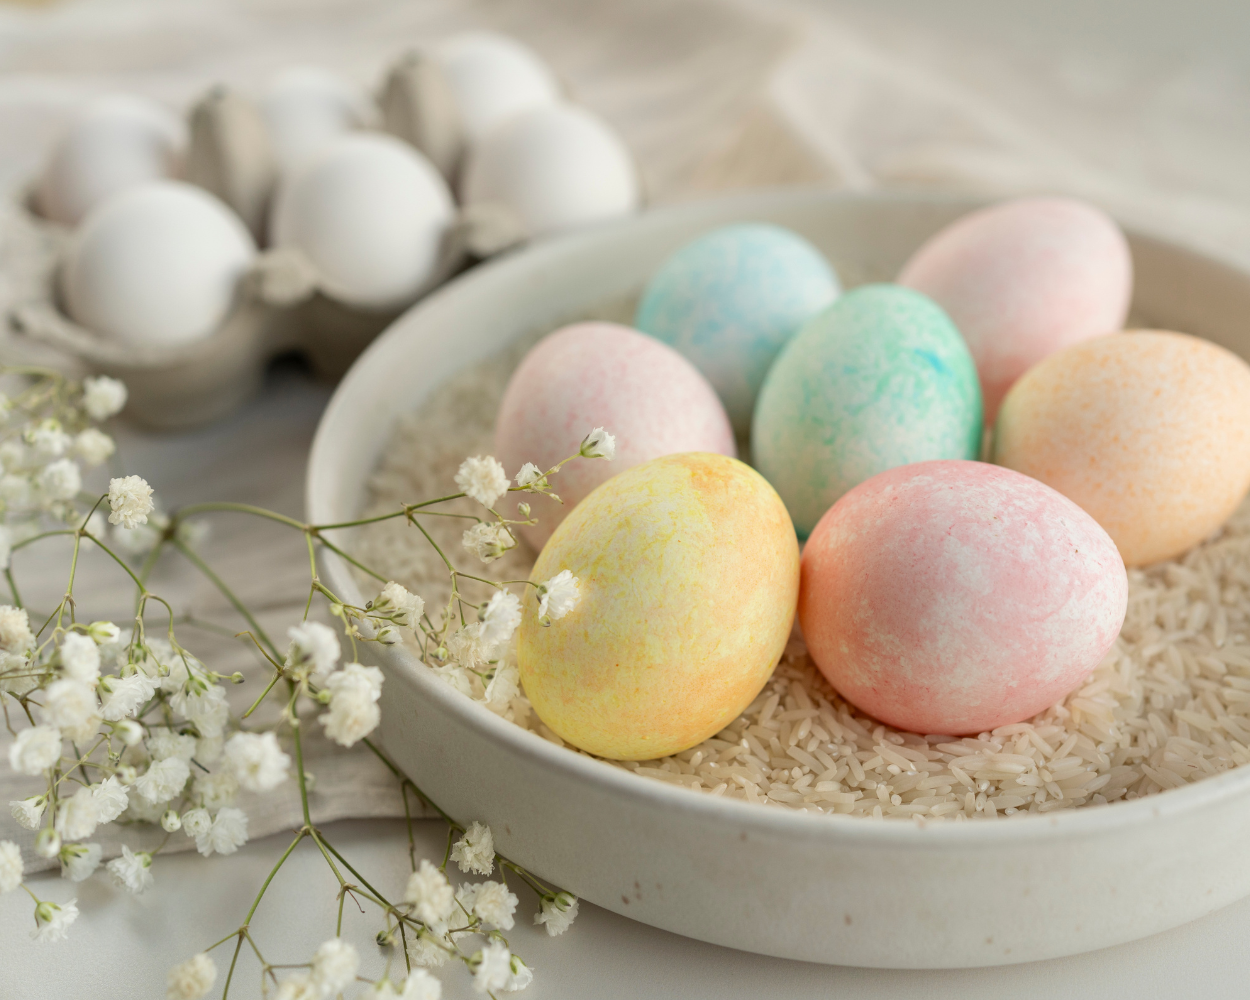
So today we’re showing you how to create glittery or cool marbled Easter eggs using our super-easy guide. So what are you waiting for? Grab your craft supplies and discover the magic of Easter egg dyeing with us!
Option 1: Glittery Easter eggs
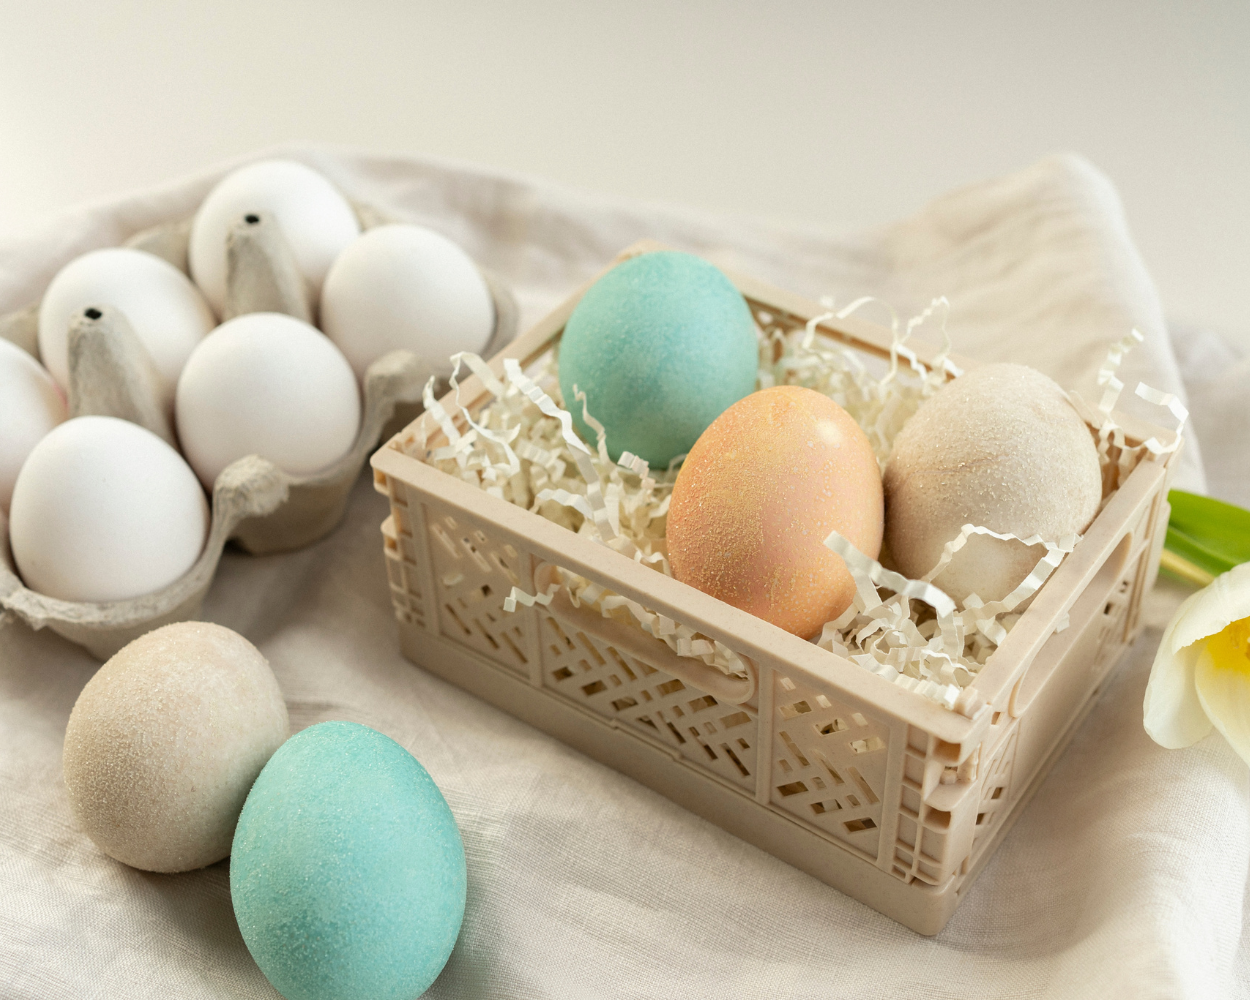
Colourful Easter eggs are great, but have you ever tried making glittery ones? This year, we’re embracing this sparkling trend and showing you just how easy it is to create that glittery effect.
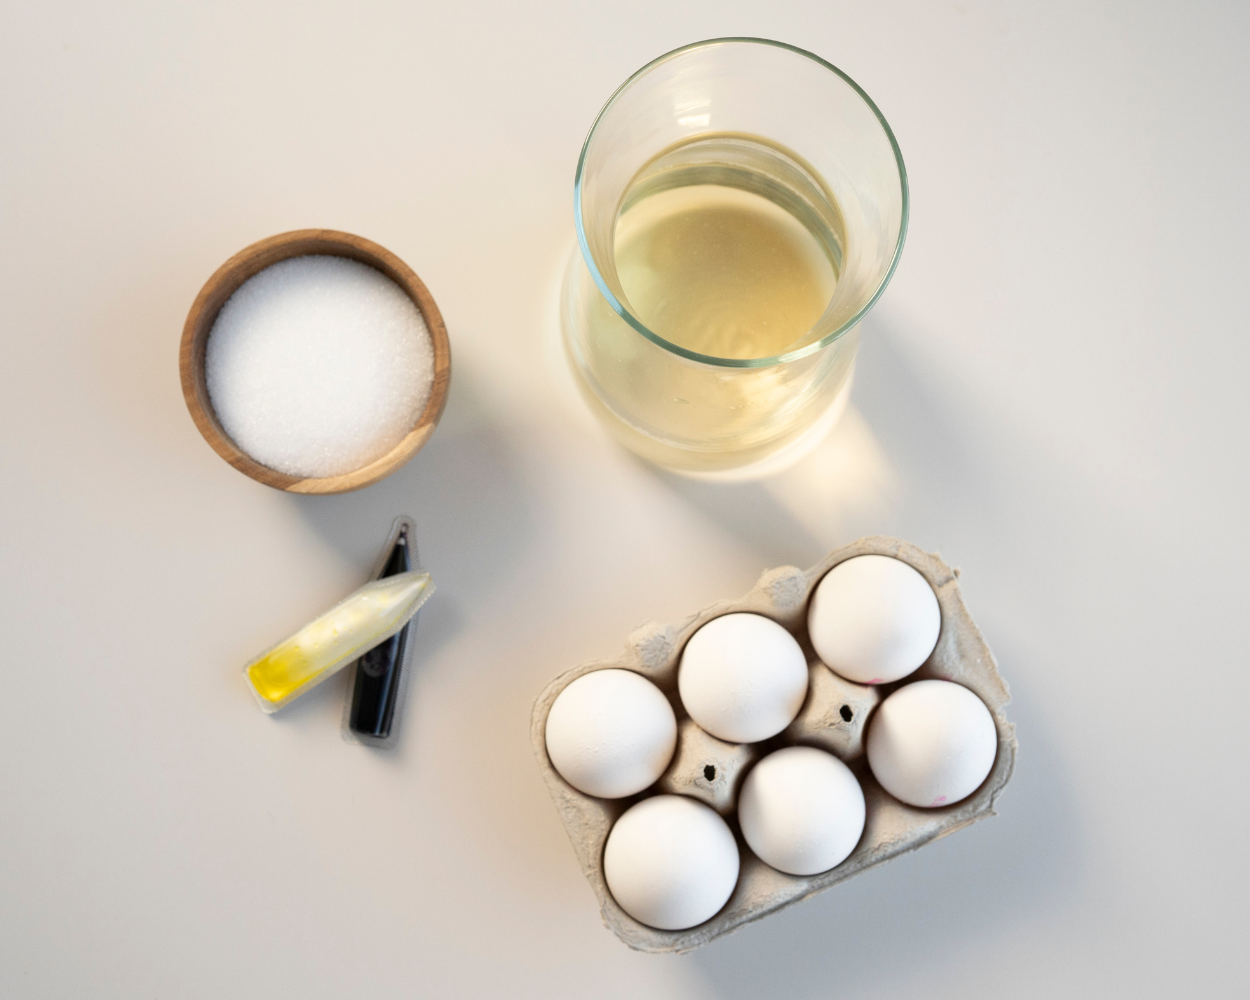
Here’s what you’ll need for the glittery Easter eggs
- Eggs
- 2 litres of white wine or light grape juice
- approx. 200 g
- sugar Egg dye or food colouring 2
- pots (1 pot per colour)
- 1
- spoon Kitchen roll
Here’s how to do it:
Step 1: Prepare the dye solution
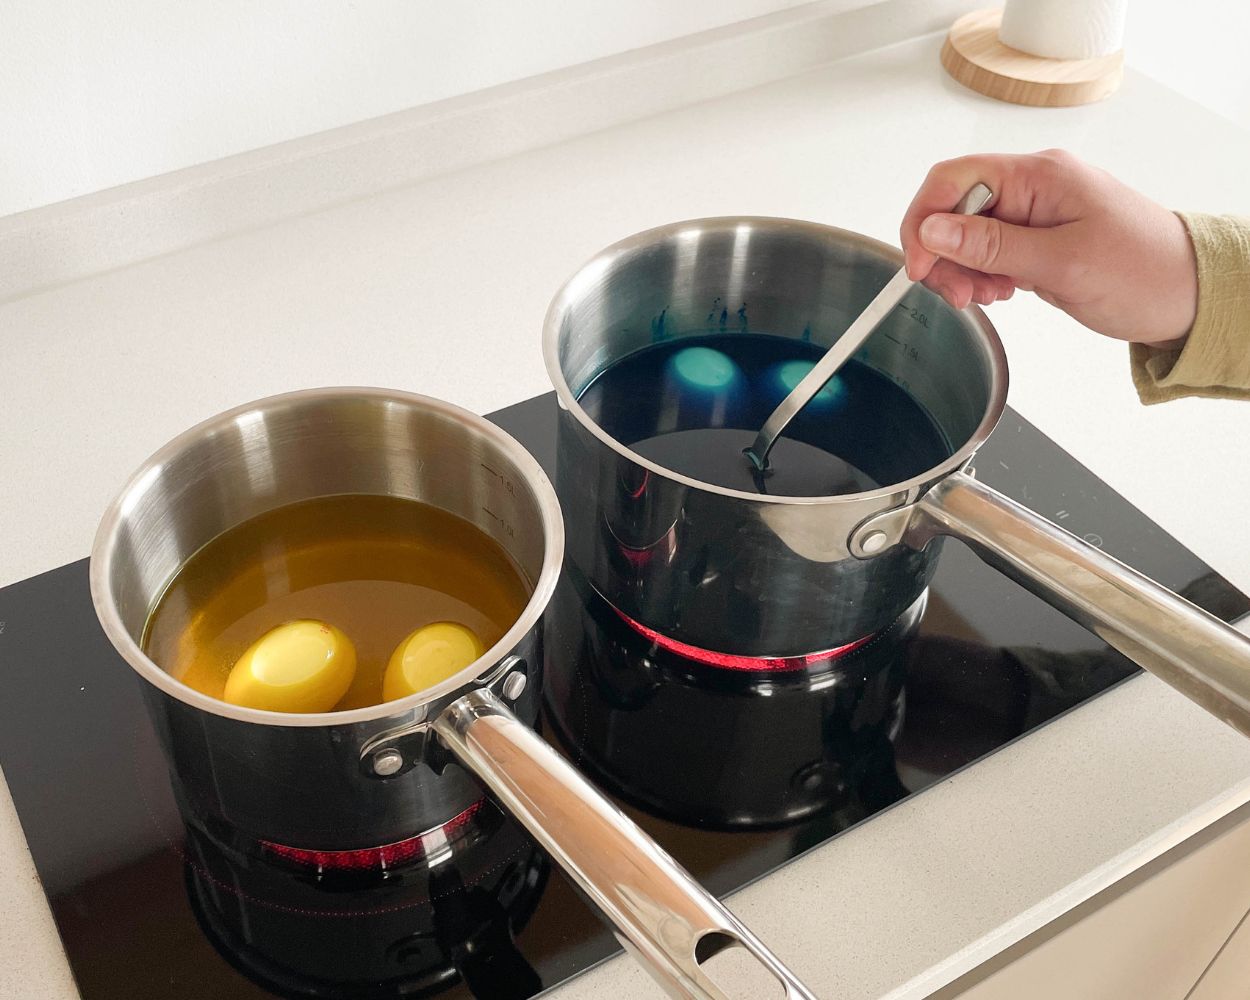
To create your own glittery Easter eggs, start by dividing 200 g of sugar and 2 l of white wine between two saucepans. Make sure there is enough liquid to completely cover the eggs. Then add food colouring – the more colouring you use, the more intense the colour will be.
Step 2: Dye the eggs in bright colours
Thenext step is to dye the eggs. Gently place them in the coloured liquid and bring it to the boil. Leave the eggs to simmer for about 8–10 minutes until they are perfectly hard-boiled.
Our tip: The vibrant colours really stand out on white eggs.
Step 3: Make the Easter eggs sparkle
Then leave the eggs to cool in the saucepan for 15 hours – ideally covered with a tea towel to prevent them from getting dirty. If you don’t have that many pots, you can also transfer the eggs, along with the liquid, to another container.
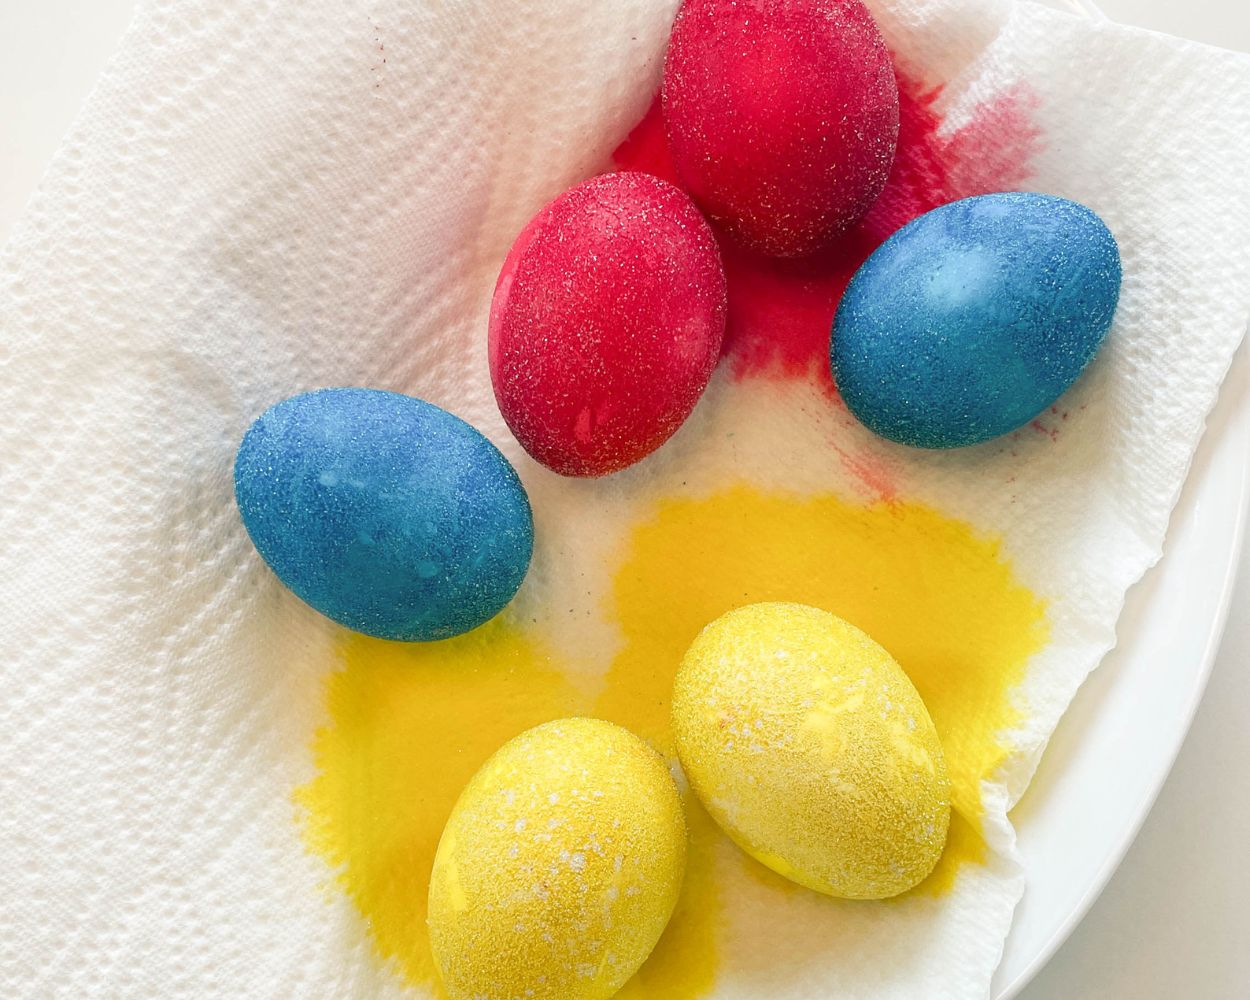
Then carefully remove the eggs with a spoon or ladle and leave them to drain on a tea towel.
The eggs only reveal their full glittery effect once they’ve dried out completely. So don’t worry if they don’t sparkle straight after the water bath.
The loveliest gifts for your Easter basket
Option 2: Dyeing eggs with rice
If you fancy trying something a bit different with your traditional egg dyes this year, we’ve got a creative and super-easy method for you: dyeing eggs with rice. This special technique creates unique patterns – and you don’t need any brushes or complicated tools!
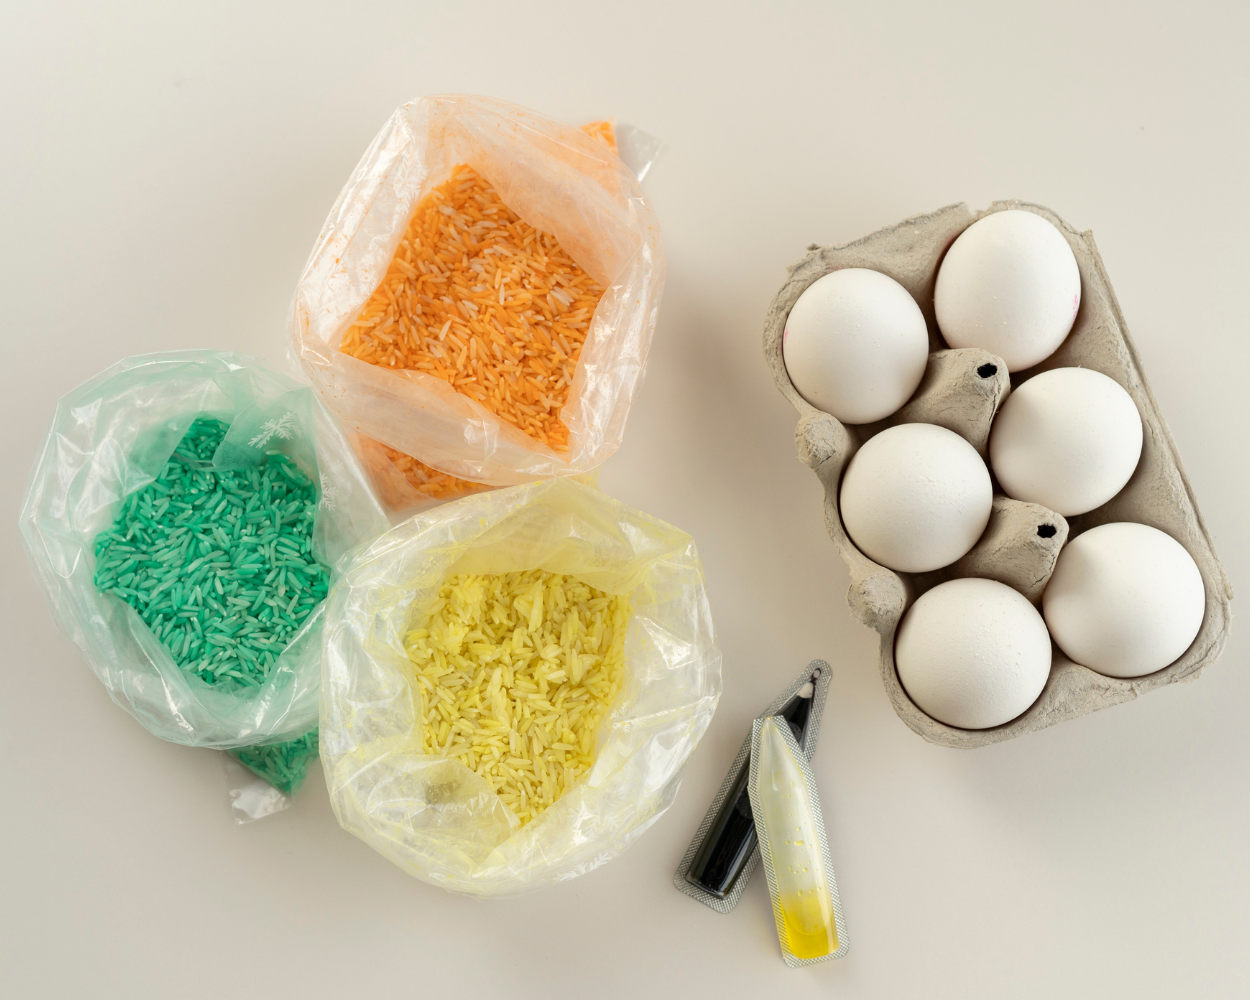
Here’s what you’ll need for dyeing eggs with rice:
- Eggs
- Rice
- Egg dyes or food
colouring - Freezer bags or sealable plastic containers
How to make it:
Step 1: Colouring the rice
Put about half a cup of rice into a plastic container or freezer bag. Add a few drops of food colouring, seal the container and shake it vigorously until the colour is evenly distributed. To make colourful eggs, you can prepare several containers with different colours.
Step 2: Dye the egg
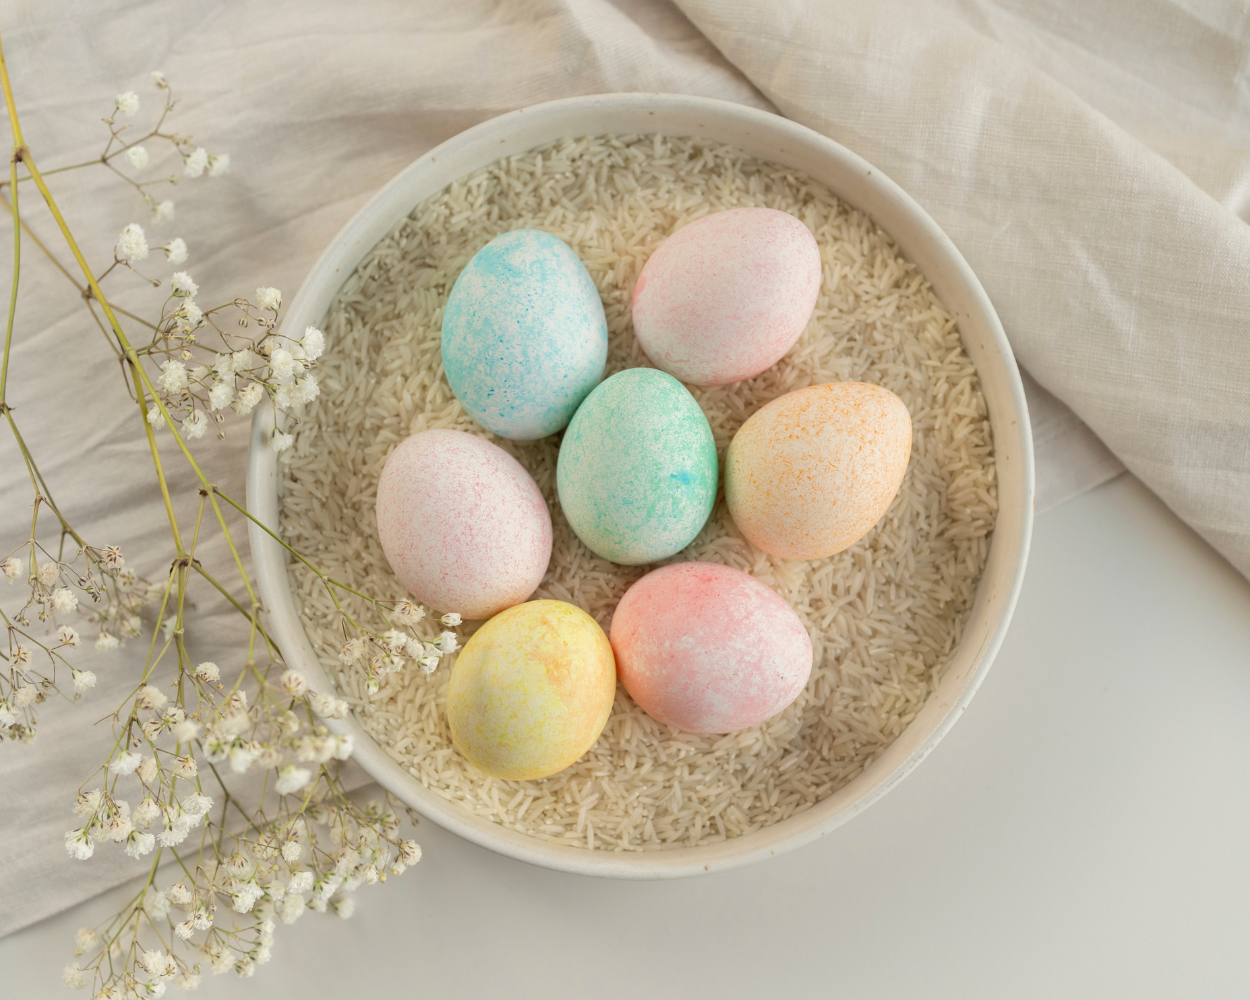
Place an egg in the coloured rice, seal the bag or container and shake it gently. Moving the rice creates a unique, speckled pattern on the shell. The longer you shake it, the more intense the colour will be.
Step 3: Leave to dry
Carefully remove the egg and leave it to dry.
Step 4: Done!
Your Easter eggs, with their lovely speckled pattern, are now ready for the Easter basket!
Option 3: Marbled Easter eggs
That’s because shaving foam helps you conjure up a gorgeous marbled effect.
And this way of dyeing eggs is sooooo much more fun than the old-fashioned method. Because you can really get stuck in and have a go. So grab Dad’s shaving foam and let’s get started!
Our tip: – it’s best to put on some rubber gloves if you don’t want to be scrubbing your hands for ages.
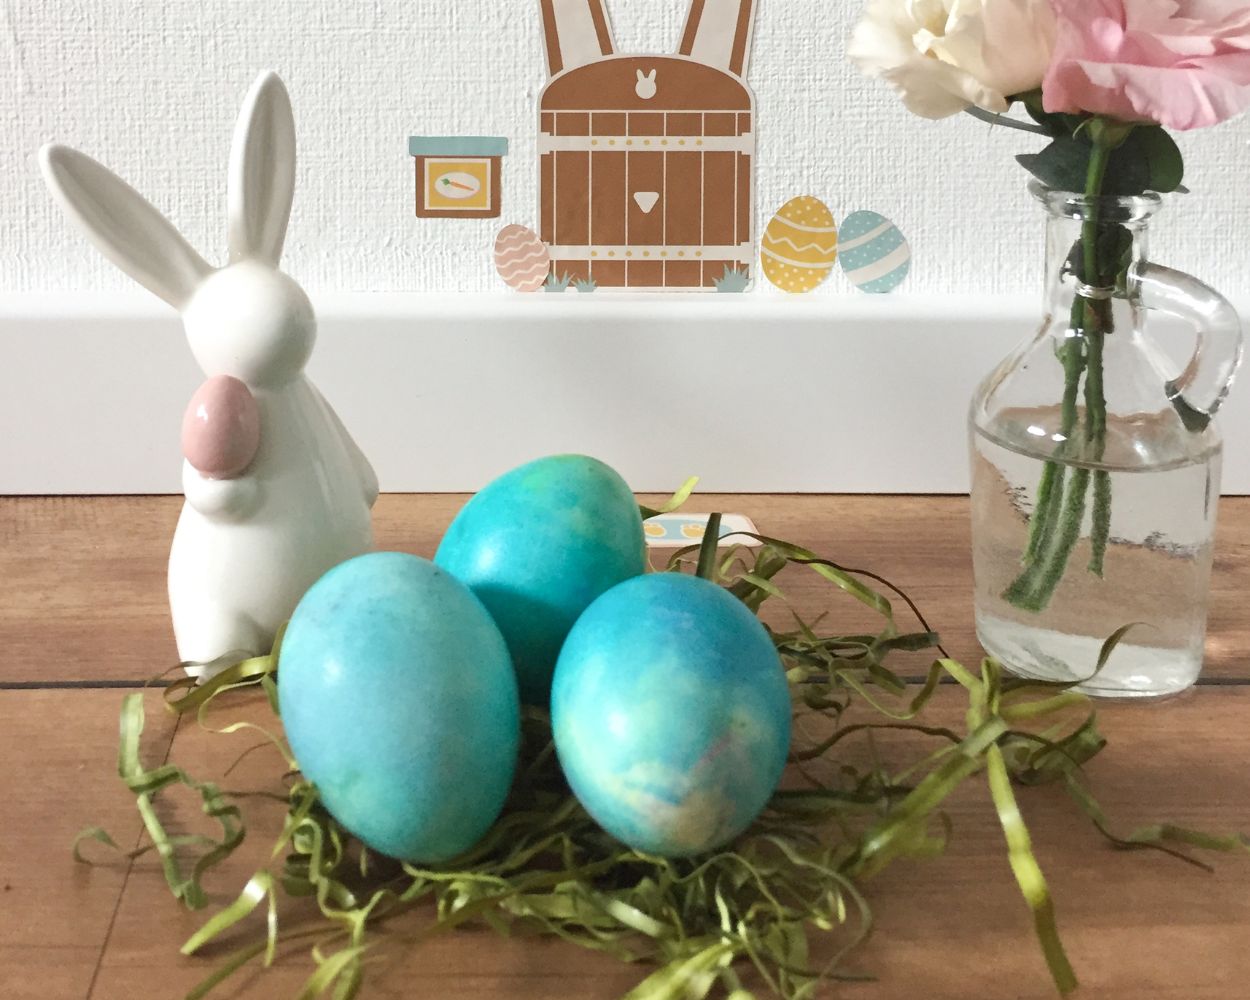
Here’s what you’ll need for marbled Easter eggs
- Eggs
- Egg dye or food colouring
- A little vinegar
- Shaving foam
- Bowl or plate
- Kitchen roll
Step 1: Get ready
Before you start, we recommend soaking the eggs in vinegar for a few minutes. This helps the dye stick better later on. After the vinegar soak, simply pat the eggs dry.
Next, spray the shaving foam onto a small plate or bowl. Now you can spread your favourite colours over the shaving foam. And you’re ready to go!
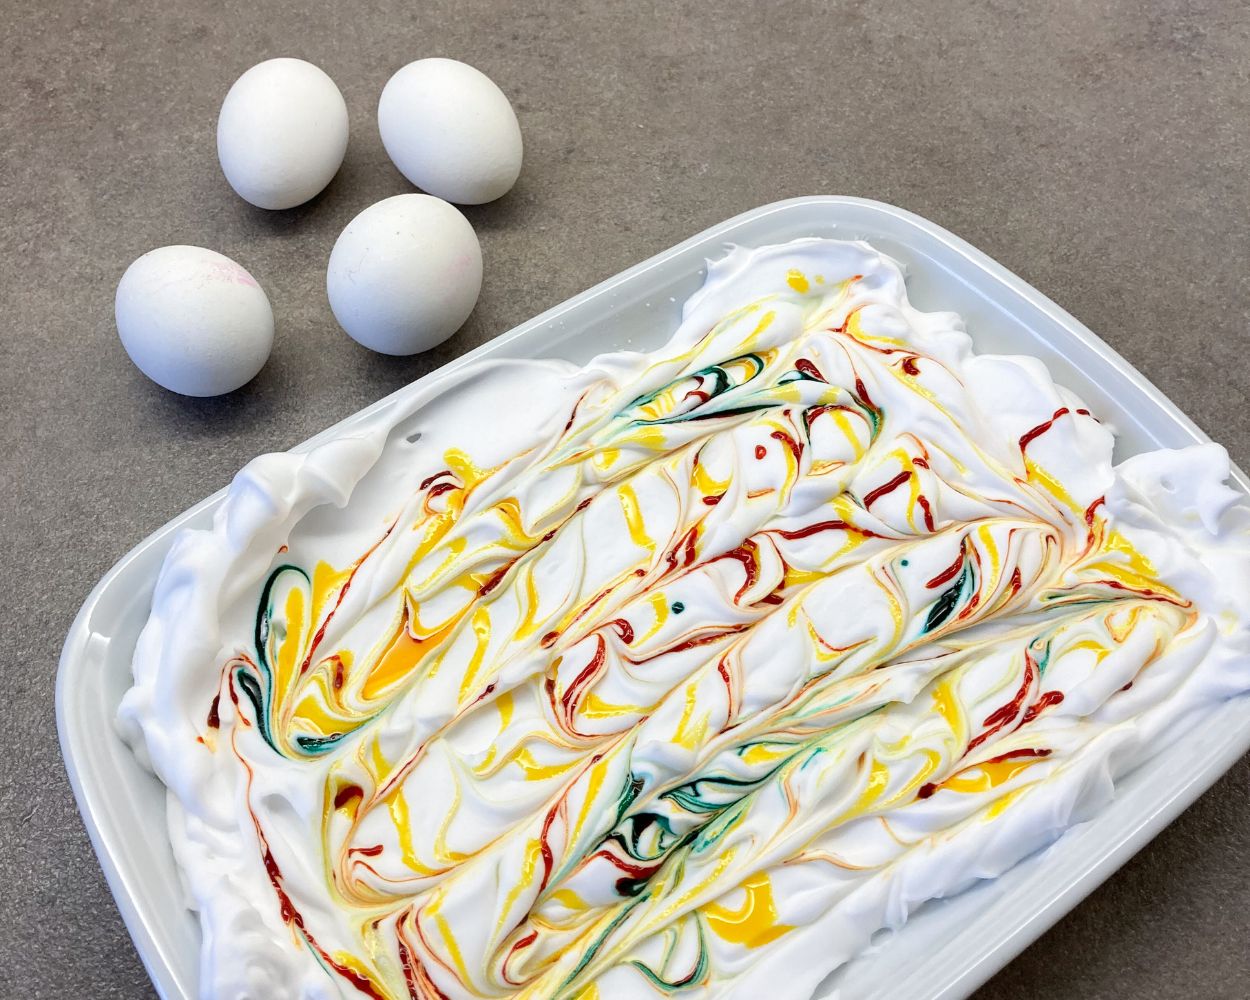
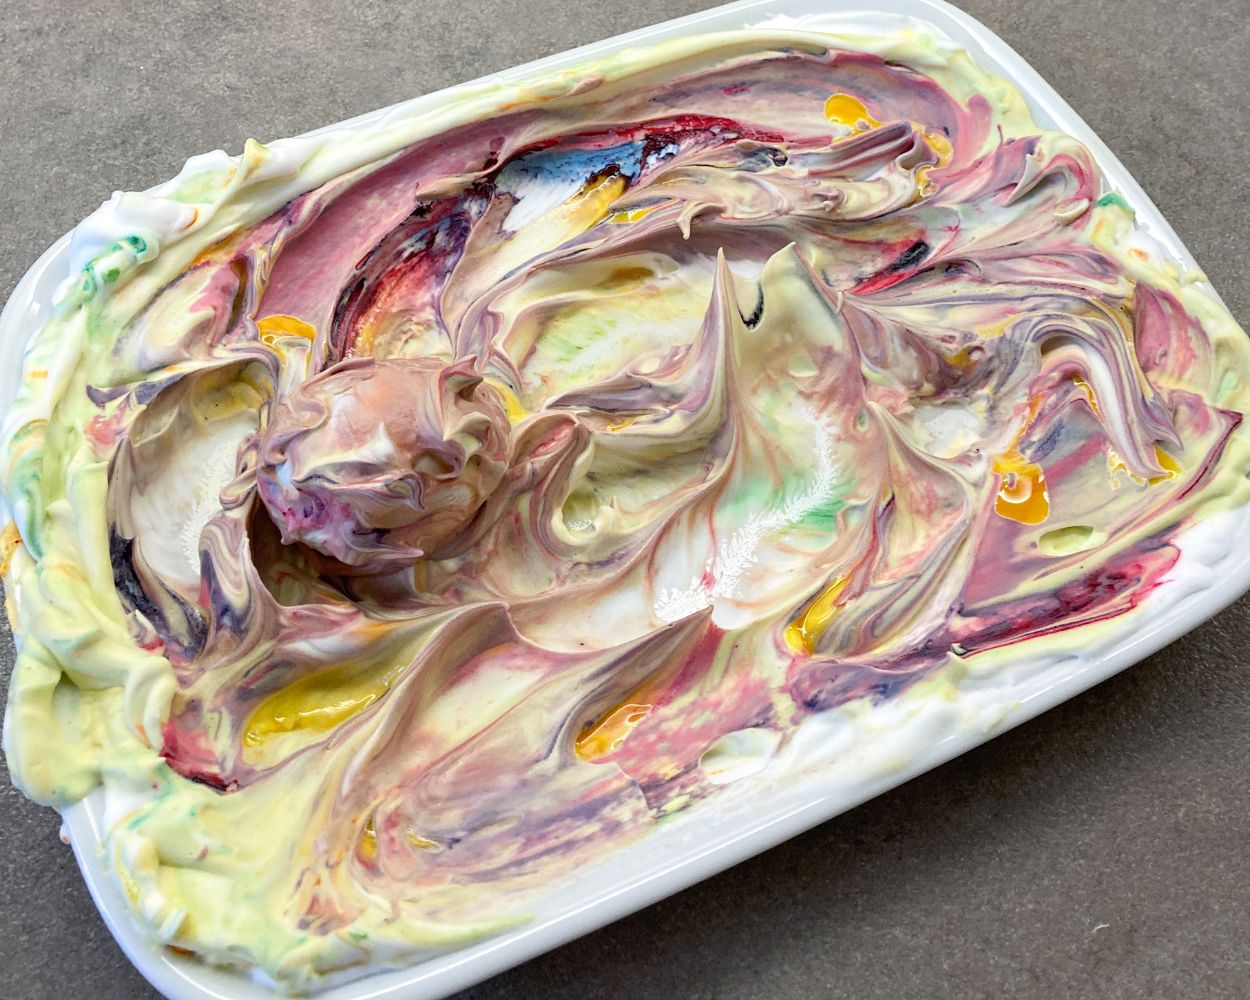
Step 2: Marbling the eggs
The next step is to marble the eggs.
To do this
,
roll each egg one by one through the shaving foam. Back and forth, criss-cross – until the egg is really beautifully colourful!
Step 3: Leave the dyed eggs to dry
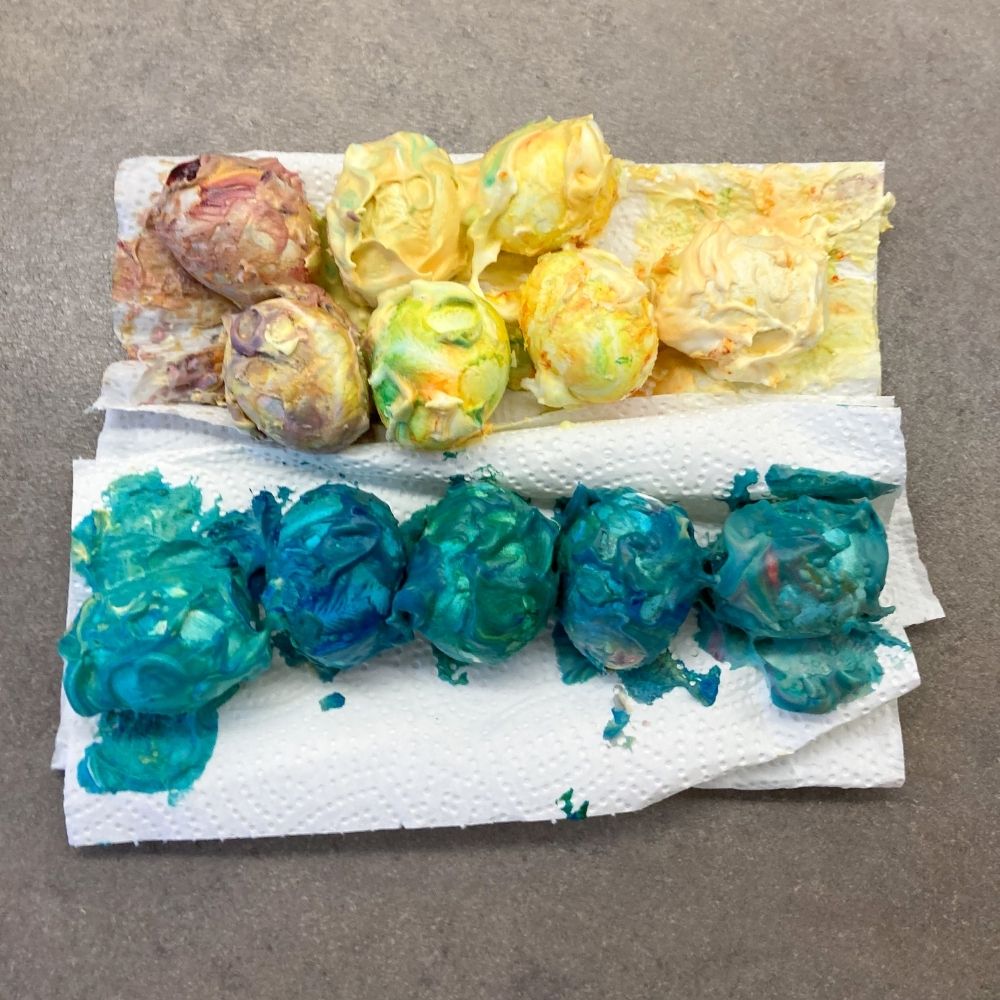
Place the egg – which is, of course, still covered in shaving foam – to one side on a piece of kitchen roll.
It’s best to wait a few hours until the dye has dried and then dab the shaving foam off. If you’re not that patient , you can also dab the shaving foam off carefully straight away. This creates a slightly different pattern as the dye smudges.
Even more creative DIY ideas for children