Build your own horse stable
Find out how you can easily build your own horse stable for the playroom using the IKEA KNAGGLIG box. We’ll also show you some creative craft ideas for pony farm accessories.
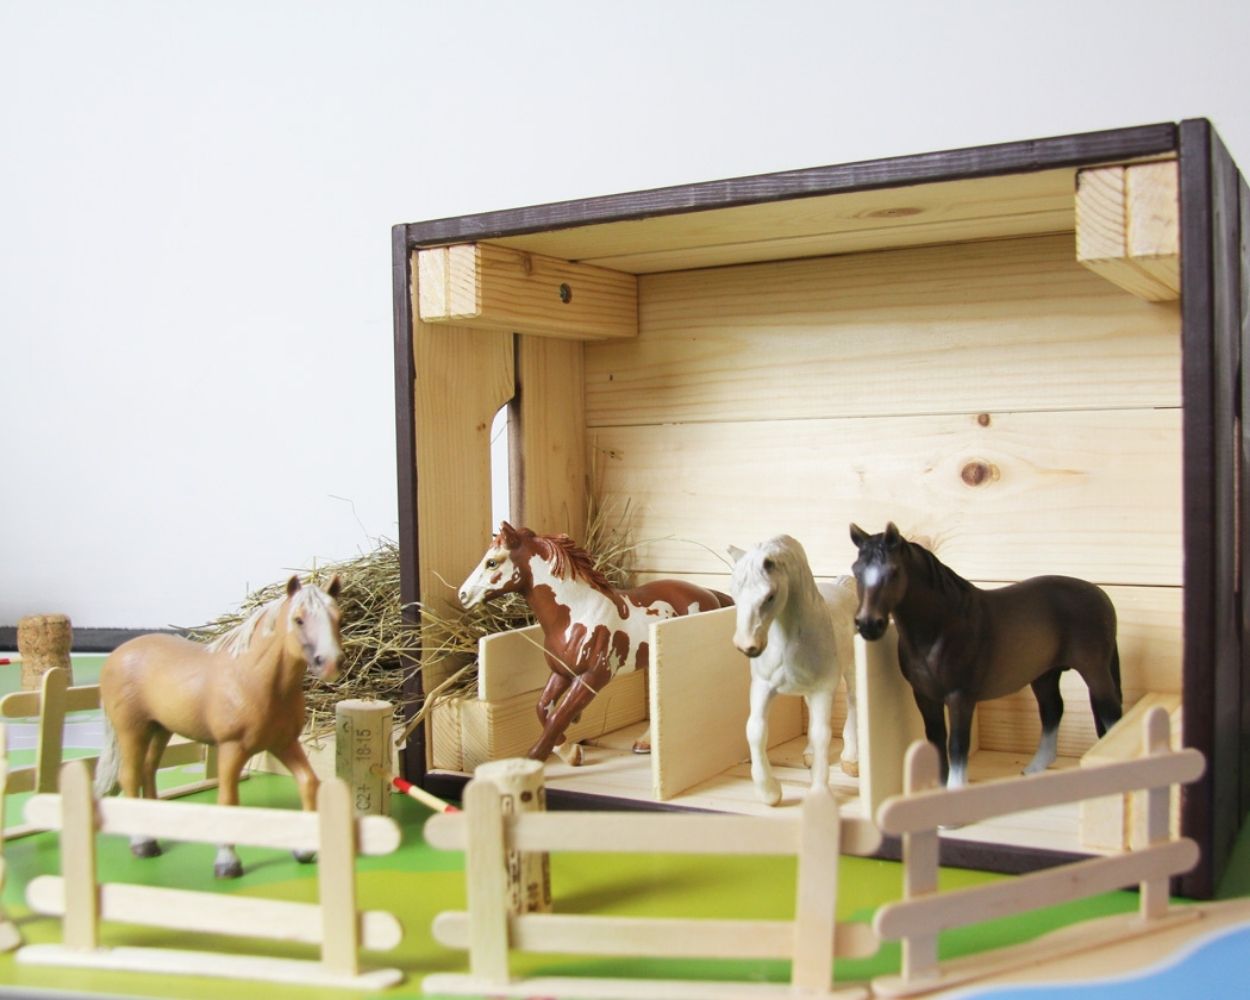
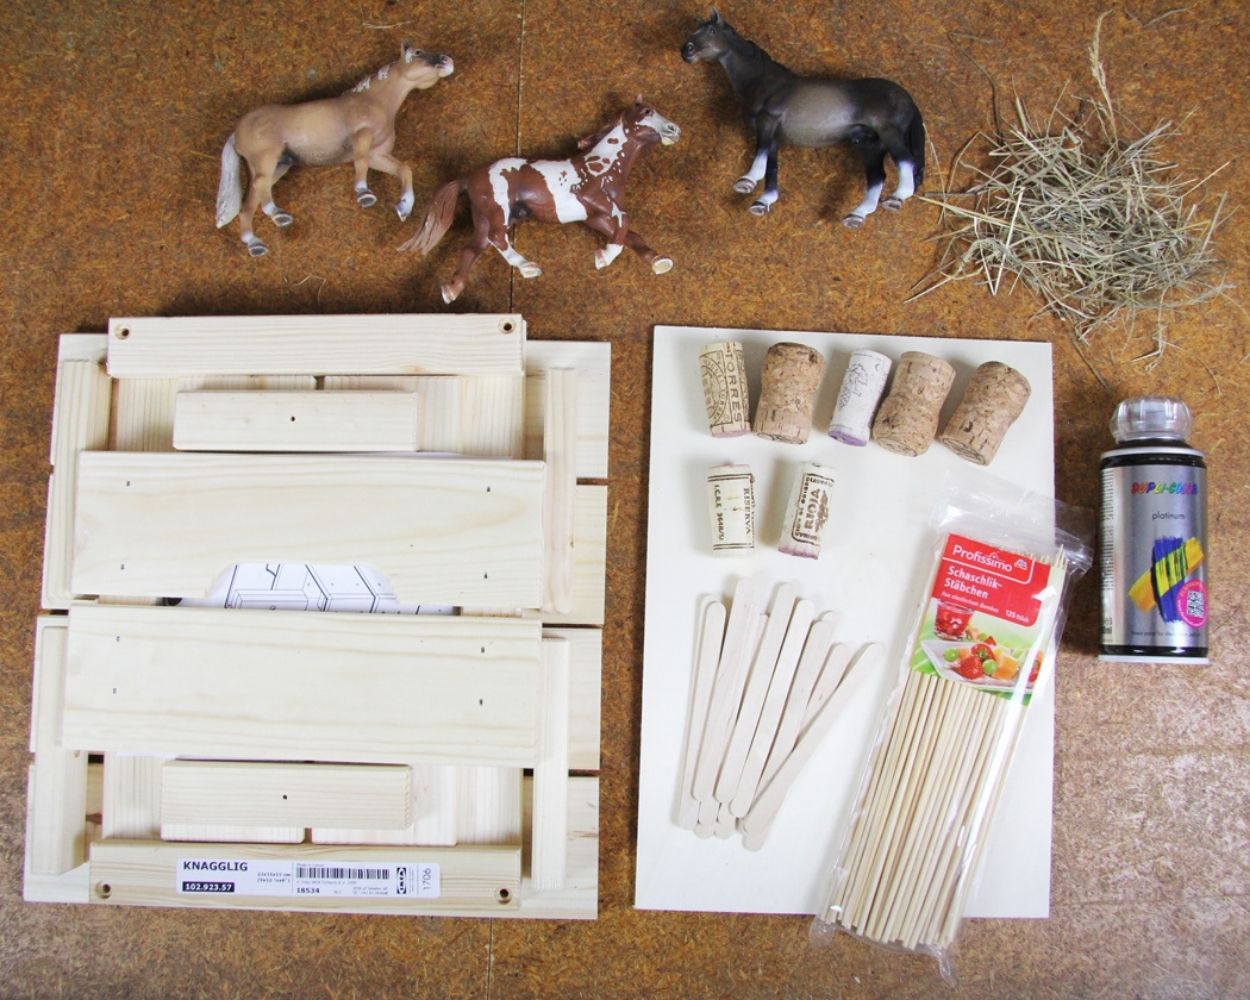
Building a horse stable – What you’ll need:
- IKEA KNAGGLIG box (23 x 31 x 15 cm)
- coloured spray paint Plywood sheets for the horse stalls
- Skewers, corks and wooden ice lolly sticks for the fence and jumping obstacles
- Hot glue gun
- Jigsaw
- Hay for decoration
How to build a horse stable
1. Assemble and paint the IKEA KNAGGLIG box
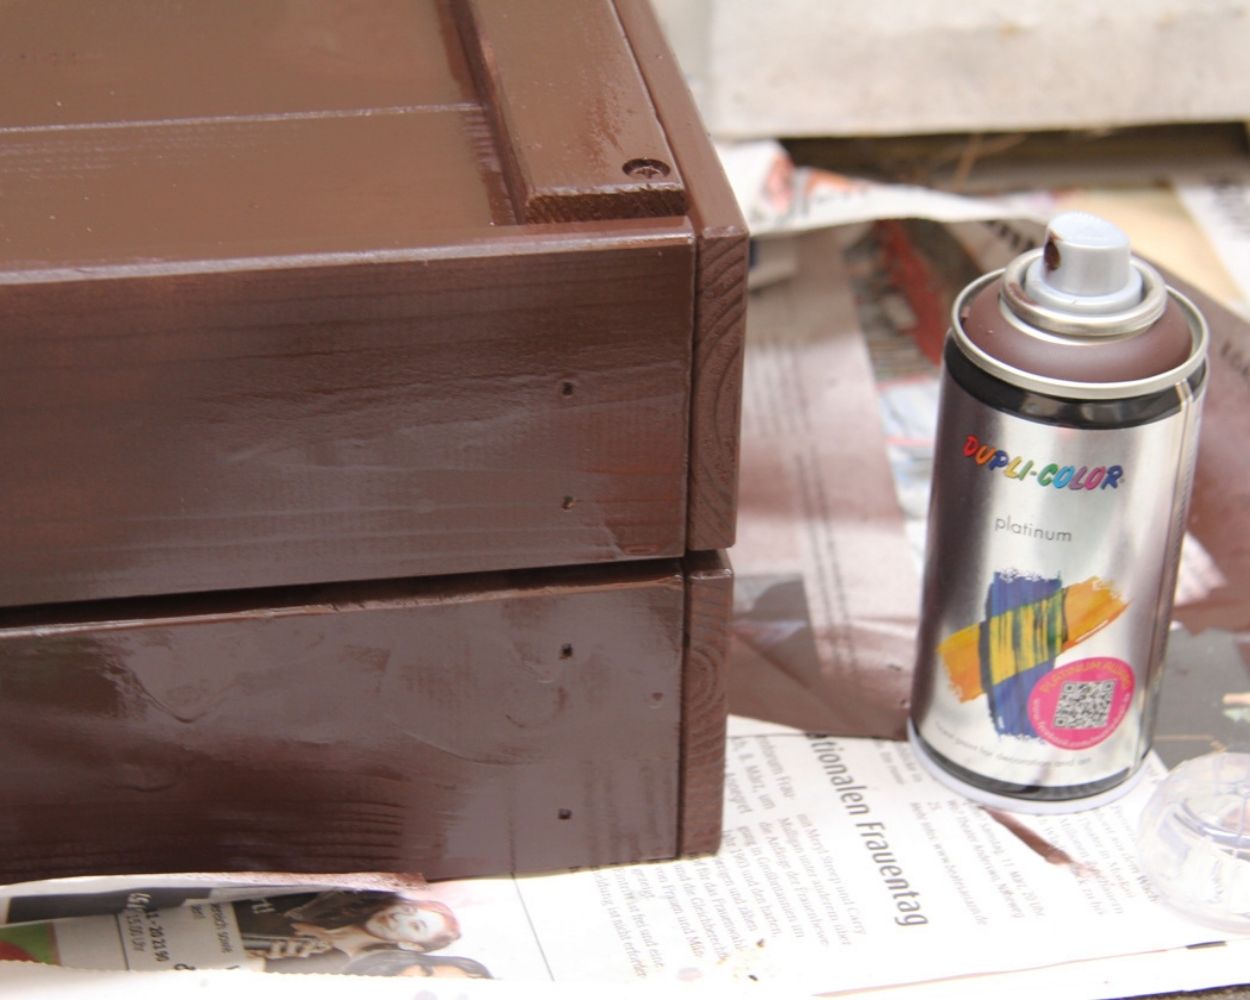
Perhaps you already have an IKEA KNAGGLIG crate at home and can simply repurpose it into a horse stable using our IKEA hack. Otherwise, you’ll need to assemble your crate first before painting it in your chosen colour. We opted for a brown spray paint, which we used to spray the outside of the box. We left the inside of the wooden box untreated. However, you’re welcome to paint the whole box in your little ones’ favourite colour.
2. Cutting the chipboard to size for the horse stalls
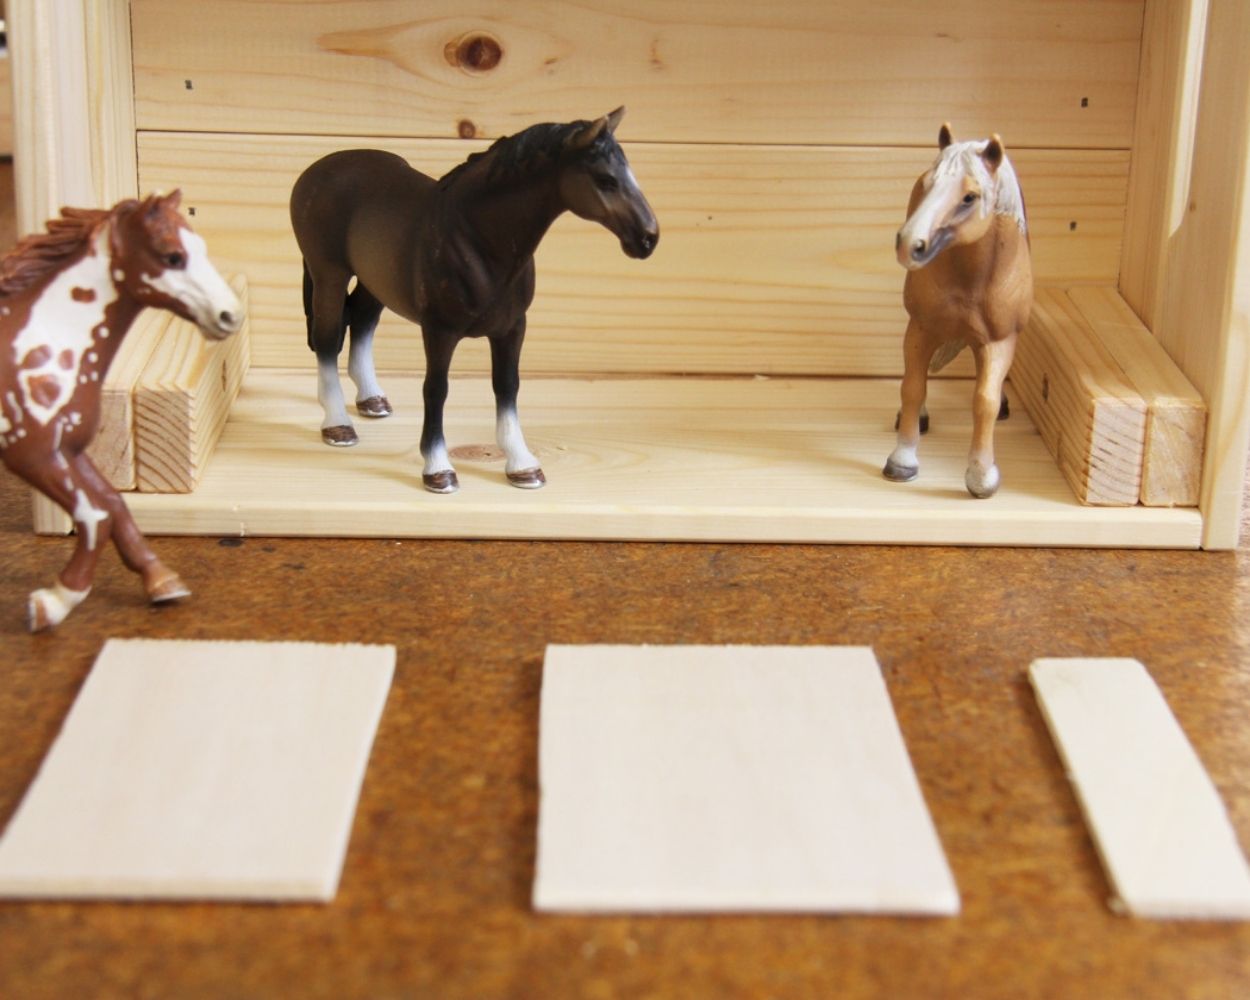
Whilst the varnish is drying, you can already cut the walls for the horse stalls to size. Using a piece of chipboard 15 cm wide (which corresponds to the depth of the box), use a hand saw or jigsaw to cut out three pieces of equal size, which will later be fitted into the box. This creates the stalls where the horses can later make themselves comfortable. Decide for yourself how high the partition between the individual stalls should be. Of course, the dimensions will depend primarily on the size of the toy horses.
3. Making fences and jumping obstacles
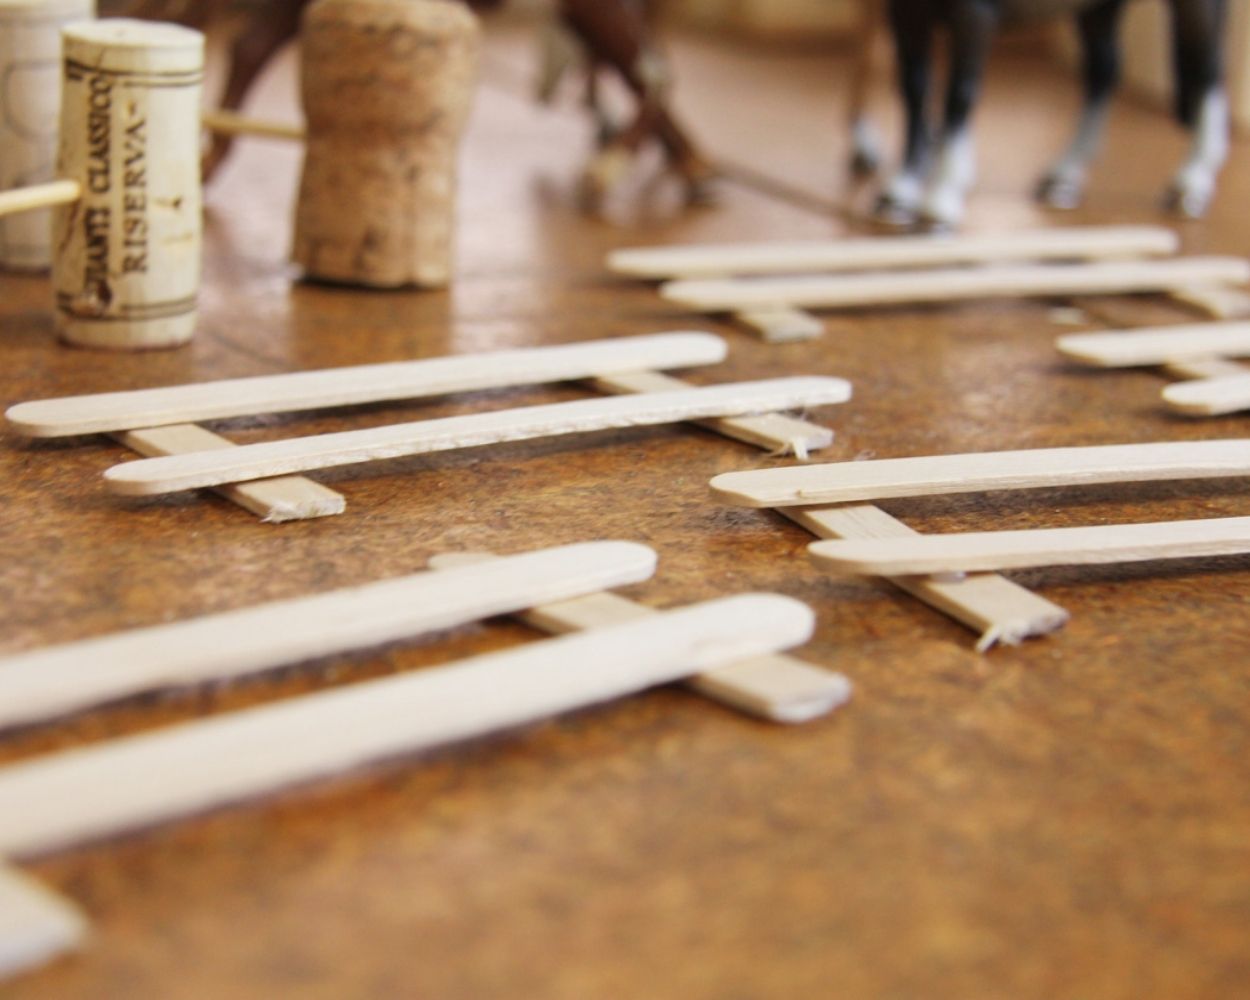
What would a proper riding centre be without fences and jumping obstacles for the horses? You can easily make a small fence and some obstacles using collected wooden ice lolly sticks, corks and kebab skewers. For each section of fence, you’ll need four ice lolly sticks, which you can join together using wood glue or a hot glue gun. You can, of course, paint the fence in bright colours if you like. For the jumping obstacles, thread two or three corks onto each shish kebab skewer. To make the jumping obstacles look really authentic, we’ve wrapped the shish kebab skewers in red washi tape.
4. Fitting the horse crates
By now, the spray paint on the box should also be dry. Now, in the final step, you can glue the pre-cut chipboard inserts for the horse stalls to the inside of the wooden box. Use either wood glue or a hot glue gun – both work brilliantly and hold very well. If you’ve also painted the inside of the box, you can, of course, paint the side panels for the horse stalls in the same colour before attaching them, so that everything looks harmonious.
Finally, you can scatter some hay into the stalls so the horses have something to eat. And there you have it – a simple and lovely IKEA hack: a little riding stable for the little ones to play with.
Tip 💡
We’ve set up our homemade pony farm on a LACK table, which is SPIELWIESE- decal . It’s a brilliant alternative, especially for playing indoors. But at this time of year, we’re finally getting out into the fresh air more often, and that’s where our IKEA hack comes in particularly handy: all the stable equipment fits perfectly into the box, so we can take it with us wherever we go.
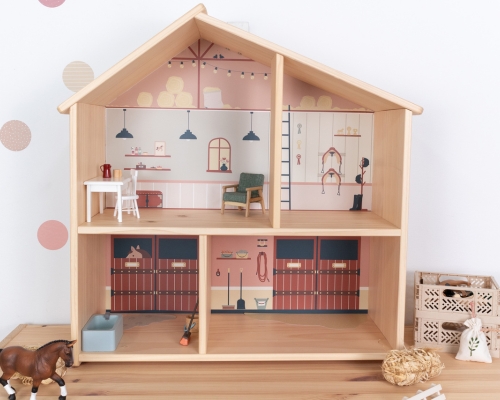
Transform the IKEA FLISAT dollhouse into a pony farm
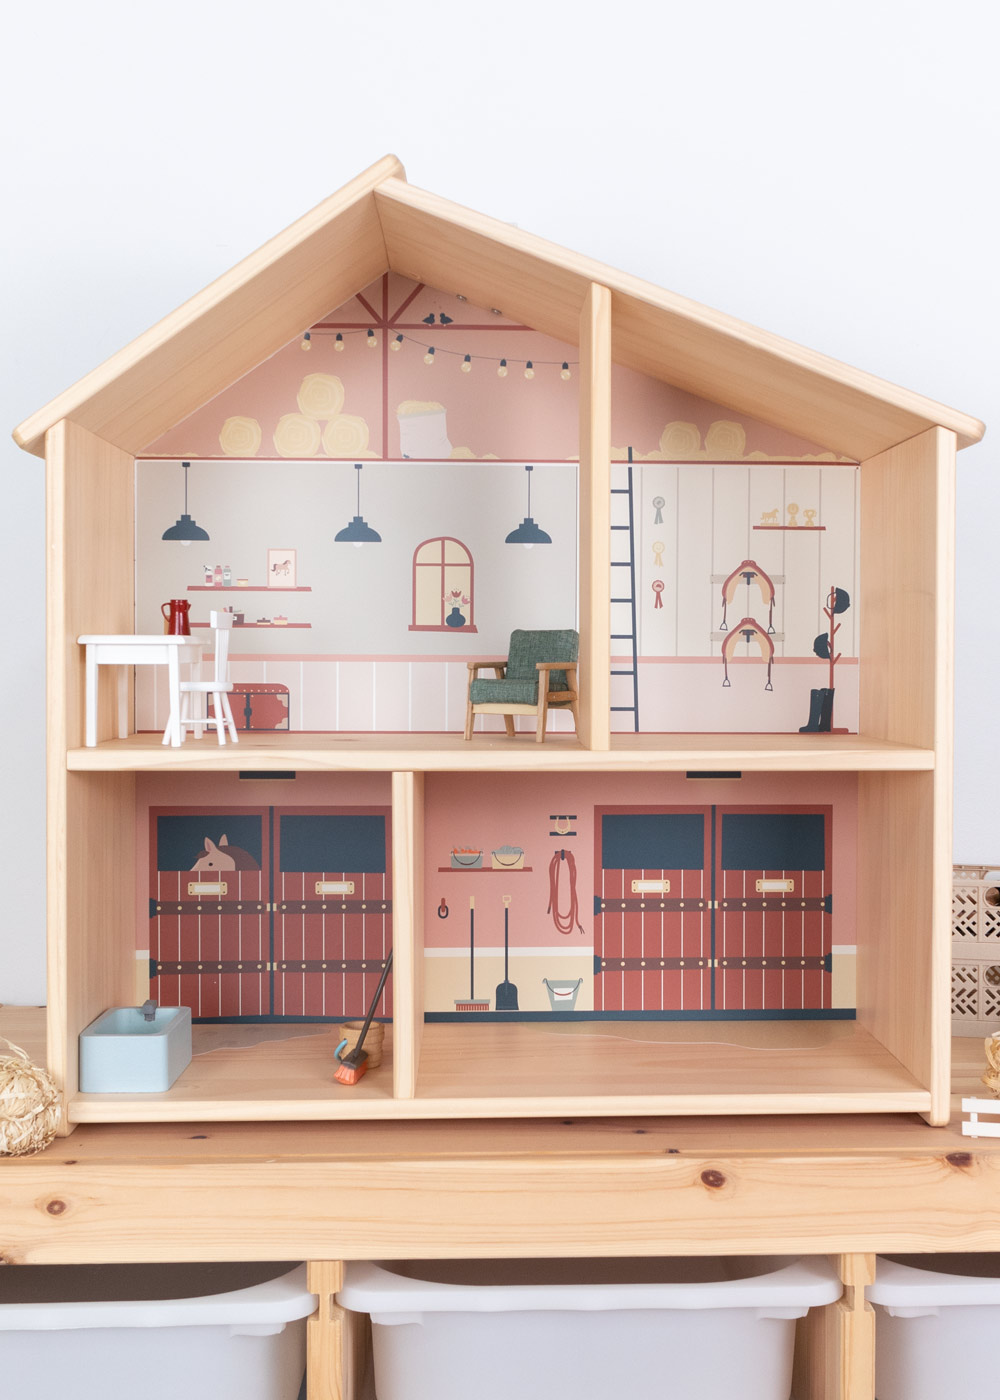
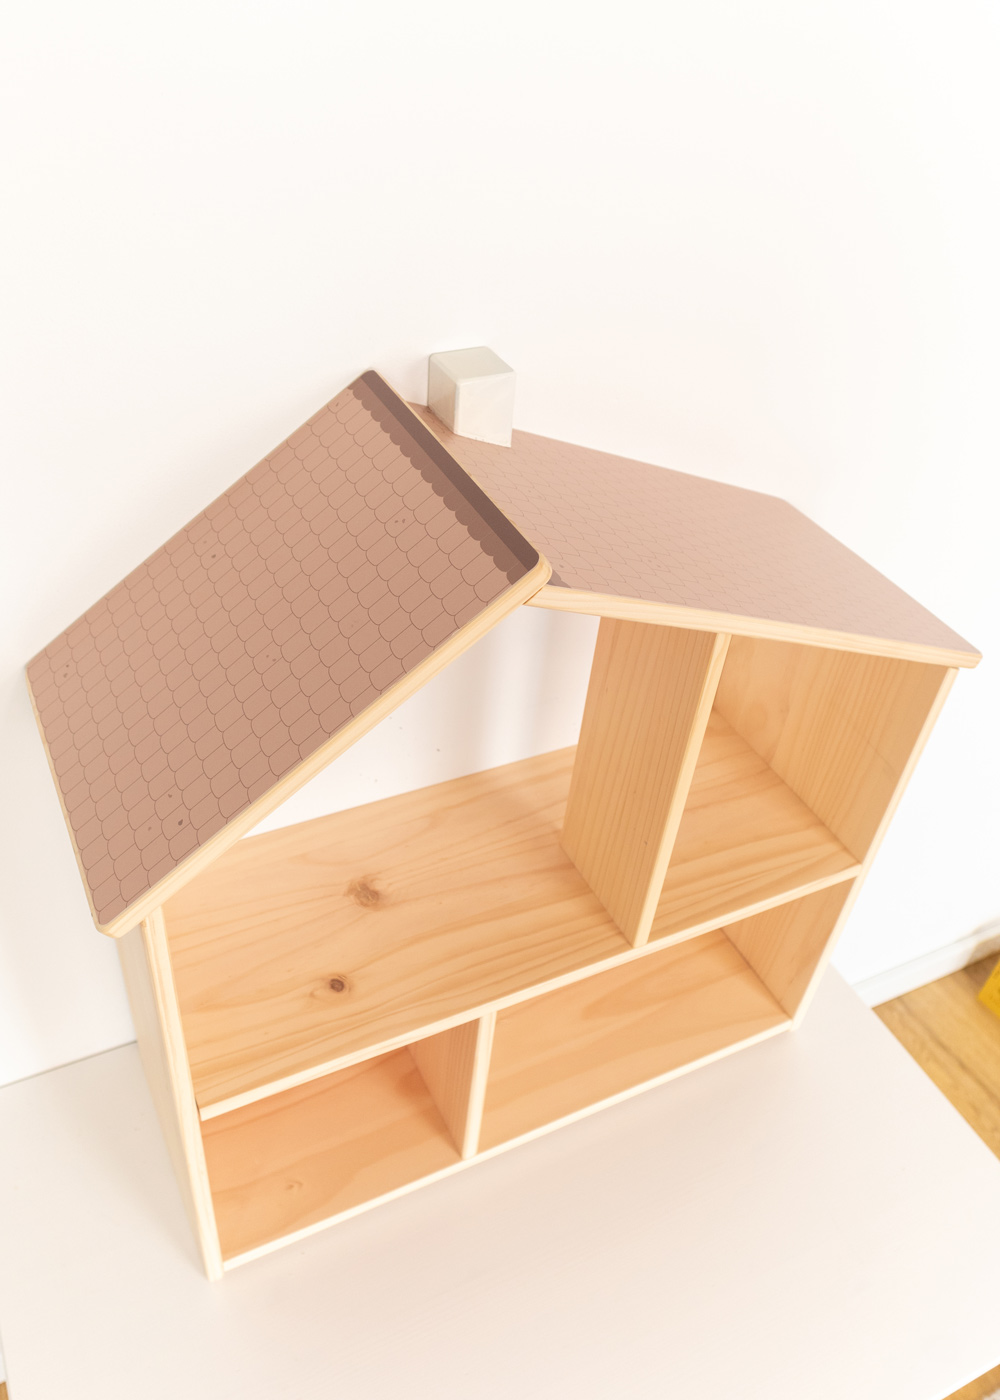
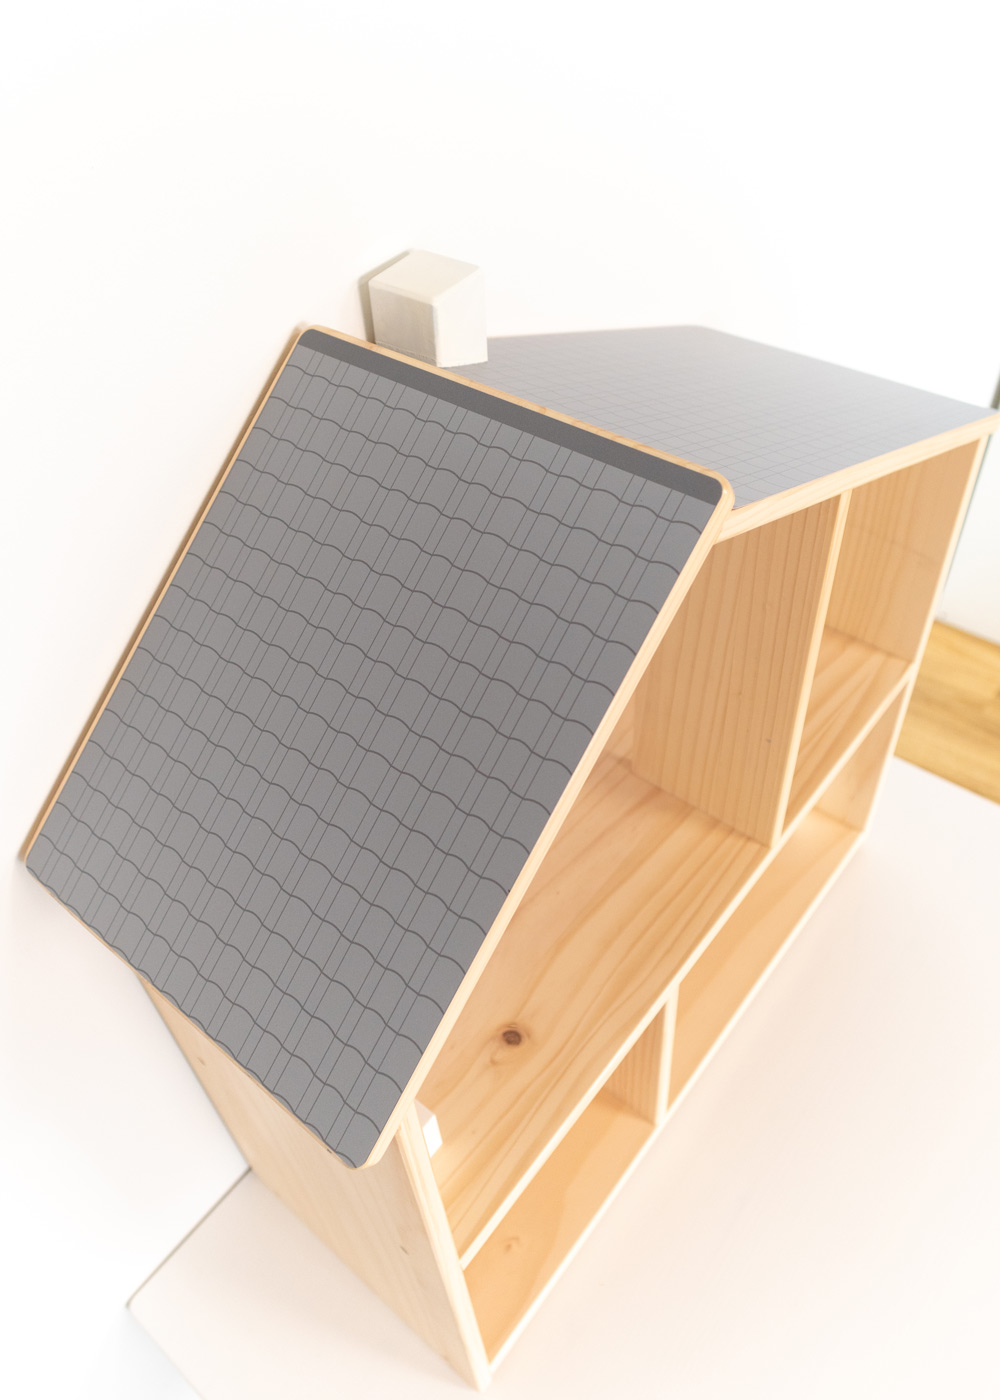
Have you seen that lovely wooden IKEA ‘ dollhouse’? With the matching adhesive decals PONNY HUS from Limmaland, you can transform this charming little house into a red Swedish cottage. And then it’s time to start playing – with all your ponies and farm characters.

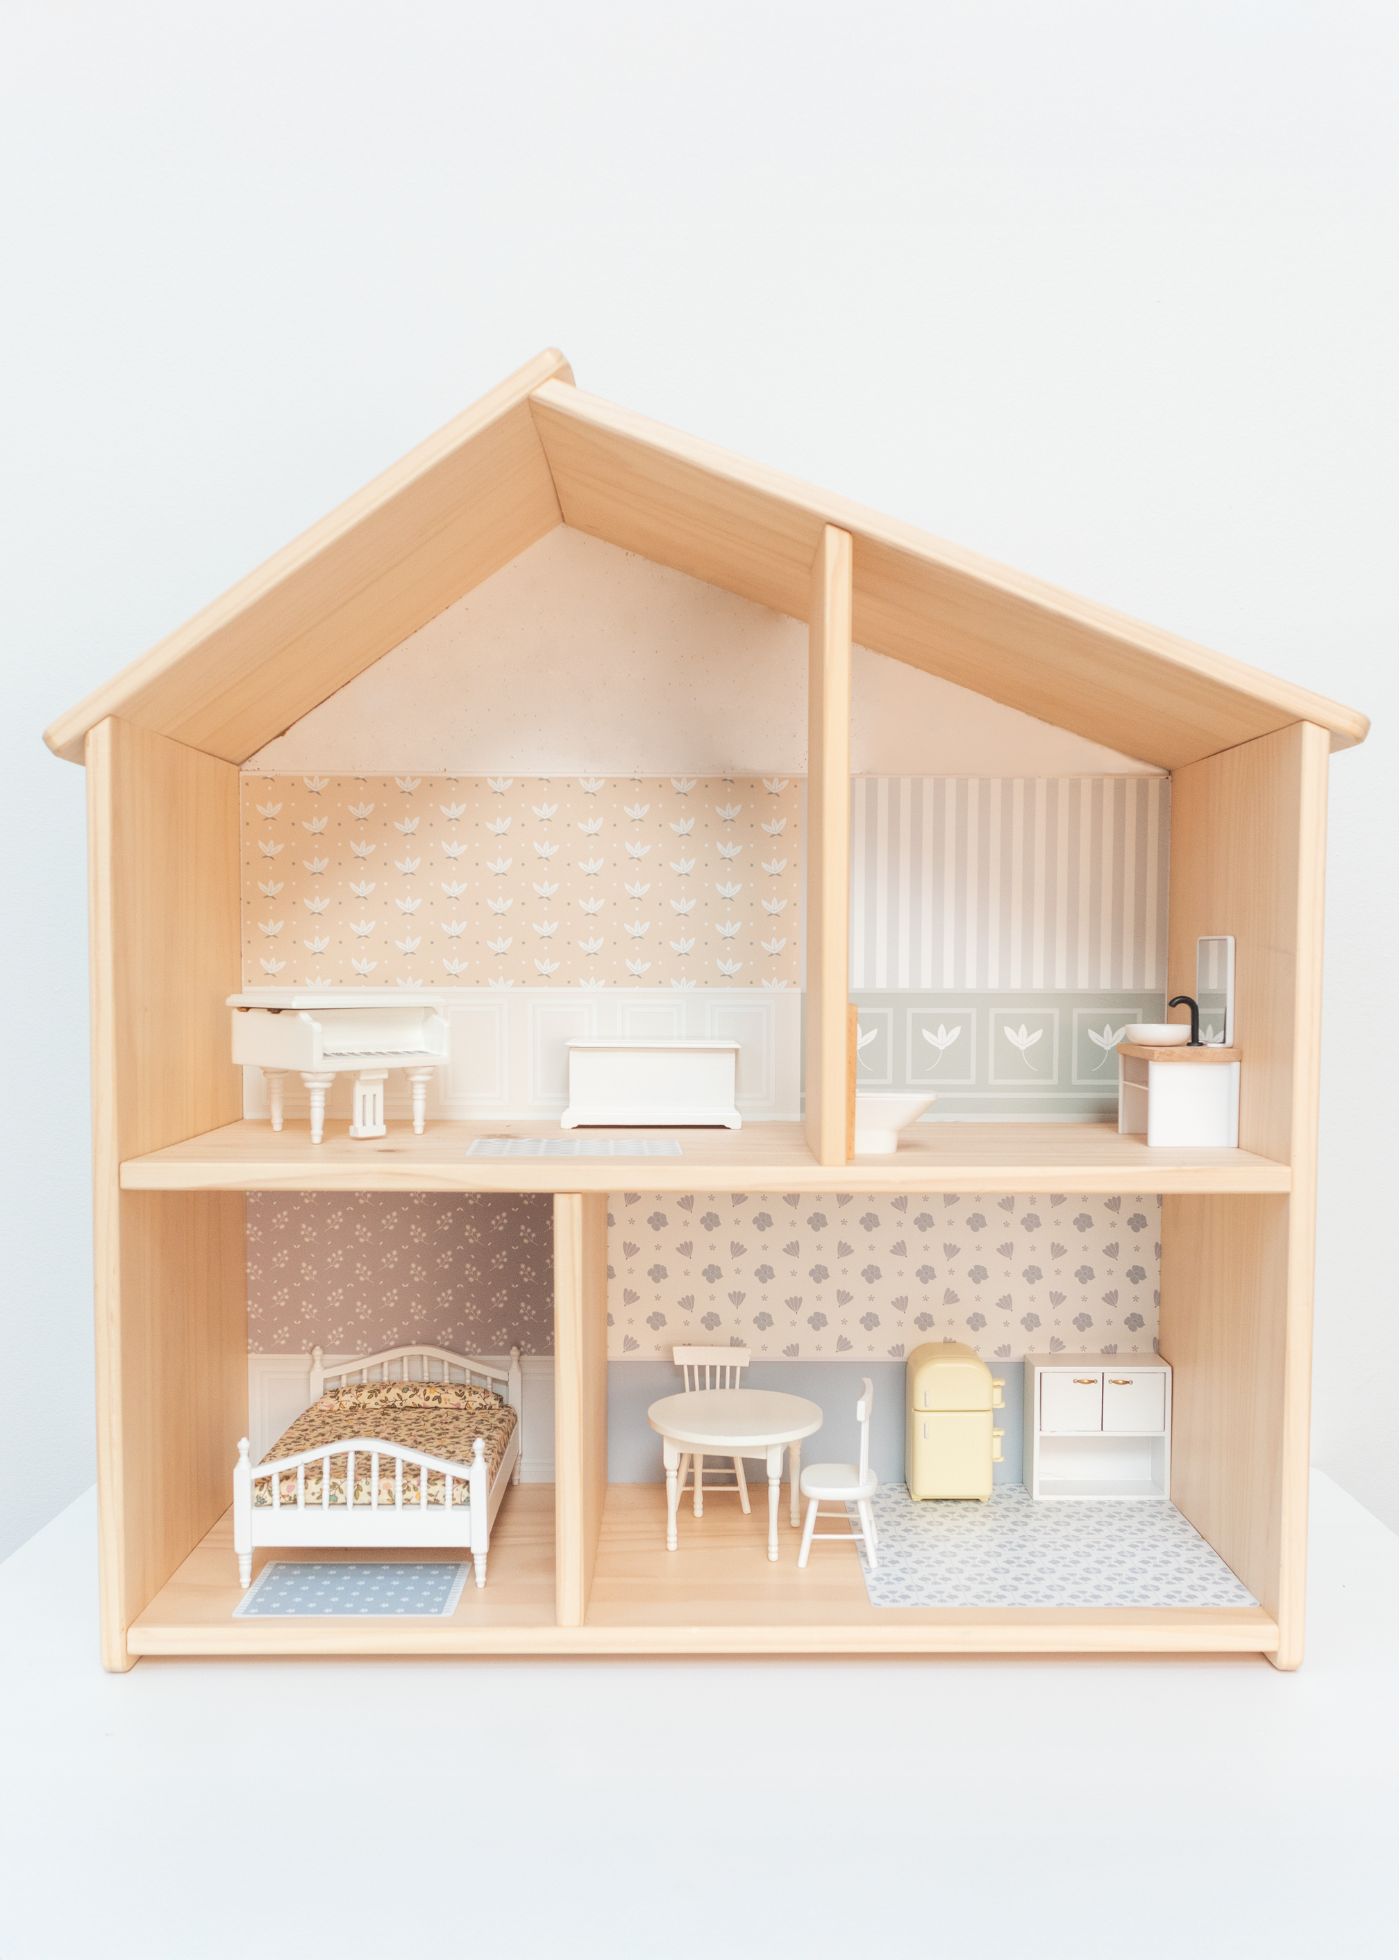

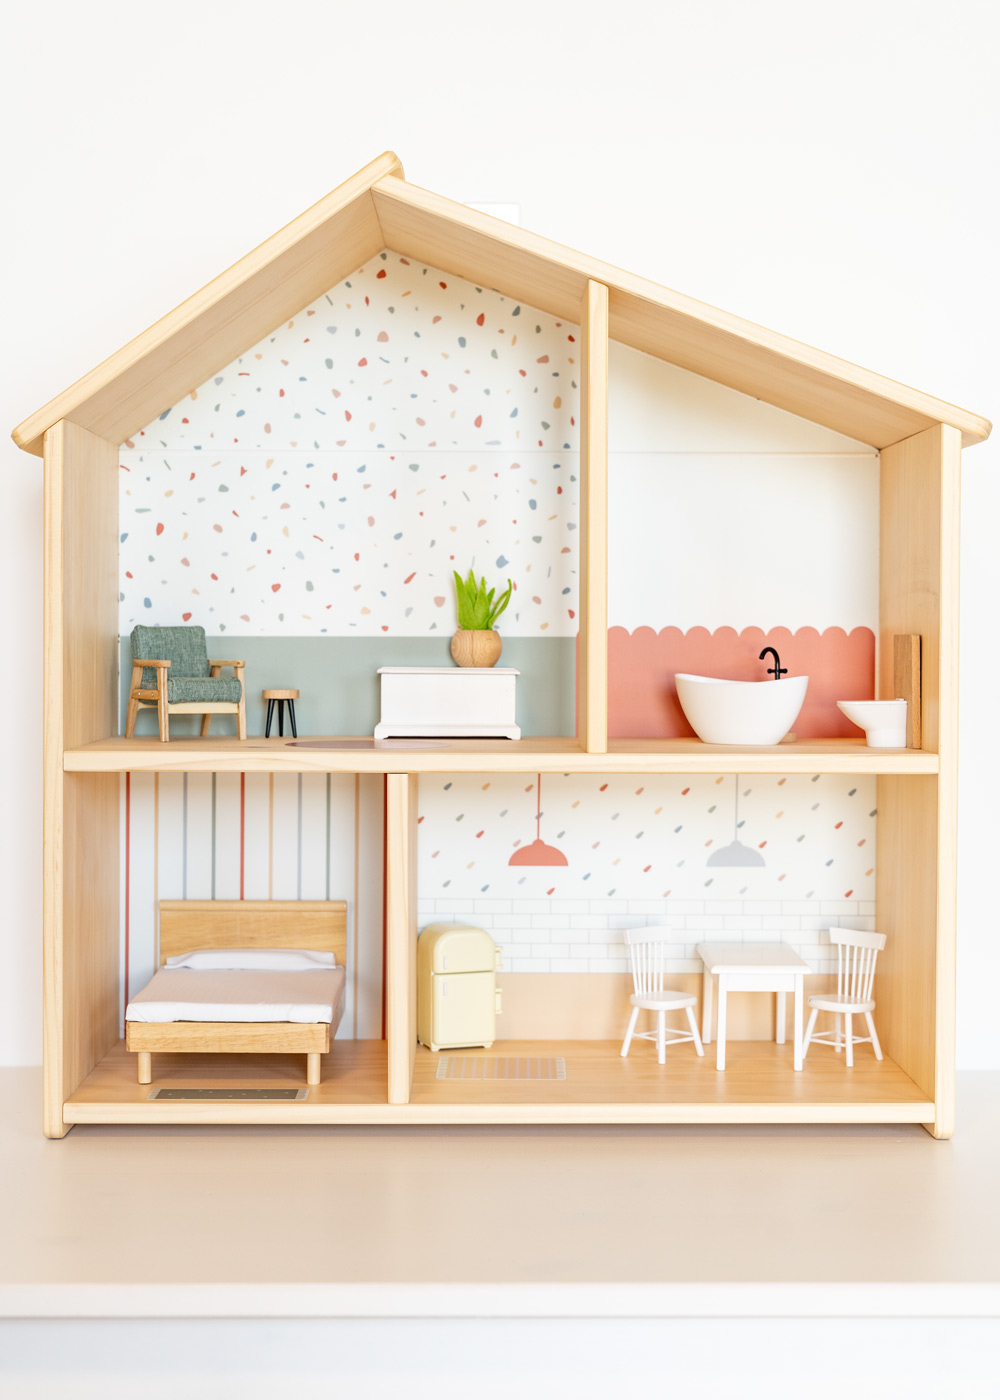
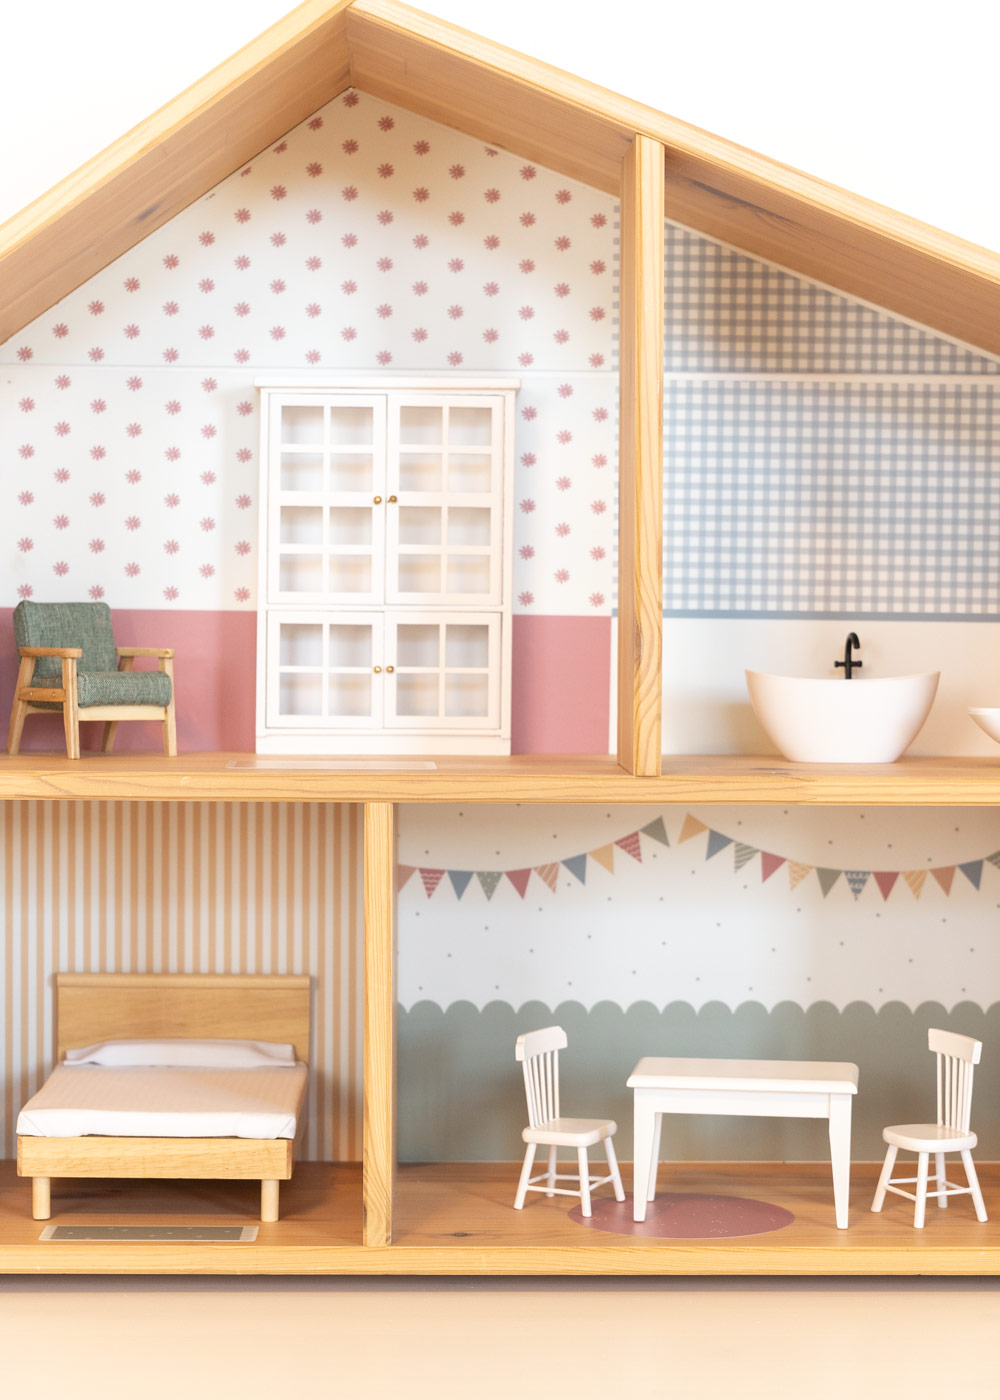

Making accessories for the pony farm
Making grain sacks for the riding centre
Of course, horses need feed too – and this is stored in the stables in grain sacks. And you can easily make these yourself.
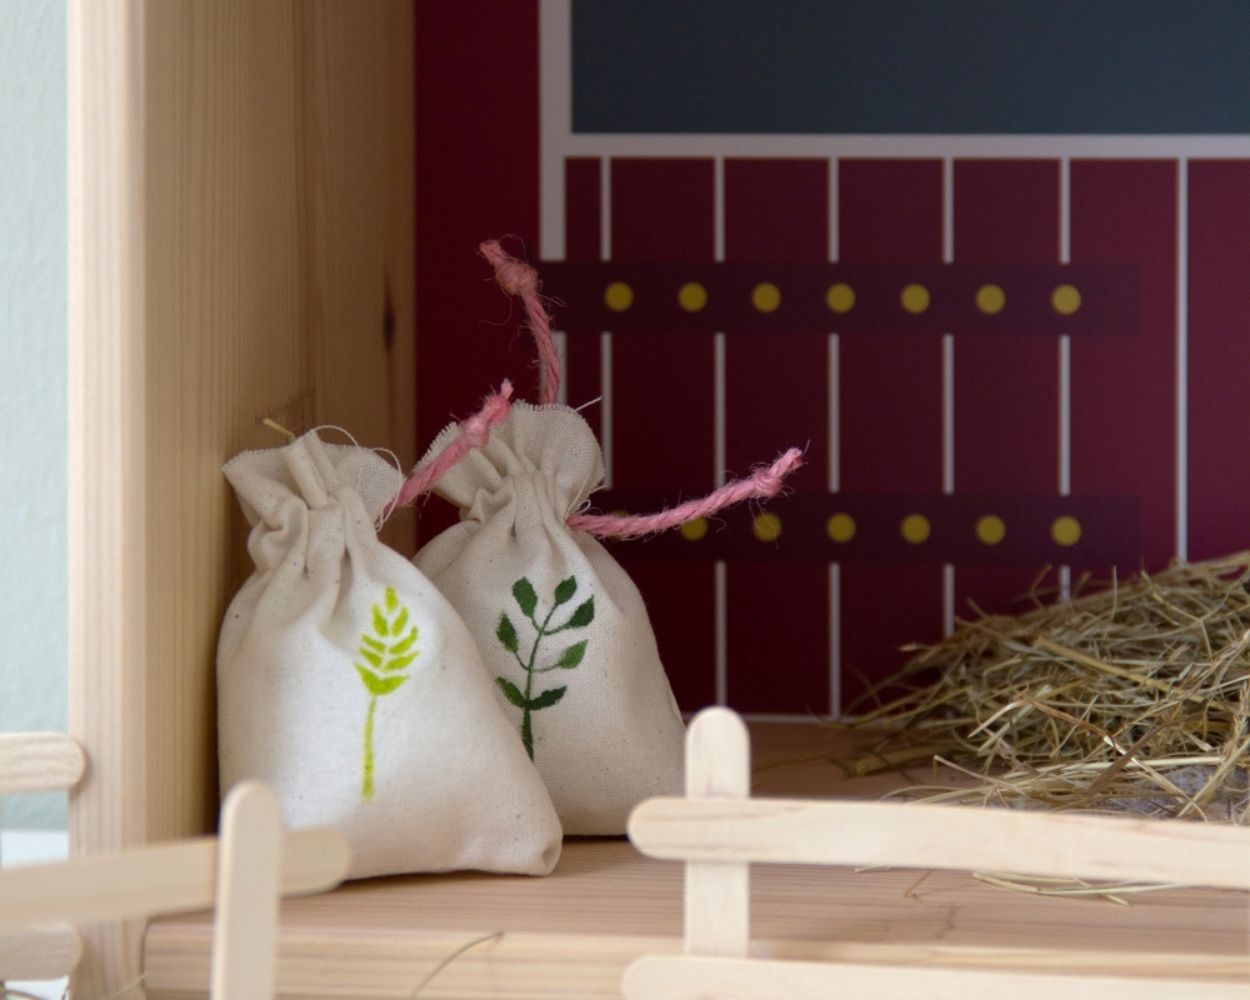
Here’s what you’ll need for the DIY grain sacks
- A sewing machine, including thread and scissors
- some linen fabric a piece of cord and a safety pin
- Filling wadding
- Paint and a fine paintbrush
Here’s how to do it:
- First, cut the linen fabric to size. You’ll need two rectangles, roughly 13 x 8 cm, and two strips, approx. 13 x 1 cm.
- Now place one strip onto each rectangle, leaving about 0.5 cm free from the edge of the rectangle. Then sew the strip to the rectangle along the longer side using a straight stitch. Leave the short side open, as this is where the cord will be threaded through later.
- Now fold the rectangle in half so that the side with the sewn-on strip is on the outside. Then sew the rectangle together along the outer edges to form a little bag. Make sure you only sew up to the strip and leave the opening for the cord open.
- Now you can turn the little pouch inside out and then pull the cord through the cord channel using your safety pin.
- You’re almost there now – all that’s left is the finishing touches. Grab some paint and a brush – now it’s time to paint some grains onto the little bags.


Even more craft ideas