Skip to main content Skip to search Skip to main navigation

IKEA Hack: Playful learning with the Montessori sensory table

By consciously engaging their senses through sensory play, children are supported in many areas of their early development. With a sensory table, you can help your child in this in a simple way. We’ve summarised everything you need to know about sensory tables and provided tips to help you create your own.

What is a sensory table?
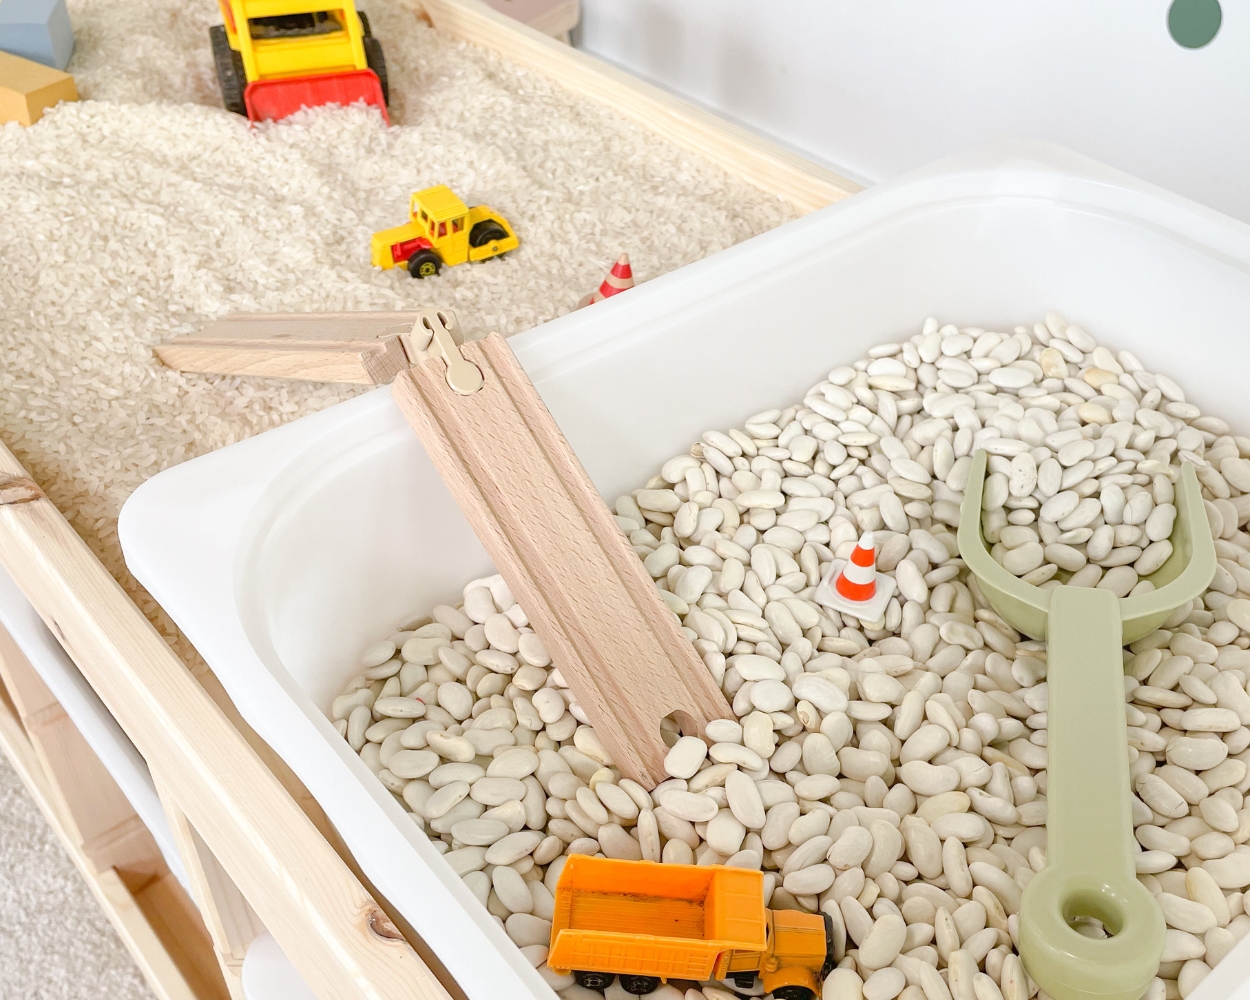
A sensory table is a real playground wonder in miniature! You can fill the recessed compartments with all sorts of different materials – from fluffy play dough to crackling natural materials. This encourages your child to explore using all their senses: touch, sight, hearing, smell – and, of course, wonder! This free exploration often leads to deeply focused play, during which little explorers discover their world with curiosity and creativity.
Sinnestisch aus IKEA TROFAST

The Importance of the Senses in Montessori Education

Sensory experience plays a major role in Montessori education. According to Maria Montessori, children want to train their senses and movements intensively. Through so-called sensory materials, they learn to understand their environment more easily, perceive it more consciously and make better sense of it. True to the motto ‘Help me to do it myself’, the sensory table allows children to immerse themselves in the materials, engage deeply with them and satisfy their natural need to explore their senses. A sensory table is not intended to be a substitute for sensory experiences in the child’s immediate surroundings and in nature, but it can serve as a simple extension of these experiences in everyday life.

The IKEA FLISAT table as a sensory table
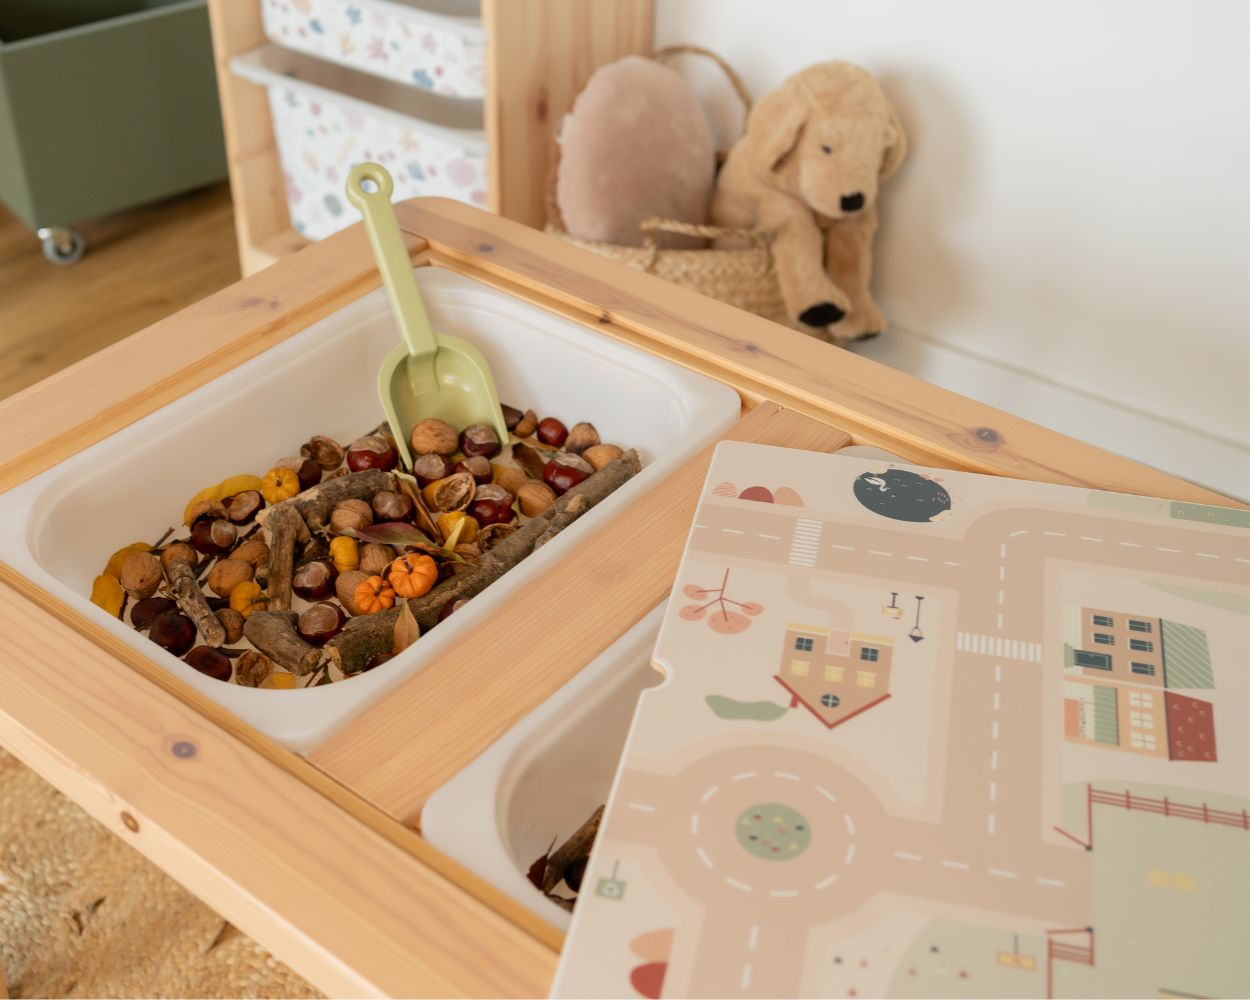
The IKEA FLISAT table is perfect as a sensory table. That’s because this children’s table already has two built-in boxes recessed into the tabletop. So you’ve got a ready-made sensory table without having to put your DIY skills to the test. The IKEA FLISAT table is also the perfect height for your little one, so they can stand comfortably at it and explore their senses. After playtime, the boxes can be closed again thanks to the lightweight tabletop, ensuring the sensory materials are securely stored away.


Sinnestisch aus dem IKEA FLISAT

2-in-1 sensory table and ‘ play table’
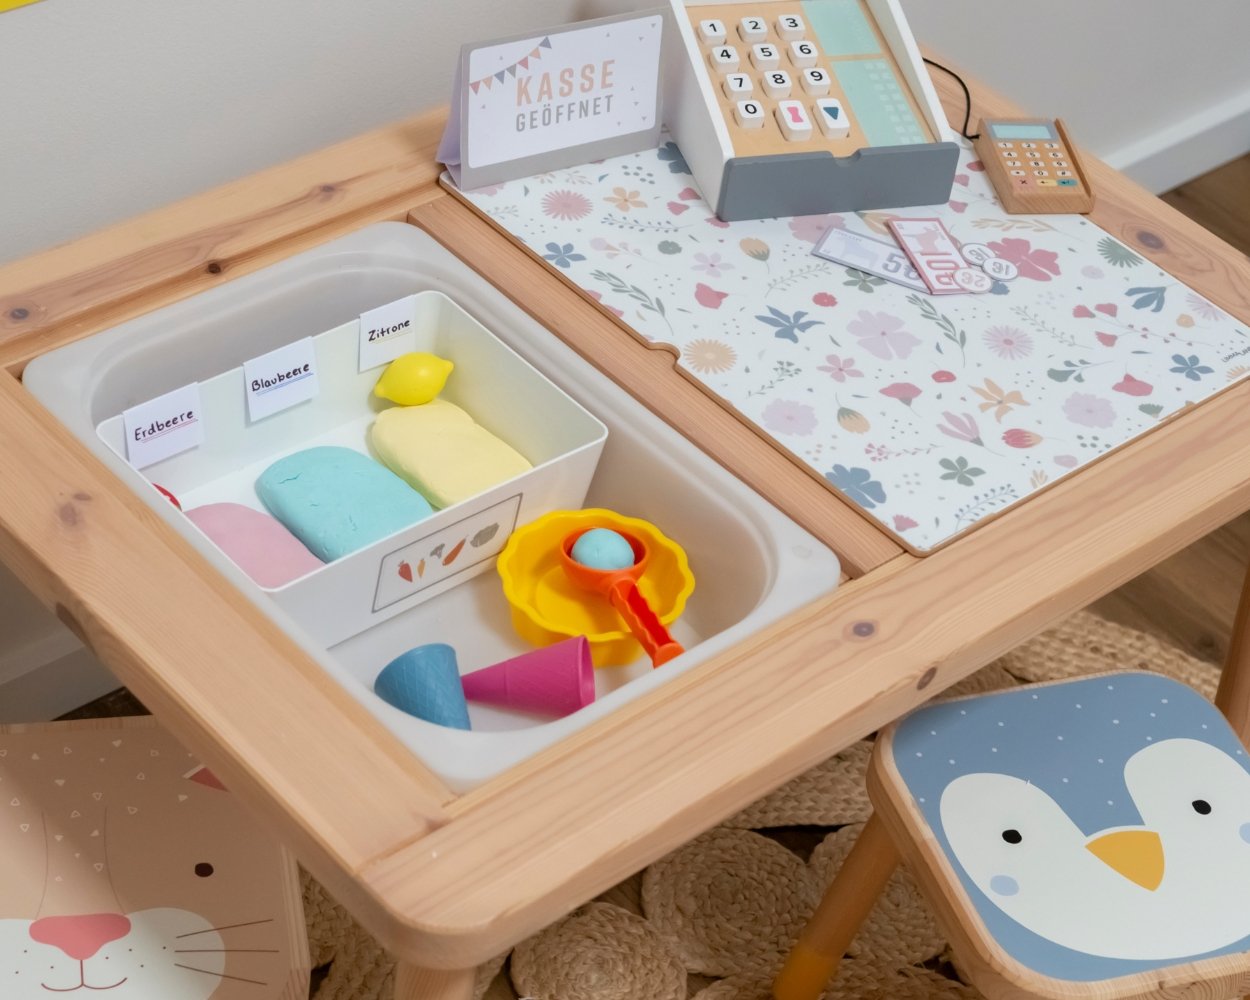
Using adhesive films cut to fit the IKEA FLISAT perfectly, you can transform your sensory table into a play or drawing table at the same time. The open table, with its boxes, serves as a sensory table. When you close the boxes using the adhesive-backed table top, our creative designs transform it into a play or art table.
IKEA Hack Sinnestisch Eisdiele
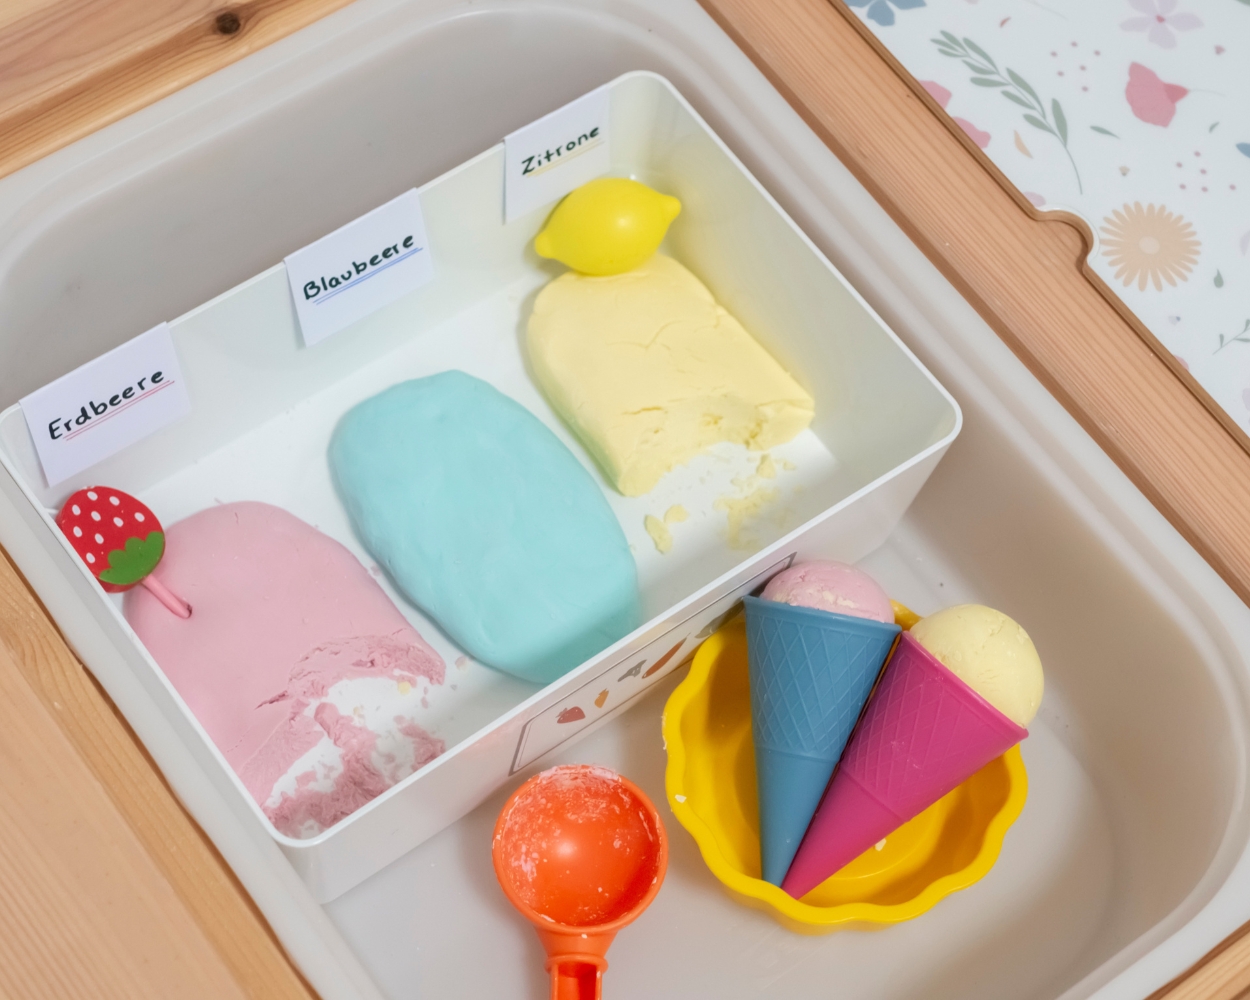
IKEA FLISAT Hack Eisdiele

DIY Ice Cream Parlour on the FLISAT Sensory Table

A sensory table can be used in ever-changing ways – depending on the season, interests or imagination. Our DIY ice cream parlour provides plenty of fun, especially in summer: With colourful adhesive films and a few simple materials, the IKEA FLISAT table transforms into a colourful children’s ice cream parlour in no time at all. And the best bit? The ice cream flavours are made from homemade cloud dough, which not only feels wonderfully fluffy but is also really easy to make yourself.

To the DIY guide

The IKEA TROFAST shelving unit as a sensory table
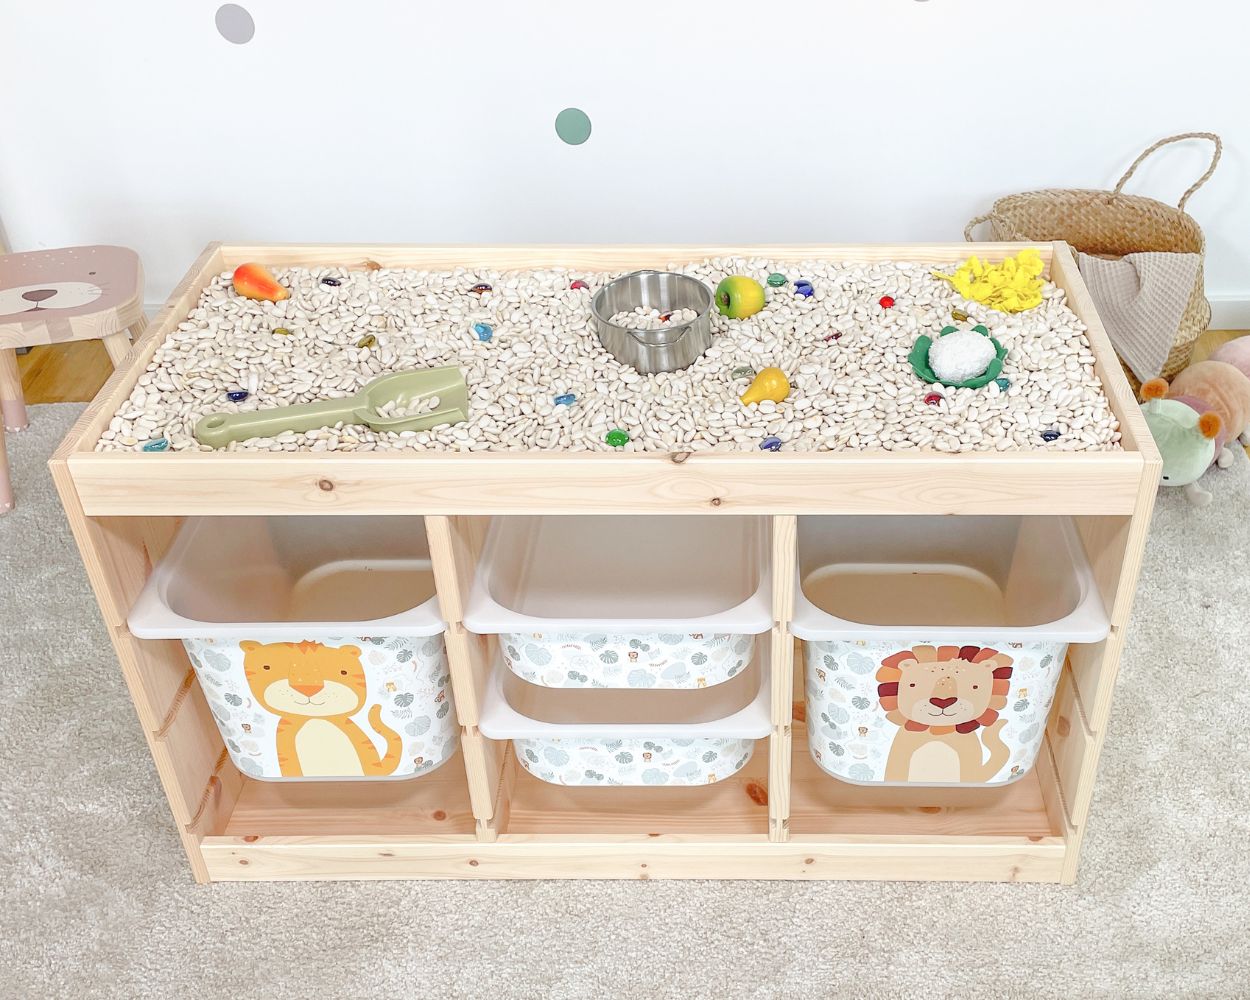
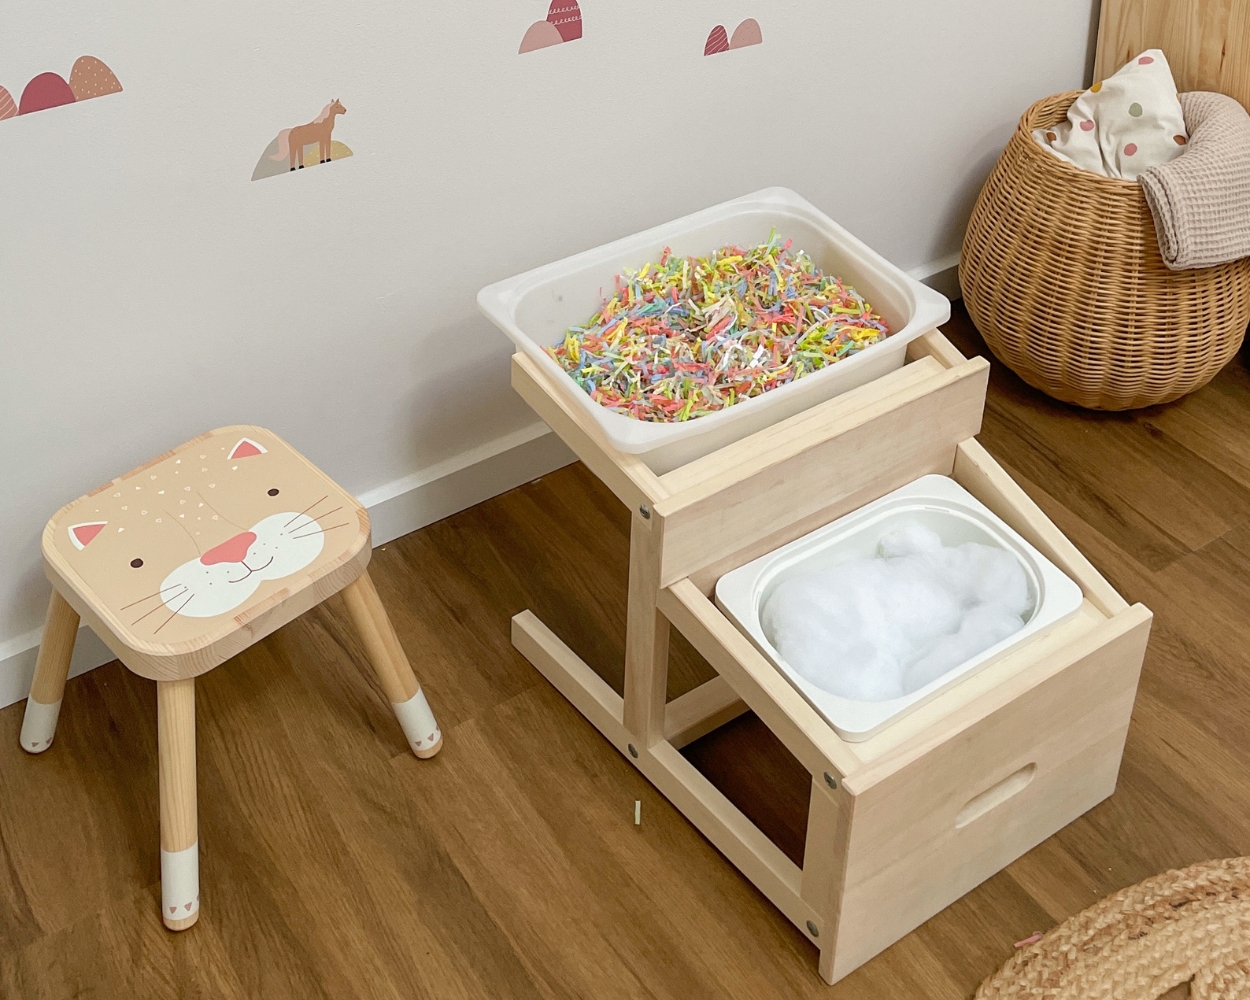
The IKEA TROFAST shelving unit can also be transformed into a sensory table. What many people don’t realise is that the shelving unit has plenty to offer even when turned upside down. To do this, turn the TROFAST shelving unit over. The base of the TROFAST now serves as a ‘ SPIELWIESE’ with a frame. Next, place a TROFAST box on top of the shelving unit. You can then fill the framed area and the box with various materials.
Don’t worry – turning the TROFAST shelf upside down doesn’t mean you have to sacrifice its storage function. You can still store several TROFAST boxes and their contents on the shelf. The TROFAST is a real eye-catcher, especially with additional front decals in the Limmaland design. Whether it’s ‘ BLUMIG’, ‘ DINO’ or ‘ TIERIG’, there’s a suitable design for every child’s bedroom.

Montessori Sinnestisch TROFAST Regal

What materials are suitable for sensory boxes?

The possibilities are endless! Just have a look at what you’ve got at home: dry pasta, rice or flour make for exciting textures. Or you could go on a treasure hunt together in the great outdoors – collecting rustling leaves, moss or small twigs. Important: The younger your little one is, the larger the materials should be – and please always make sure they play under supervision. We’ve put together a list of ideas for sensory boxes to help you choose :

  • Cooking and baking ingredients such as rice, lentils, pasta, porridge, flour, nut shells
  • From nature: twigs, grasses, moss, shells, soil, snow, water, stones
  • Magic sand
  • Shaving foam or hair
  • mousse Cloud modelling clay
  • Feathers
  • Scraps of
  • paper
  • Fabric items, such as pom-poms
  • Water beads
  • ,
  • marbles
  • , Lego
  • bricks
  • , buttons,
  • corks, ribbons in various colours

Sinnestisch aus dem IKEA BEKVÄM Hocker

BEKVÄM stool as a sensory table

We’ve picked up on a brilliant hack from @schuberts_haustagebuch: With the BEKVÄM stool from IKEA, the small TROFAST boxes can easily be integrated into a side shelf – perfect as a little play or sensory table for the little ones.

The DIY ‘ mud kitchen’ as a sensory table

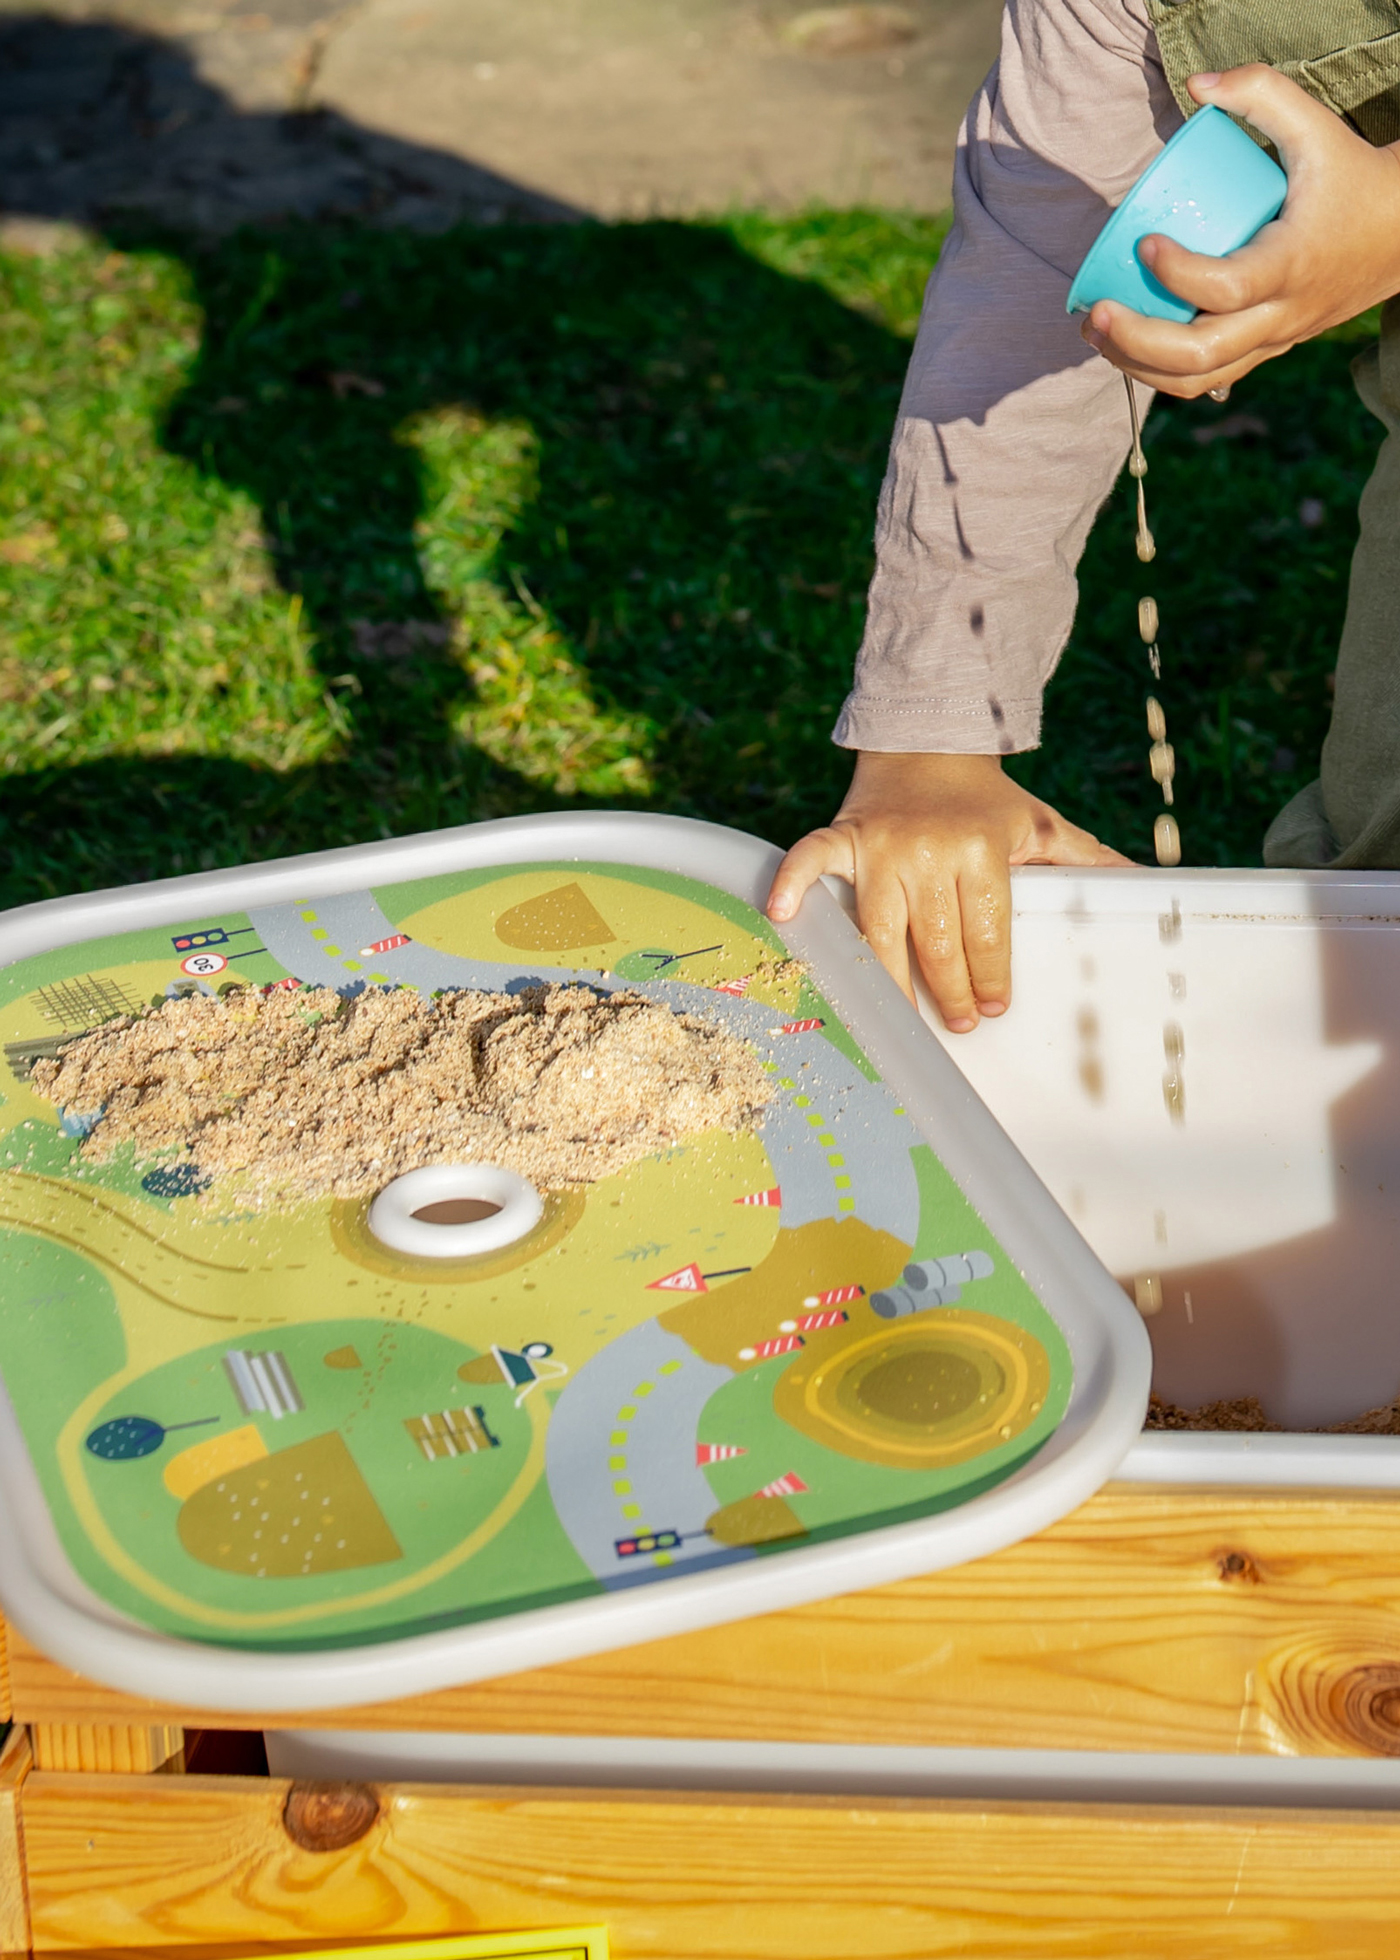
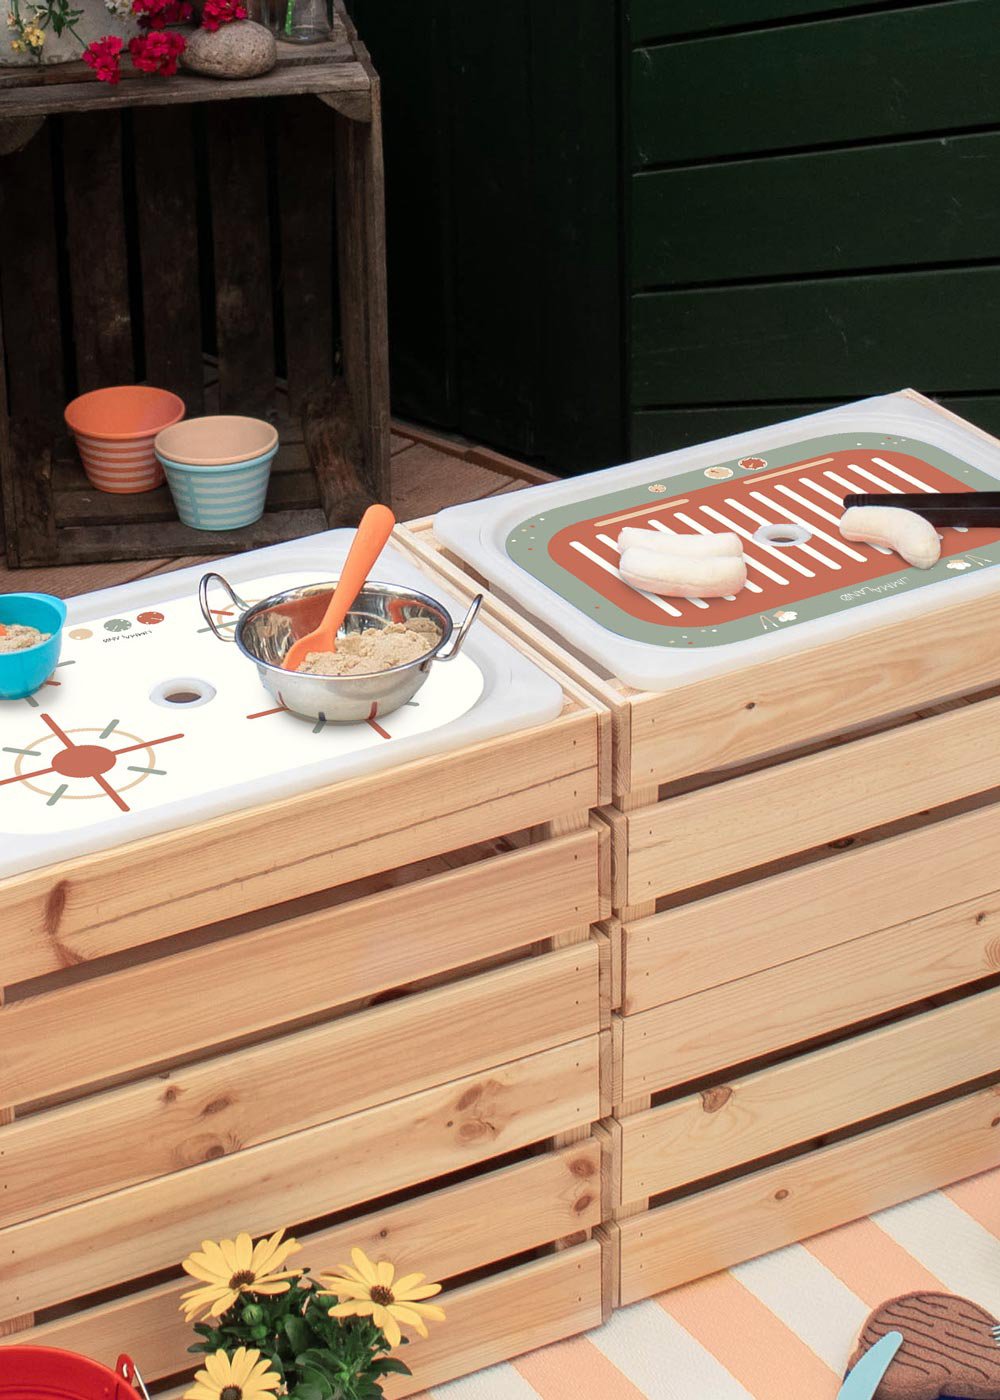
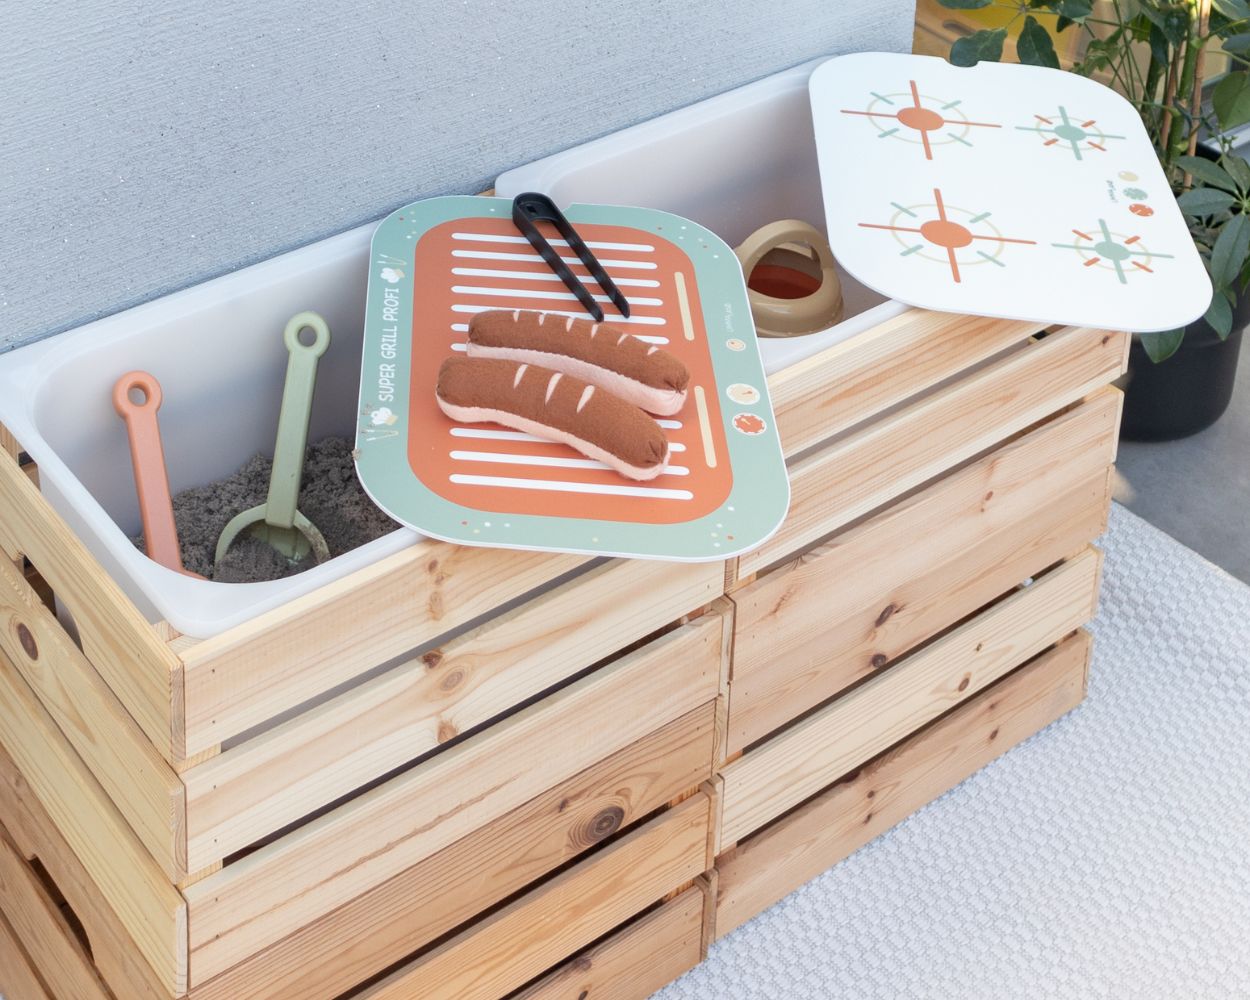
Does your little one prefer playing with real sand and love getting messy? Then the ‘ mud kitchen’ is perfect for you. In just a few simple steps, you can transform IKEA KNAGGLIG crates and TROFAST boxes into a wonderful ‘ mud kitchen’ – a sort of sandpit with a lid. Perfect for stirring, making mud and “cooking”. With Limmaland’s custom-fit films for the TROFAST lids, you can transform the boxes into a magical kitchen, barbecue or building site.

IKEA Trofast Hack - Matschküche selber bauen

Sensory table idea: Car wash

An idea for slightly older kids is a DIY car wash. Simply fill one of the IKEA TROFAST boxes with colourful foam and have a few brushes, sponges and cloths to hand. Then the washing fun can begin!

For the colourful foam, all you need is:

  • 2 parts water
  • 1 part shampoo
  • a little food colouring

Wassertank, Spielzeugwerkzeuge, Schwamm, Pinsel, Kunststoffküche

Discover more IKEA hacks

Bastelwagen aus IKEA Raskog

DIY Craft Trolley

Find out more


Multifunctional table

Find out more


Ikea Tonies Regal

Tonies Hacks

Find out more