


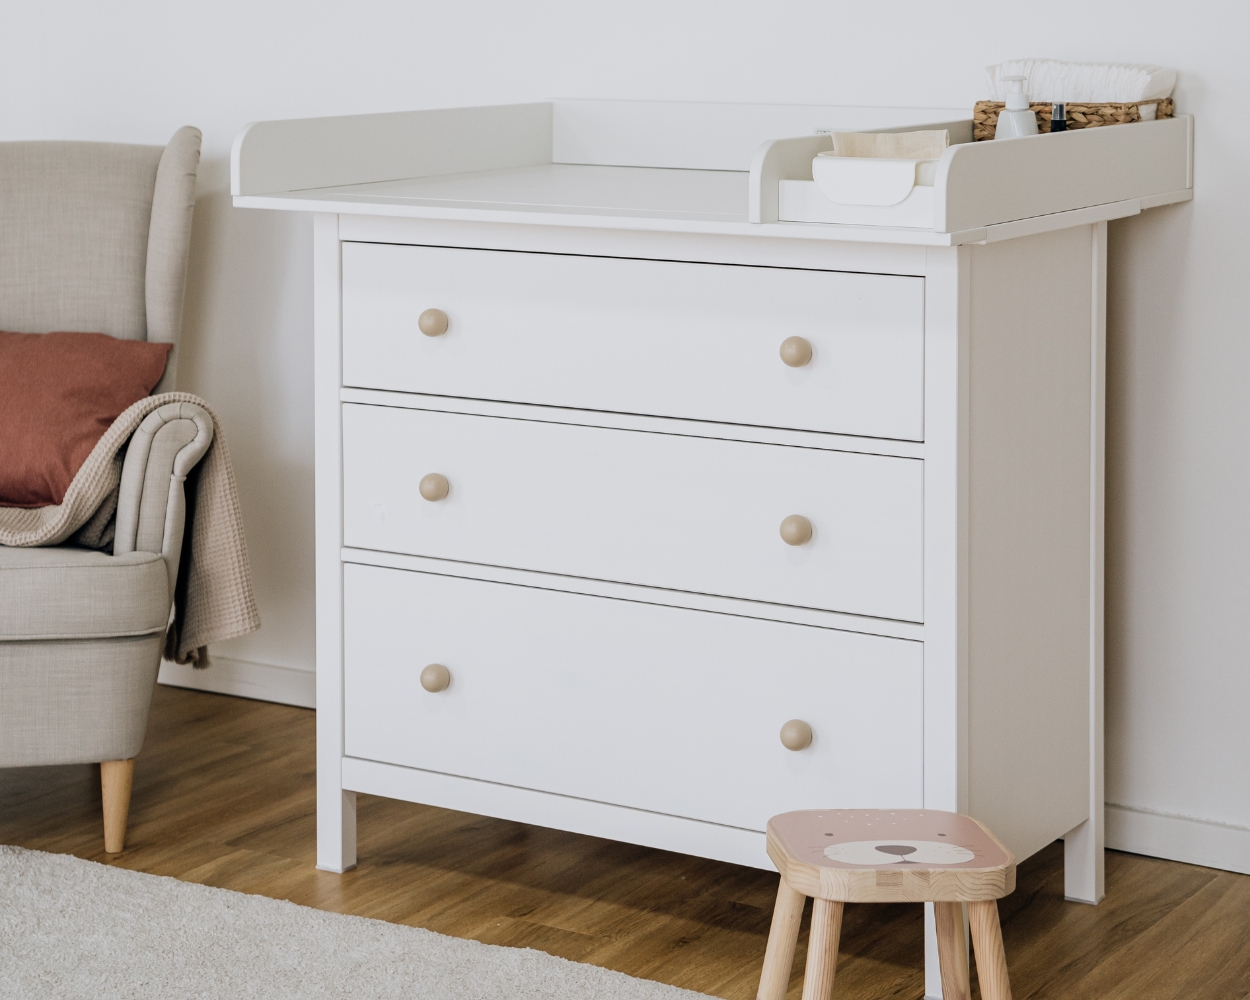
DIY Changing Top for IKEA Dressers
Changing table topper for IKEA chests of drawers
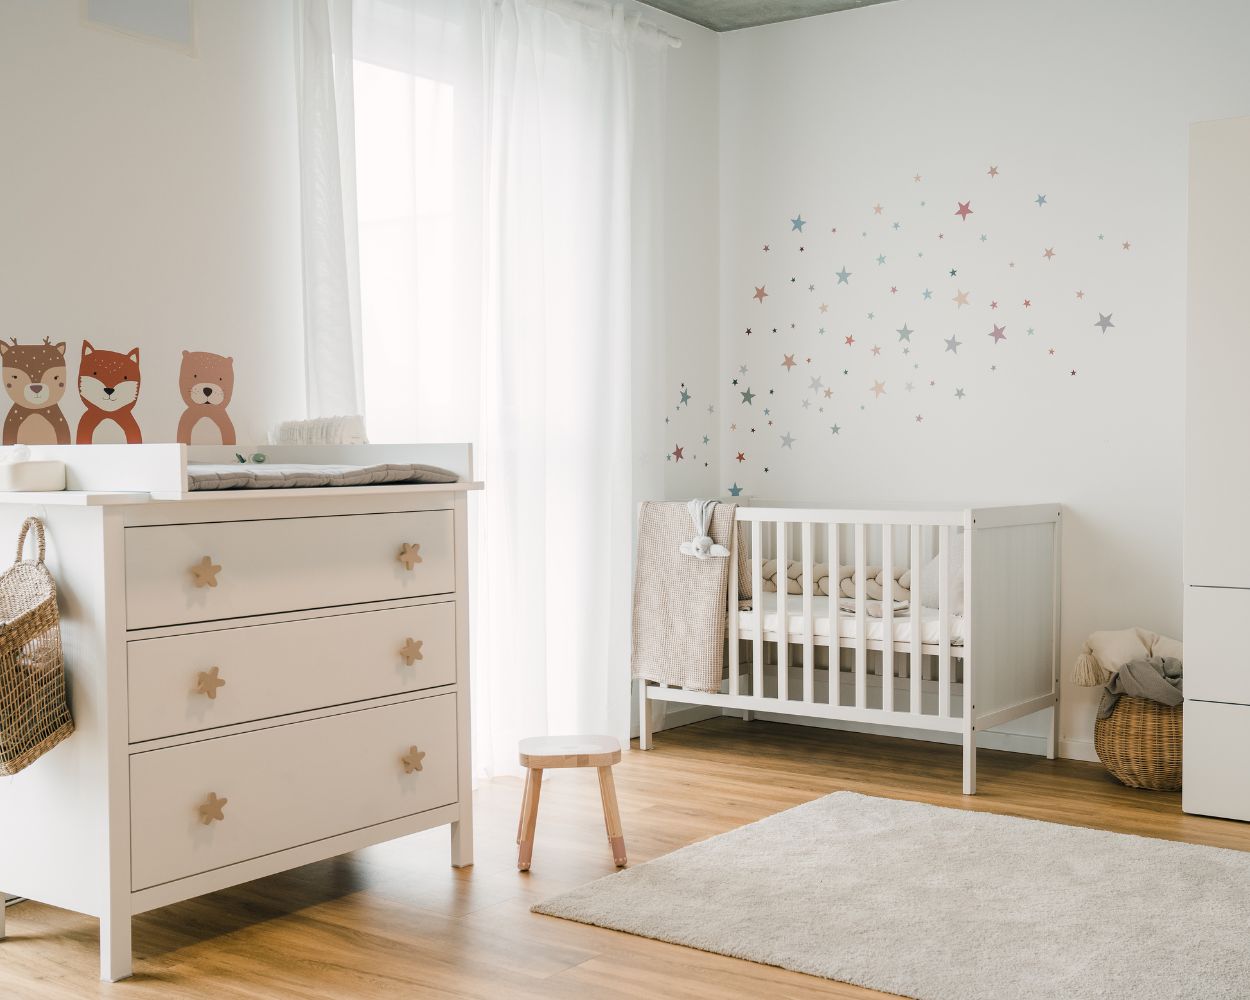
Some DIY projects are born from a simple idea - like our self-built changing table topper for the chest of drawers from IKEA. Our friends Sanja & Franz were faced with the challenge of creating a practical and safe changing station in their small flat. As Franz is a real craftsman, he decided without further ado to build the perfect changing table topper for the IKEA SONGESAND chest of drawers himself. With great attention to detail and clever solutions, he created a functional DIY changing unit with extra storage space. The idea is also suitable for other chests of drawers. You can also build a changing table topper for the IKEA HEMNES or MALM chest of drawers. Here we show you how they did it - and whether it's really worth building it yourself!
DIY instructions: Build changing table topper for your IKEA chest of drawers
Materials & tools required:
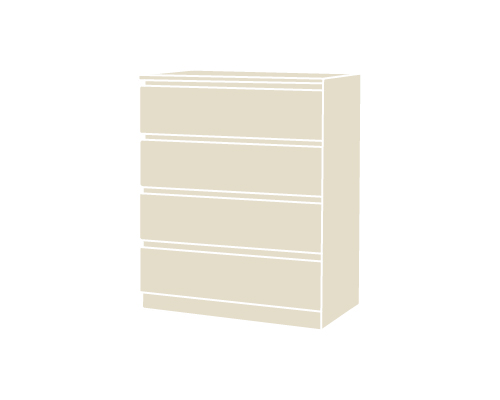
- IKEA chest of drawers: Sanja and Franz have used their SONGESAND chest of drawers with 4 drawer. However, the concept can also be easily transferred to other IKEA chests of drawers.
- MDF boards for the changing table topper: In total, Sanja and Franz spent just over 100 euros on the cut-to-size fibreboards at the DIY store.
- Screws & drill bits
- Sandpaper or router
- Cordless screwdriver & saw
- Brackets for additional stability


Dimensions for the MDF panels
- A (WxH) 76.2 x 9 cm x 12 mm thick ; 2 pieces
- B (WxH) 79.1 x 9 cm x 12 mm thick ; 1 piece
- C (WxH) 79.6 x 101.3 cm x 8 mm thick ; 1 piece
- D (WxH) 79.6 x 91.1 cm x 8 mm thick ; 1 piece
- E (WxH) 81.5 x 27.5 cm x 19 mm thick ; 1 piece
- F (WxH) 77.2 x 10 cm x 12 mm thick ; 1 piece
- G (WxH) 52.2 x 10 cm x 12 mm thick ; 1 piece
- H (WxH) 79.6 x 26.9 cm x 12 mm thick ; 3 pieces
💡 Tip:
If you want to varnish or paint the changing table topper, it is worth varnishing the individual parts before assembling them. Painting is then easier and the colour layer is more even. You can match the colour to your chest of drawers or use a contrasting colour.
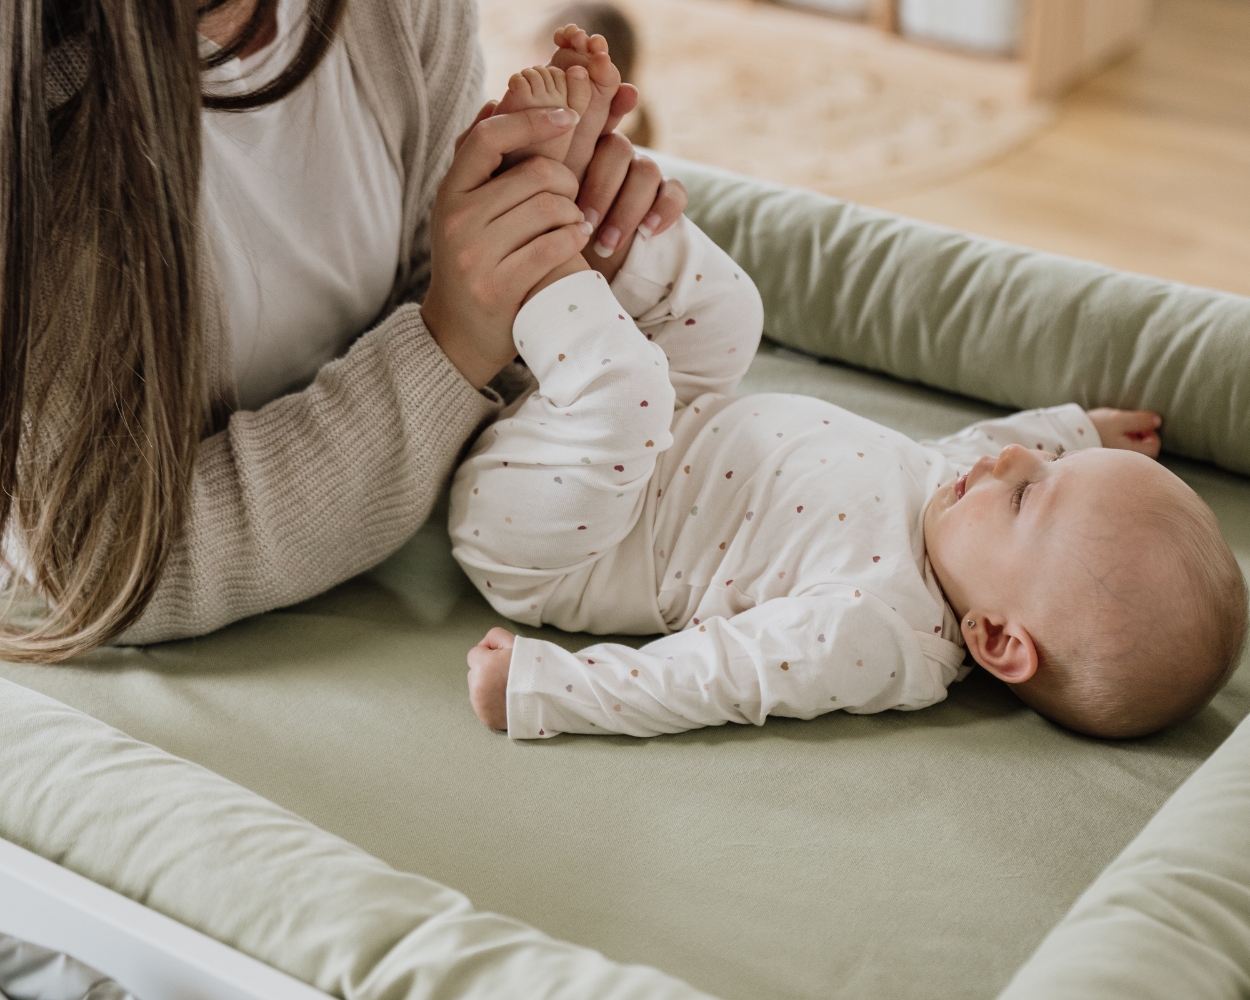
Changing comfort starts with the right height of your changing table!
Before you get started with your new changing unit, you should make sure that the height and location of your changing unit are ideal for you. The right height and placement are crucial for relaxed and ergonomic nappy changing. In our changing unit guide, you can find out which dimensions are ideal and what else you should pay attention to!
Step 1: Build the Changing pad frame and screw it together
The plan: The changing table topper should not only be stable, but also safe and comfortable for their baby. Franz and Sanja also wanted to attach an additional shelf with storage space to the back side of the chest of drawers so that wet wipes etc. are always to hand.
- Screwing the frame together: Screw the two side panels (A) to the backsplash (B) to form a U-shaped frame.
- Stabilisation: Attach the extension of the base (E) to the frame from below to ensure additional stability.
- Rounding & smoothing: To avoid unsightly edges, round off the corners with sandpaper or a router.
Tip: Pre-drilling is important to prevent the wood from splintering!

Step 2: Mounting on the chest of drawers
Now the changing table topper just had to be attached to the IKEA SONGESAND chest of drawers.
- Removing the IKEA lid: The lid of the IKEA chest of drawers must first be removed. To do this, use the instructions from IKEA chest of drawers.
- Attaching the top unit: Screw the side parts (A) of the nappy changing unit directly to the lid from below.
Please note: The lid is only refitted once the rear shelf has been attached!

Step 3: Rear shelf for more storage space
- Build the shelf plinth: Screw the side panels (G & F) together to form a stable U-shaped plinth.
- Attach the shelves: Insert the shelves (H) at the desired height and screw them to the backsplash (D) and the wall (C).
- Assembly on the chest of drawers: Screw the finished shelf firmly to the chest of drawers before reassembling the IKEA cover with changing table topper.


Changing table topper building it yourself is too much for you?
Building it yourself is too much work for you? Discover our changing accessories for IKEA chests of drawers such as HEMNES or MALM and set up your changing unit in no time at all. Our ready-made changing tops offer a safe, ready-to-use solution - no sawing, no screwing!
Complete your chest of drawers with changing mats, drawer organisers, baby accessories and dresser-friendly handles to create a beautiful and practical changing station for your baby's room.

Step 4: Assemble the changing unit
- Changing table topper assemble: Reattach the lid of the IKEA chest of drawers together with the changing table topper to the chest of drawers.
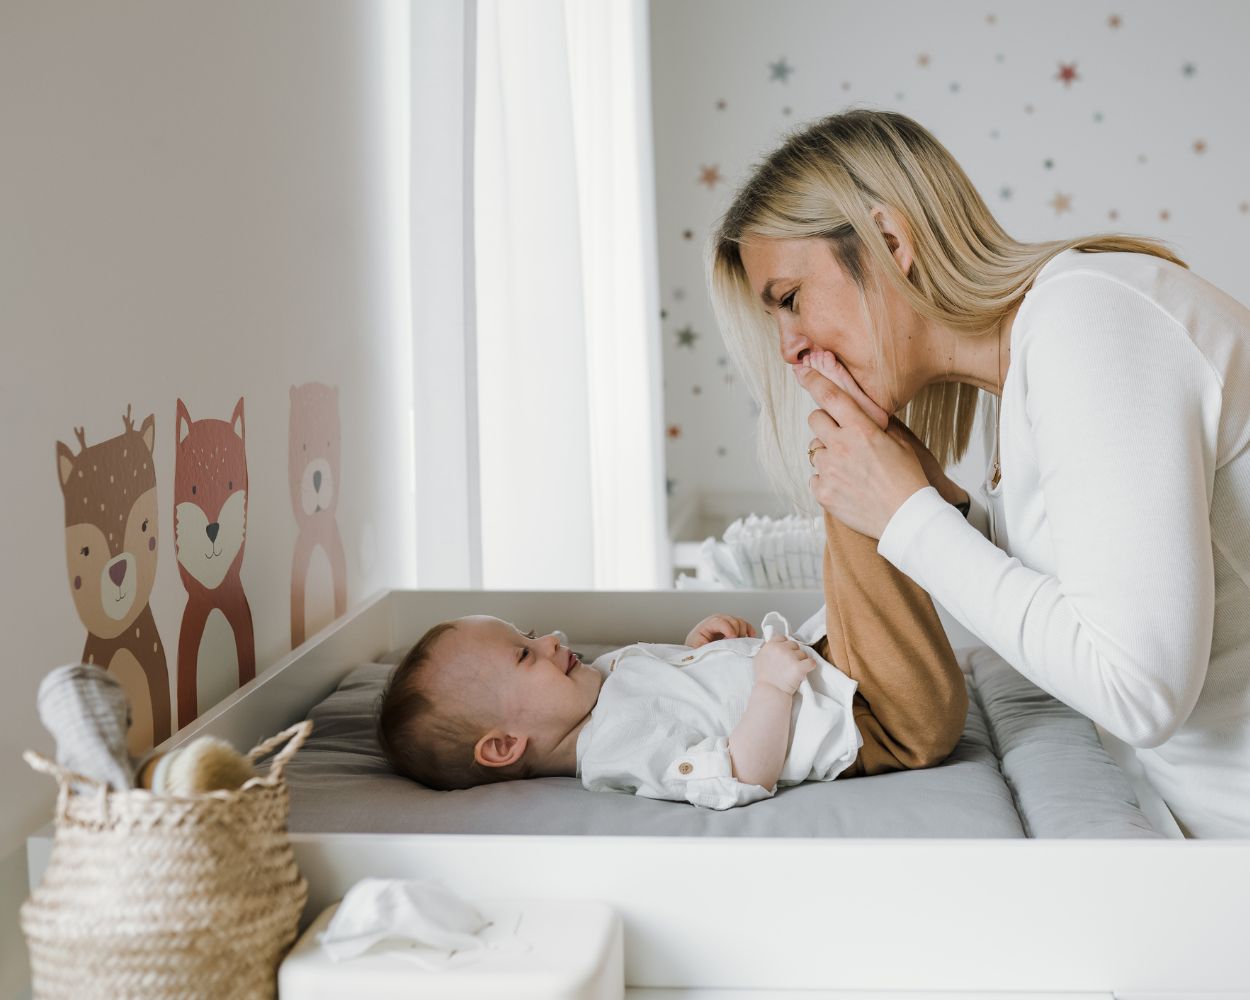
- Changing pad: Complete the changing table topper with a comfortable Changing pad. Sanja and Franz have the Changing padand the frame from Limmaland. It fits perfectly on the self-built changing table topper.
- Set up and decorate: Now just fill the drawer of the chest of drawers and attach accessories such as a mobile or drawer handles. The changing unit is ready for use.
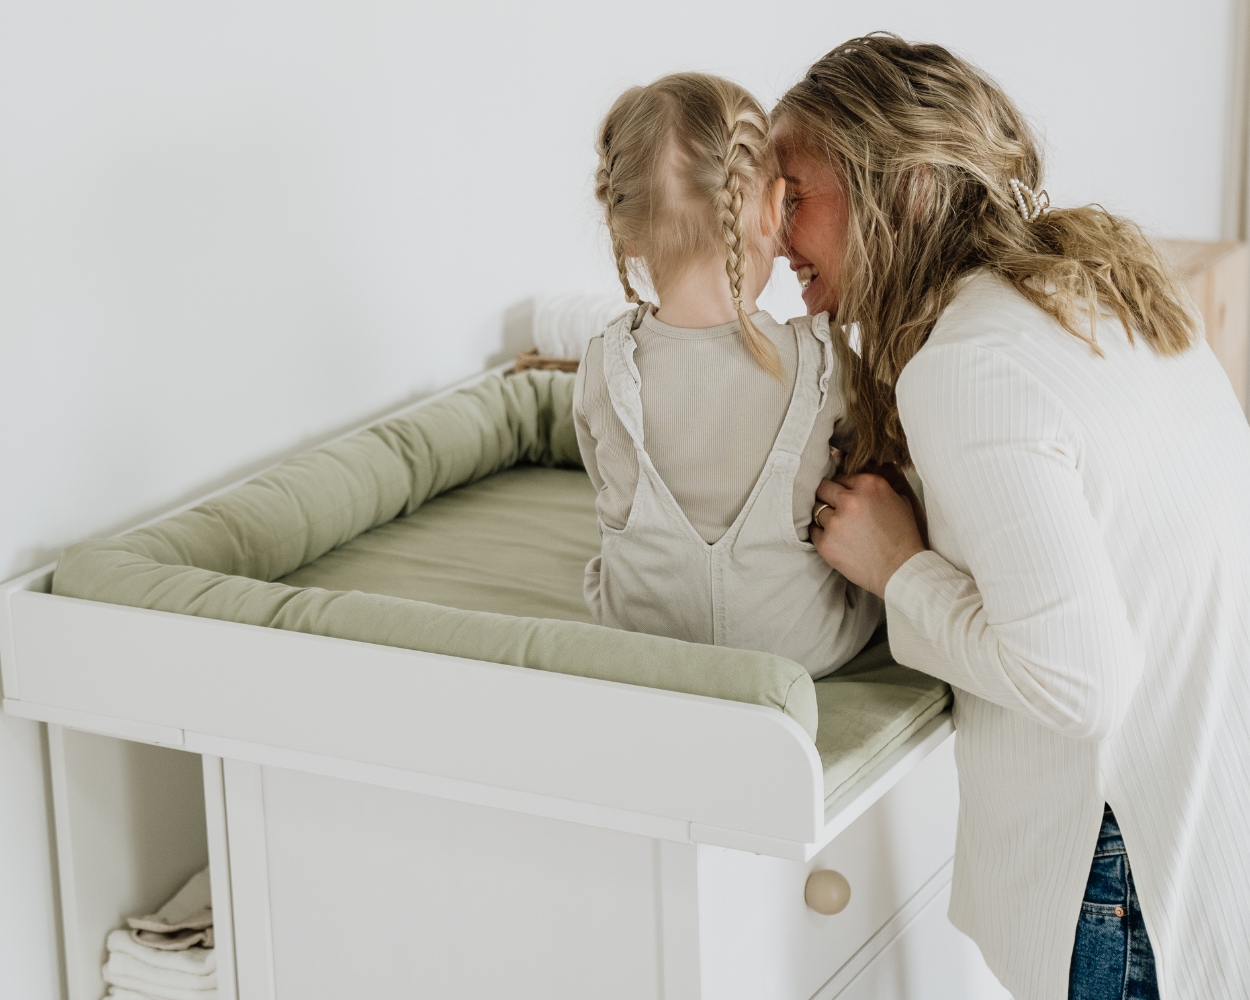
Even though DIY construction requires a little planning and craftsmanship, Sanja and Franz really enjoyed creating a customised solution for their home. If you like DIY and would like to create a customised changing unit, you'll find plenty of inspiration here.
Is your changing unit ready? Now it's time to set up
A self-built changing table topper is a great start - but a well-organised changing unit makes all the difference in everyday life! Find out here how you can cleverly store nappies, care products etc. so that everything is within easy reach when changing nappies.
More about the changing unit
-
 Midwife Meike’s Tips for Your Changing AreaMidwife Meike shares clever tips for setting up a safe, cozy, and practical changing area – for relaxed and happy moments with your baby.Jetzt entdecken
 -
 The perfect dimensions for your changing unitWondering about the ideal height & size for your changing table? Find out the best ergonomic setup & placement to make diaper changes easier for you a...Jetzt entdecken
 -
DIY Changing Top for IKEA DressersThinking about building your own changing top for an IKEA dresser? Our friends Sanja & Franz did it! Discover how to create a DIY changing station wit...Jetzt entdecken
-
 Alternatives to the changing unitKein Platz für eine Wickelkommode? Kein Problem! Entdecke clevere Alternativen wie Wickelaufsätze für Babybetten, Badewannen-Wickeltische oder die Wic...Jetzt entdecken
 -
 IKEA changing unit comparison: Which is the best?No space for a changing unit? No problem! Discover clever alternatives such as changing units for cots, bathtub changing tables or the changing statio...Jetzt entdecken
 -
 Set up and organize the changing unitMake changing nappies child's play! Find out what belongs on a changing table and how to create the perfectly organised changing area in your baby's r...Jetzt entdecken
 -
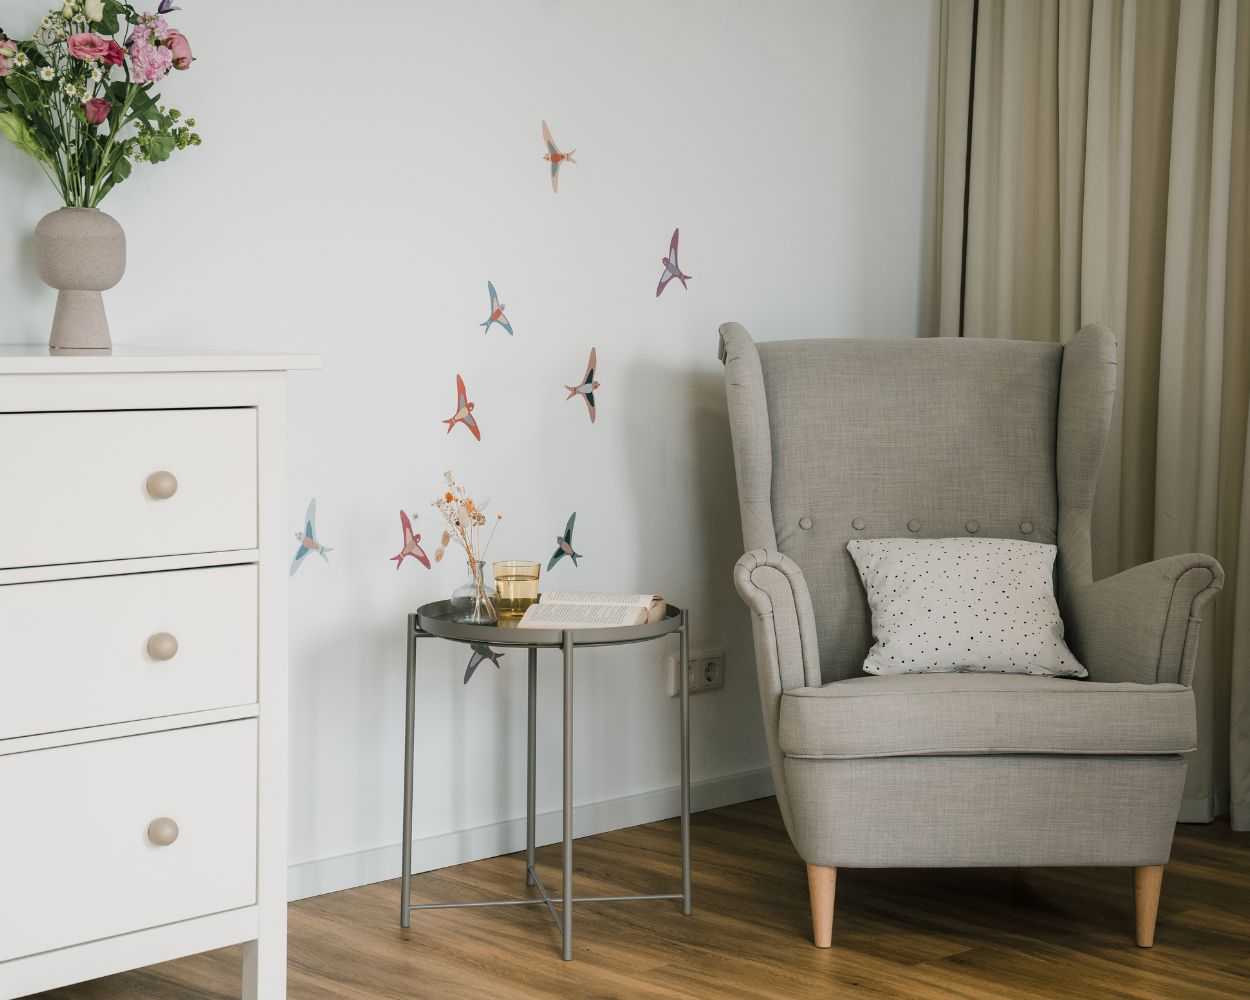
 Decorating the changing unitWith our five ideas, your changing unit will be the highlight of your baby's room and nappy changing will be a fun experience for you and your baby! 😊...Jetzt entdecken

-
 The Perfect Wall Colour for the Nursery – Tips & IdeasDiscover calming and stylish nursery colour ideas. Learn how wall colours affect your baby’s wellbeing and how to create a soothing, beautiful environment.Mehr lesen
 -
 IKEA baby room: Stylish, functional and affordableMake your baby room feel good with IKEA furniture: functional and decorative ➡️ Discover the best tips!Mehr lesen
 -
 Baby room design for boysAre you expecting a baby boy and planning to furnish his room? Discover clever tips for designing the perfect baby room here!Mehr lesen
 -
 Designing a baby room for girls - here's how!Design the perfect baby room for your little girl, functional ✔️ decorative ✔️ personalised ✔️. Discover 4 clever tips for a lovely interior now! 🤩Mehr lesen
 -
Cute baby room decoration - with attention to detailDiscover creative decorating ideas for the baby room: from the right wall colour to cool furniture foils. And design the perfect room for your baby!Mehr lesen
-
 Designing a baby room with a sloping ceilingClever tips for sloping furnishings in a baby room in the attic or in an attic flat.Mehr lesen
 -
 Design cover for maternity passProtect your maternity passport with style and personality!Mehr lesen
