14 brilliant IKEA hacks for the DUKTIG play kitchen
The play kitchen has been one of the most popular play sets for generations. No wonder, as our little ones love to imitate everything and stir away in their pots just like Mum and Dad. With a few clever IKEA hacks, it becomes even more realistic, creative and personalised. In our little guide to children’s kitchens, we’ll show you some simple ideas to help you give the DUKTIG a makeover in no time at all.

1. Paint for the IKEA DUKTIG
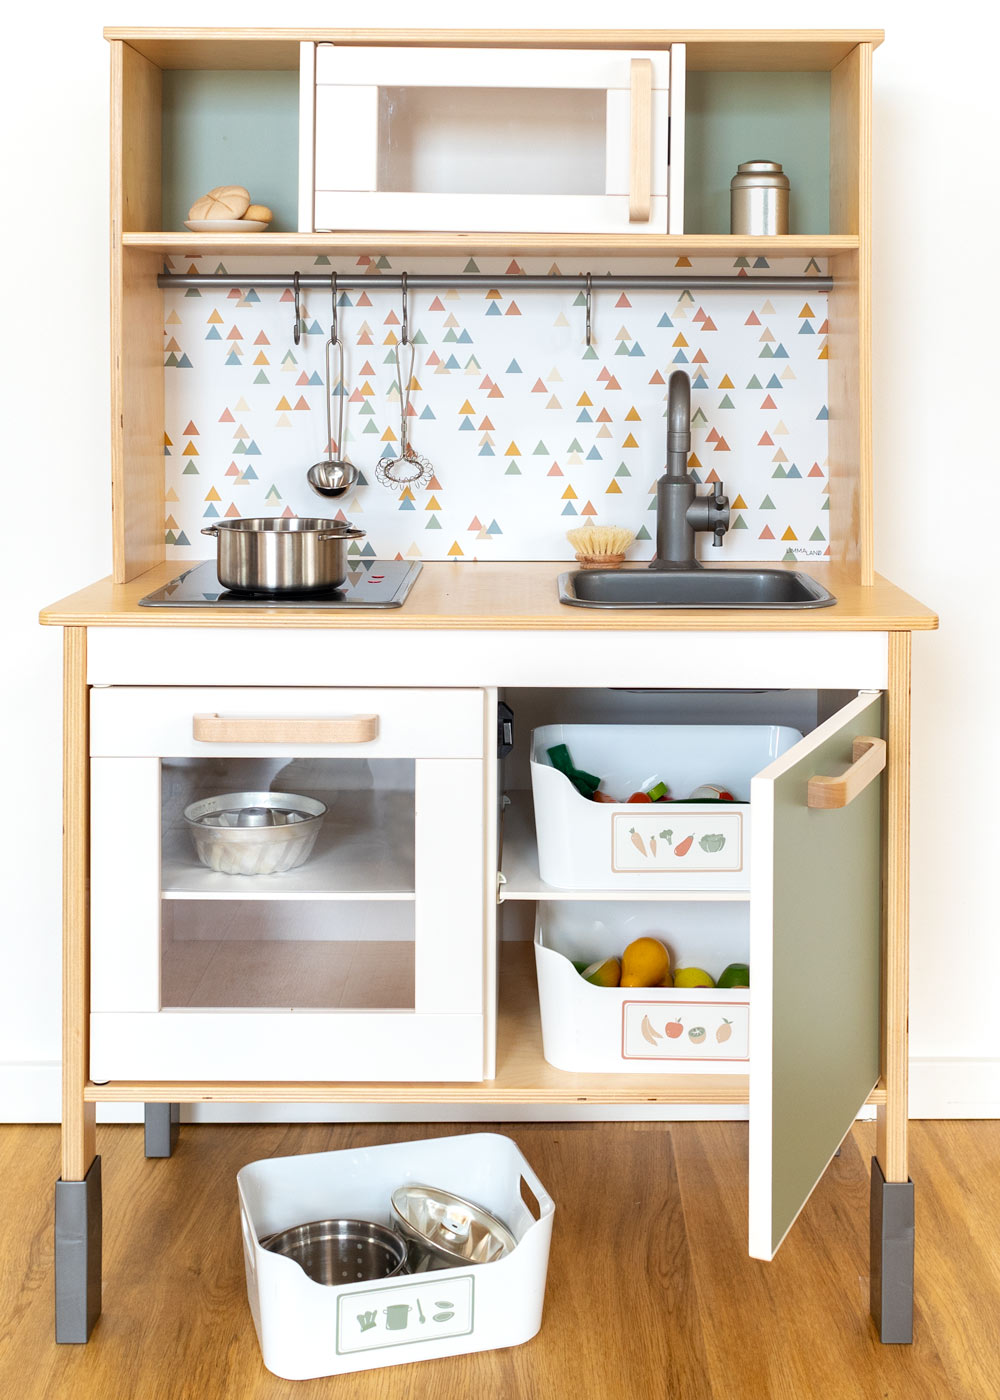
Colours make life more colourful – and that goes for the ‘ play kitchen’ too! It’s not just the kids who love pretty colours. In many families, the ‘ play kitchen’ isn’t in the children’s bedroom, but in the living room or kitchen. And there, the DUKTIG should, after all, complement the décor.
Tip: Instead of a fiddly job with paint and a brush, you can simply laminate the DUKTIG. An IKEA hack that takes just a few minutes and’s guaranteed to work!
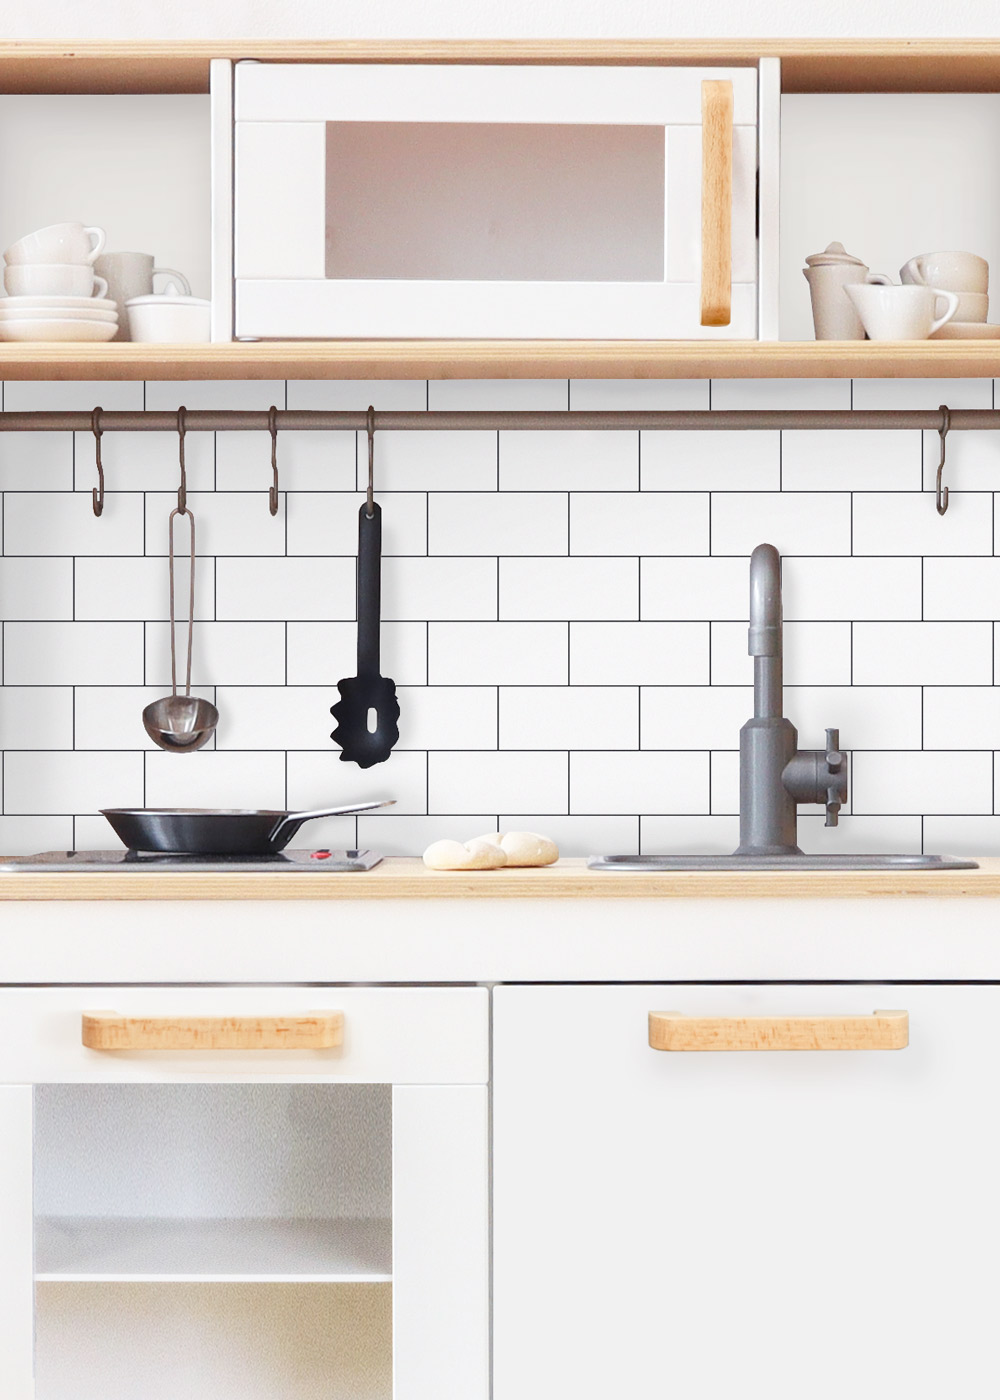
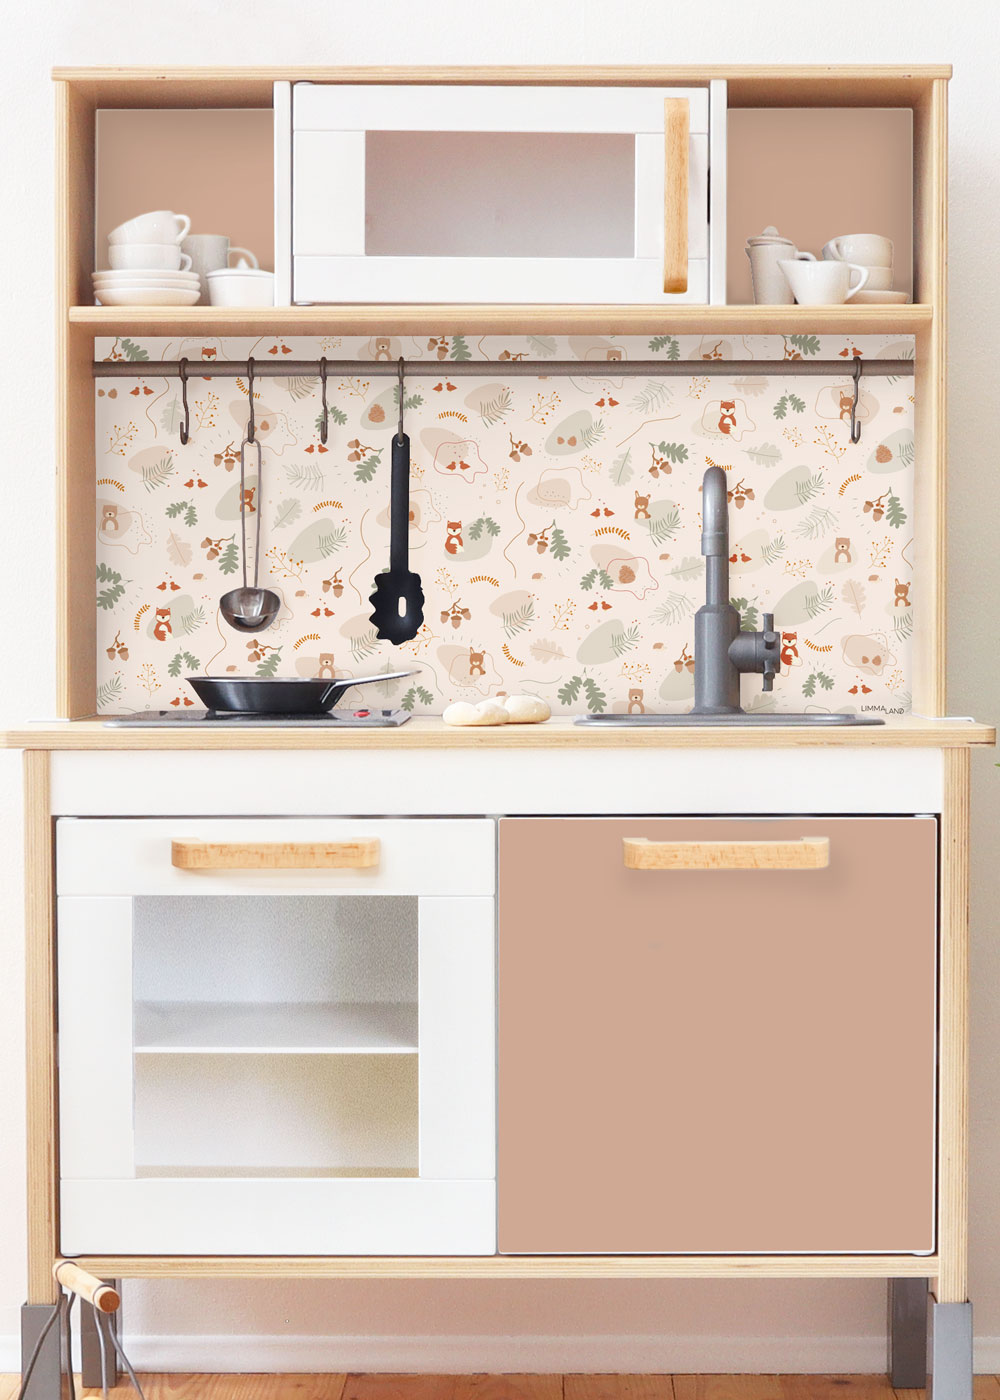
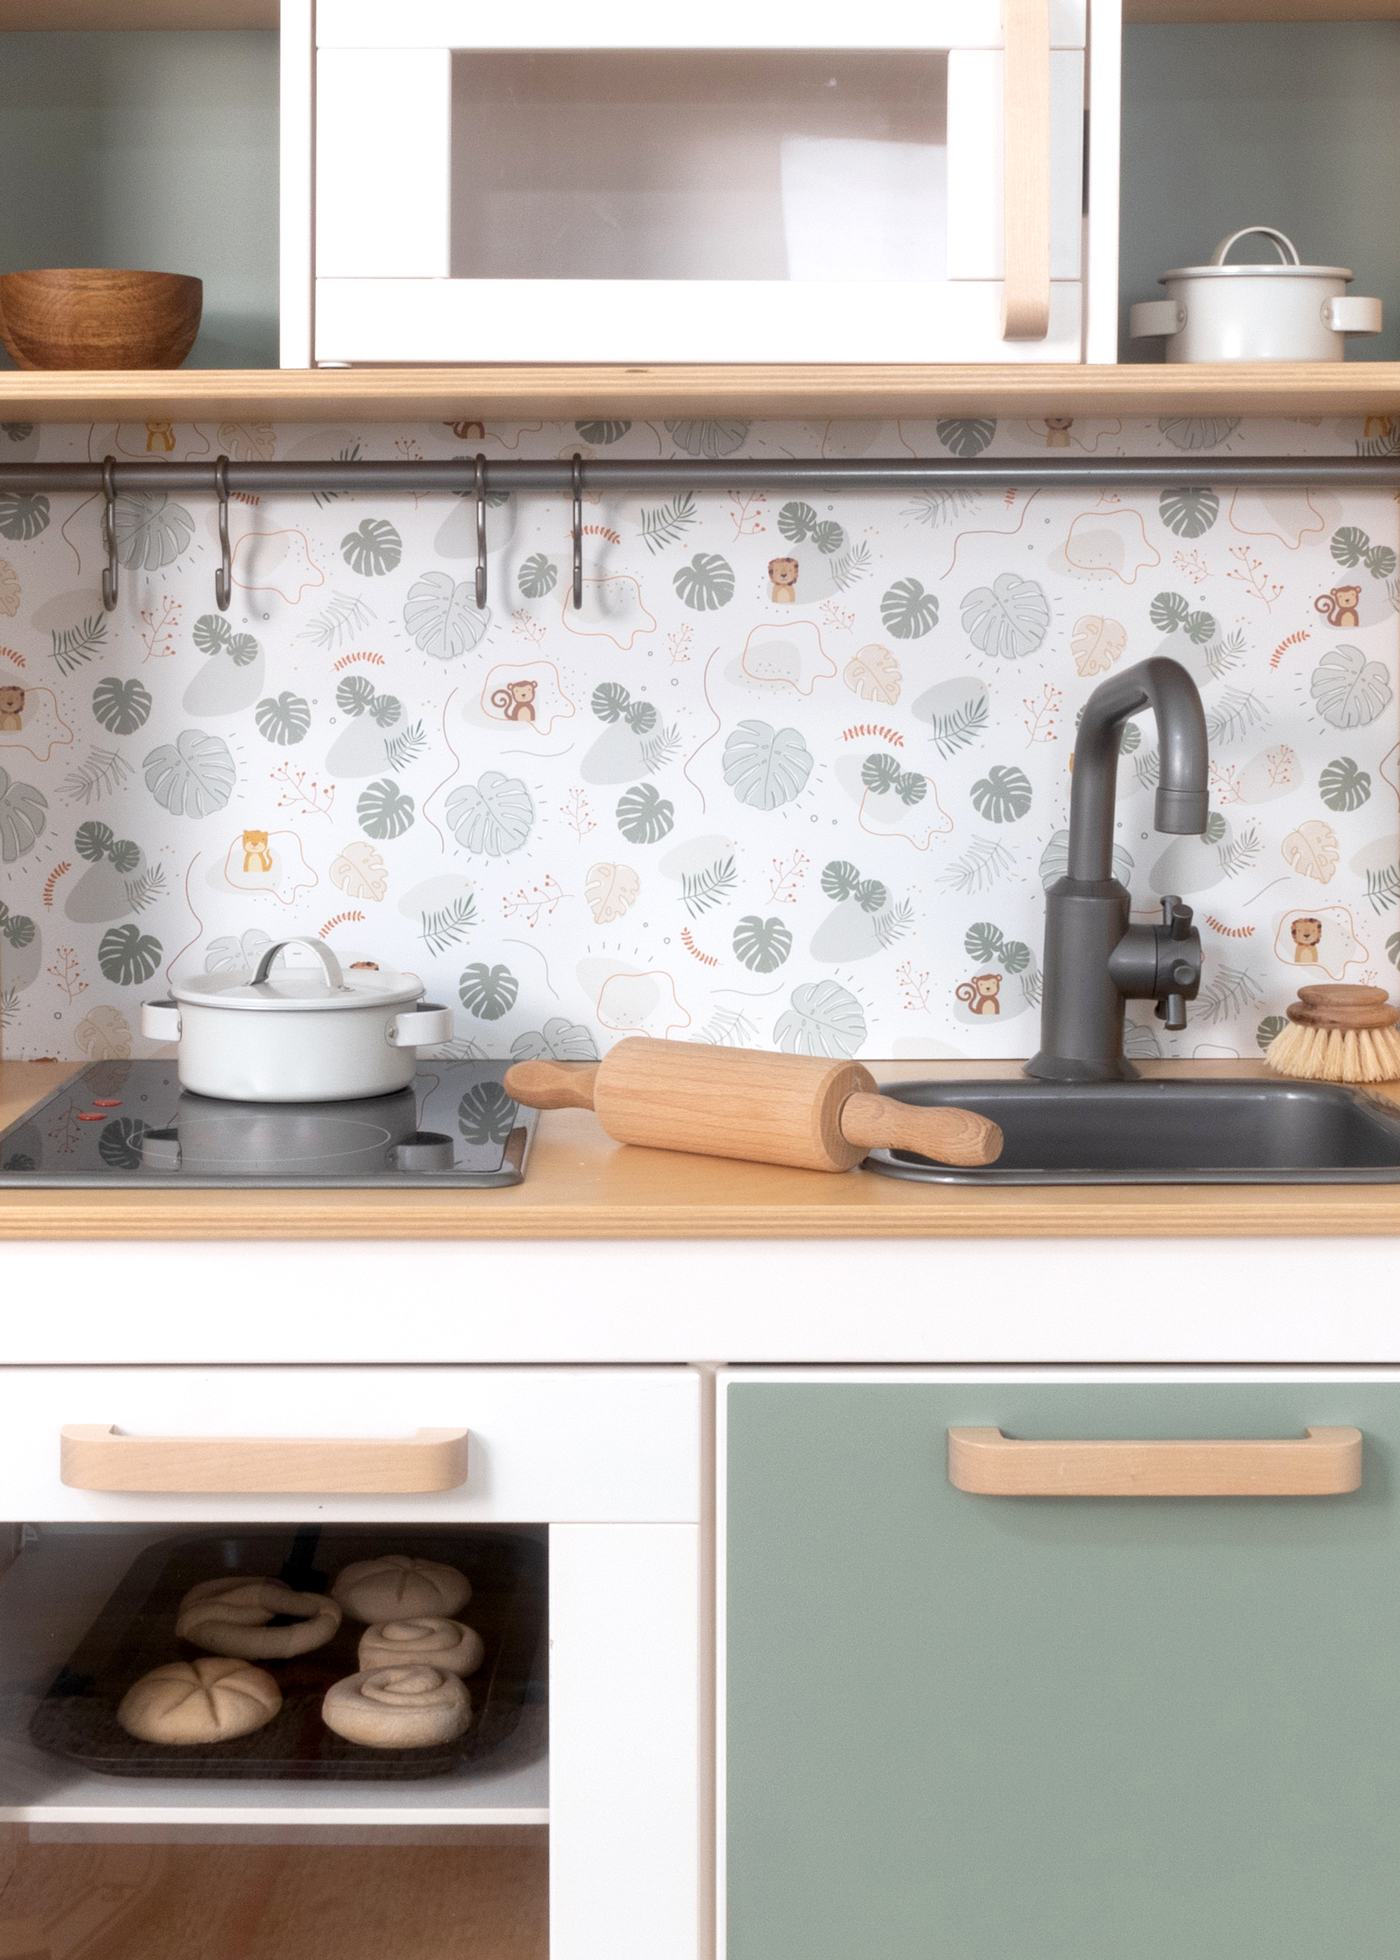
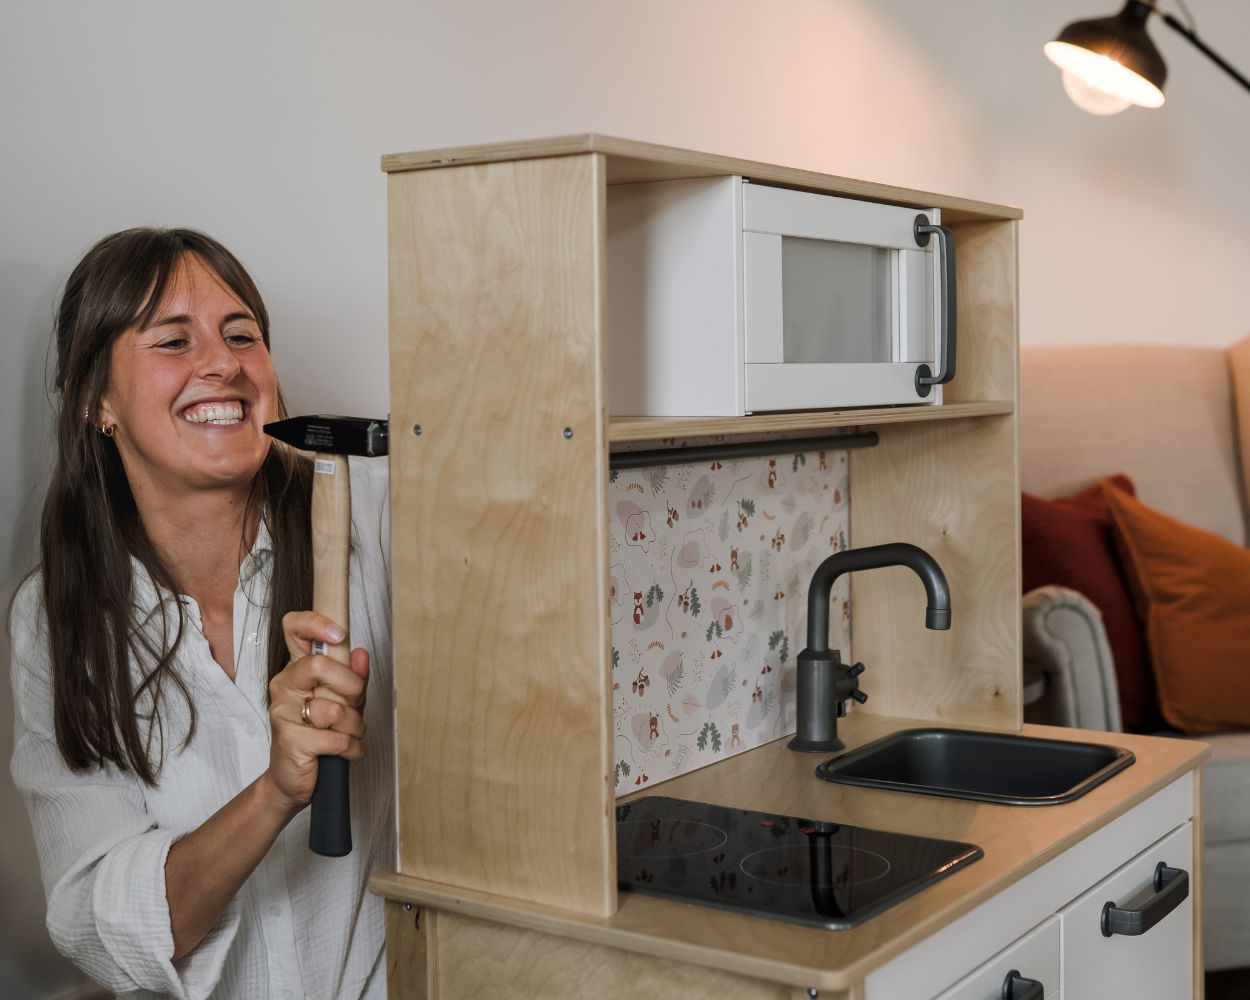
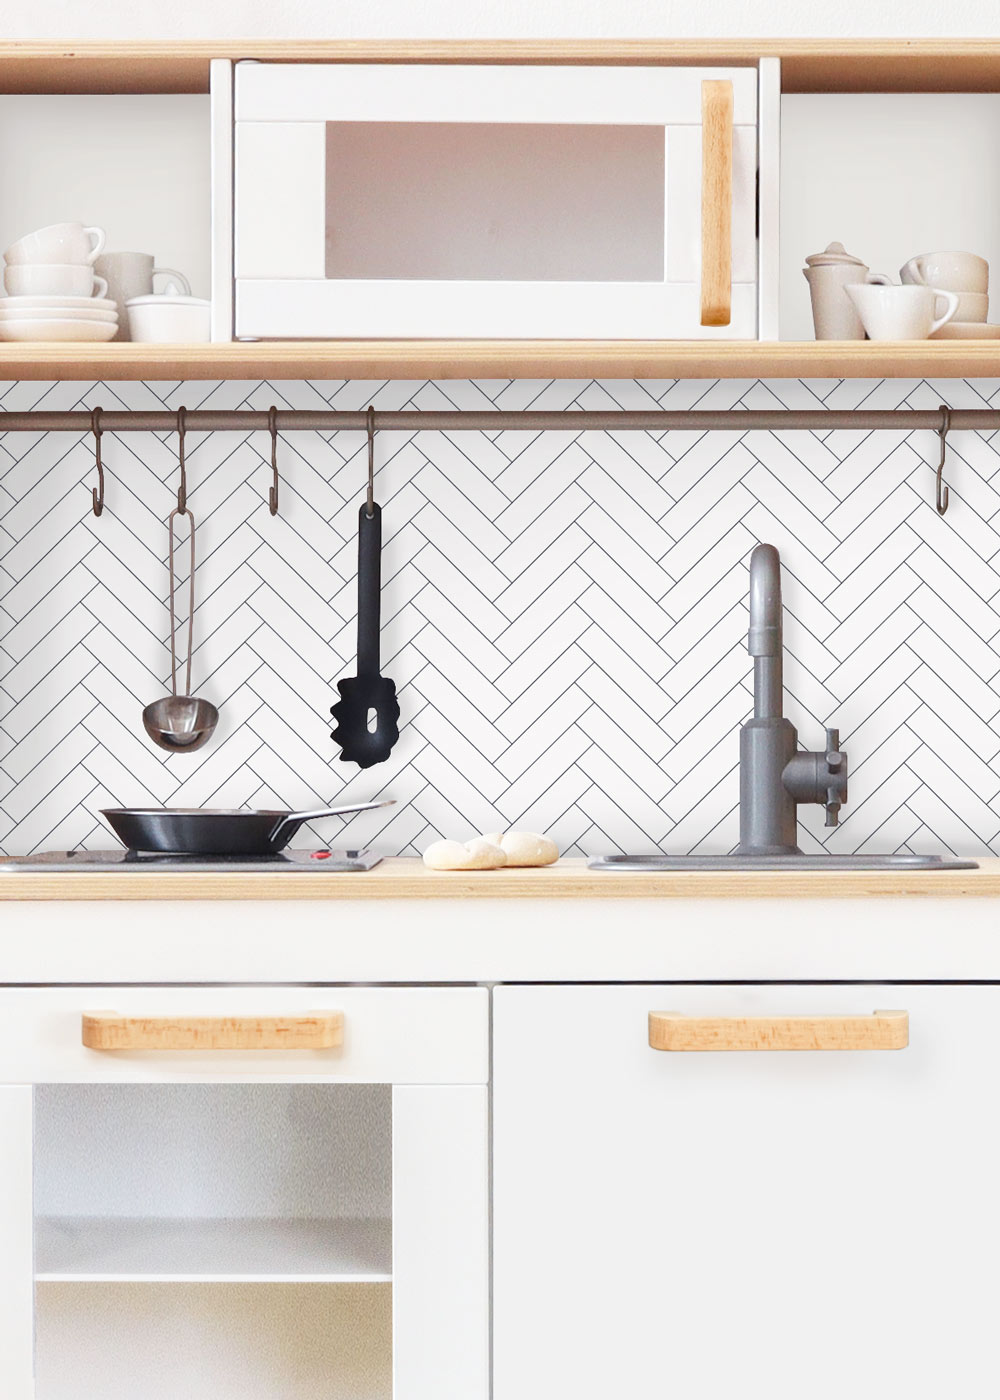
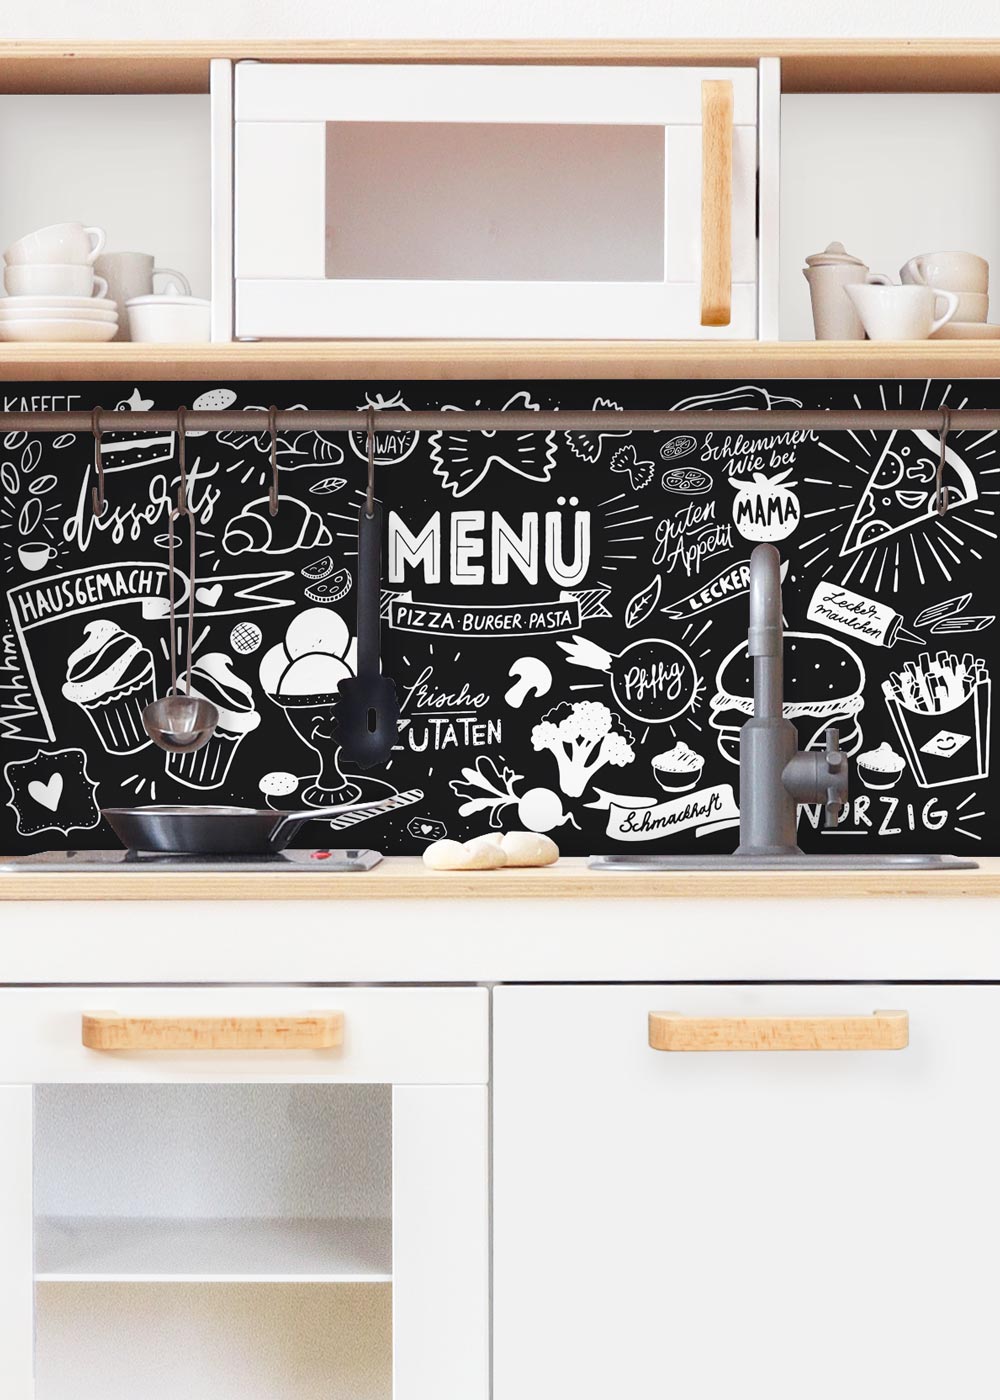
2. Fitting the backsplash
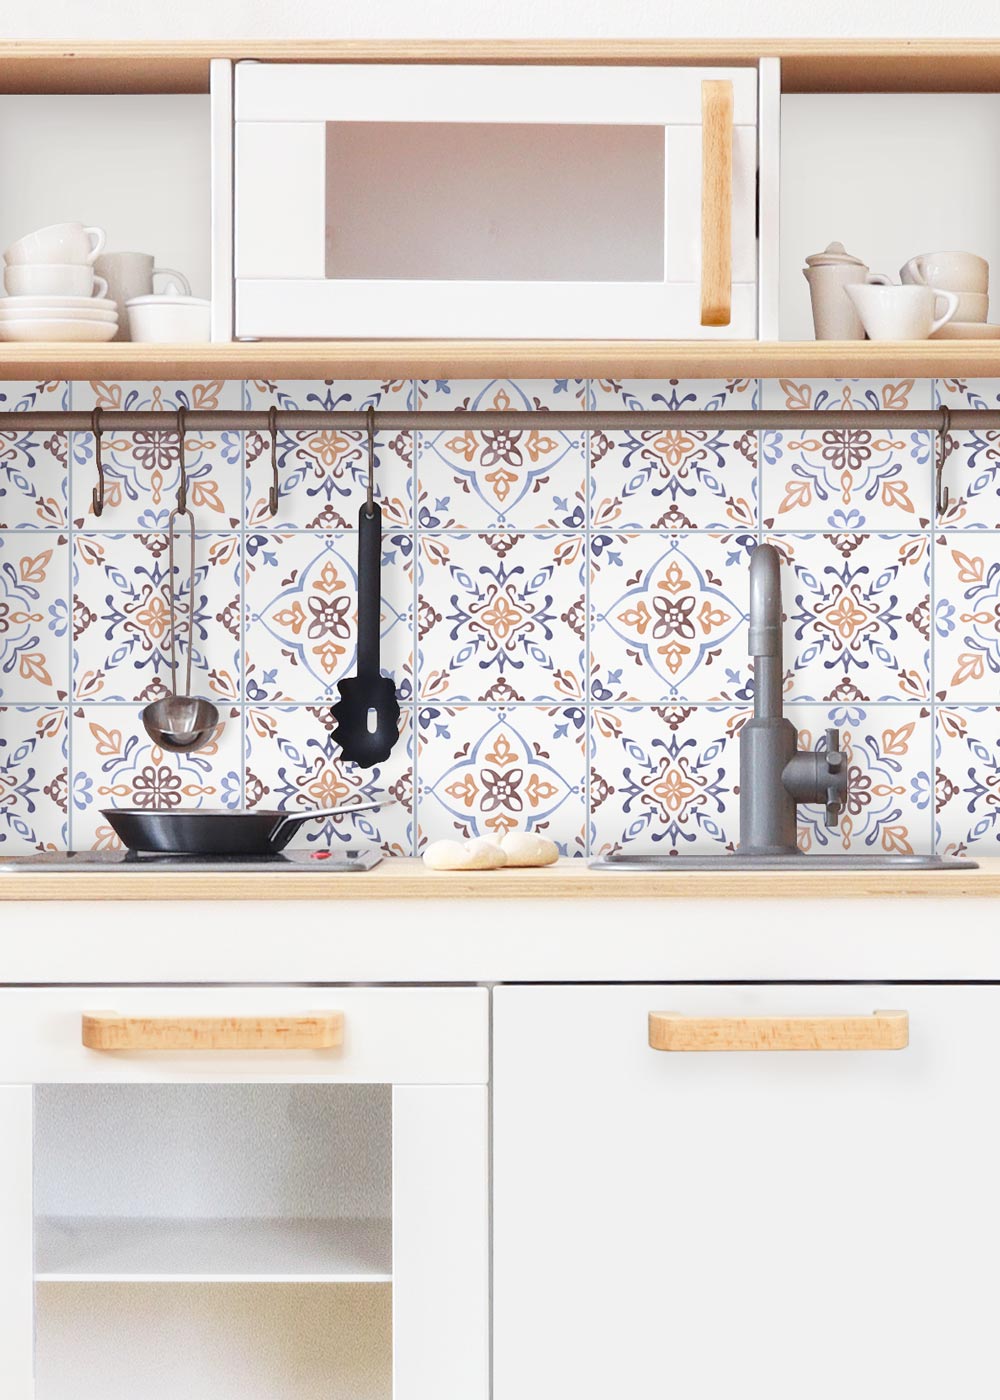
The IKEA play kitchen doesn’t usually come with a splash guard. We think it looks even better with a backsplash – and it’s more practical too. In most families, the DUKTIG is placed against a wall. And as the little ones often run about wildly in the kitchen, this protects the wall and stops the pots from falling through to the back.
Tip: Ask at a DIY store to have a simple chipboard panel measuring 32 x 67.5 cm cut to size for 2–3 euros. You can attach this to the play kitchen with a few nails.

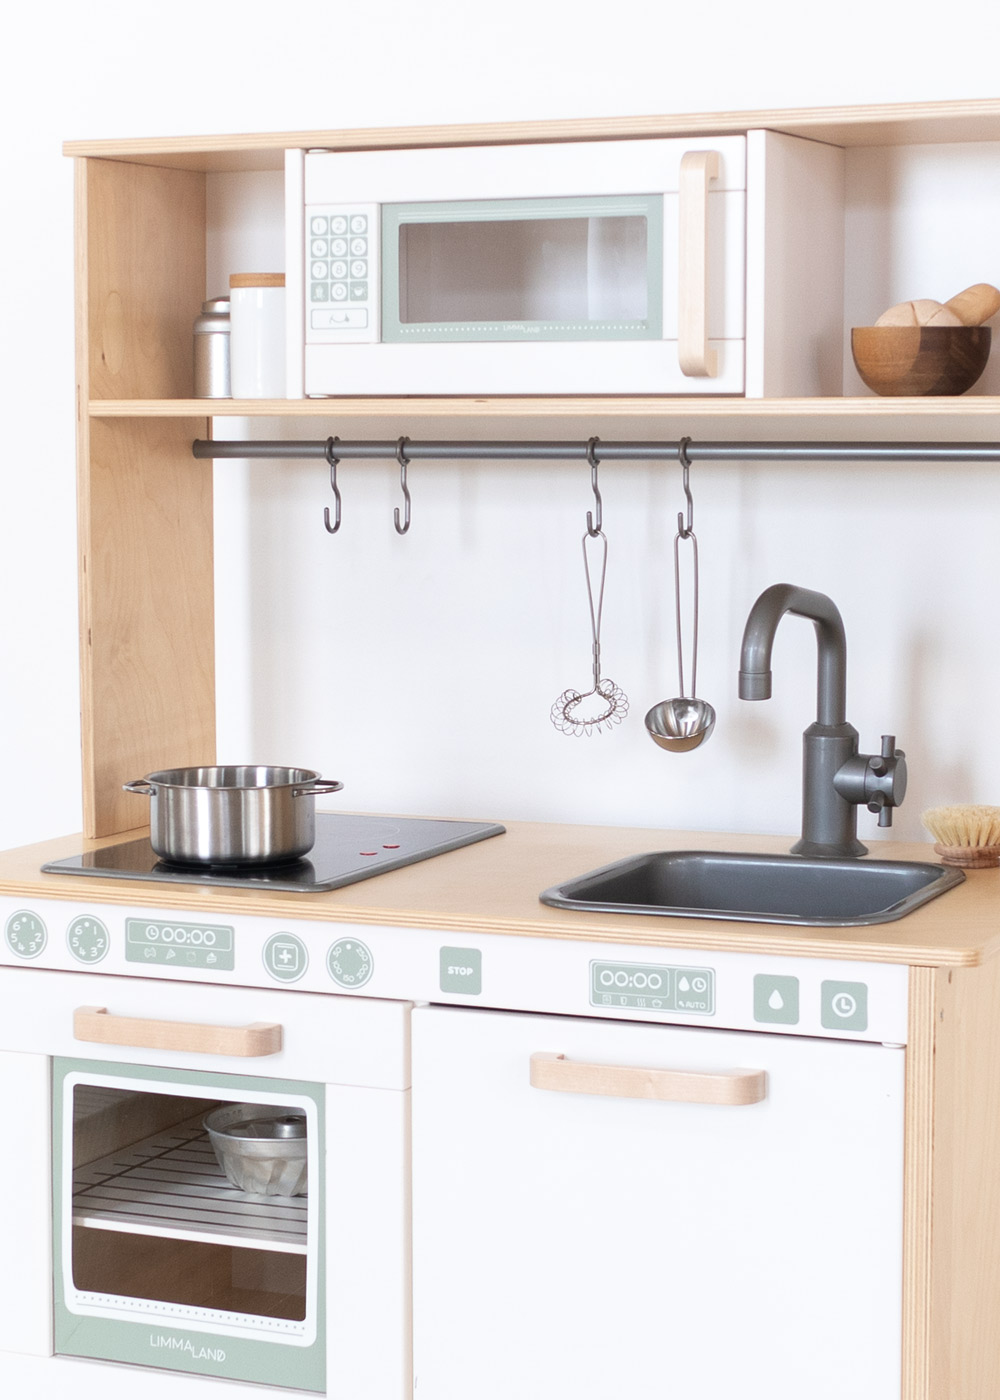
3. Little details for even more fun
Pressing buttons, switching on the microwave or even unpacking the dishwasher? You can make the IKEA ‘ play kitchen’ even more fun with little details. And as we like to keep things as simple as possible, we love using our clever accessory set for this!
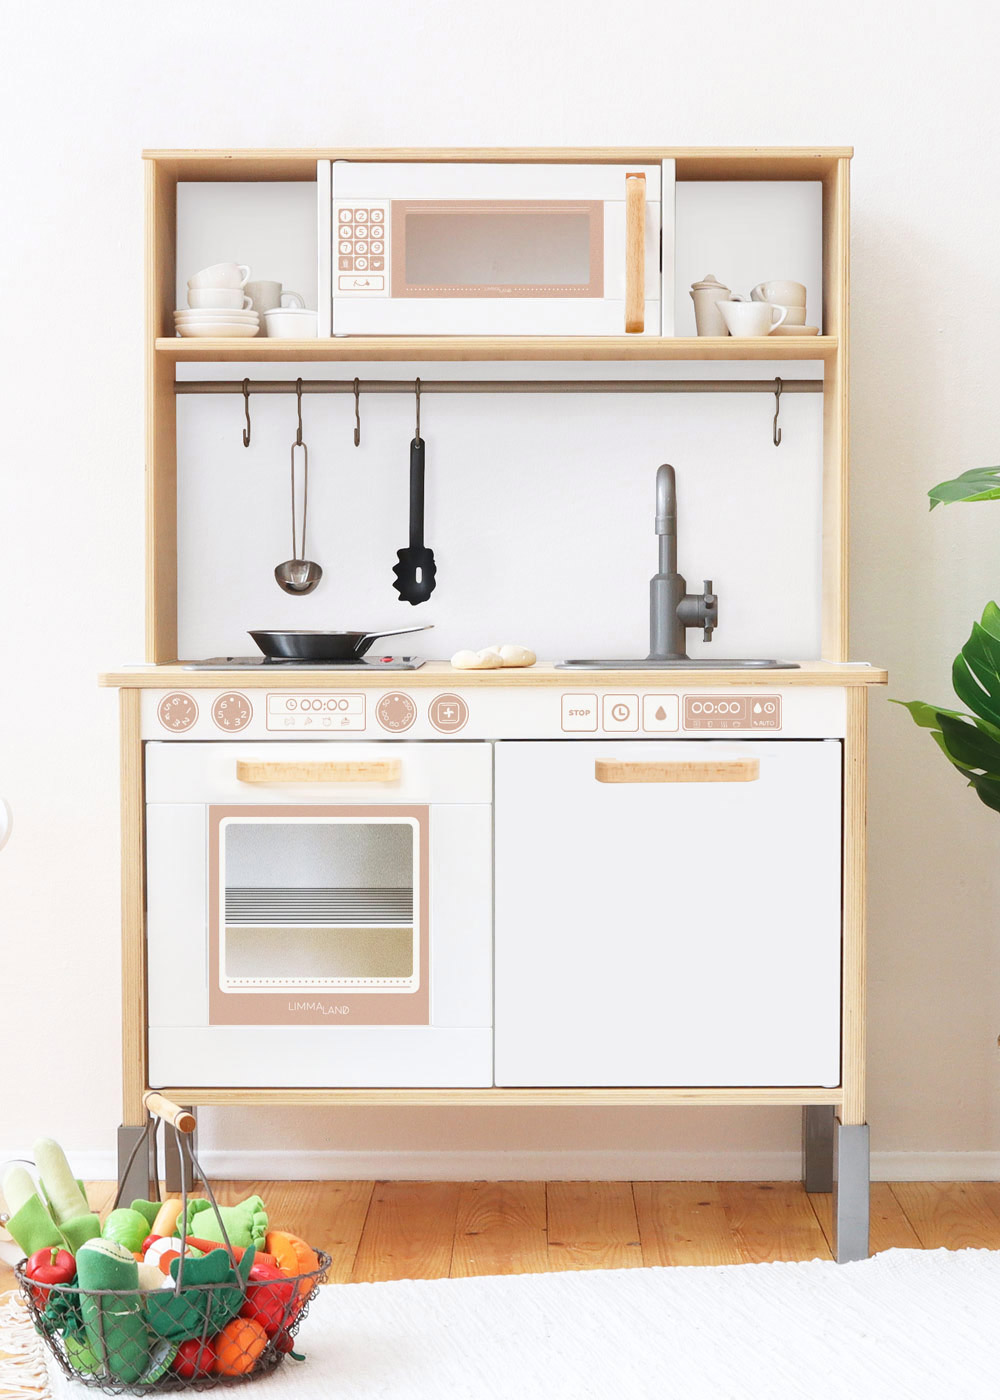
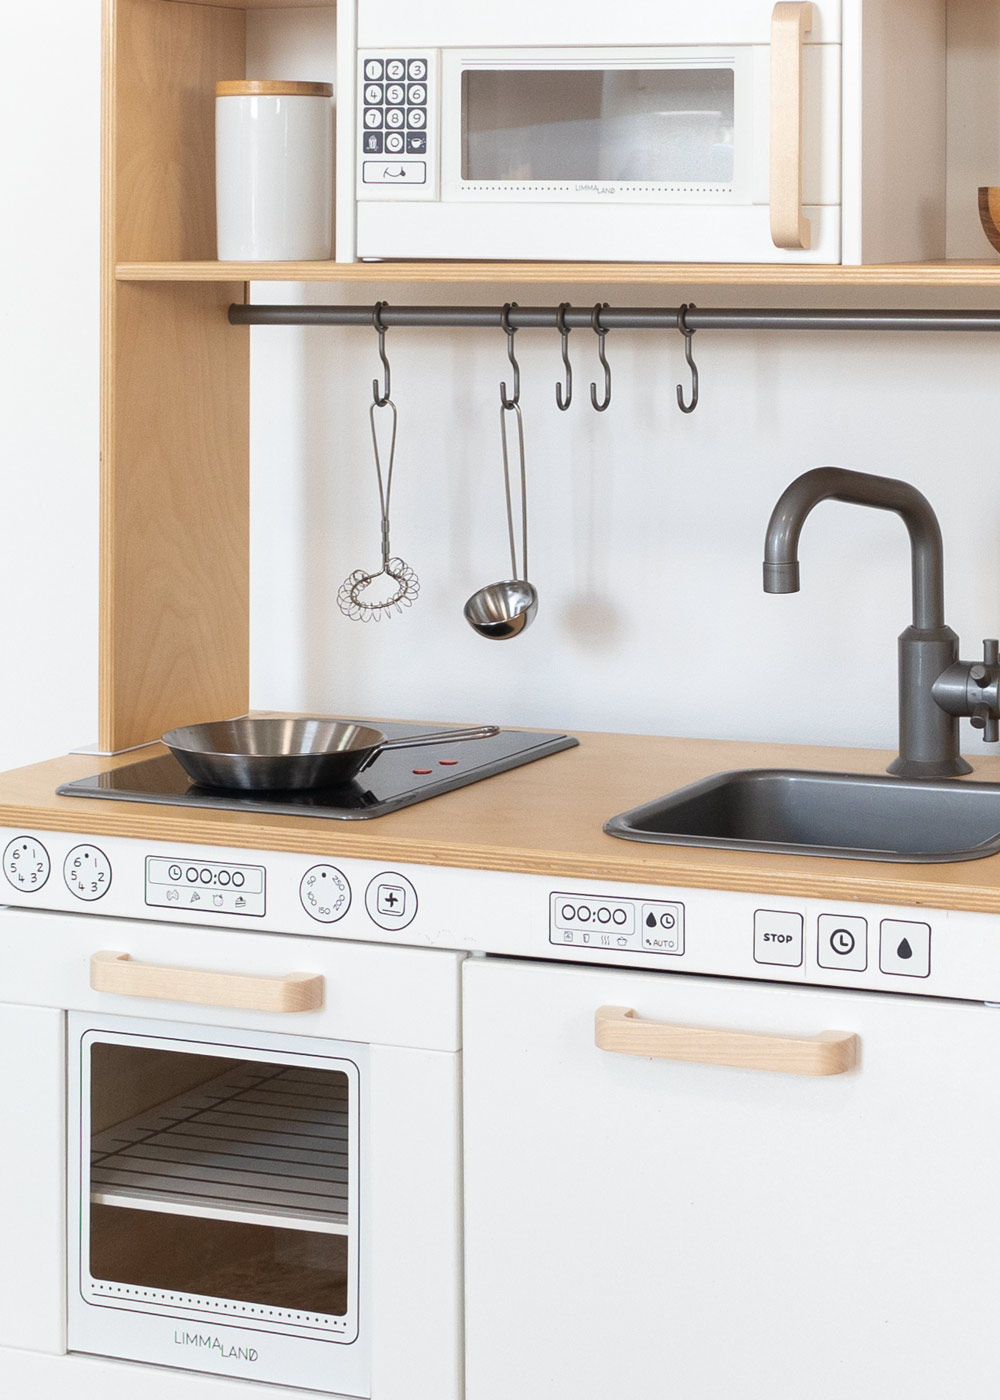
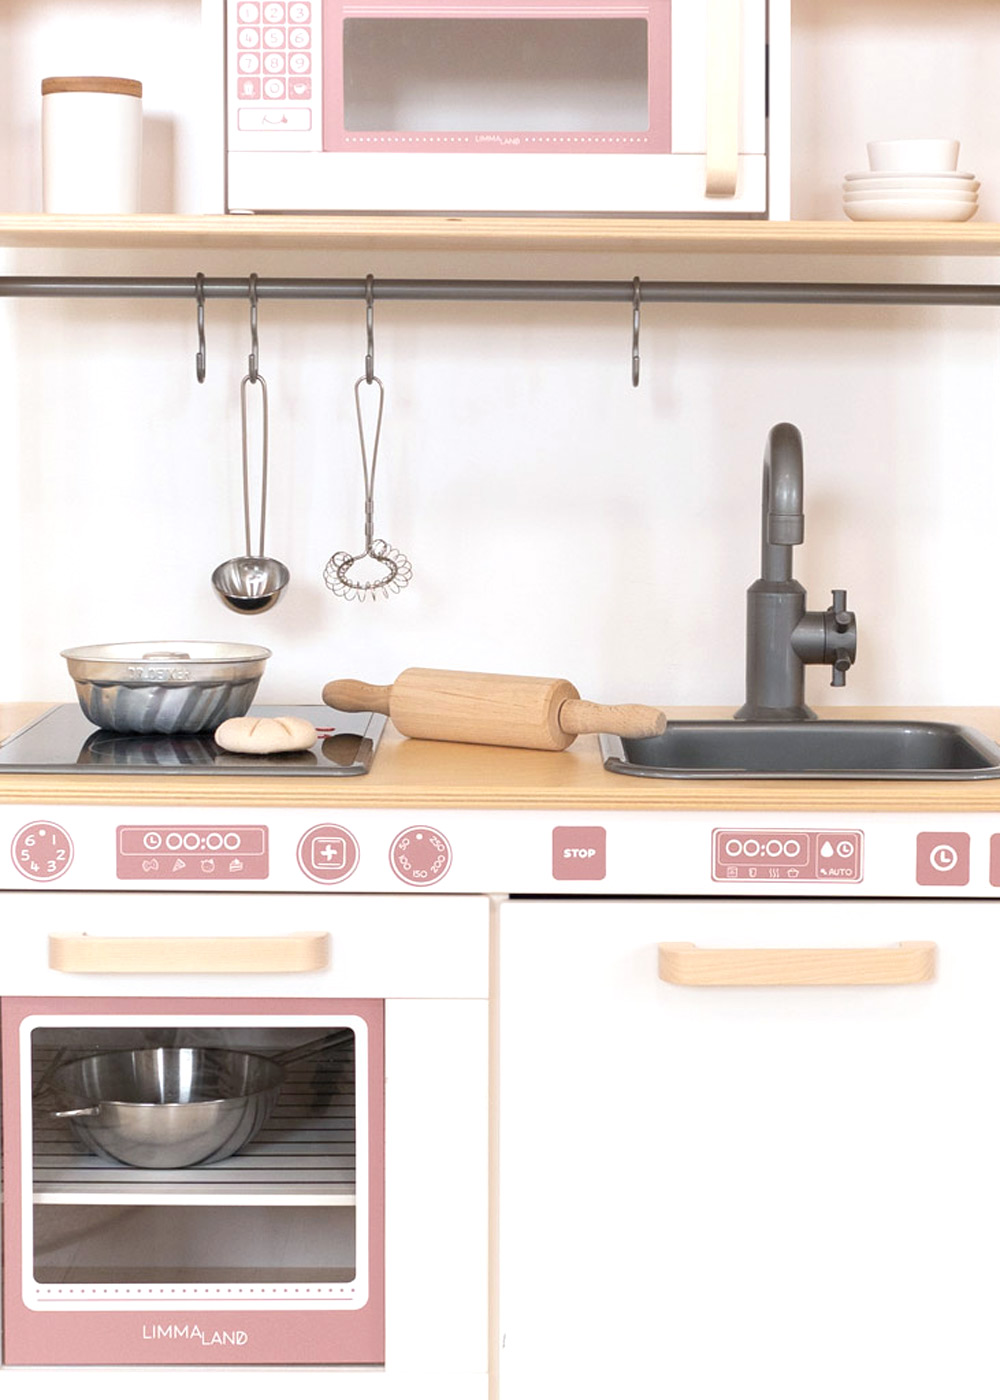
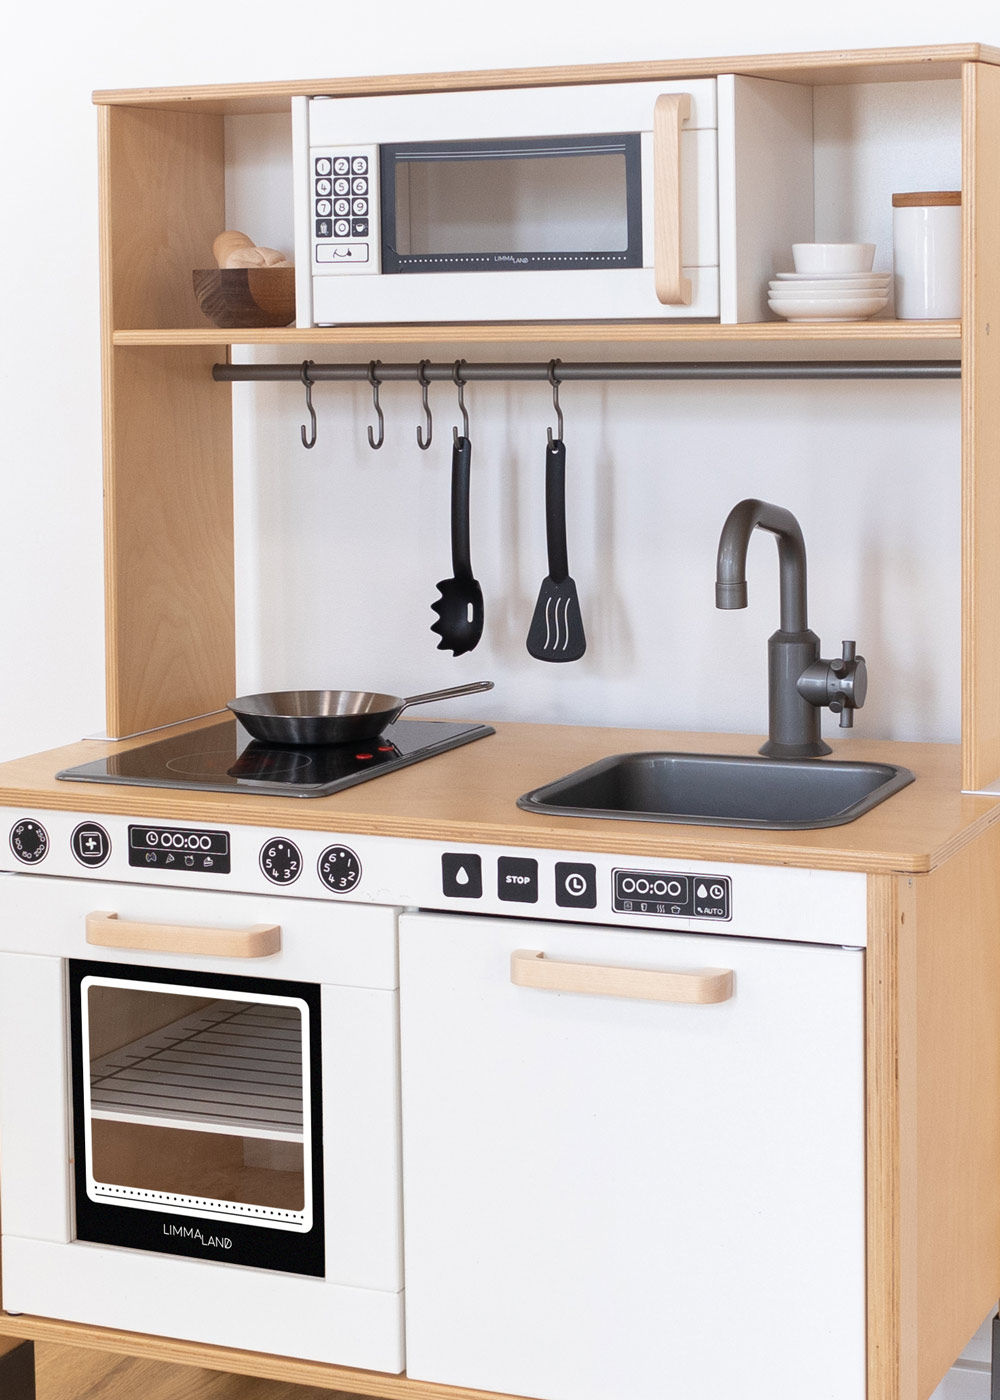
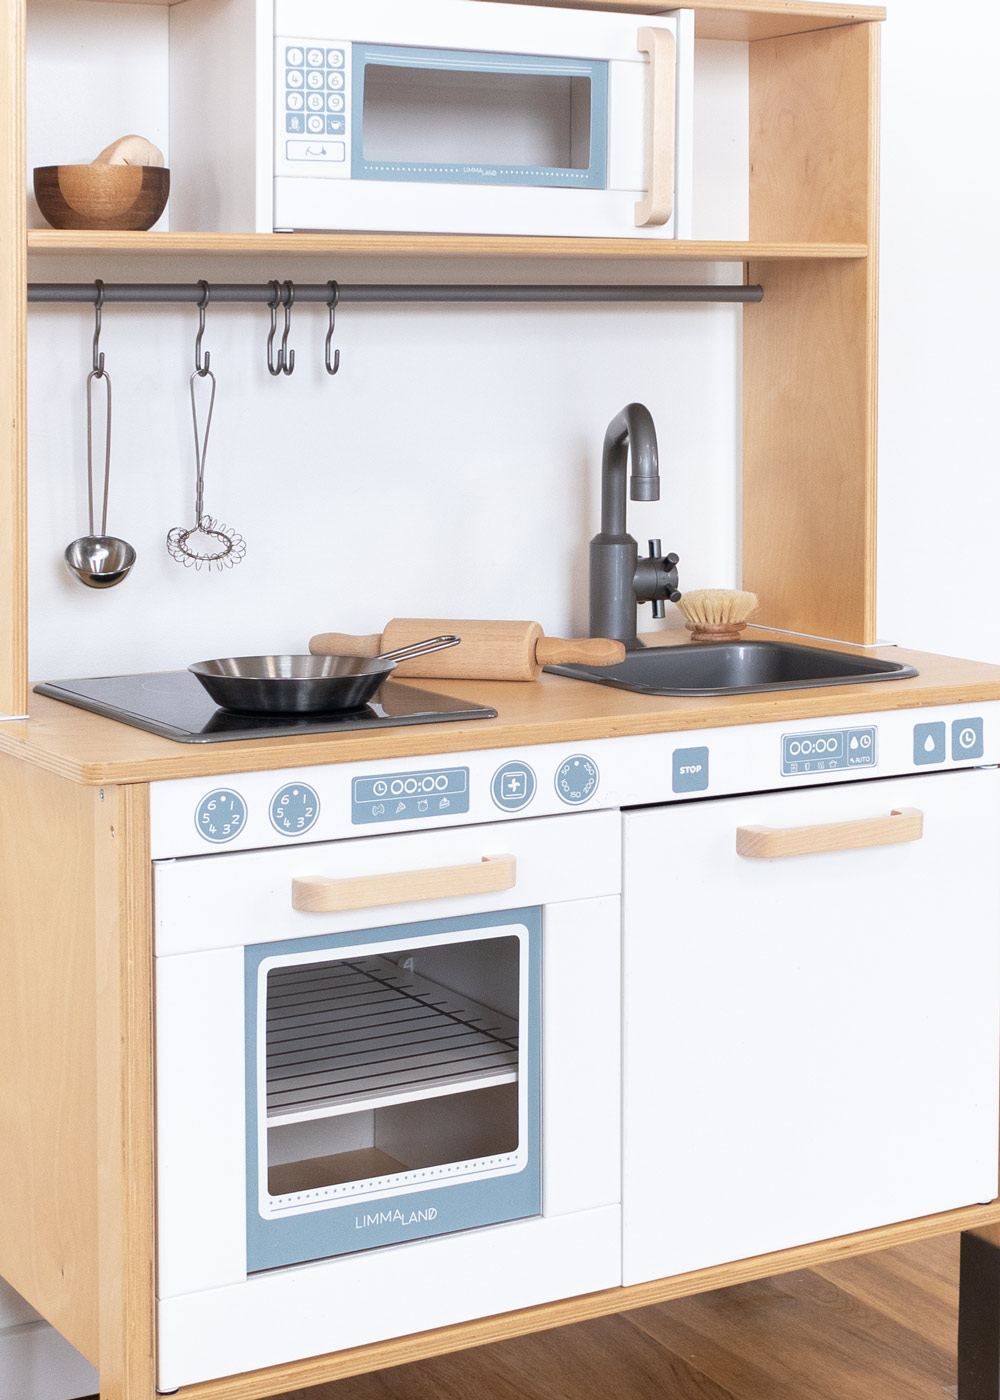
My daughter has wanted a ‘ play kitchen’ for a very long time (really, a very long time). Now her dream has finally come true, and that’s only because, thanks to you, it suits my taste too ;-) I wouldn’t have let the plain DUKTIG version into my house. Thanks to Limmaland. So simple and so stylish.
⭐⭐⭐⭐⭐ Franziska via Reviews.io
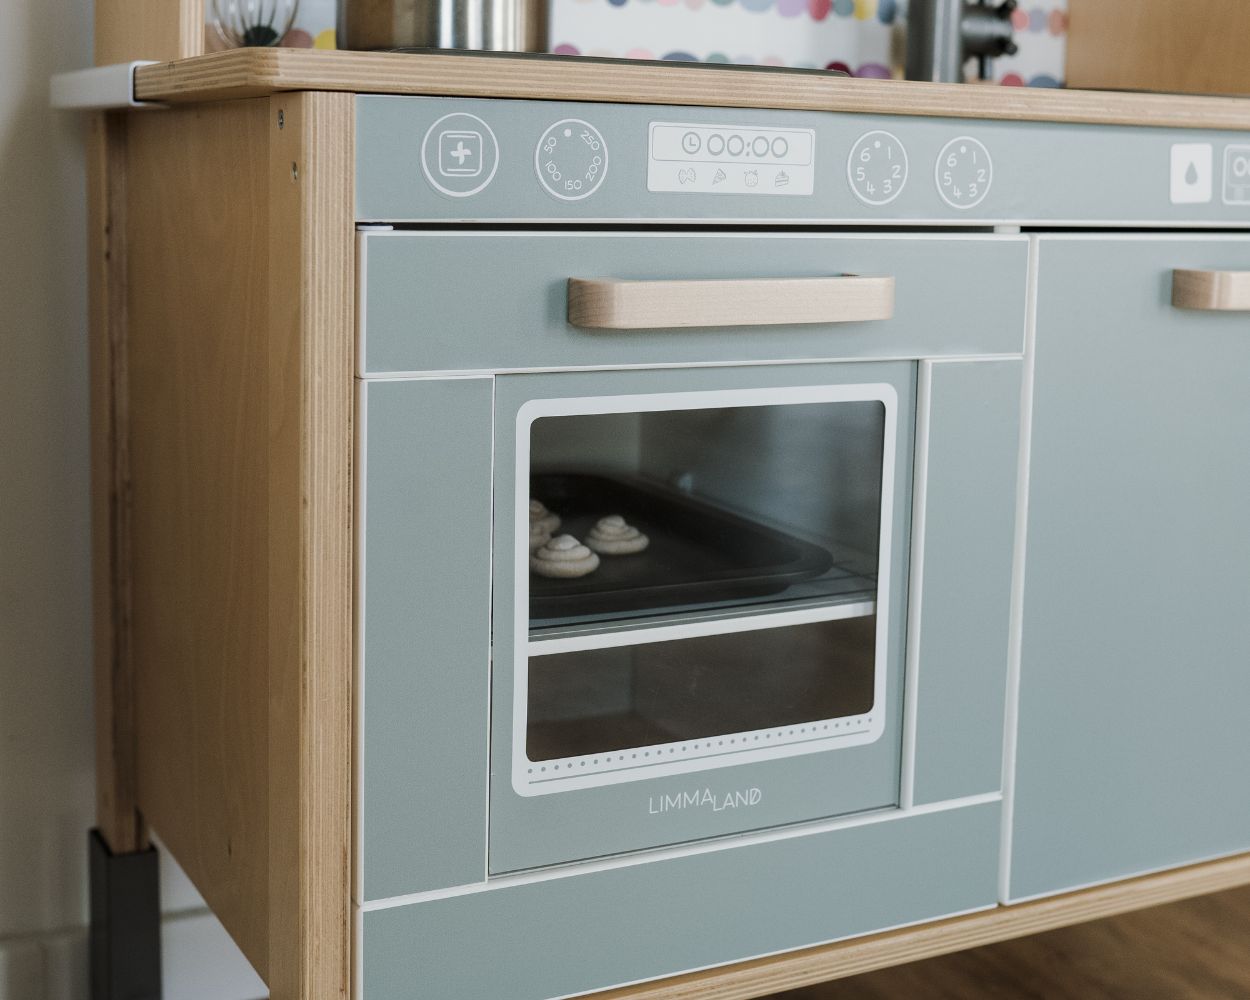
4. Handles for the DUKTIG play kitchen
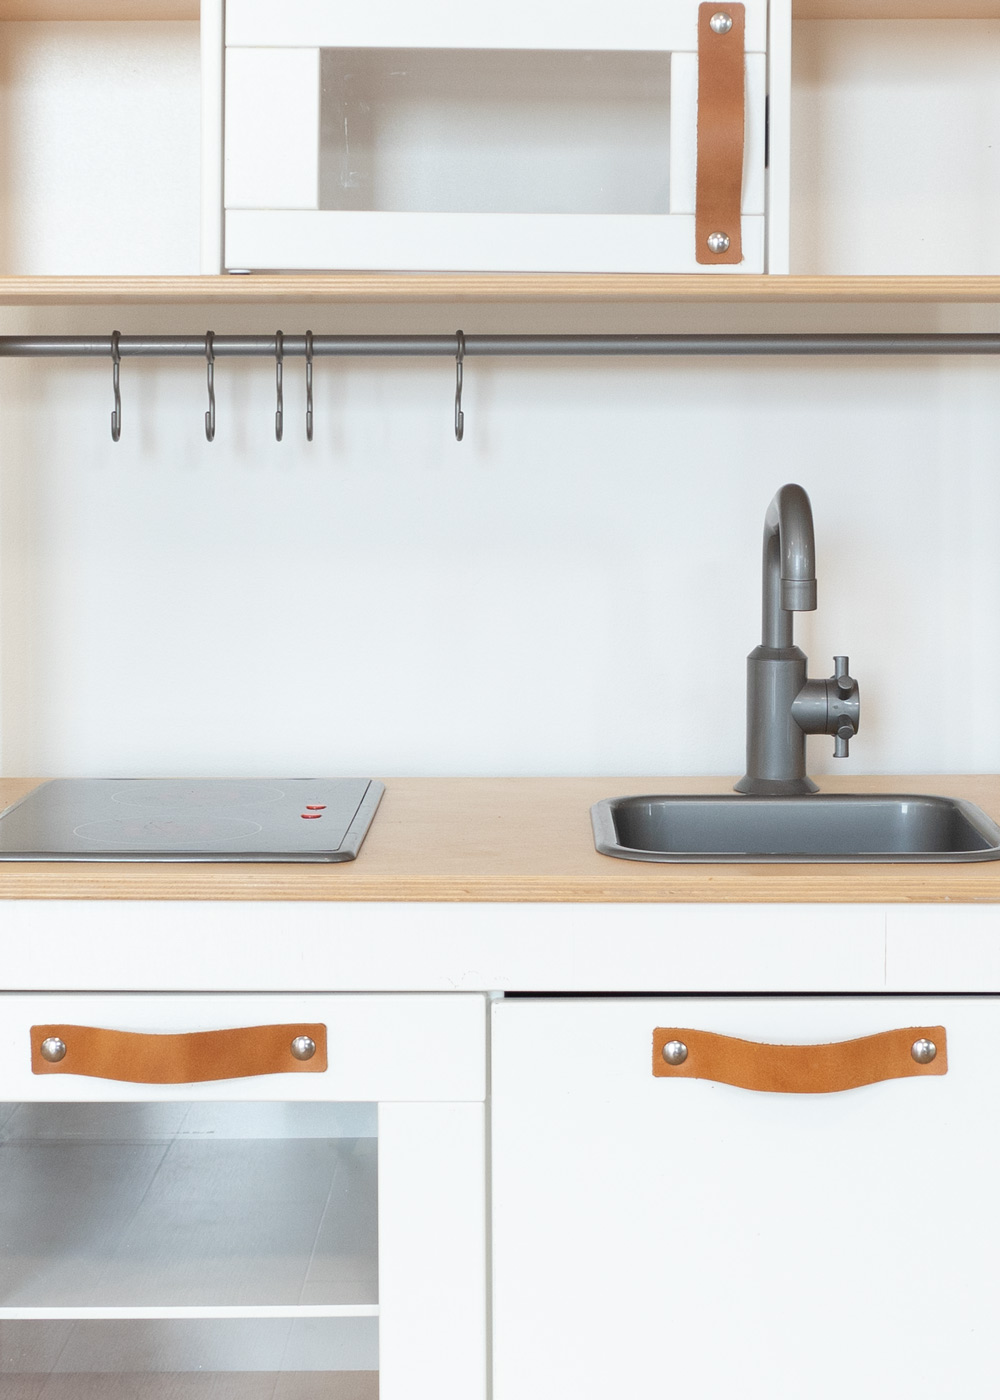
And whilst we’re on the subject of details: you can replace the simple plastic handles on the IKEA DUKTIG with our perfectly fitting wooden or leather handles. These stylish alternatives make a huge difference to the look – and the natural materials feel lovely to little children’s hands.
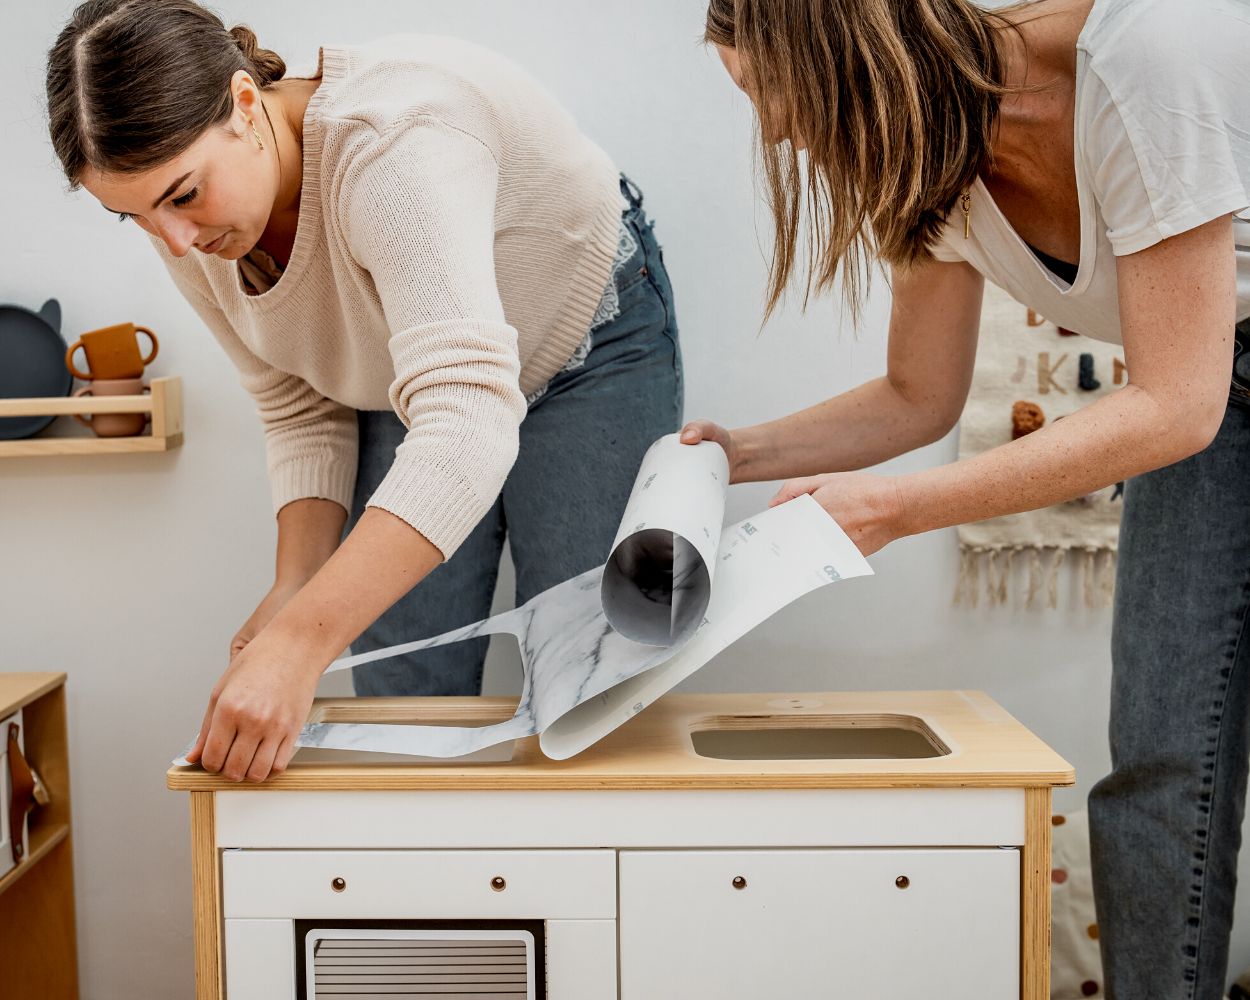
5. Marble-effect worktop
If you find the wooden worktop from the IKEA DUKTIG range a bit too plain, there’s a simple solution: our made-to-measure decal in a marble-effect finish. It transforms the simple IKEA play kitchen into a modern eye-catcher!
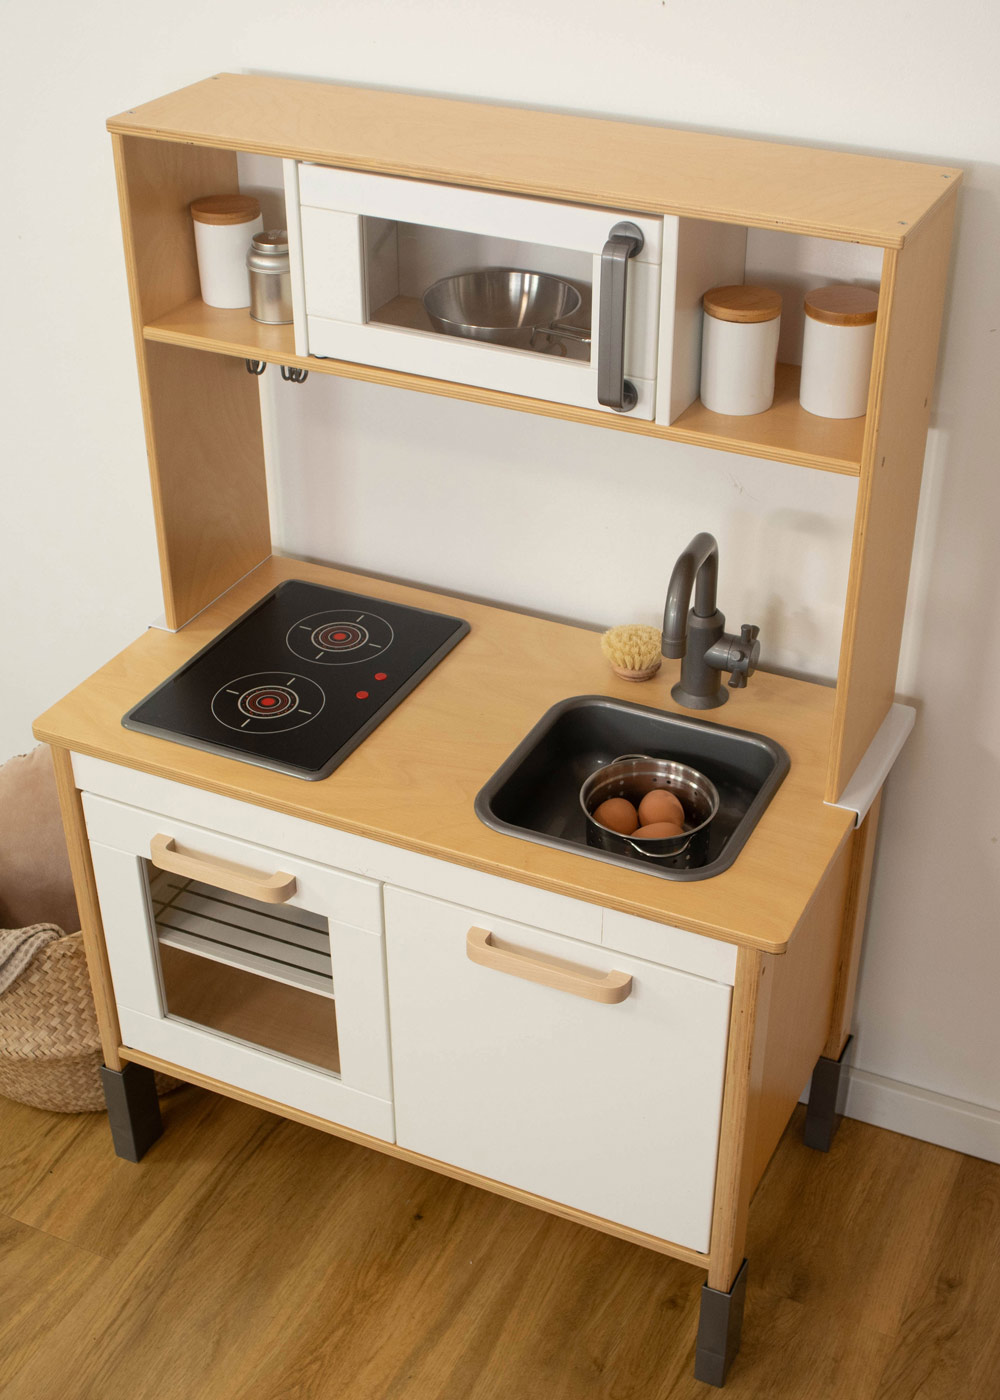
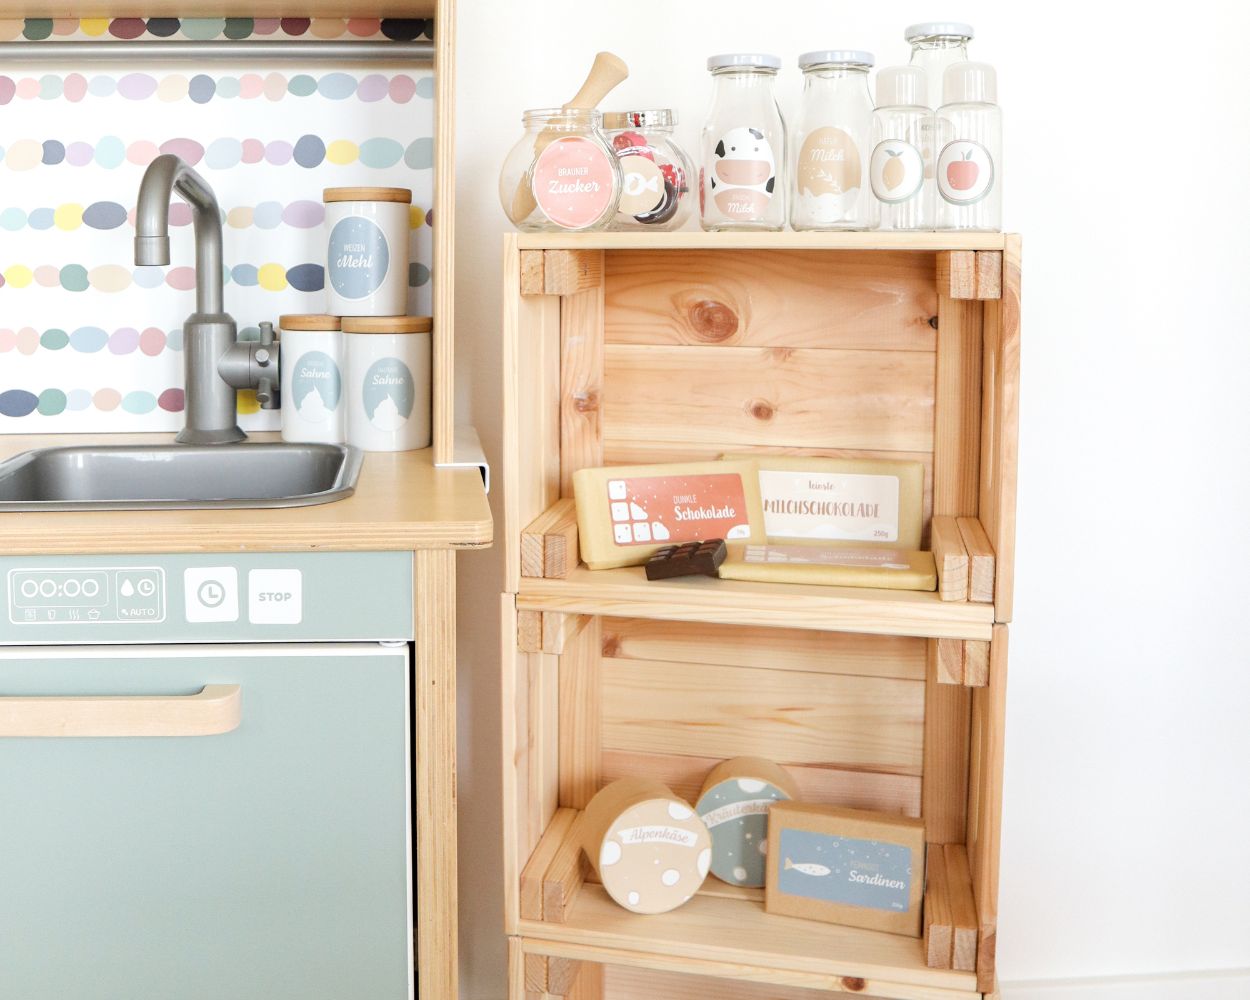
7. DIY accessories for the IKEA ‘ play kitchen’
play kitchen thrives on a variety of accessories and food items – all in miniature form, of course. We’re making it particularly easy for you once again: with our sticker set, you can decorate little jars and packaging in no time at all, ensuring plenty of fun.
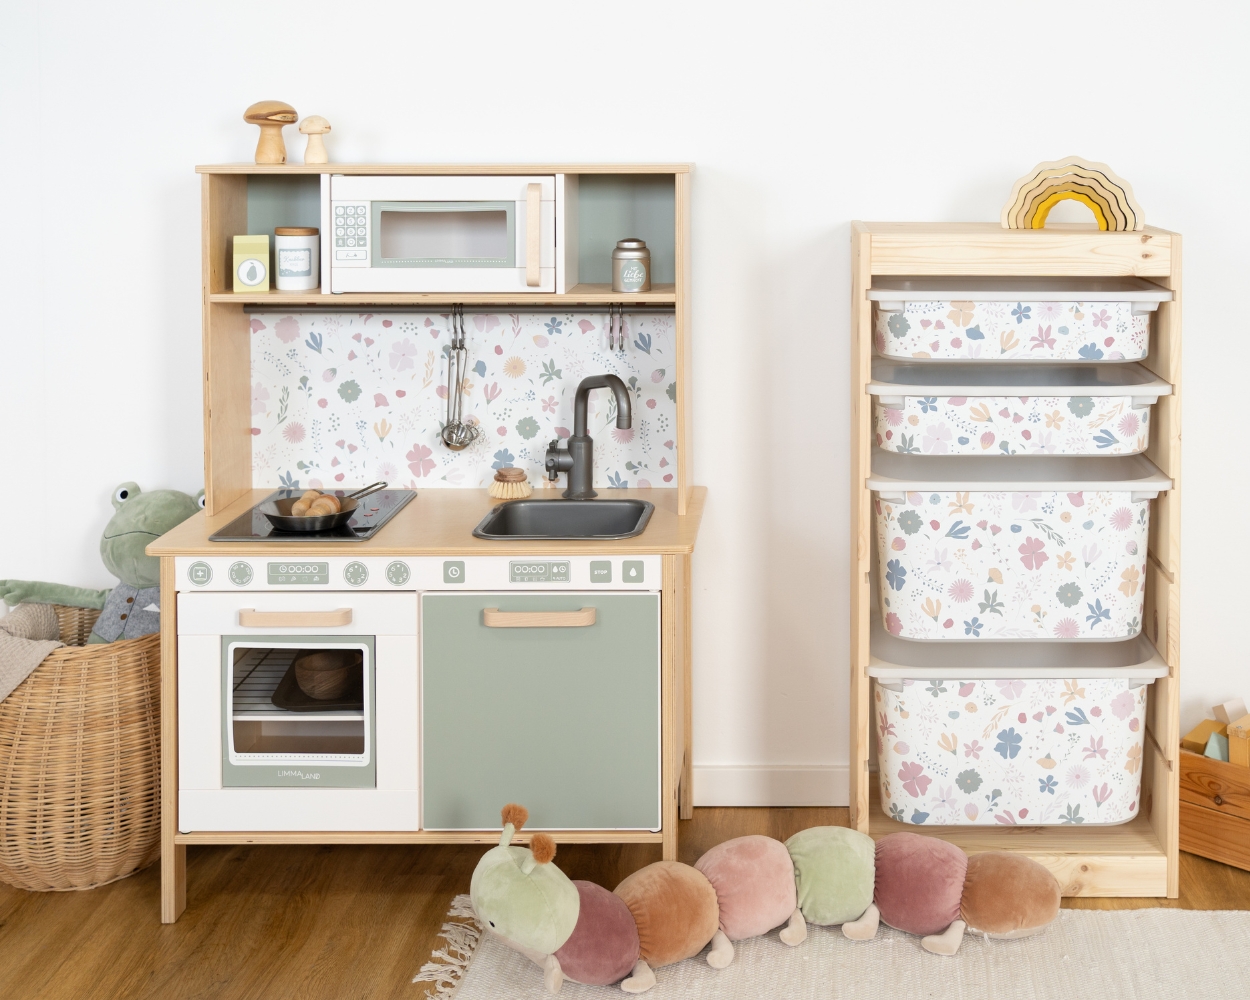
8. Play kitchen cabinet to match the play kitchen
Did you know that many of our colourful designs for the play kitchen are also available for other IKEA furniture? This means you can get creative and laminate your existing furniture to match the play kitchen. A TROFAST shelf next to the play kitchen is a really practical option, for example. You can use it to keep toys and accessories tidy yet within easy reach.
9. Menu for DUKTIG
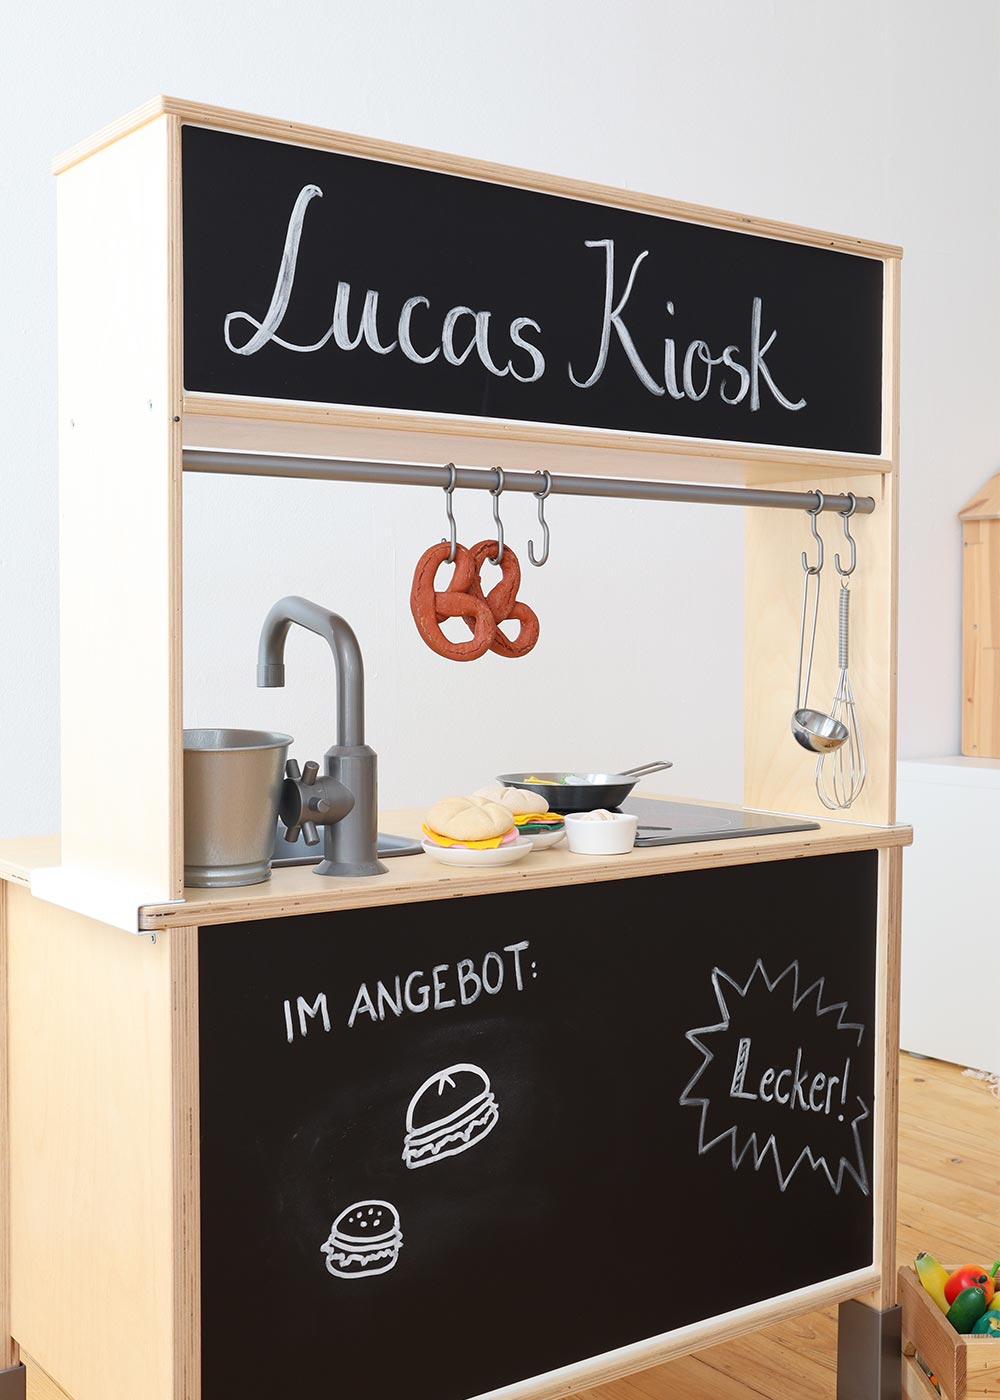
So, what’s on the menu today? The children’s favourite dishes are featured on the menu at the ‘ play kitchen’. Tip: You can use a small blackboard to display a different menu every day.
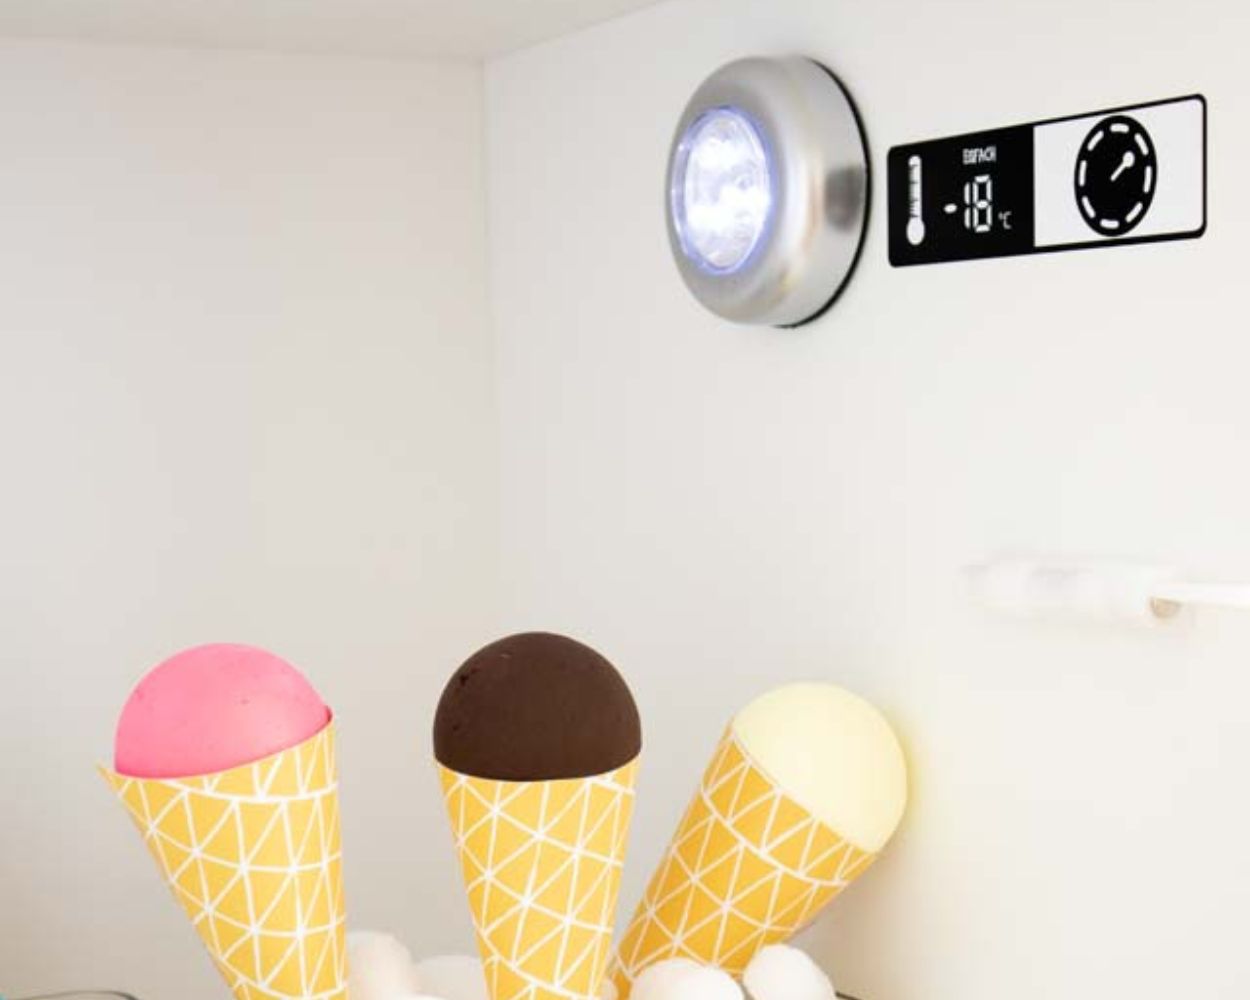
10. Let there be light!
Just like with the full-size versions, you can easily fit the ‘ play kitchen’ with lights. You can get very simple battery-powered lights from DIY stores or, often, from 1-euro shops. Self-adhesive stickers are usually included, so you can stick these handy little lights straight onto the model.
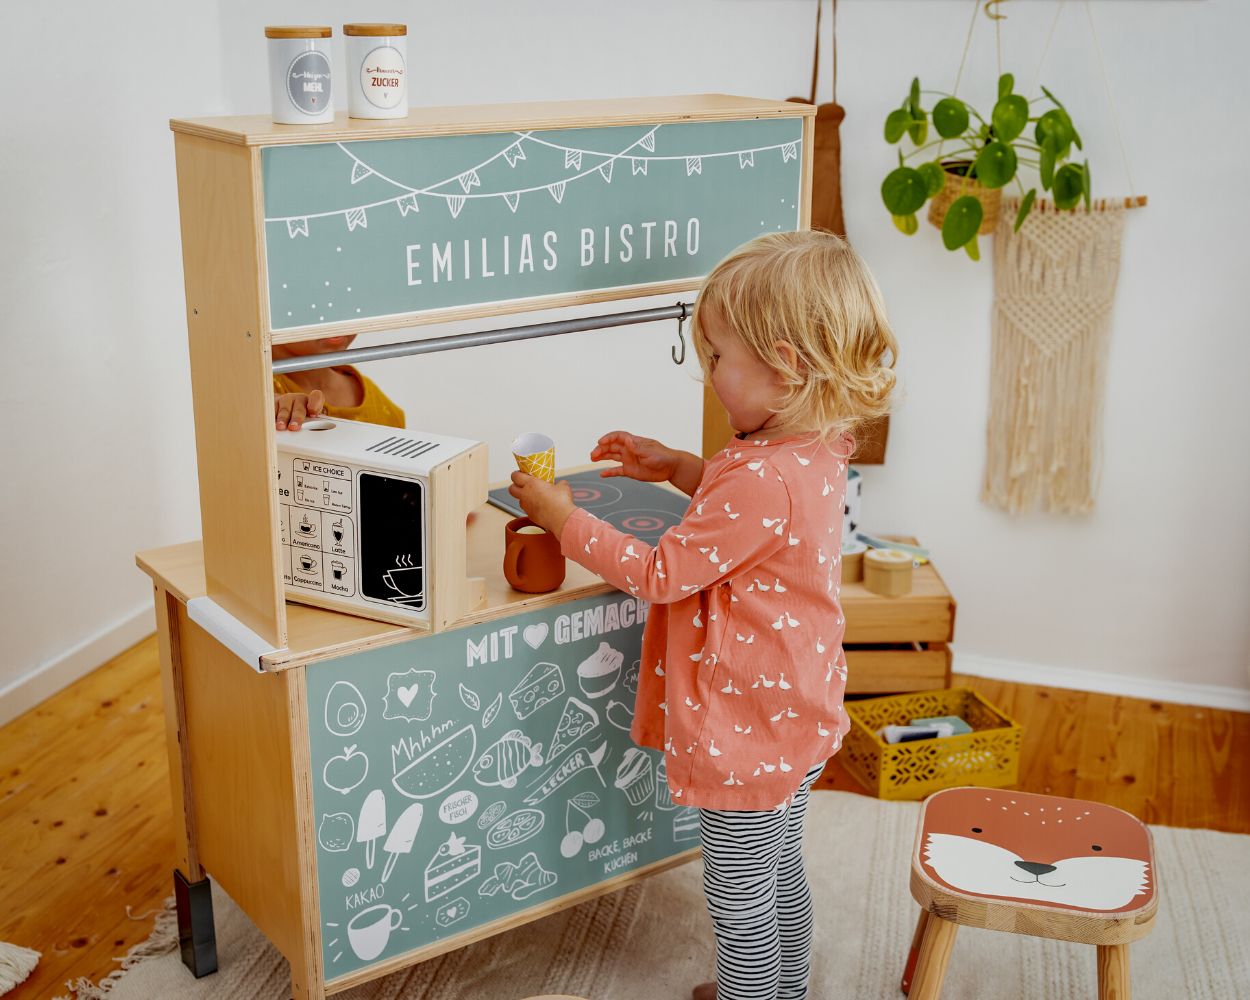
11. ‘ play kitchen’ and ‘ play shop’ in one
Sometimes it’s worth looking at things from a different perspective. That’s why we simply turned the DUKTIG upside down – and turned the back side into a bistro! Cooking takes place at the front and serving at the back. Pretty clever!
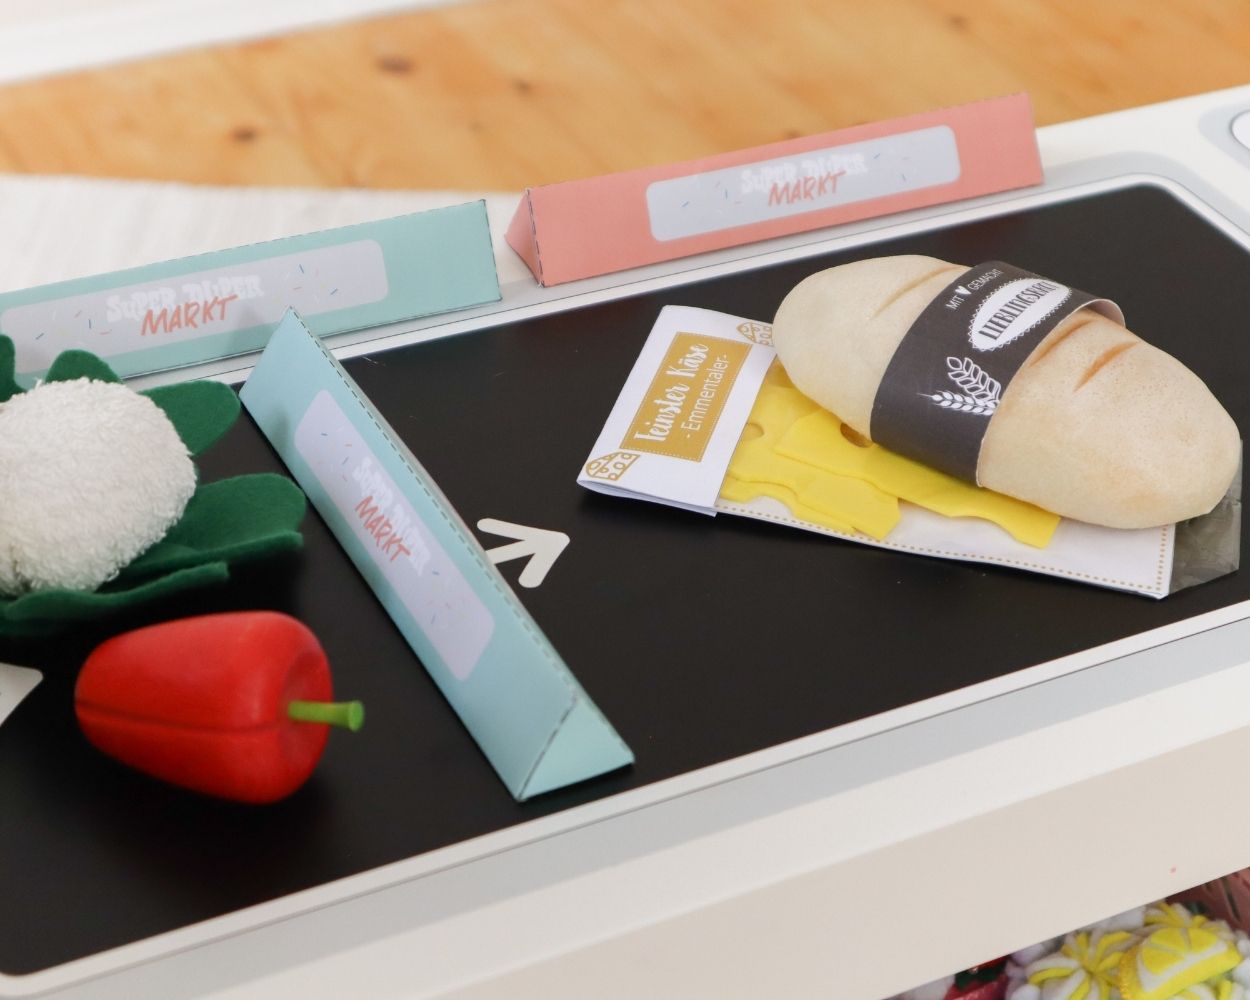
12. ‘ checkout conveyor’ as an addition to the bistro
Wherever food is served, there’s bound to be a need to take payments. With the adhesive stickers for the ‘ checkout conveyor’, little cashiers will be in their element!
13. Play kitchen s for small rooms
IKEA used to stock a mini version of the DUKTIG. This is particularly well suited to children’s bedrooms with sloping ceilings. Our tip: Why not have a look on classifieds websites? You might just be able to snap up an old model.
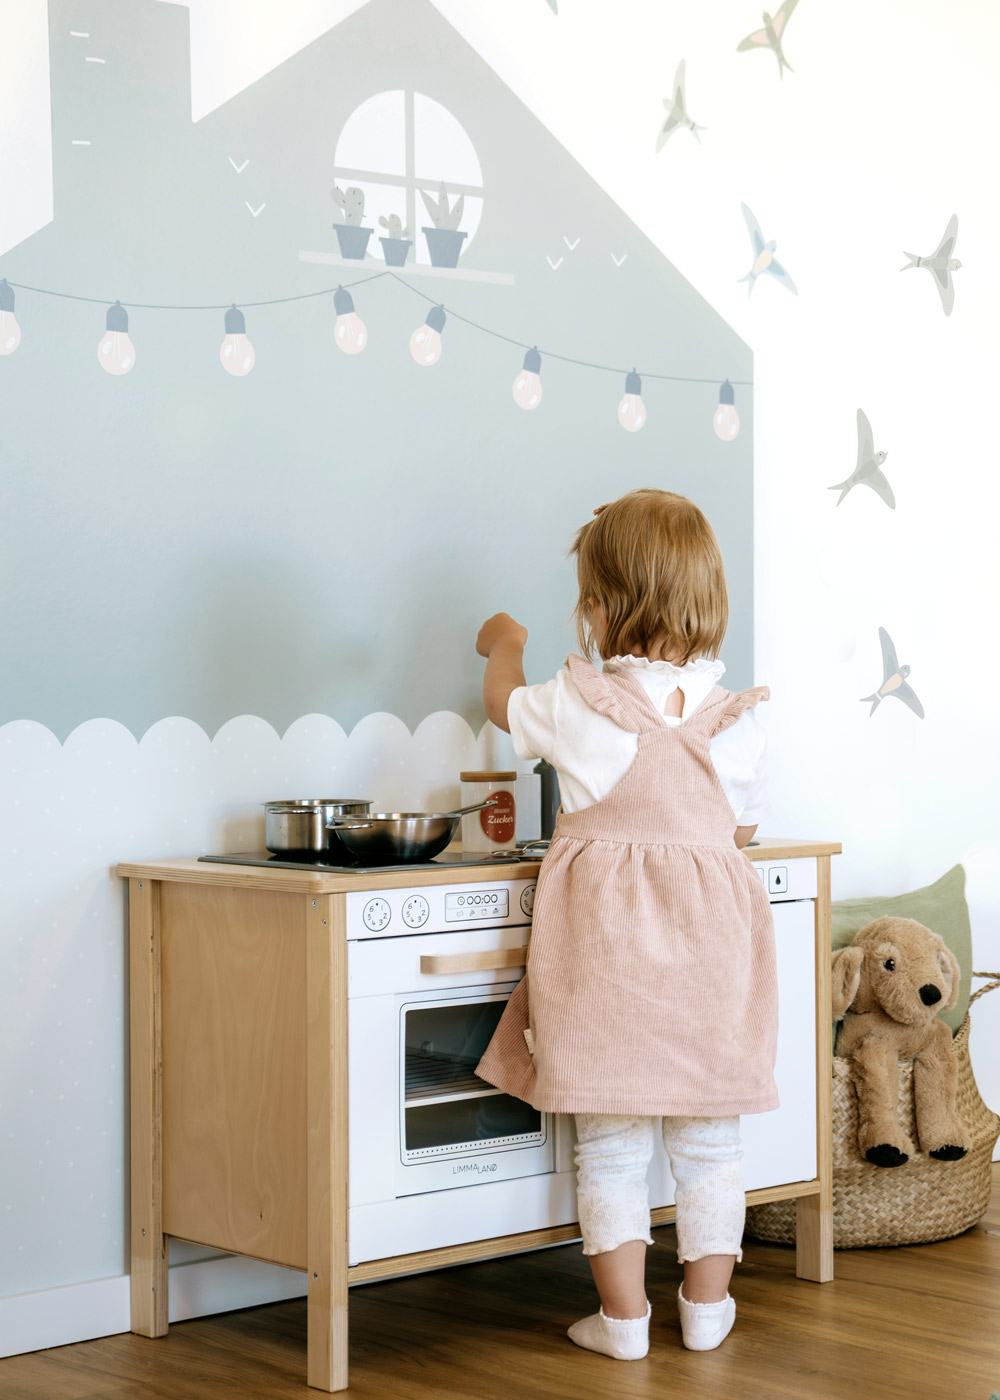
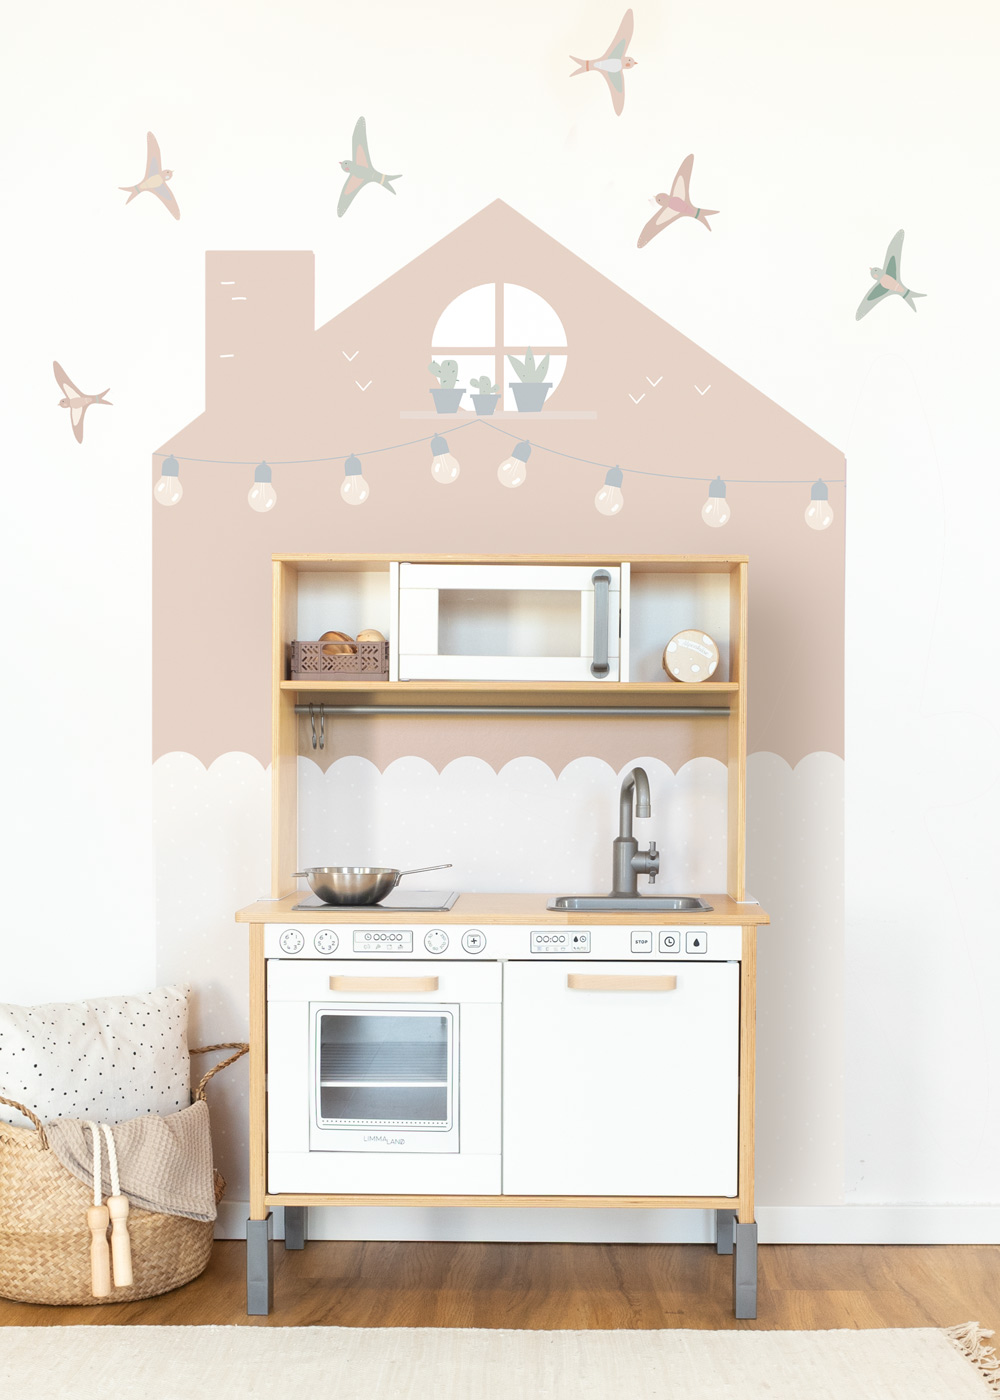
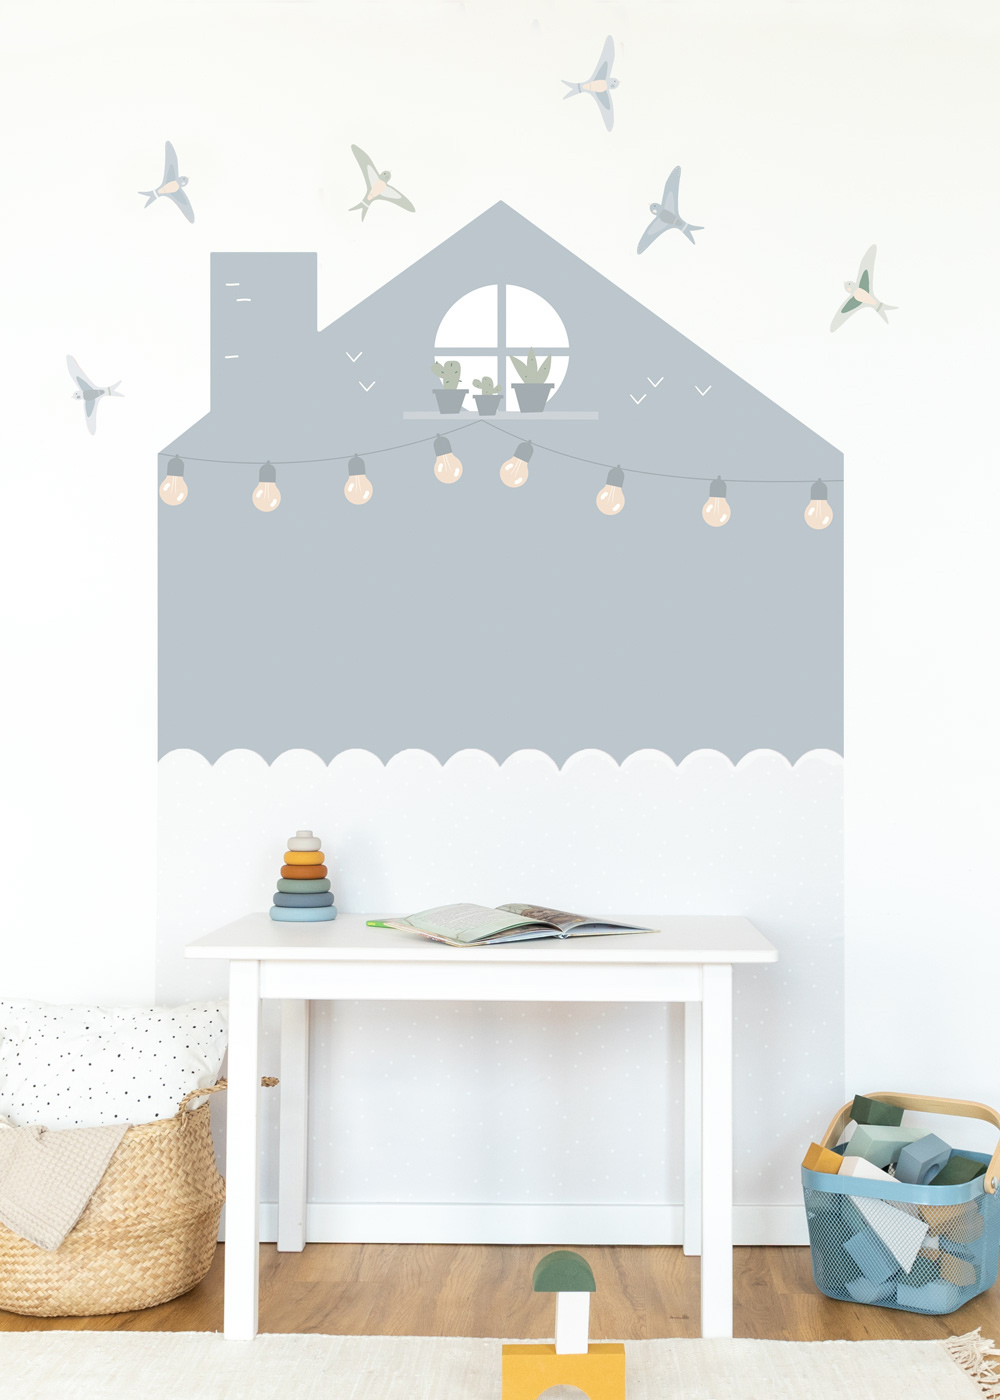
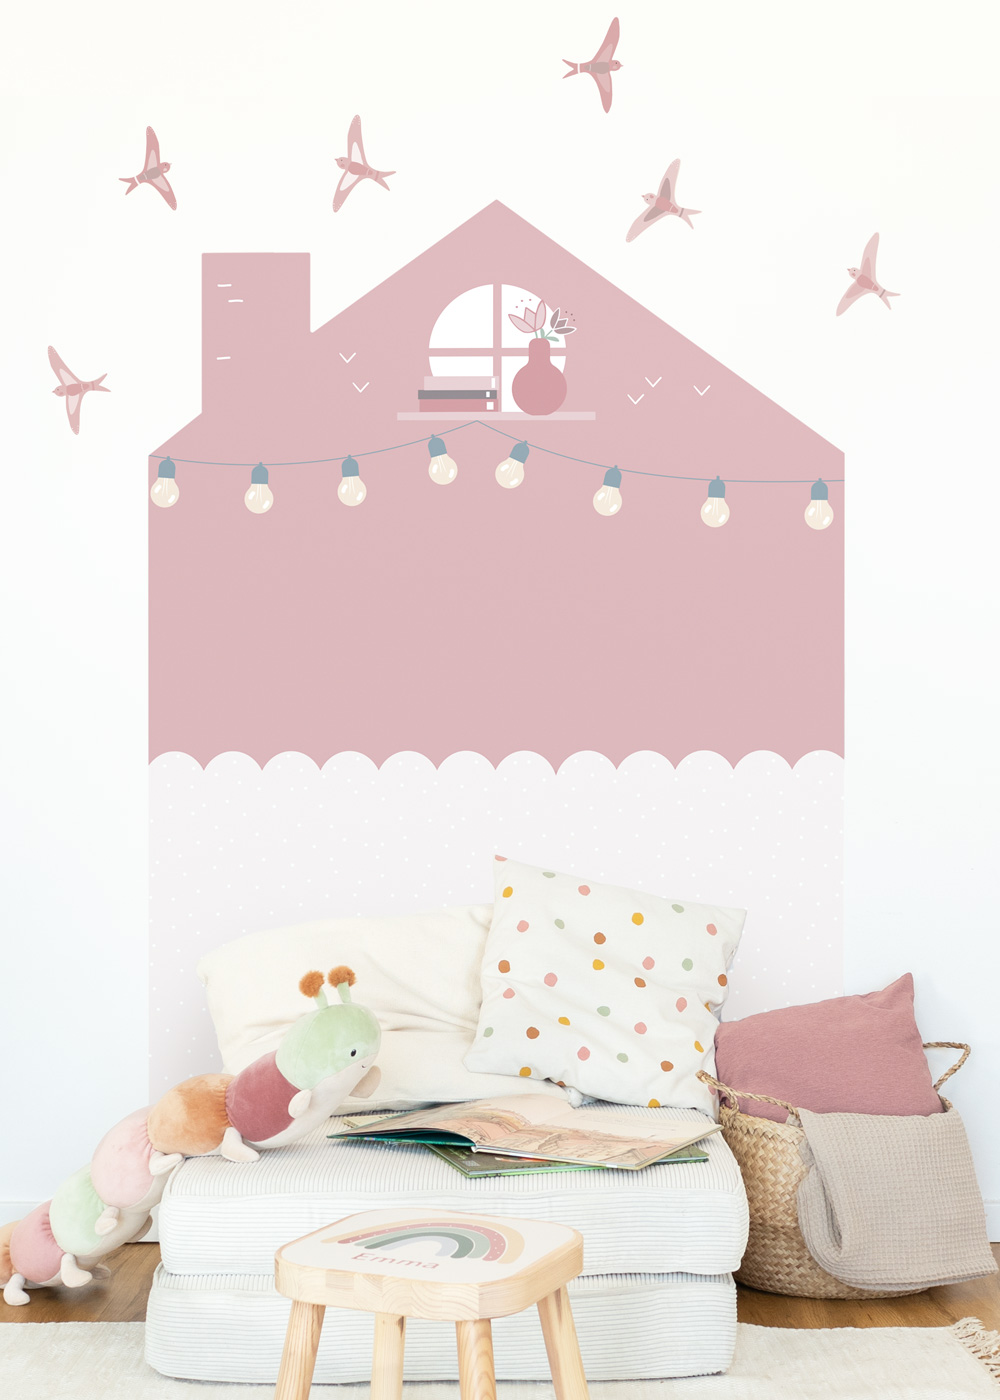
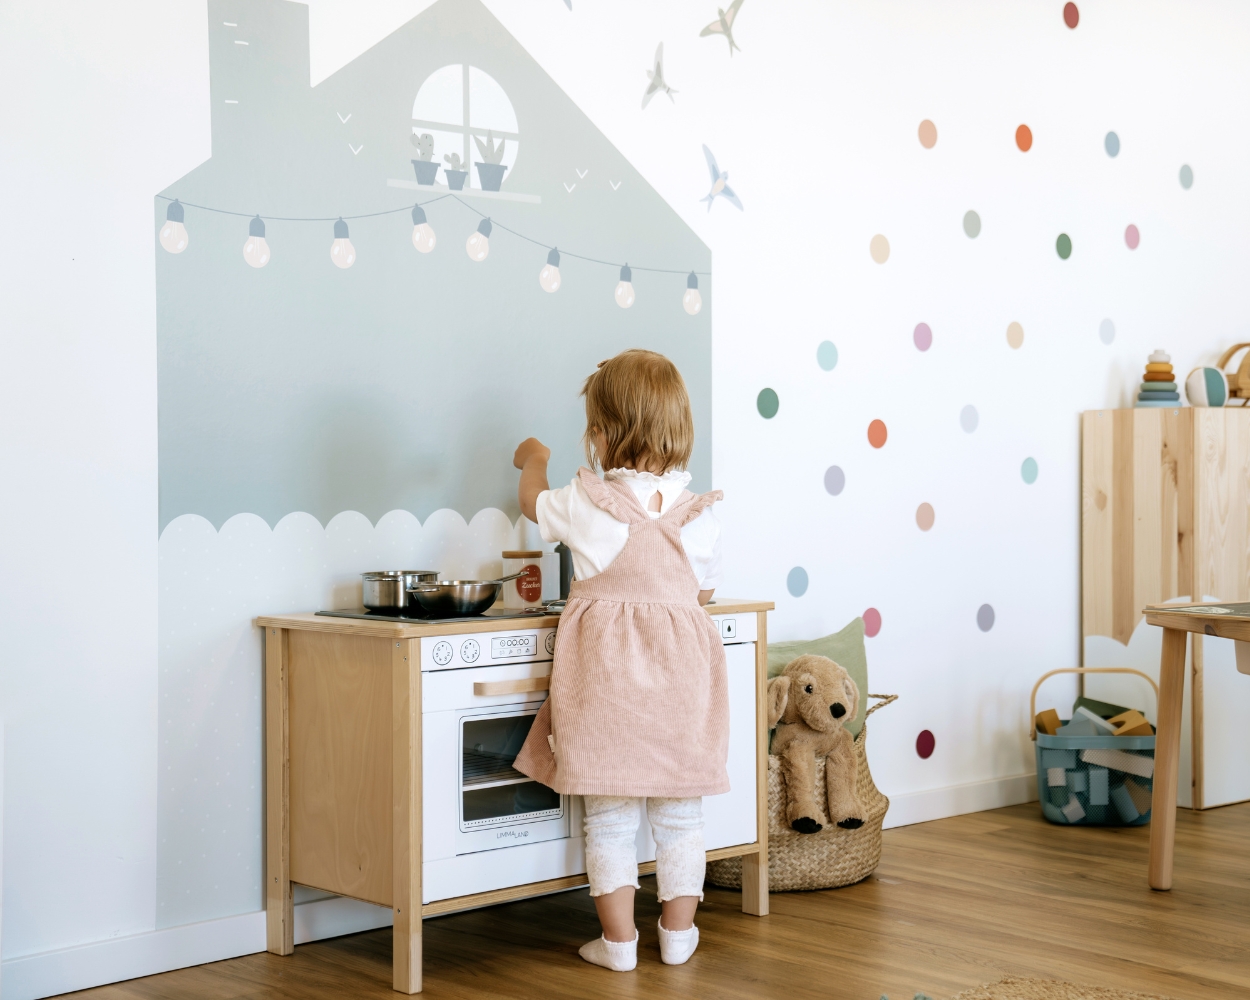
14. Wall decorations to match your play kitchen
We’ve shown you lots of ideas to spruce up your ‘ play kitchen’. But perhaps you’d prefer to keep the kitchen simple and let the wall shine in bright colours? That’s exactly why you’ll find wonderful ideas here to complement your ‘ play kitchen’.