


Notes on the structure
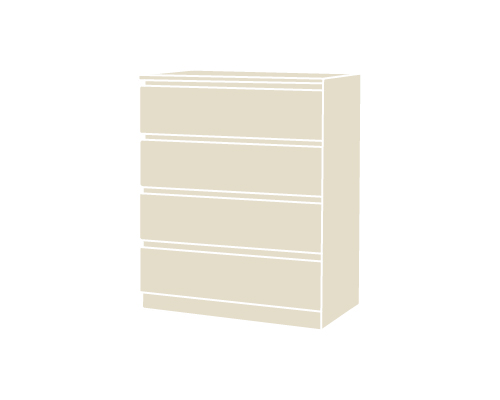
WIND PLATS
changing table topper for the IKEA HEMNES chest of drawers
Made in Poland

⚠️ ATTENTION!
- Never leave the child unattended on the changing unit.
- Only suitable for children up to 15 kg.
- Changing table topper assemble and fasten according to the enclosed instructions.
- All assembly parts must be properly fastened. Screws must not be loose, as the child could injure itself or get caught by clothing such as cords, collars or dummy straps. Otherwise there is a risk of strangulation.
- All installation equipment must always be tightened sufficiently and checked regularly.
- The winding device must be checked regularly for defective, torn or missing parts.
- If parts are missing or defective, it must no longer be used. All additional parts or spare parts may only be purchased from the manufacturer.
- Always check the winding device for stability before and during use.
- The winding device must not be placed near naked flames or other heat sources such as electric radiant heaters, gas-fired ovens, etc.
- A precisely fitting Changing pad should be used.
- Access to potential sources of danger within the child's reach must be prevented.
- Keep children away when installing the product to avoid injury.
- Caution! Choking hazard. The hardware bag contains small parts.
Notes on the structure
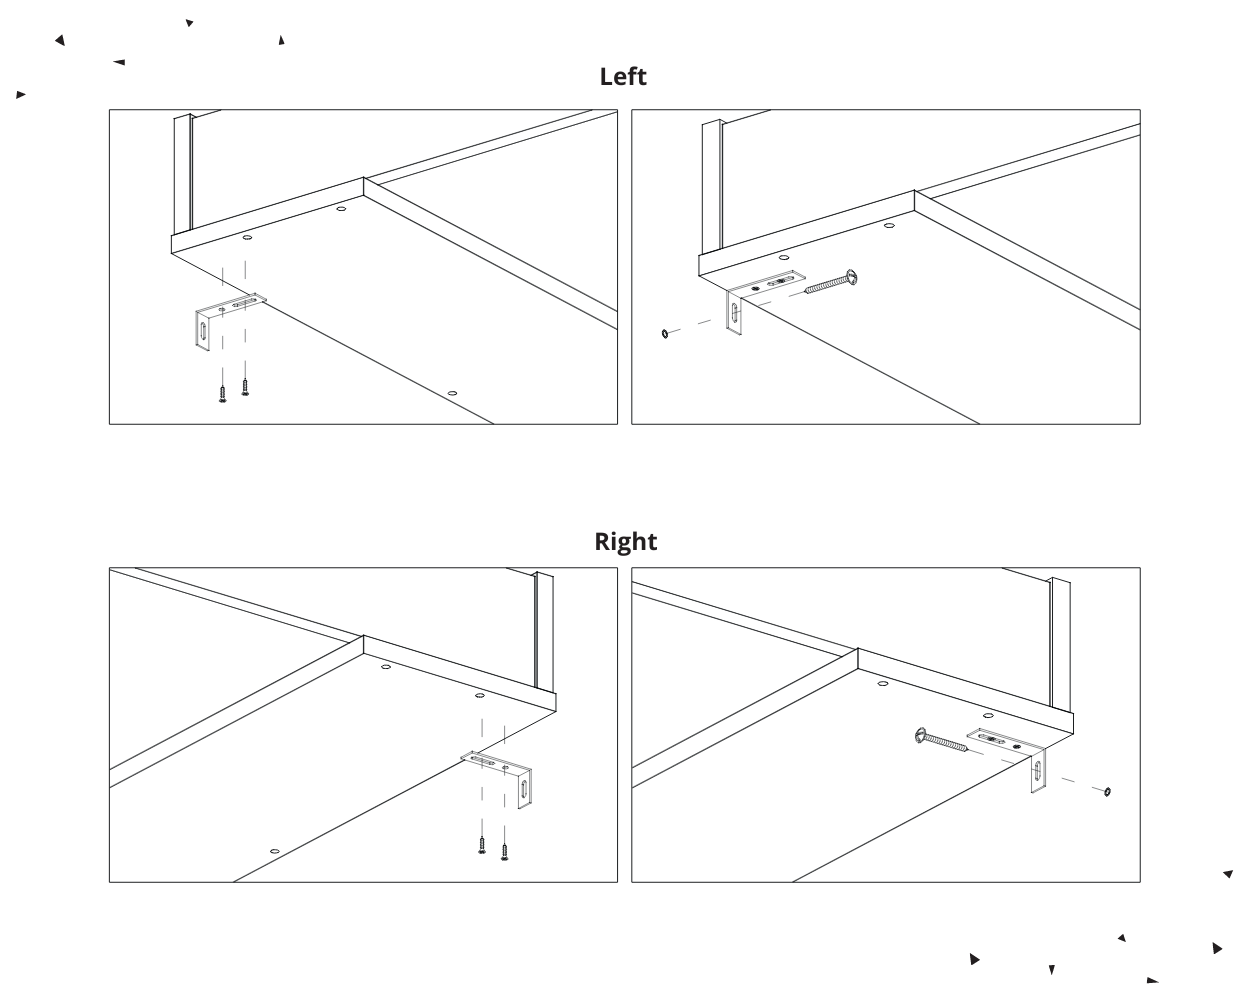
You can set up the storage compartment to the left or right of the changing surface. Decide this using your dominant hand before setting up.

Detailed instructions for use and assembly as well as screws are included in the package. Or download the instructions:


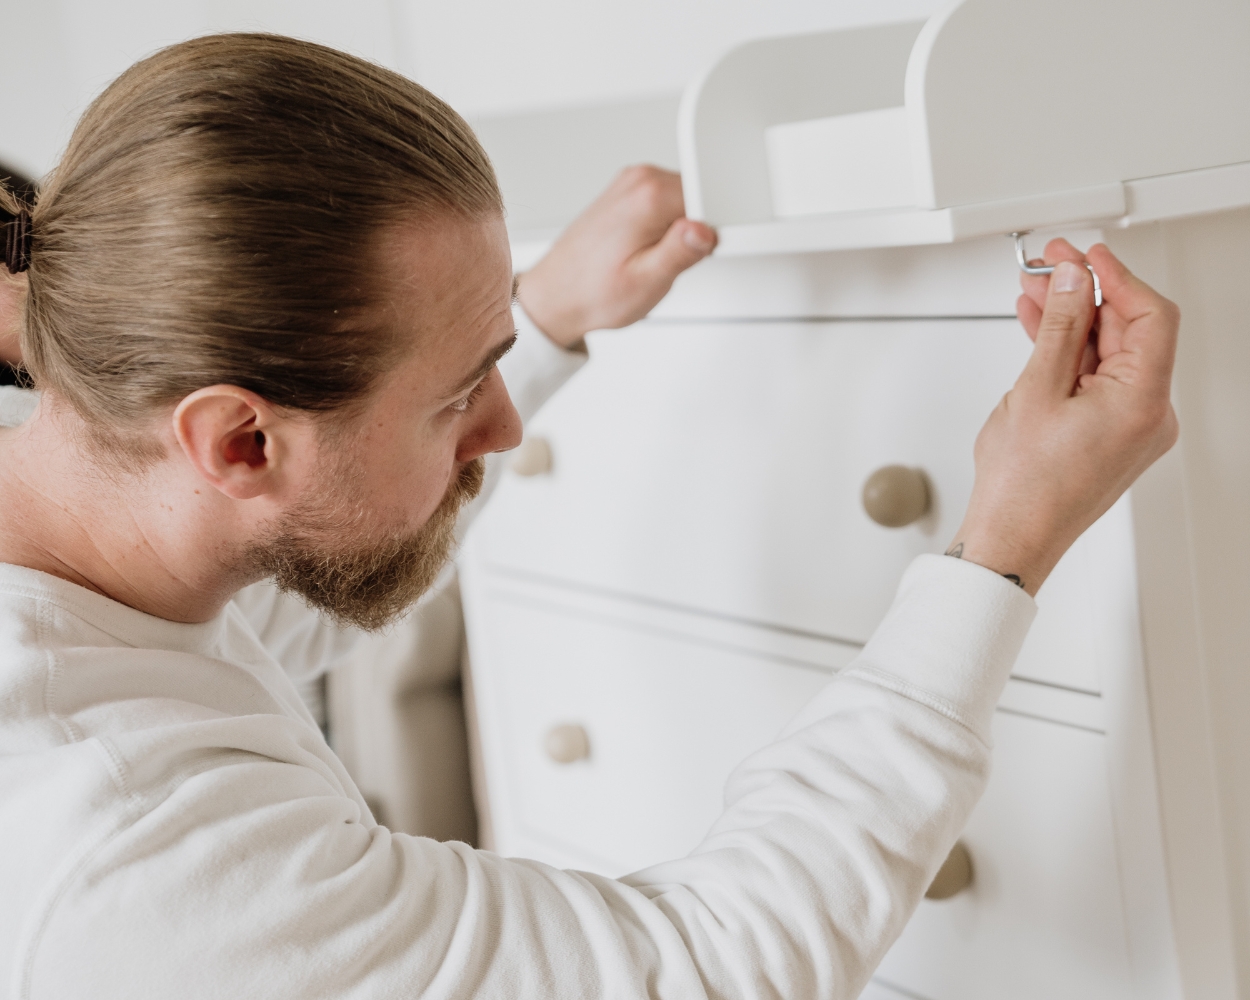
Note: The front board only needs to be attached loosely at first. Later on, you can optimise the attachment to your chest of drawers and only then finally tighten the screws.


Once you have assembled the attachment, you can now pull the chest of drawers approx. 15 cm forwards to create a gap between the chest of drawers and the wall. You can now place the changing table topper on the chest of drawers.

Position the front board so that there is no gap between chest of drawers and changing table topper. Finally, tighten the screws.
Safety note: Attach the changing table topper to the wall using the brackets to
prevent the chest of drawers from tipping or the attachment from slipping.