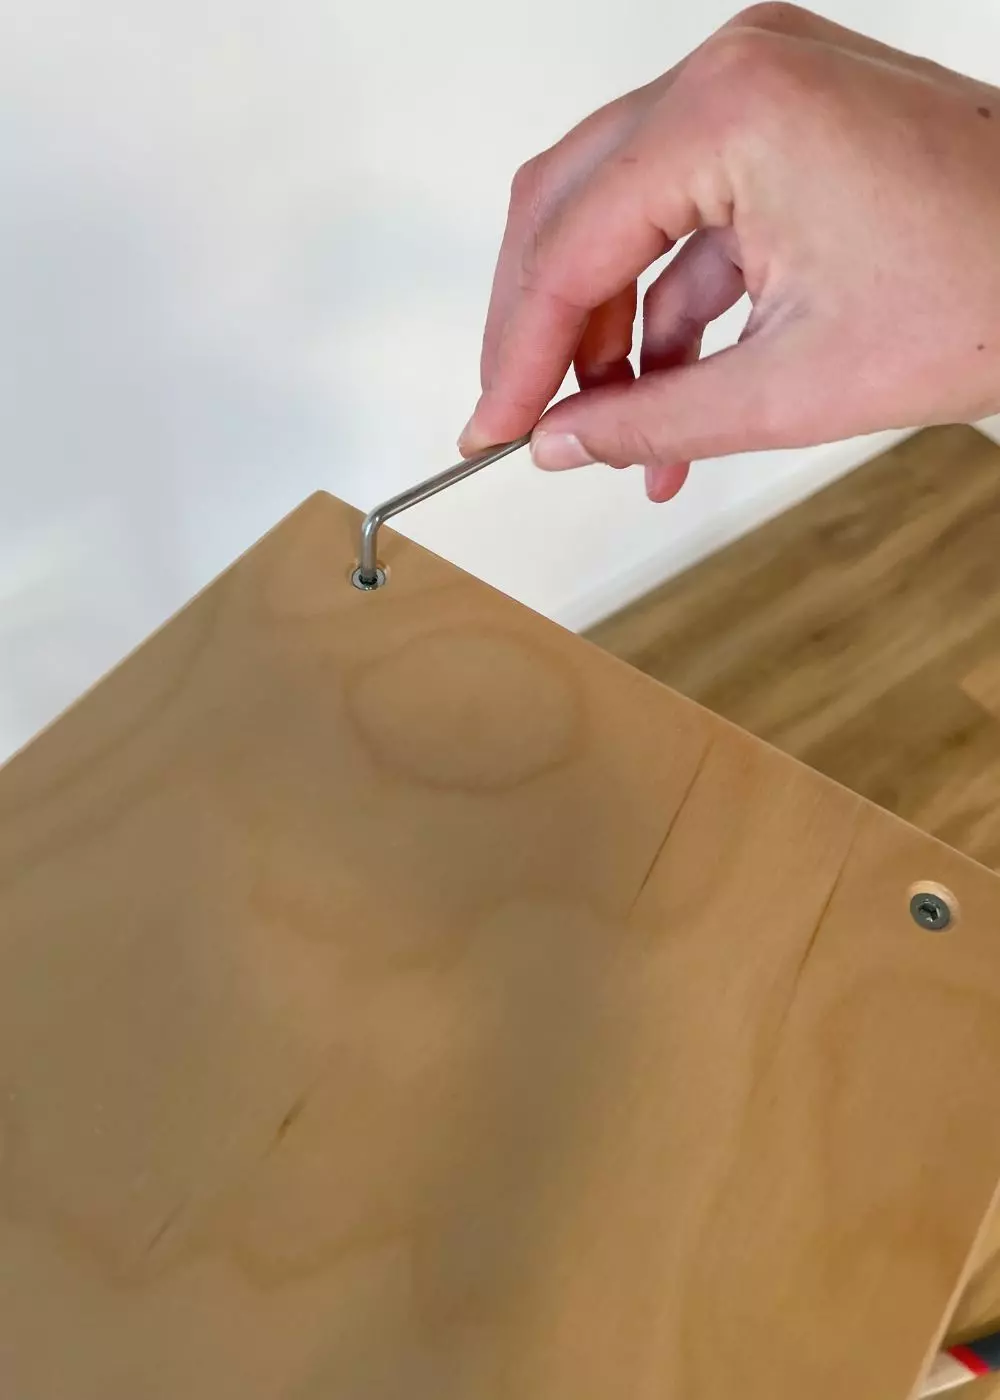
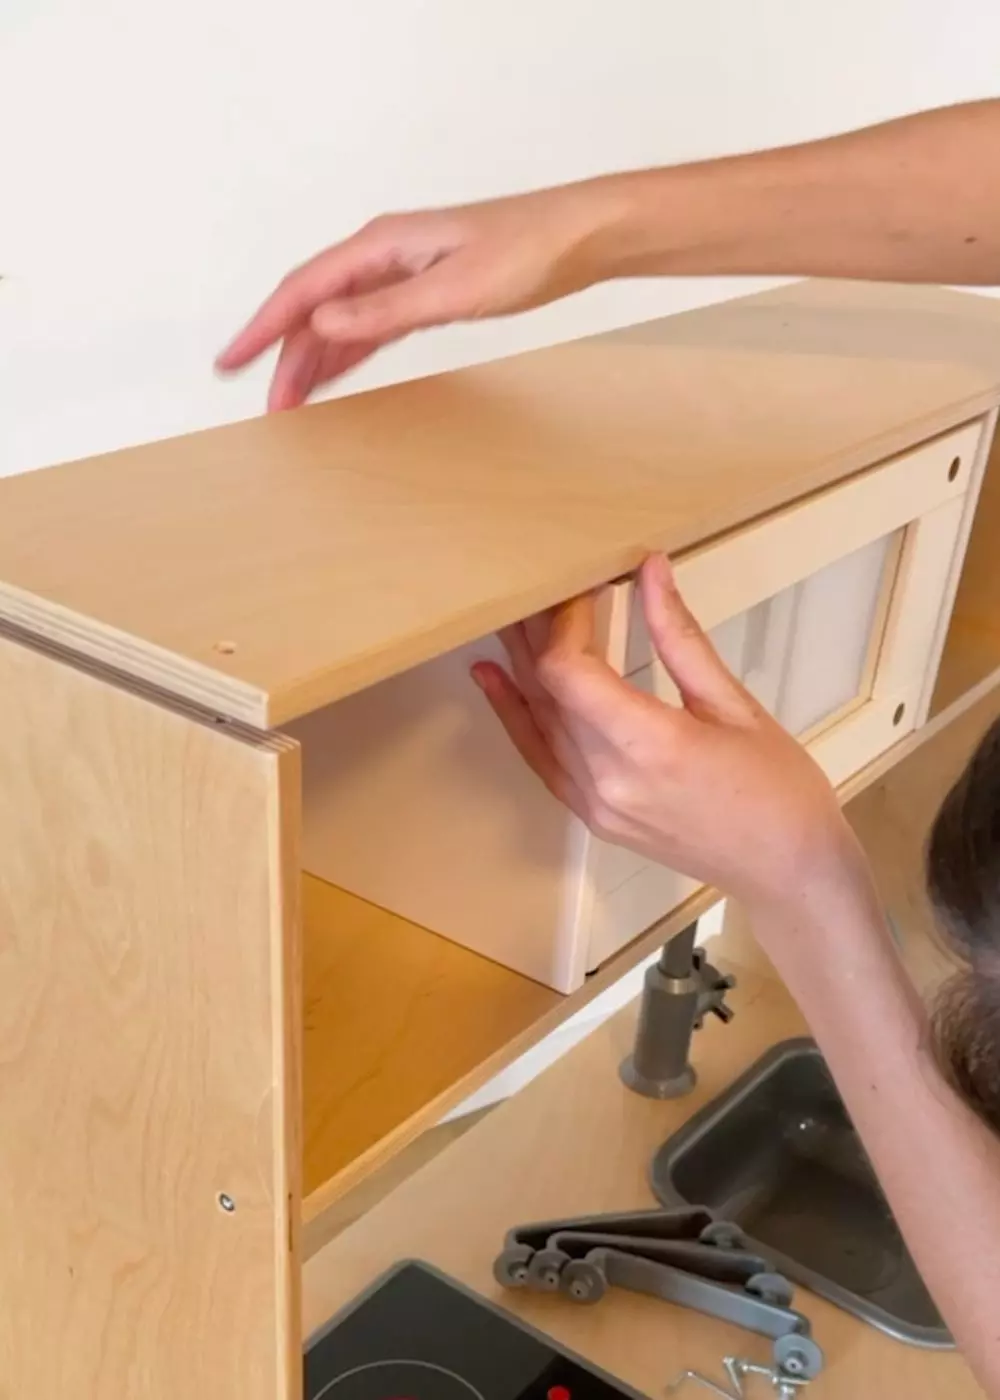
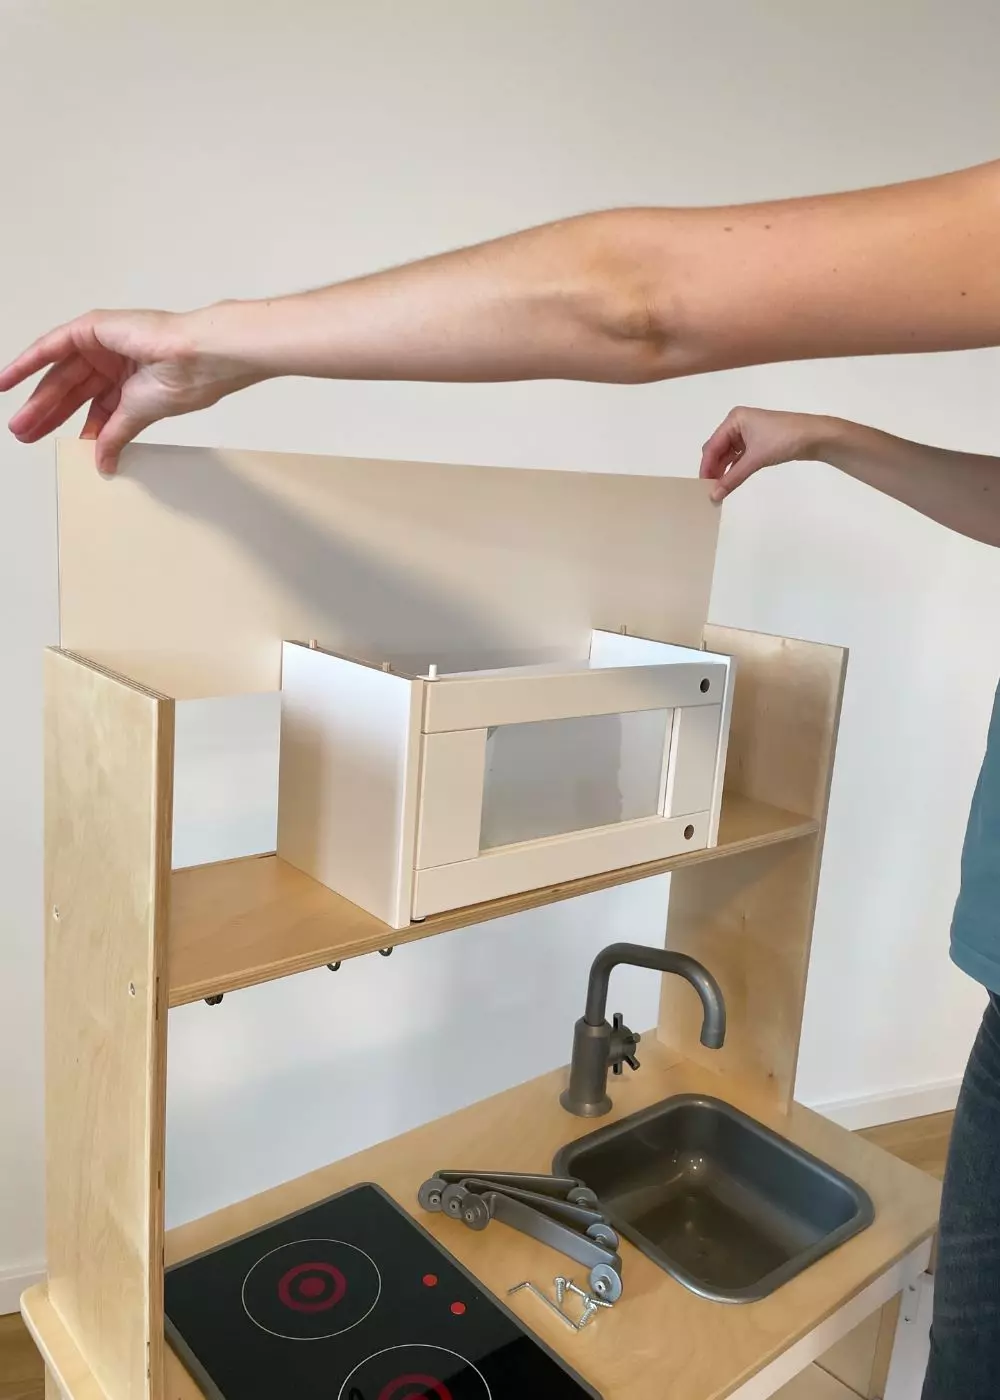
Mounting instructions
decal for IKEA DUKTIG play kitchen
Made in Germany

⚠️ ATTENTION!
- All wall/play films are suitable for children aged 3 and over and for indoor use only. If you do not apply the film immediately, please keep it out of the reach of children. It may only be used by children once it has been applied.
- The film may only be applied to furniture with a sufficient surface area. The film must not protrude beyond the furniture.
- Our play foils may only be used under adult supervision and should be checked for any damage before use. The play furniture must NOT be used if parts are damaged.
- If a corner of the film no longer sticks due to repeated peeling, the toy no longer fulfils the safety requirements and must be taken out of circulation.
- If the film is removed and reapplied to another wall or another piece of furniture, the toy no longer fulfils the safety requirements due to changes in the adhesive properties and must be removed from circulation .
What you need:
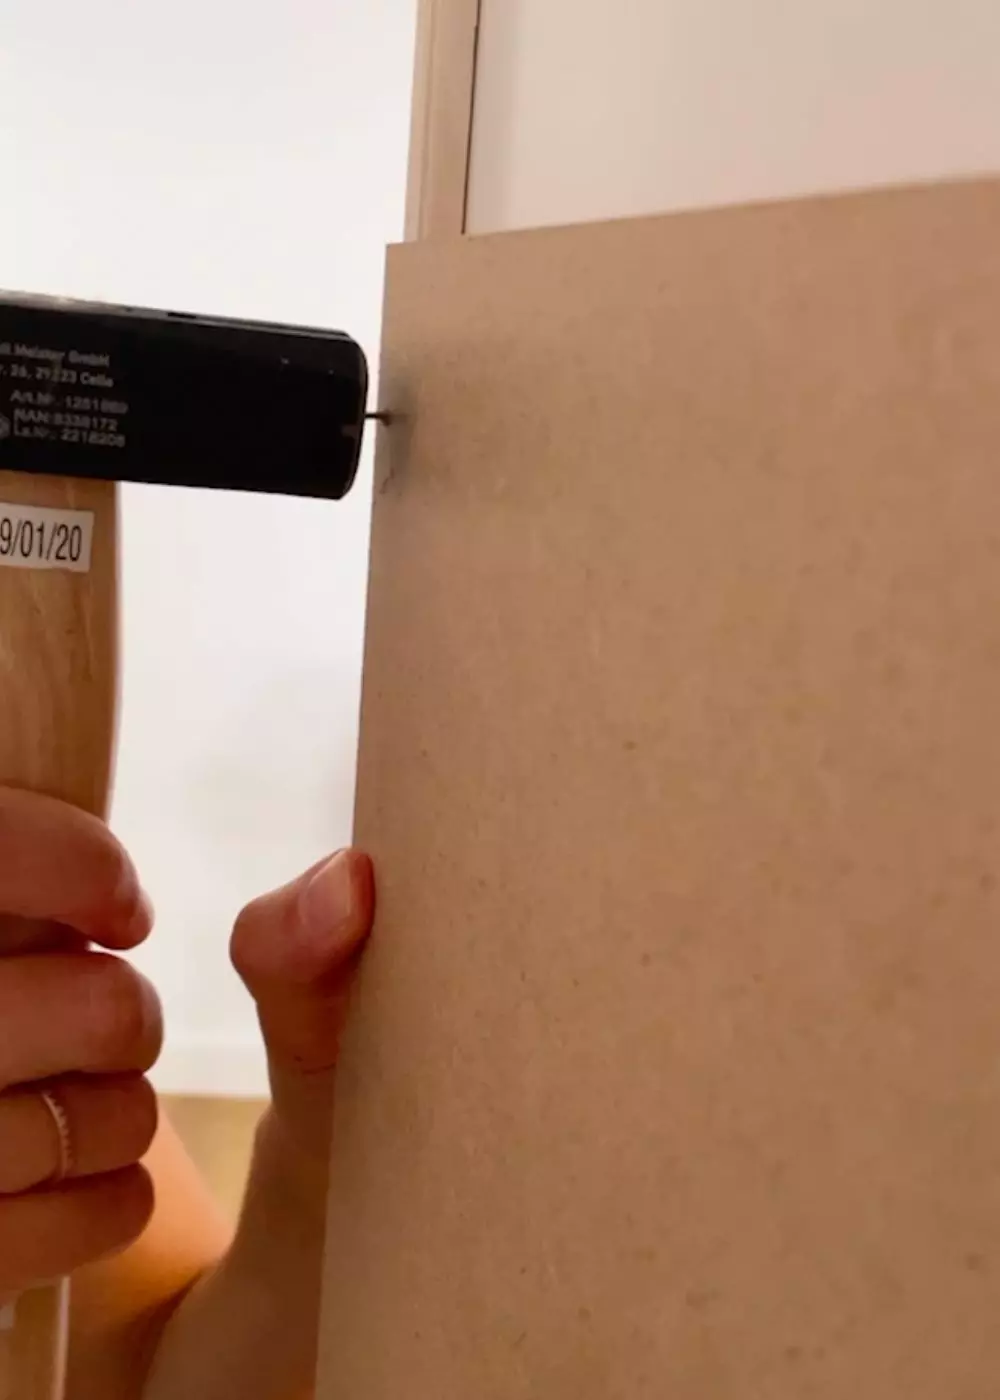
- Chipboard (32 x 67.5 cm) as backsplash. You can buy it for 2-3 euros in DIY stores.
- Small nails
- Hammer
Mounting instructions
1. Preparation
2. Remove the backing paper
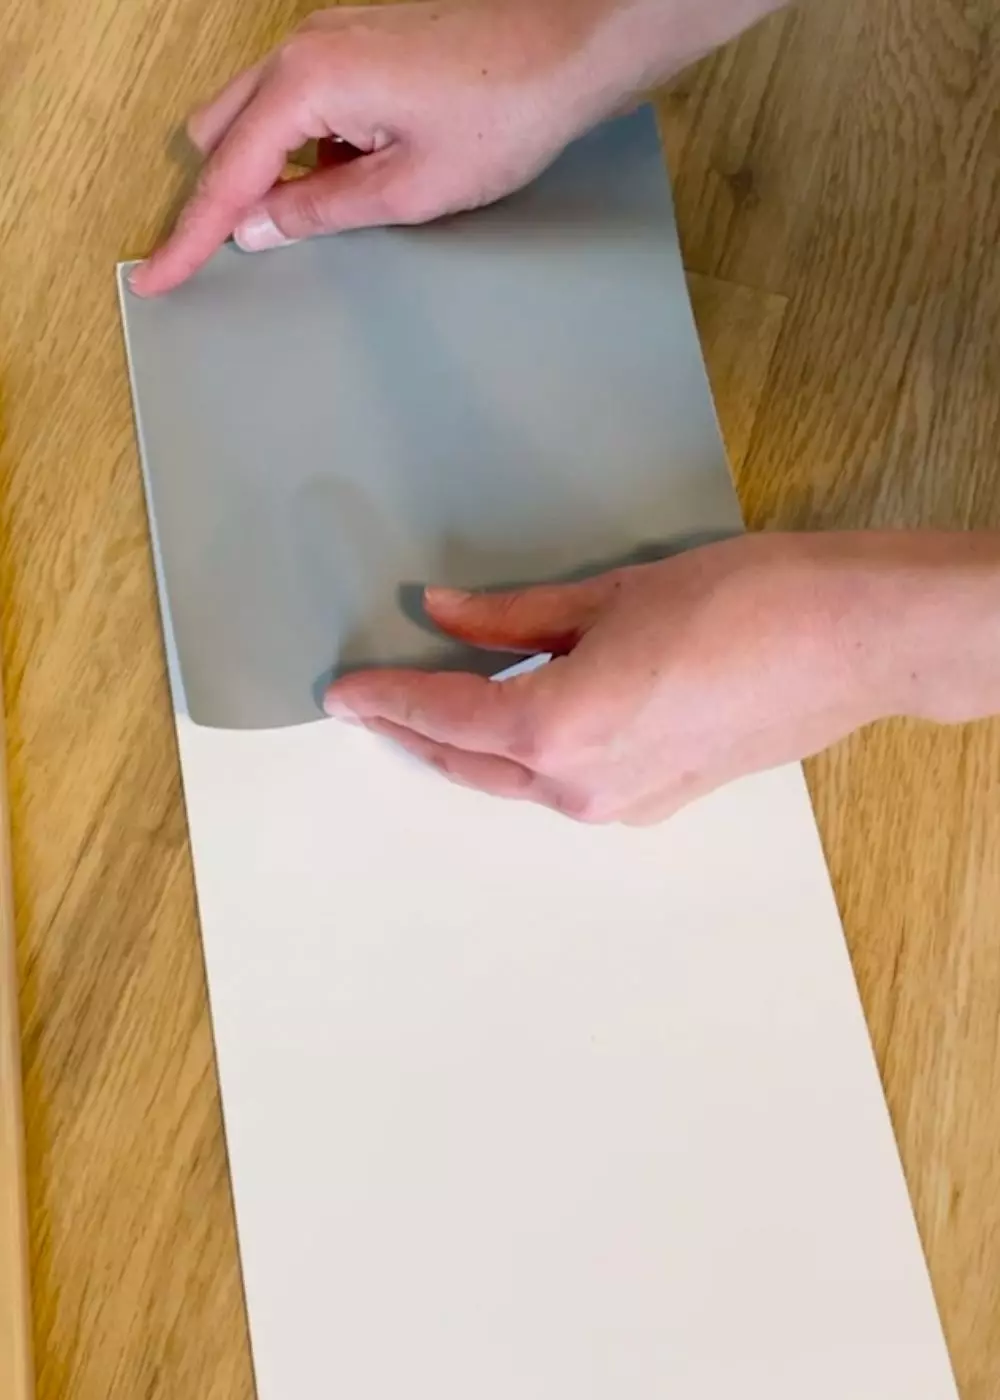
Small pieces can be removed from the backing paper immediately. For large pieces of film, only peel off a strip of backing paper approx. 10 cm wide to begin with. This will prevent the large adhesive surface from sticking to another adhesive surface and make it easier to apply. It is best to apply large surfaces together with a second person .
Tip: To make things easier, carefully cut the individual stickers apart with scissors to make them easier to stick.
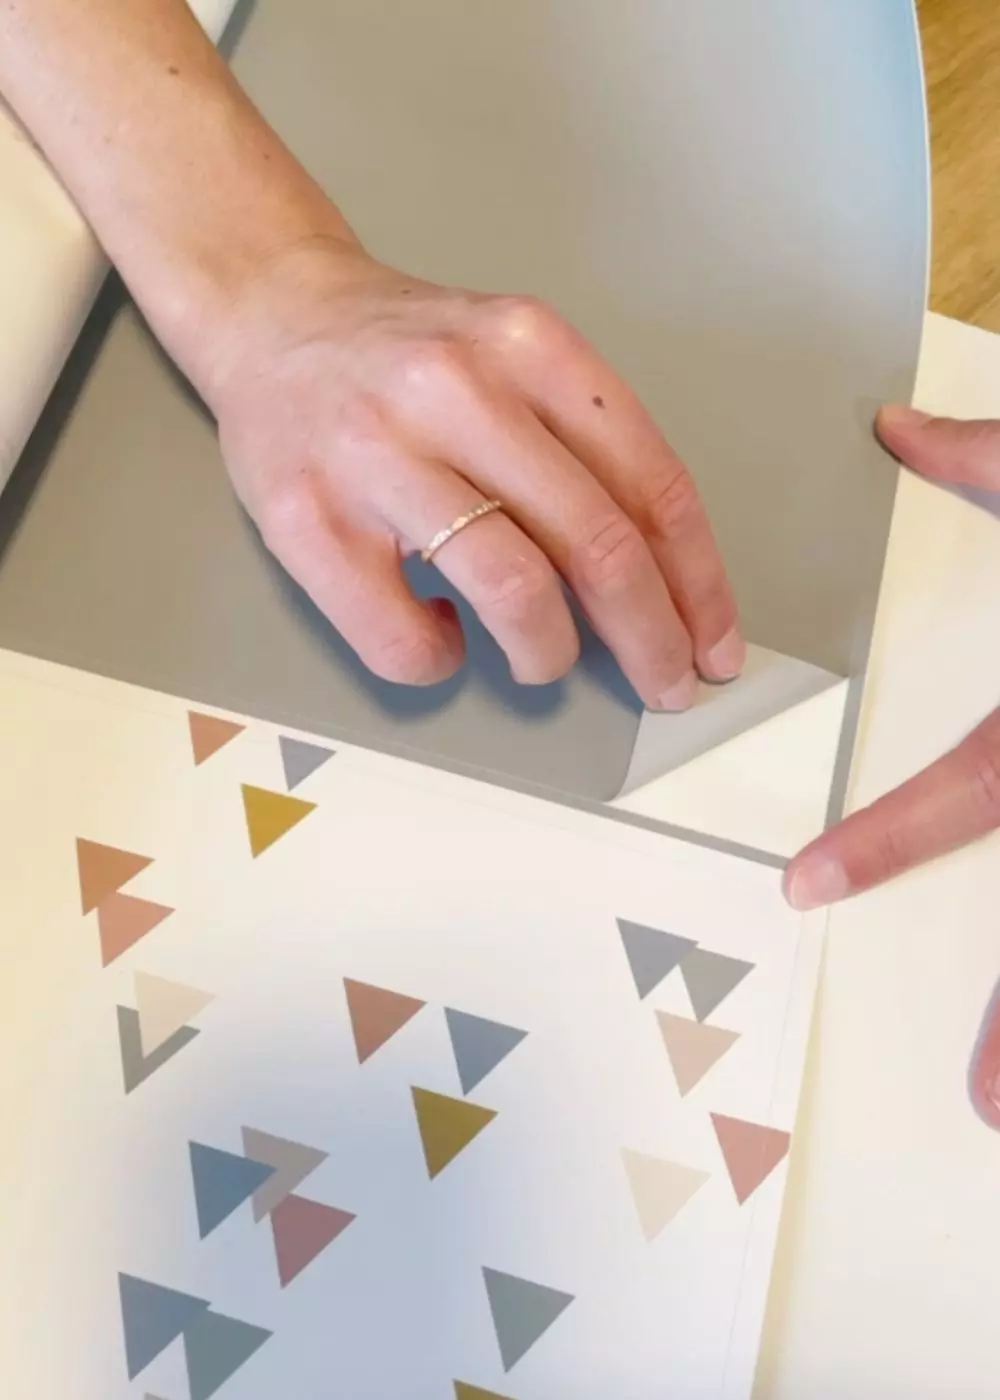
3. Position the film
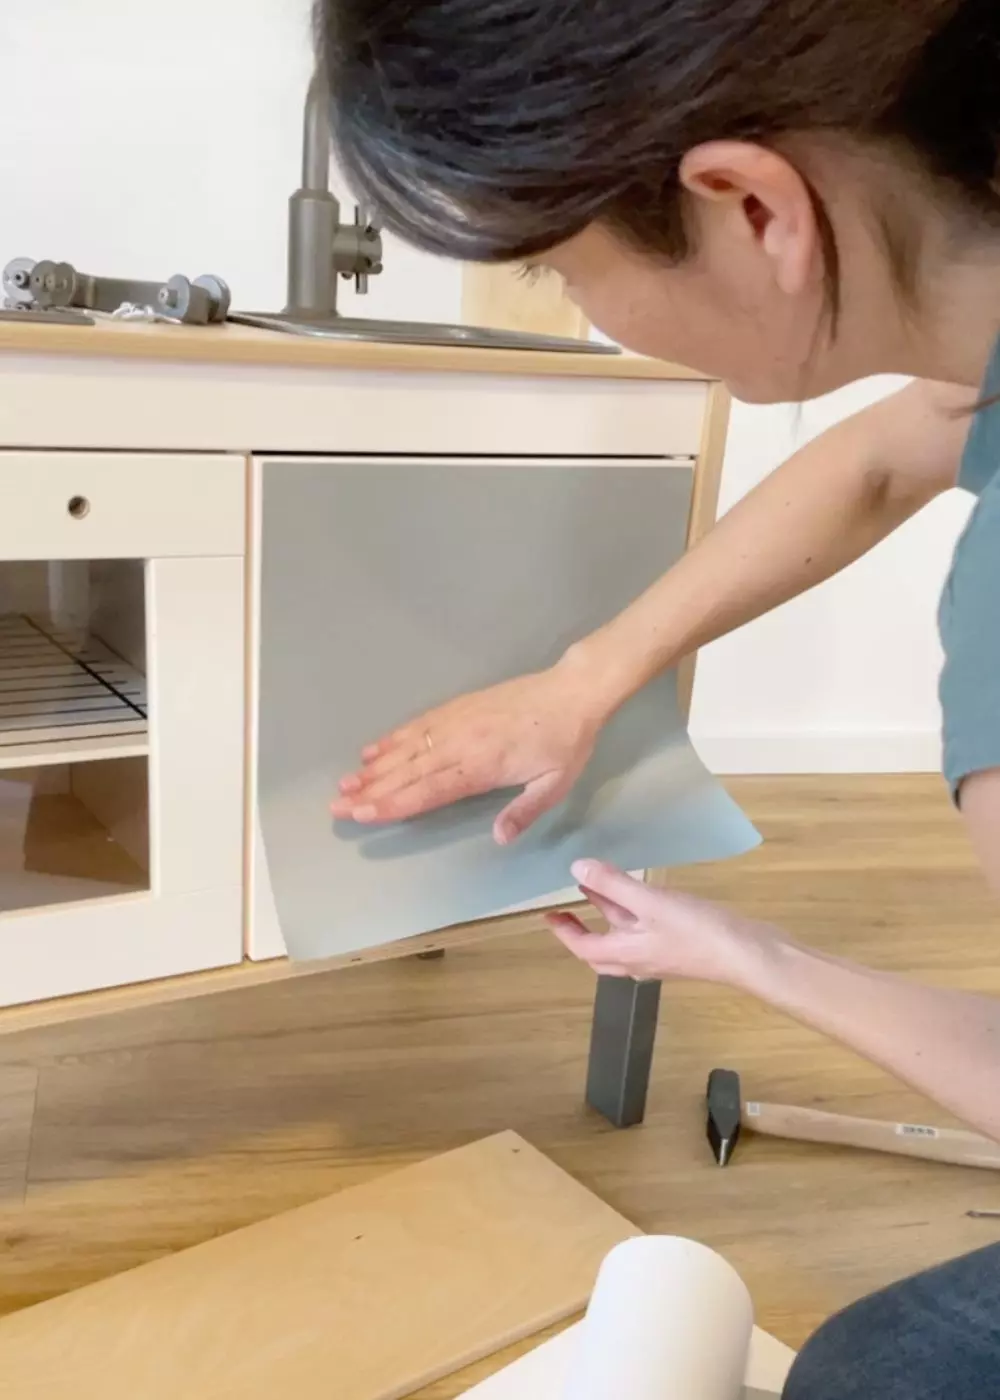
4. Stick on the film
5. Fasten the splash guard
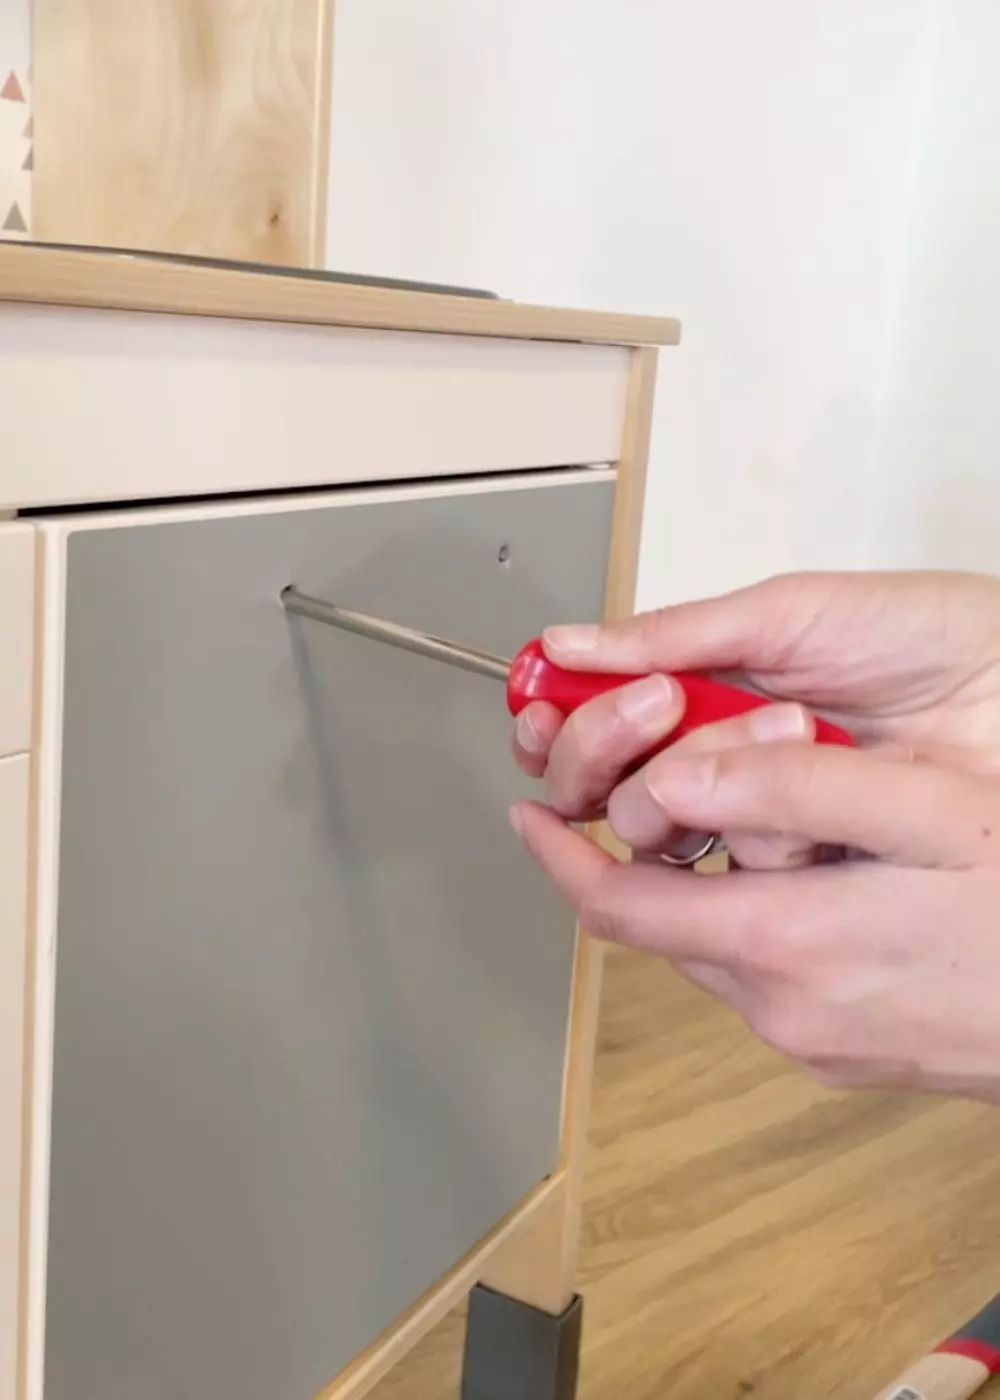
6. Fasten the handles and lid
To reattach the handles, use a screwdriver to poke through the film into the existing holes. Now you can screw the handles on as usual.
Removal instructions
We have the following tip for you for removing the film from the furniture: Heat the film with a hairdryer and peel it off carefully and slowly at a 45° angle. Please note that we have no information about the condition of the furniture or your wall. It can therefore not be ruled out that colours, wallpaper, paintwork or other surfaces may be damaged when the film is removed.

