Explaining the water cycle: How is rain formed?

Explaining the water cycle: How is rain formed?
The days are getting shorter, the sun's rays are getting cooler and it's getting more colourful outside! And rain is simply part of autumn - but how does it come about? We have created a great craft template so that little naturalists can discover the water cycle in a playful way. You can download the craft template as a pdf file for free!
Water cycle: how rain is created
You can easily explain the water cycle to your children in 3 steps with the help of our free craft template.
- Sun and water form clouds - evaporation
- Clouds and cold air create rain - condensation
- Water enters the groundwater
1. Sun and water form the clouds
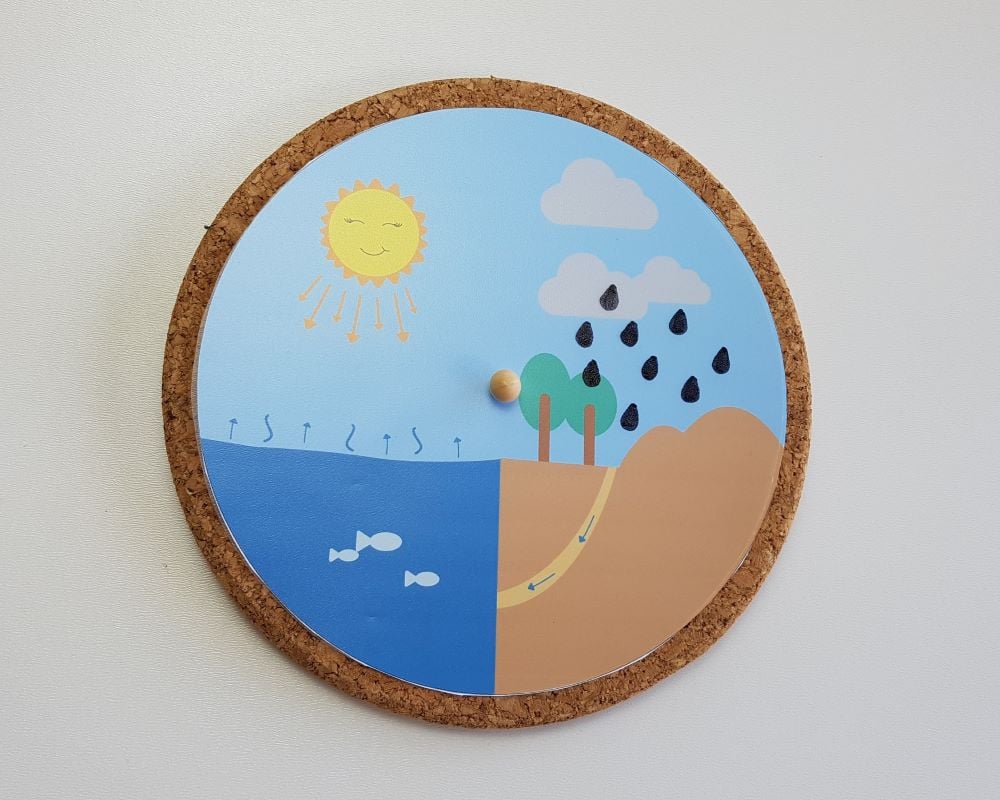
If we start our cycle with the large oceans, small ponds, rivers or lakes, you will recognise that the water evaporates. The reason for this is the heat generated by the sun. The water rises into the atmosphere as vapour. This vapour forms large clouds that we can see in the sky. The clouds are moved by the wind.
2. Clouds and cold air create rain in the water cycle
As soon as the clouds meet cold air, the small water droplets in the clouds condense. This condensation creates rain, snow or even hail.
3. The water cycle repeats itself: the rain gets into the ground
So when the rain starts, the water is not lost. This is because it passes through the soil into the groundwater and can thus find its way back into the water. When the sun releases its heat again, the water in the seas and rivers can evaporate again. This is how the water cycle continues. So nature always gives the water back to us!
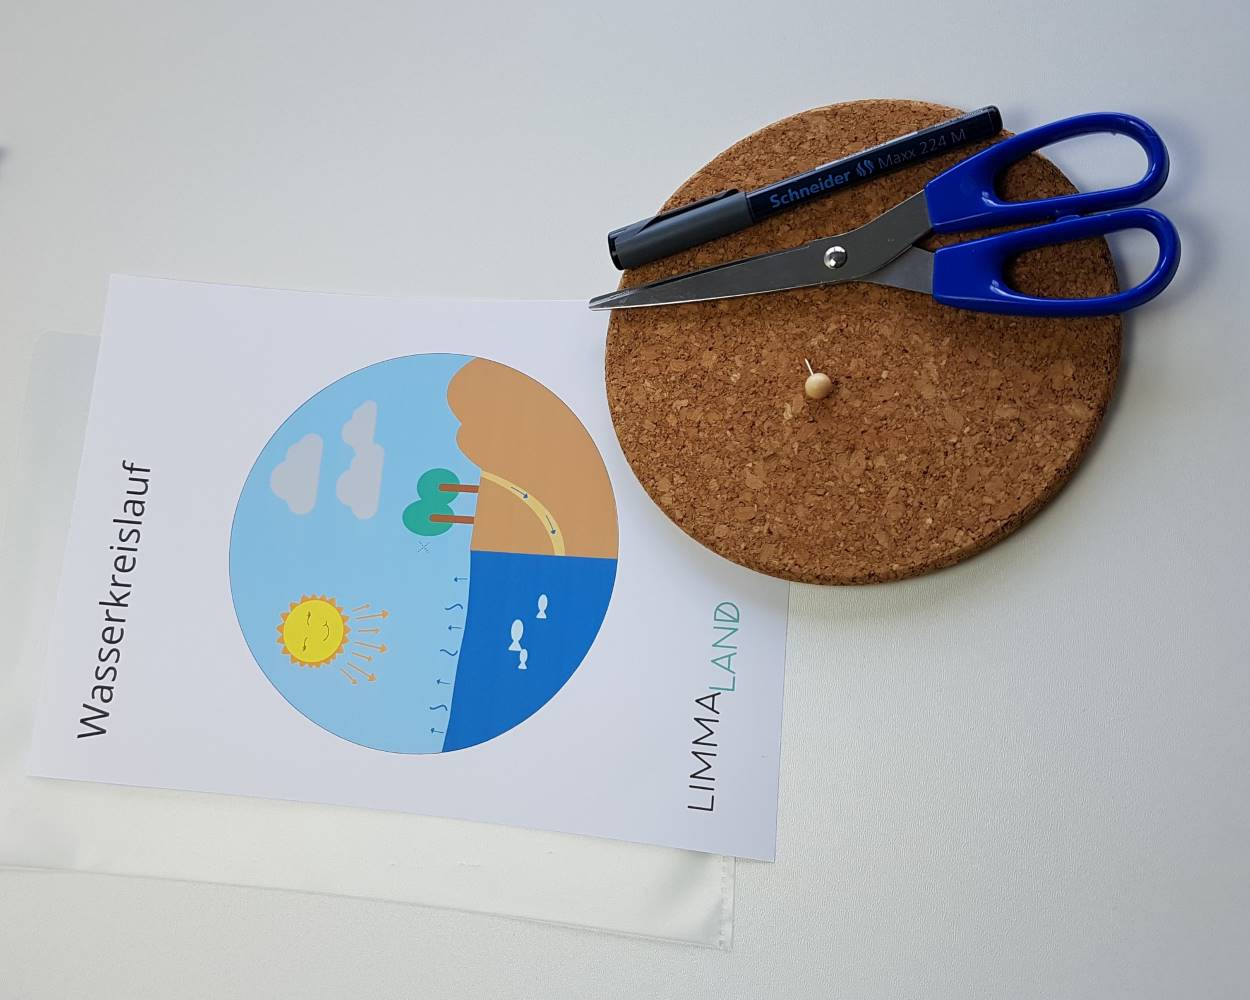
What you need for crafting
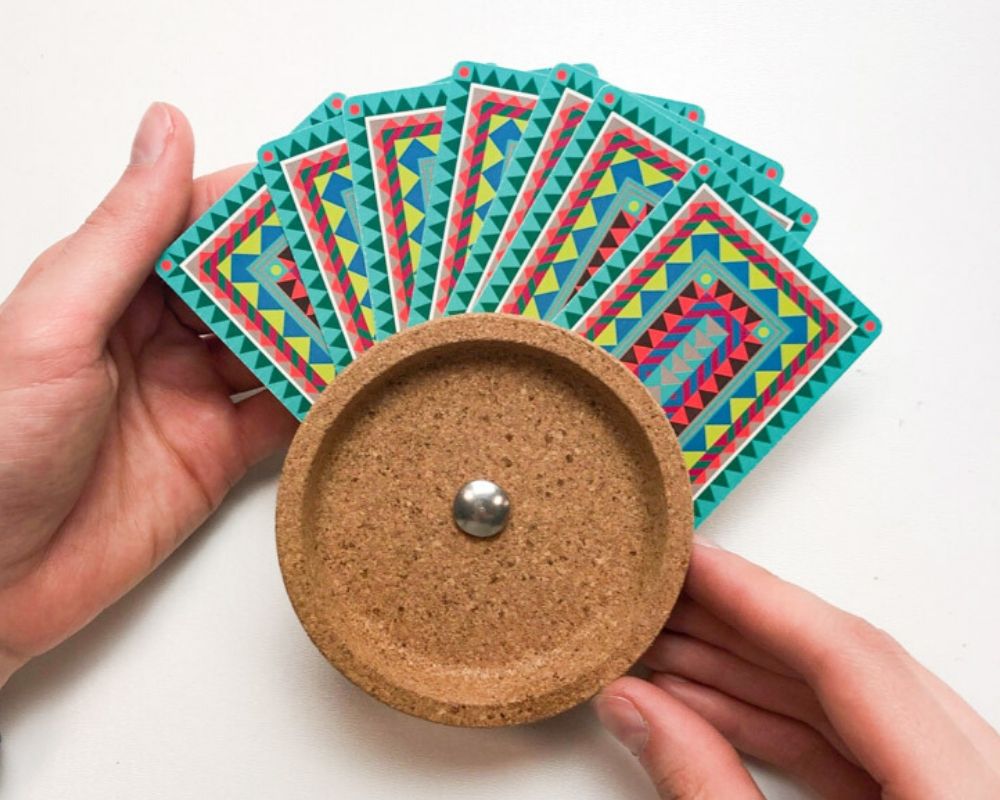
- IKEA HEAT cork coaster
- Scissors
- Pin
- the printed craft template
- Transparent film
- Foil pen
Making a water cycle
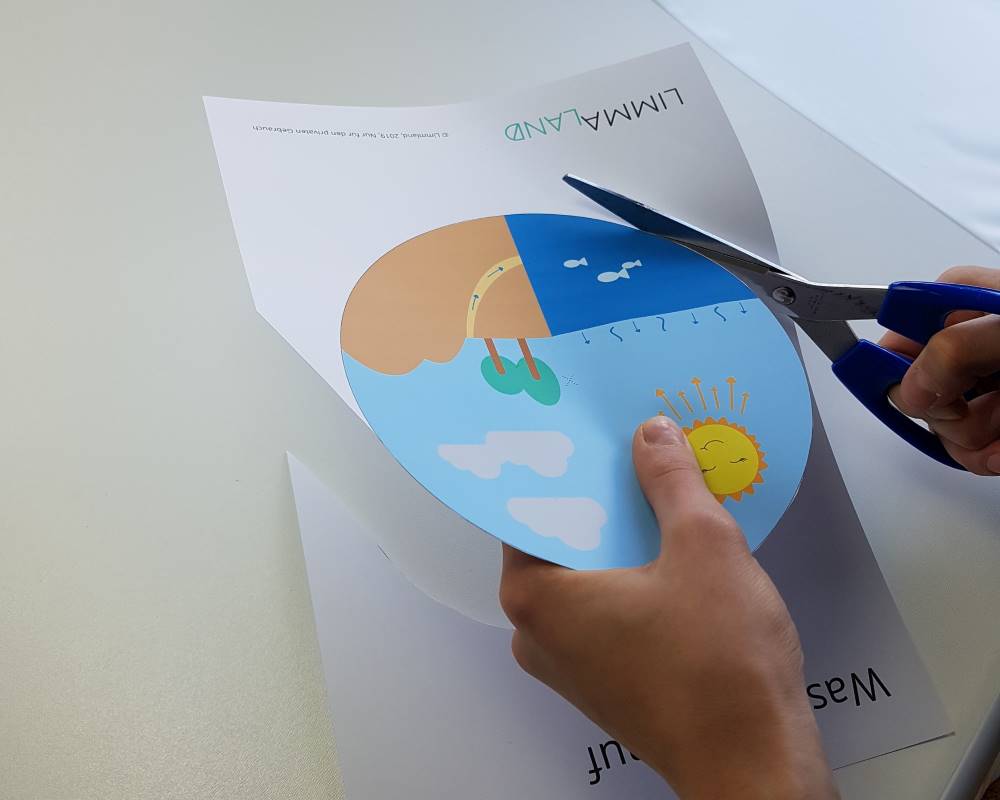
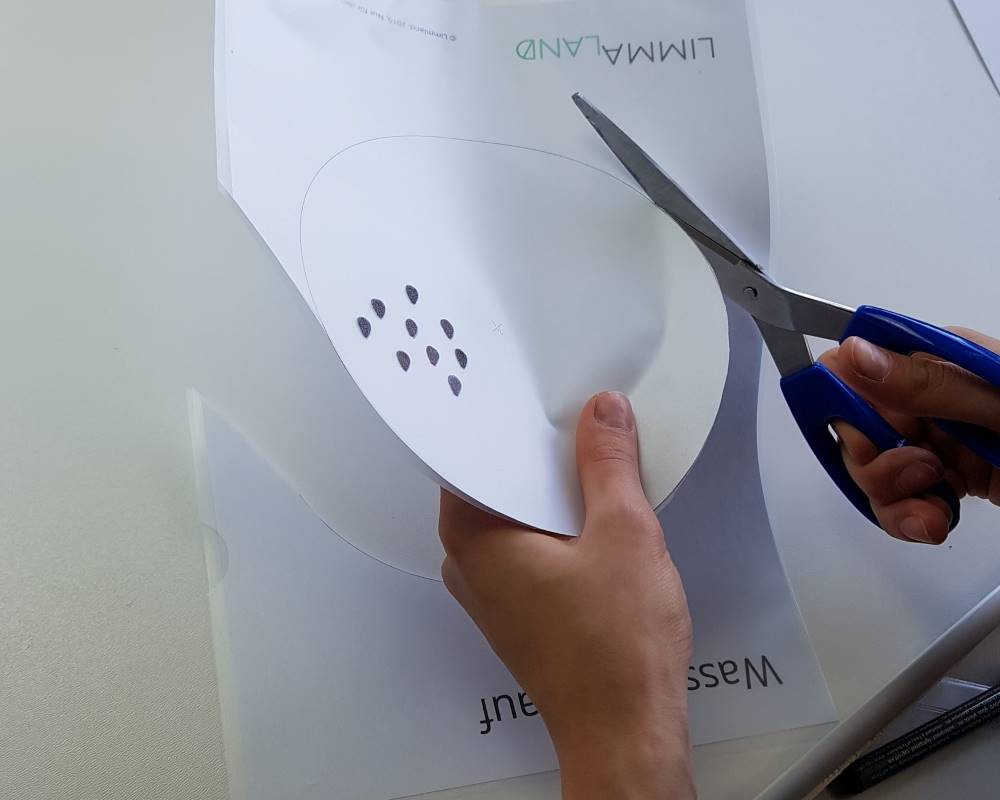
- Firstly, cut out the template with the landscape.
- Now place the template with the raindrops in a transparent film and colour in the drops with a marker pen. Now you can use the template to cut out the film along the line of the circle.
-
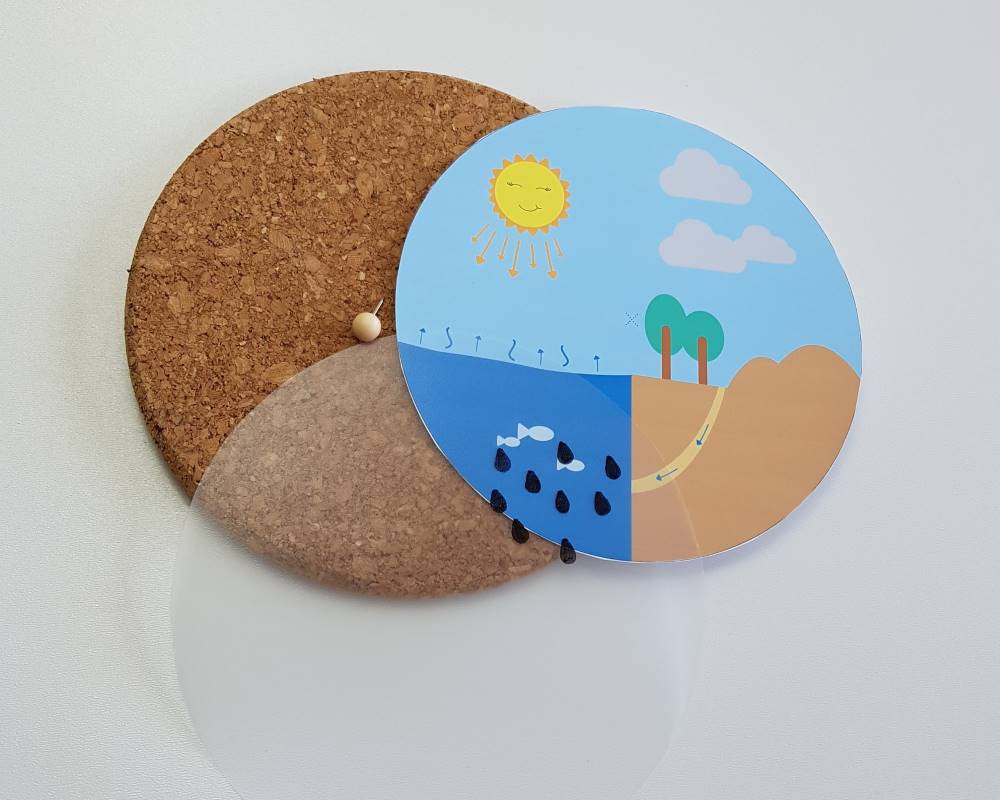
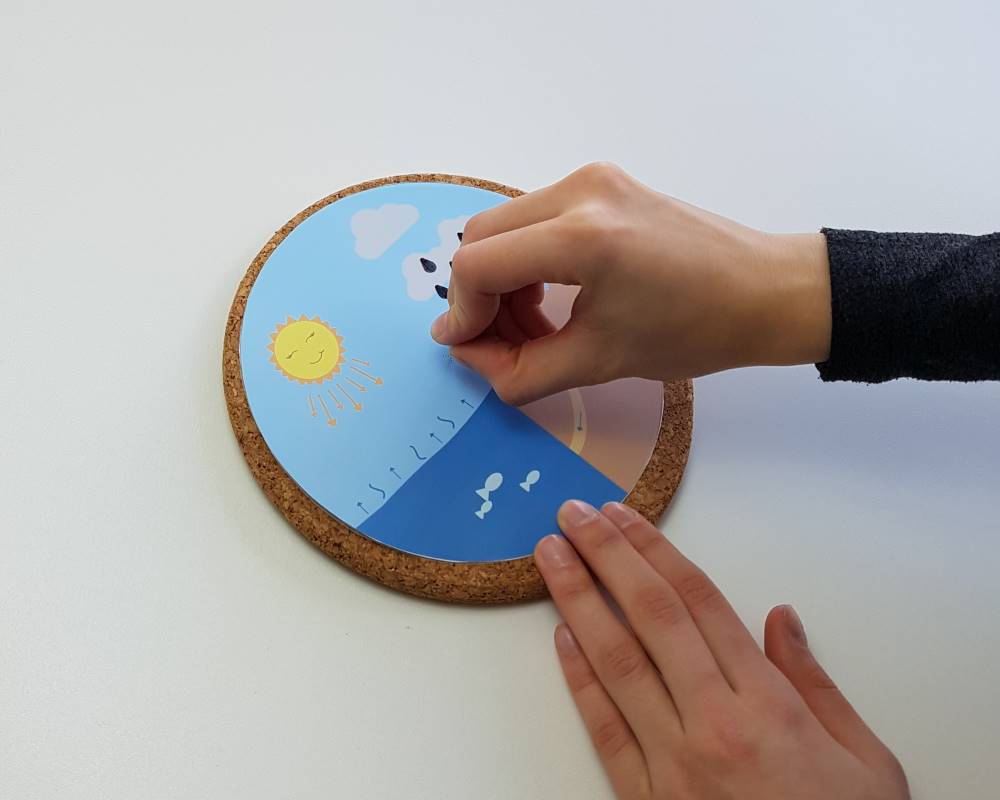
First place the cut-out template with the landscape and then the foil with the raindrops on the IKEA HEAT trivet and secure with a pin in the centre.

Now the film can be moved clockwise - making it easy to illustrate the water cycle and the formation of rain. Playful learning in keeping with the season will be great fun for children ! Watching the rain from home is no longer too boring, don't you think?


