IKEA SNIGLAR Hack
IKEA SNIGLAR Hack

IKEA SNIGLAR hack: a changing table becomes a workbench for children
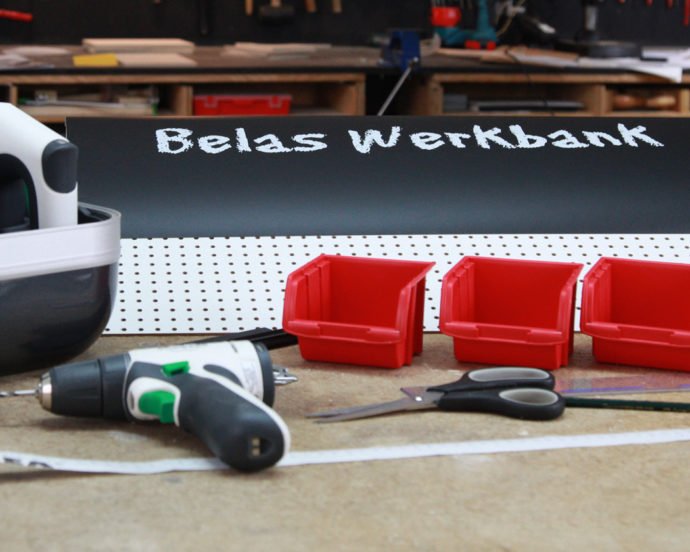
First of all, of course, you need the old or new IKEA SNIGLAR changing table*. And here's what else you need:
- a perforated panel (width 72cm, height variable, in our case 30cm) Tip: have it sawn to size at the DIY store
- Screws to fix the perforated panel to the ex-changing table ;-)
- Blackboard foil (dimensions: width as perforated plate in our case 72cm, approx. 10cm high)
- IKEA measuring tape
- Scissors
- Cordless screwdriver
- jigsaw if necessary
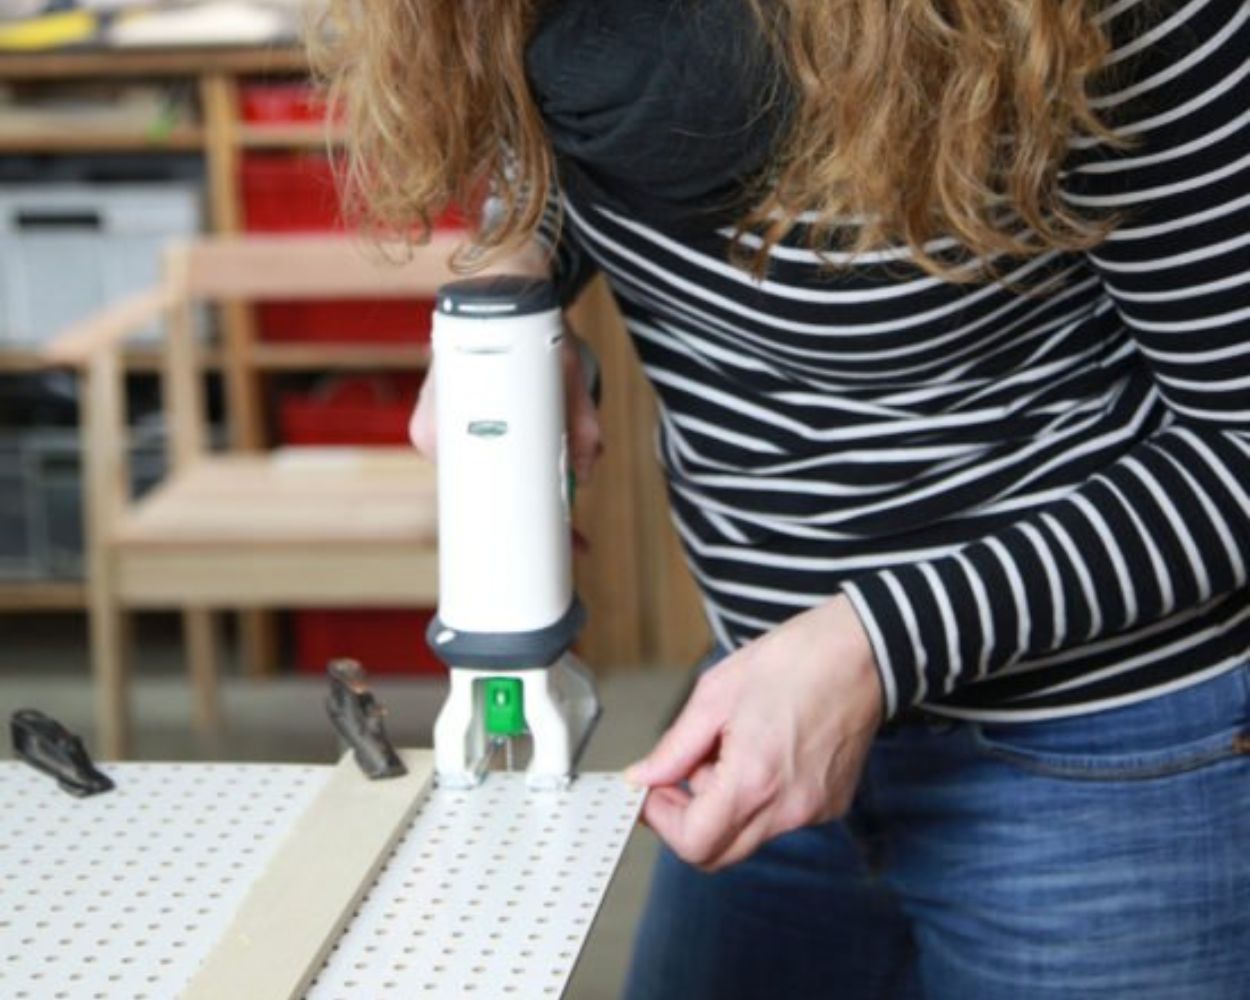
Barely out of nappies and they're already at the workbench
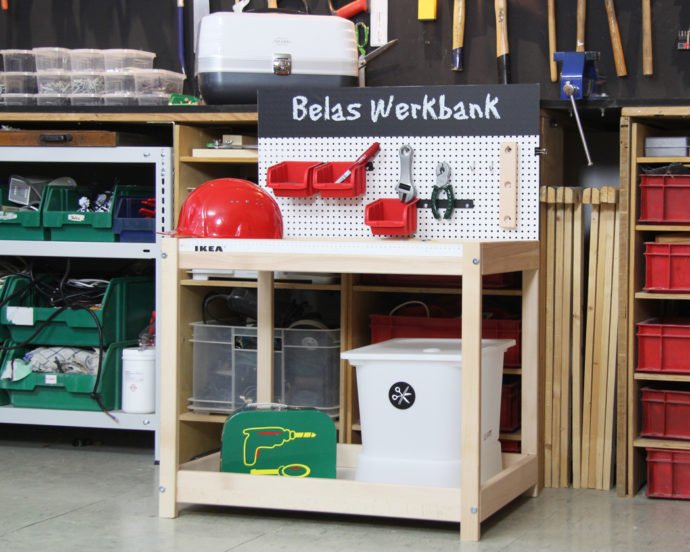
This IKEA SNIGLAR hack is really child's play. And a great holiday craft. First, set up the changing table or put the old changing table ready for work. It's best to see which side of the IKEA SNIGLAR* still looks best. Now the SNIGLAR changing table needs to be sawn down to child height. We have shortened it to just below the lower shelf. In the next step, you should screw the perforated plate with the board foil to the selected back side.
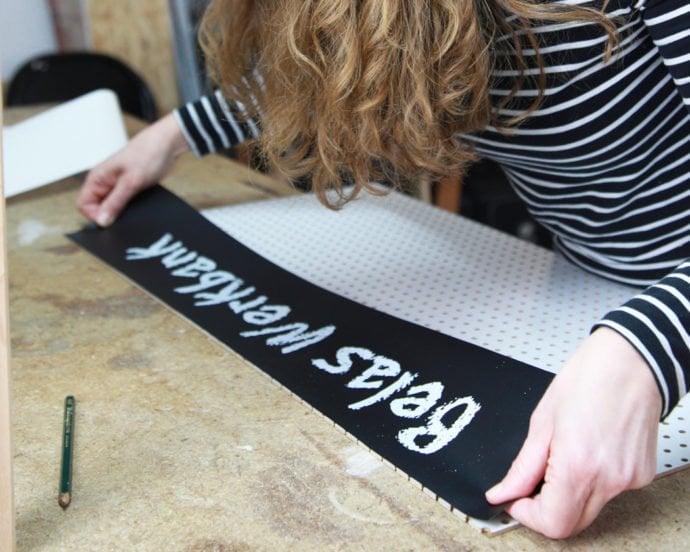
Finally, stick the board foil to the top edge of the perforated panel. And now you can screw the plate to the changing table, as shown in the picture. The IKEA SNIGLAR hack is DONE!
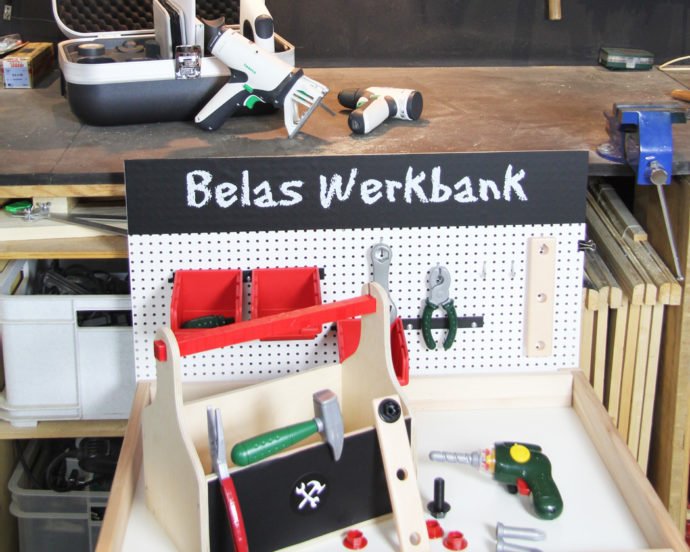
Now make it beautiful. The decoration.
All that's missing is a little decoration. We glued a piece of IKEA measuring tape to the front edge of the changing table. This way, the workbench can be used properly and the kids learn the numbers and how to measure. Hang two or three small plastic boxes in the perforated plate. The small children's tools can be hung on simple hooks from the DIY store. Just like a workbench for grown-ups ;-)


