


IKEA doll's bed hack: A Barbie dream
Doll's bed IKEA hack: a Barbie dream
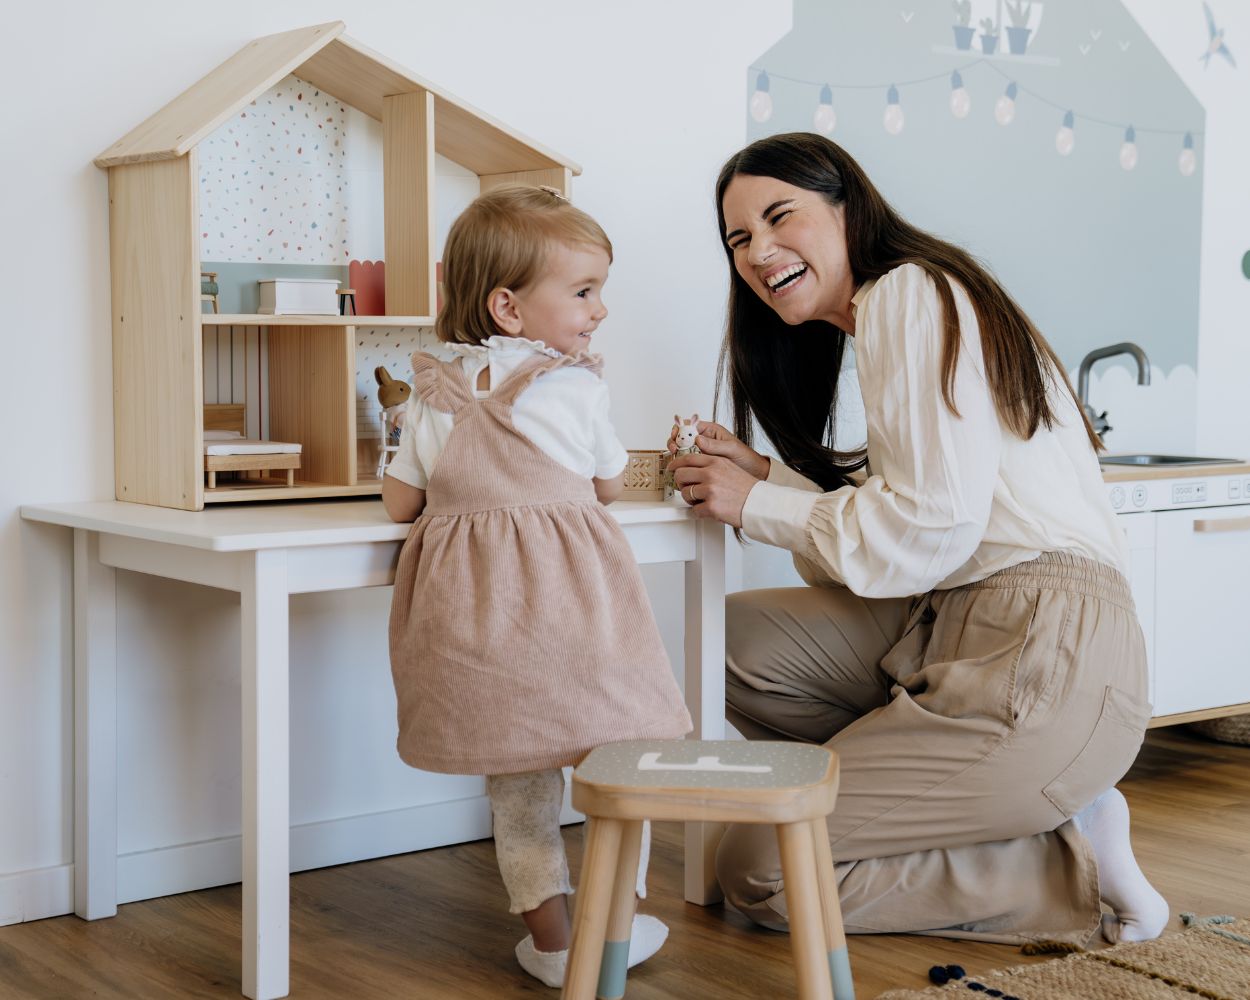
Many children love playing with Barbie & Co. It's just so much fun to dress them up and do their hair, or to make up stories that send their favourite dolls on the wildest adventures . Playing with dolls is even more fun when you have the right accessories or even a dollhouse real . However, this often doesn't come cheap. That's why we're showing you a great IKEA doll's bed hack, which you can use to easily make a great bed for Barbie's bedroom yourself from an IKEA RIBBA picture frame. And a homemade toy is usually much nicer and more individual than a purchased one – don't you think?

What you need for the doll's bed IKEA hack :
- IKEA RIBBA picture frame 21 x 30
- cm Plywood board measuring 21 x 10 cm for the headrest
- Acrylic paints
- Various fabrics or ready-made small cushions
- Craft glue and wood glue
Building your own Barbie bed made easy :
1. Prepare
the picture frame
To transform your IKEA RIBBA picture frame into a bed for Barbies, first take the picture frame apart completely and remove the glass and the passe-partout. You can save these for another craft project . For the doll's bed, you only need the frame and the backsplash of the picture frame. Then carefully separate the frame stand from the backsplash.

2. The back side of the picture frame with fabric laminate
Now choose a nice piece of fabric (or paper, if you prefer) with that you would like to use to decorate the mattress of the bed. Take the measurements of the picture frame back side and cut the fabric to size. Using craft glue, you can now stick the piece of fabric onto the black backsplash. This will automatically cover the two holes that were created when you cut off the stand. Now you can put the picture frame back together and it will look like a little doll's bed.

3. Paint the plywood and attach it to the picture frame
n the next step, the doll's bed gets a beautiful headboard. To do this, paint your 21 x 10 cm piece of plywood in any colours you like. We opted for a white headboard with black dots – to match our bed linen. We used acrylic paints to paint the wood.


Once everything is completely dry, you can attach the small headrest to the top edge of the picture frame using wood glue. After a few minutes, everything will be nice and secure. Now all that's missing from the IKEA hack doll's bed is the right bedding. After all, you can only sleep really well in cosy bedding.

4. Sewing bedding for Barbie
You can easily sew a few pillows and a duvet from colourful fabric remnants and a little bit of filling. If you are good with a sewing machine, you can quickly sew the bedding for the doll's bed together. But you can also sew the bedding very well by hand. Perhaps you also have some play cushions and blankets that you can use for the doll's bed? The main thing is that Barbie is comfortable in her new IKEA bed at the end of the day.
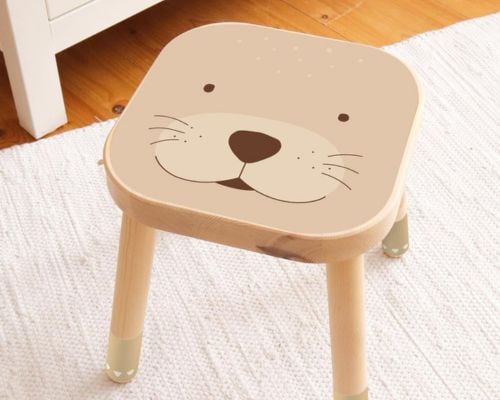
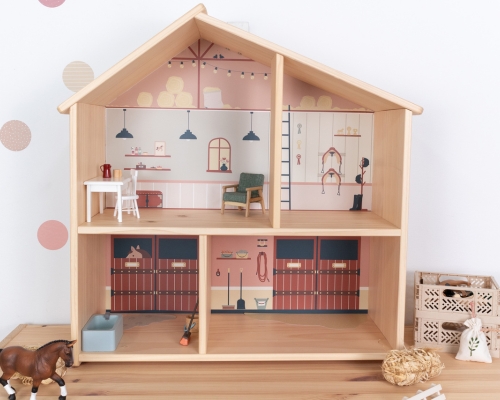
Building a bed for Barbie yourself is really not that difficult, and the fun is twice as great. If you are still looking for a suitable dollhouse for the doll's bed to move into, then take a look at our wall decal doll's villa.


-
-
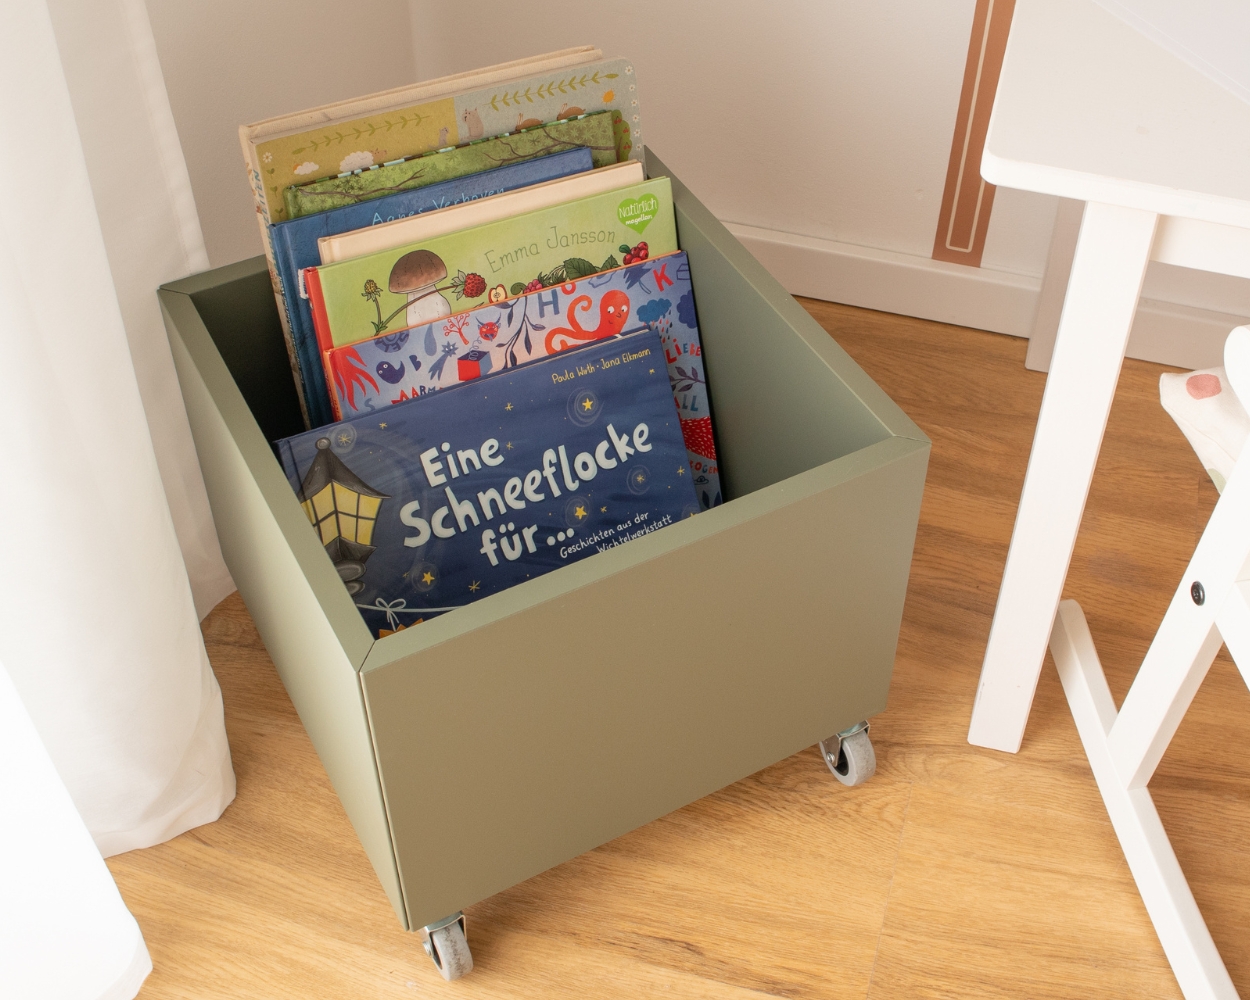 IKEA hacks for book storage in the children's roomIdeas for storing books in the children's room in a practical and child-friendly way.Mehr lesen
 -
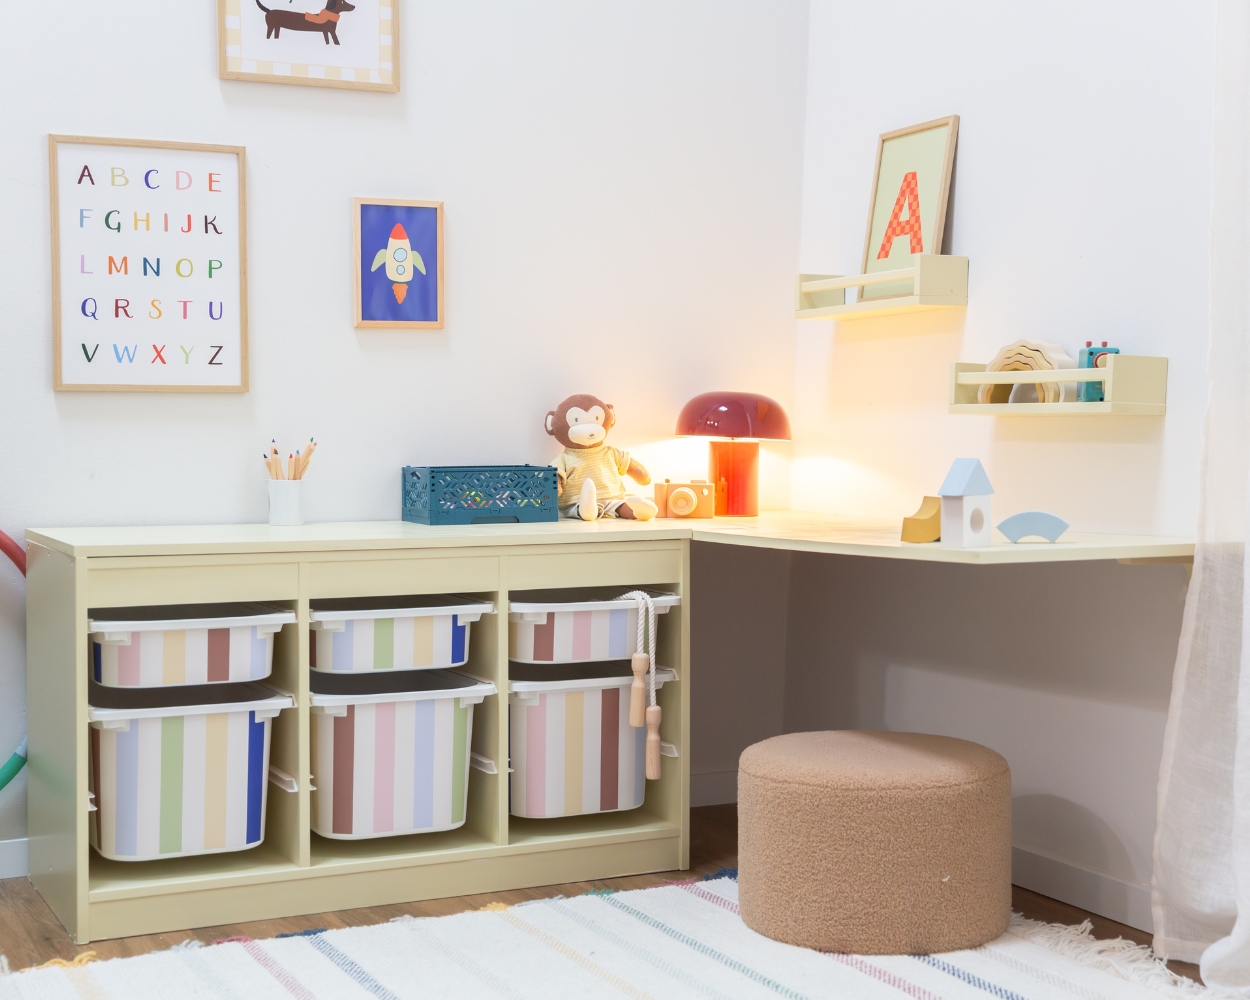 TROFAST Makeover: DIY Kids’ Corner Desk from IKEA StorageTurn your IKEA TROFAST unit into a cosy kids’ corner desk! Space-saving, creative and perfect for crafting. Get the step-by-step guide for this easy DIY makeover.Mehr lesen
 -
 Family Bed – Benefits, Tips & Co-Sleeping ExplainedLearn all about the family bed: the benefits, tips, and why co-sleeping can bring comfort, closeness, and better sleep.Mehr lesen
 -
 Safe Sleep in the Kids’ Room – Tips & Smart IdeasFrom bed rails to non-toxic materials – discover the best tips for safe, cozy, and worry-free sleep in the kids’ room.Mehr lesen
 -
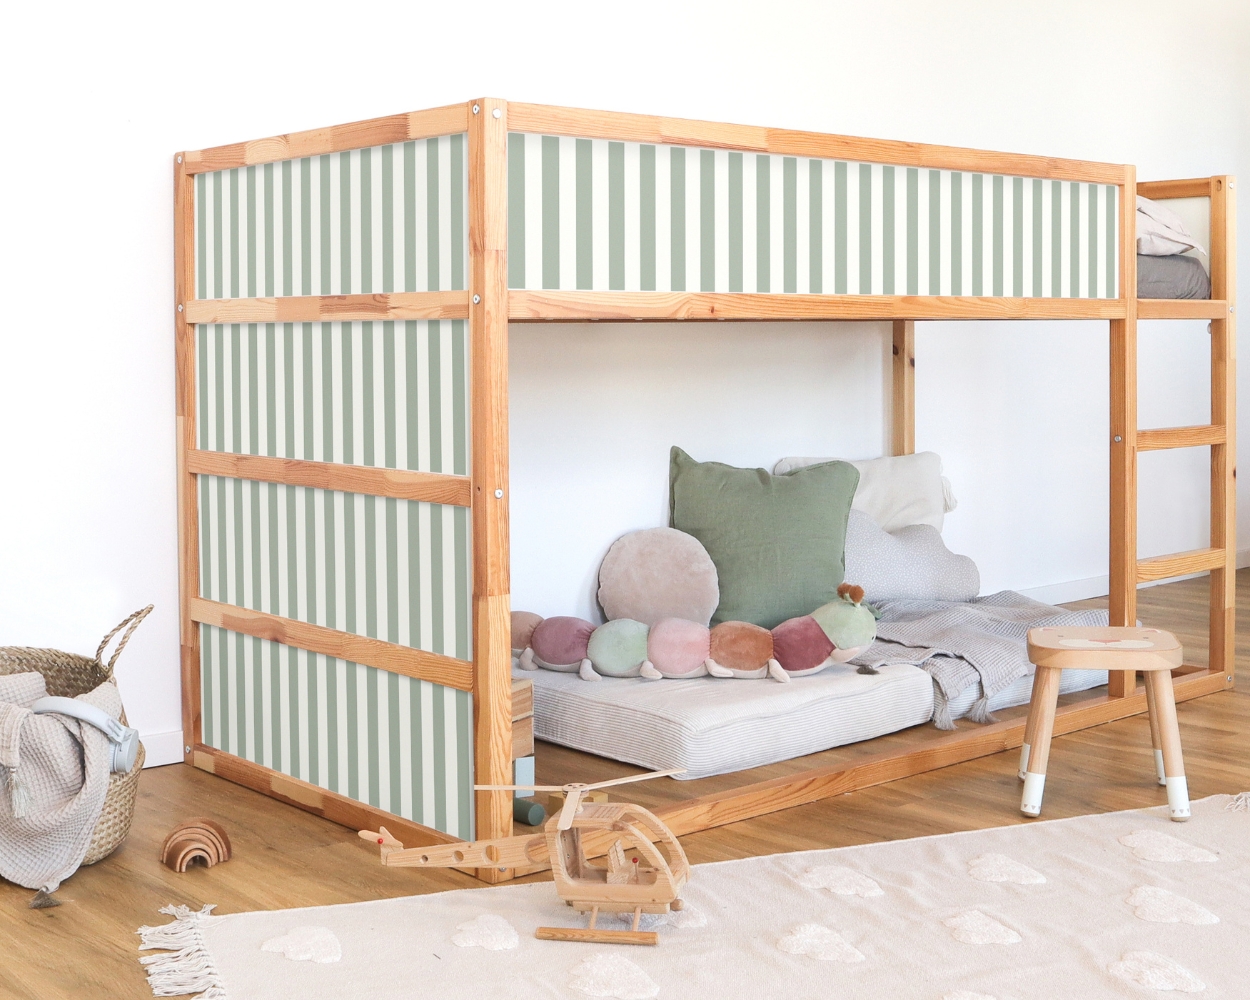 Own Bed for Kids – Smooth Transition Made EasyDiscover when it’s time for kids to move into their own bed and get tips on bunk beds, safety, and accessories for stress-free sleep.Mehr lesen
 -
 The 12 best ideas for the dark seasonFind out how you can cleverly prepare your home for winter so that nothing stands in the way of your little ones having fun despite the bad weather!Mehr lesen
 -
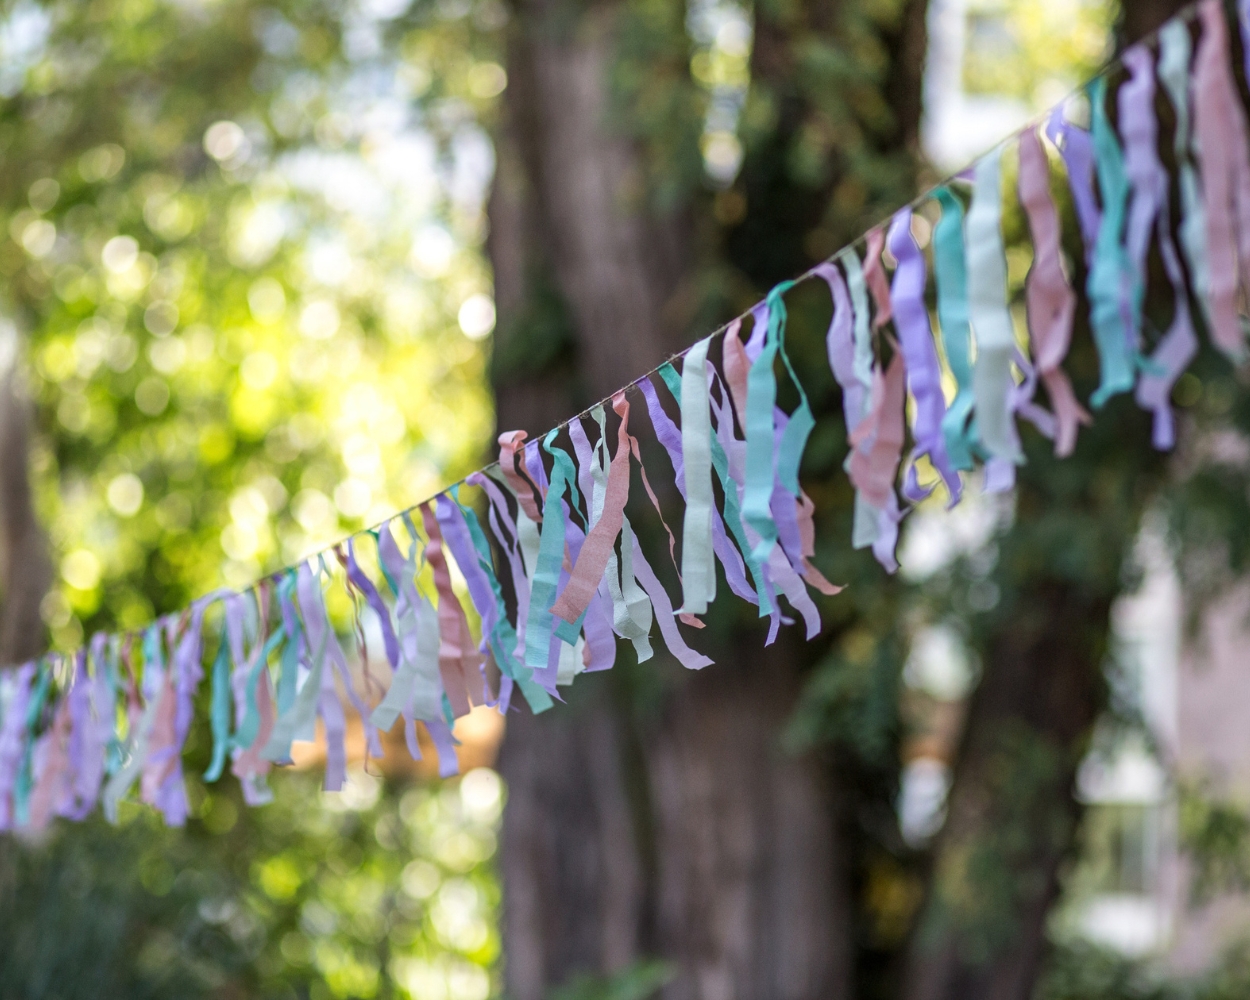 Creative Kids’ Birthday Party Ideas – Crafts, Decorations & Fun GamesLooking for kids’ birthday party inspiration? Find easy DIY decorations, craft ideas and fun games to make the party special – creative, playful and stress-free!Mehr lesen
 -
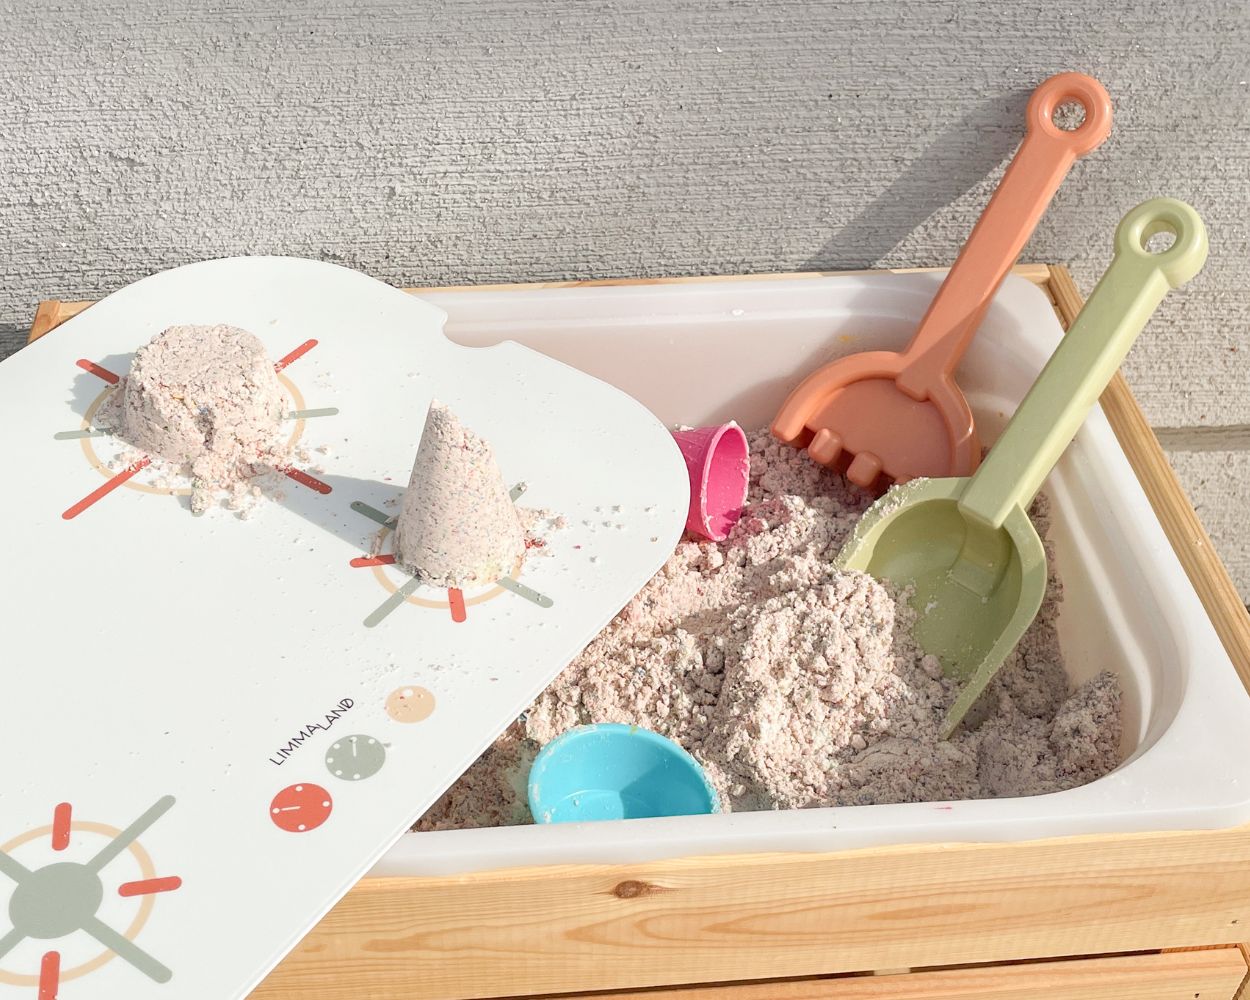 Make your own kinetic sand - DIY recipe for creative playDiscover our recipe for do-it-yourself magic sand! With just 3 ingredients, you can create sensory fun for children in no time at all. Try it out now!Mehr lesen
 -
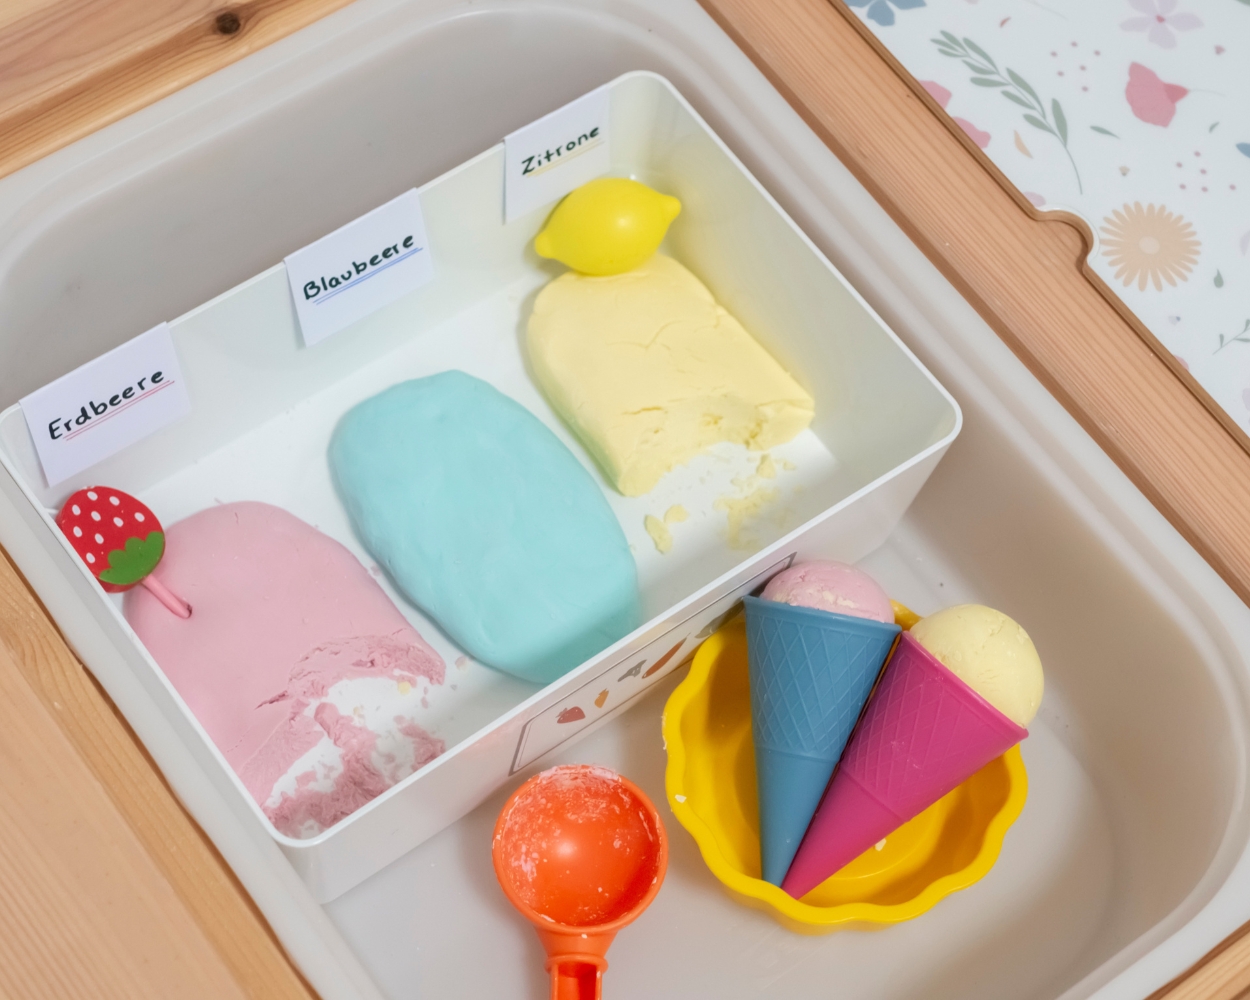 DIY Cloud Dough – Easy Recipe for KidsMake your own fluffy cloud slime with just two ingredients! A simple DIY for sensory play and creative fun – perfect for kids of all ages.Mehr lesen
 -
 The Perfect Wall Colour for the Nursery – Tips & IdeasDiscover calming and stylish nursery colour ideas. Learn how wall colours affect your baby’s wellbeing and how to create a soothing, beautiful environment.Mehr lesen
 -
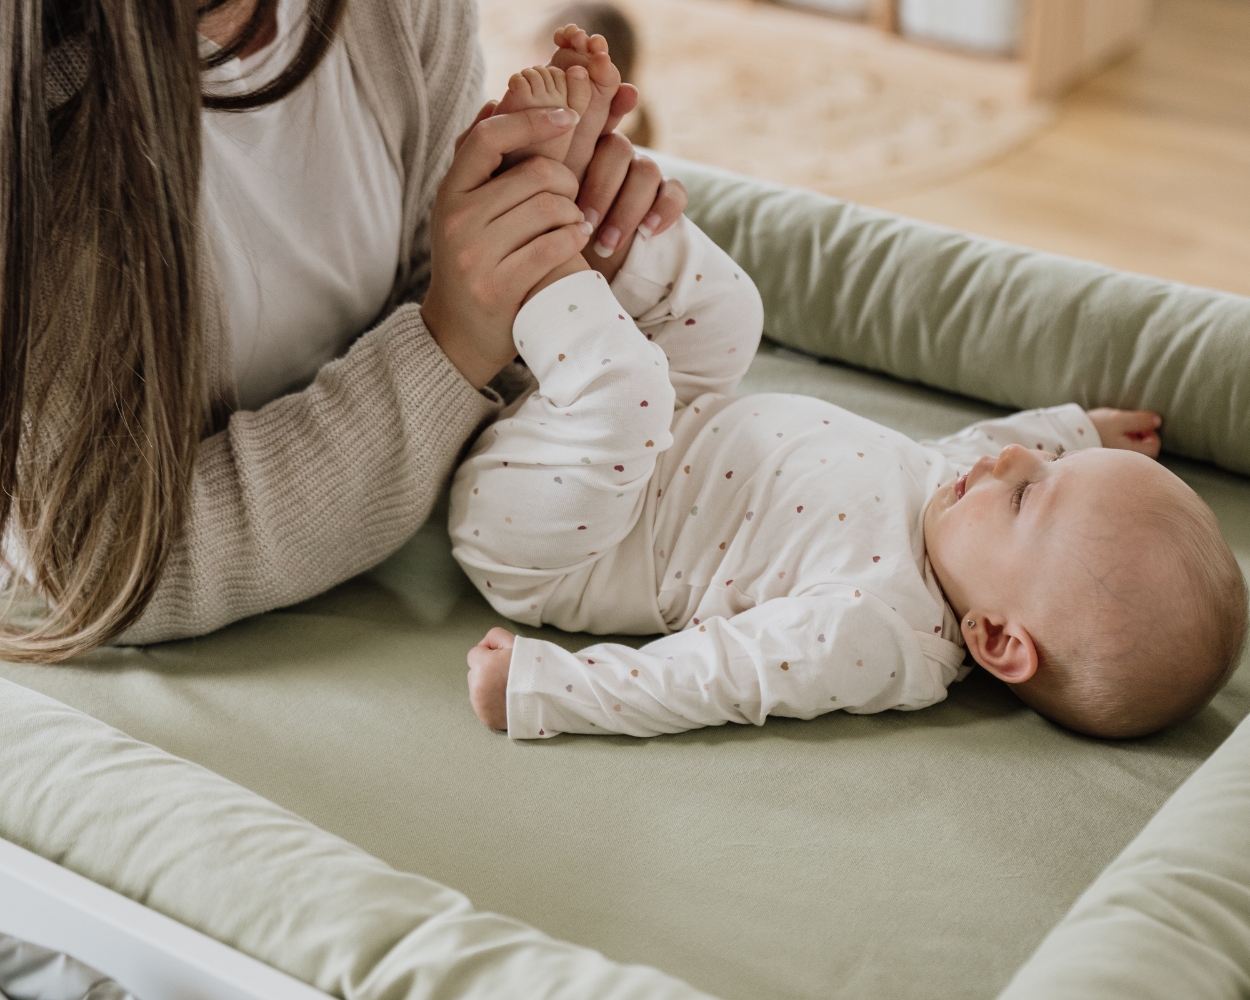 Midwife Meike’s Tips for Your Changing AreaMidwife Meike shares clever tips for setting up a safe, cozy, and practical changing area – for relaxed and happy moments with your baby.Mehr lesen
