
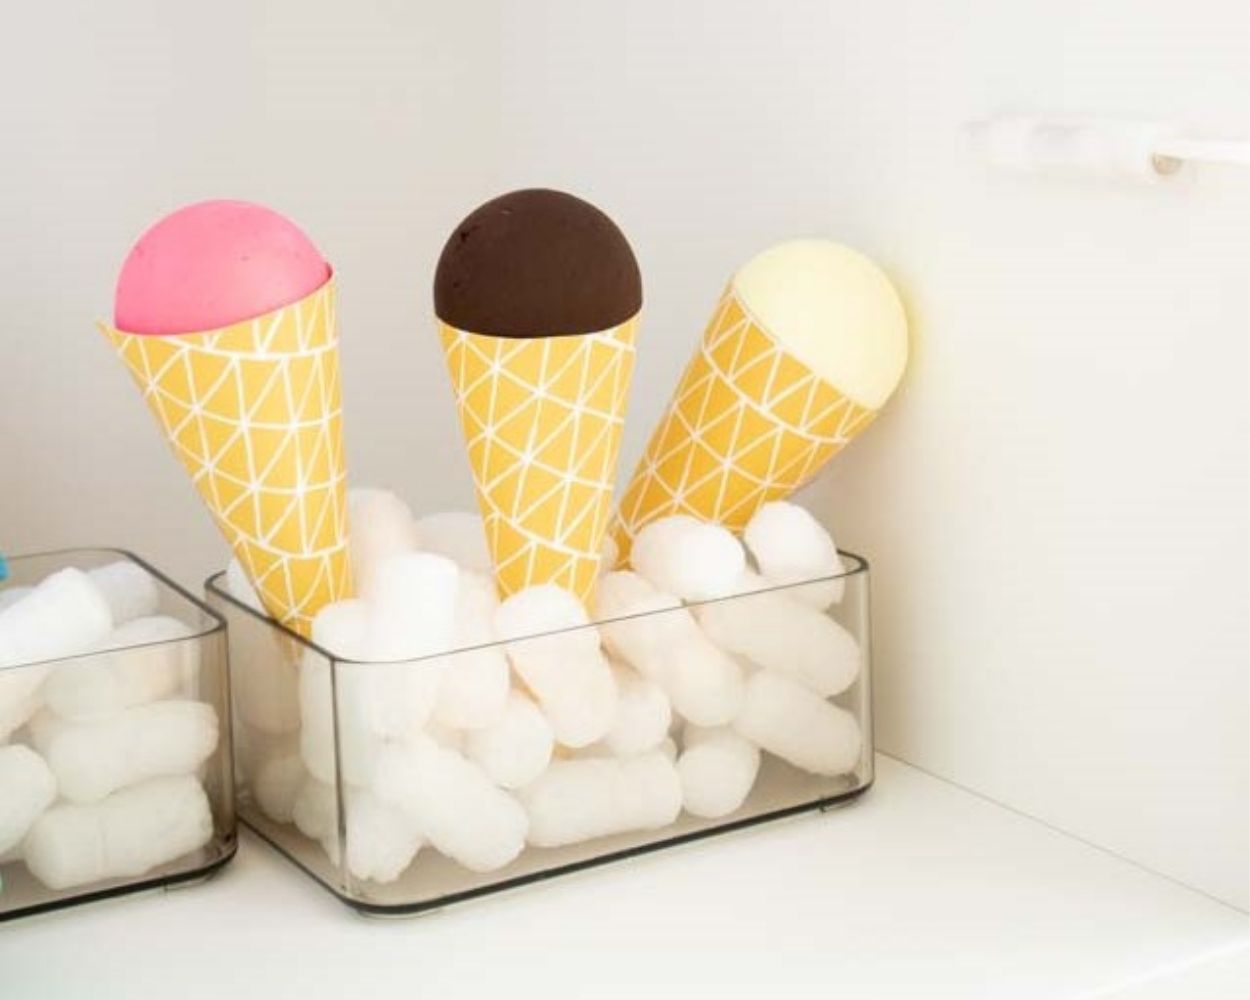
Make your own ice cream toys
Make your own ice toys
Creative ideas for play shop and play kitchen. With free downloads.
Ice cream’s always a hit, whatever the weather, isn’t it? So wouldn’t it be brilliant to have some ice cream-themed toys for the ‘ play shop’? Simply brilliant! That’s why we’re going to show you, step by step, just how easy it is to make three fantastic flavours of ice cream. With these instructions, you really can’t go wrong.
1. Making ice cream in a waffle cone
One scoop in a waffle cone, please.
A proper Italian gelato really is a treat. And our little ones love licking their ice cream straight from the waffle cone too. Chocolate, vanilla or strawberry?
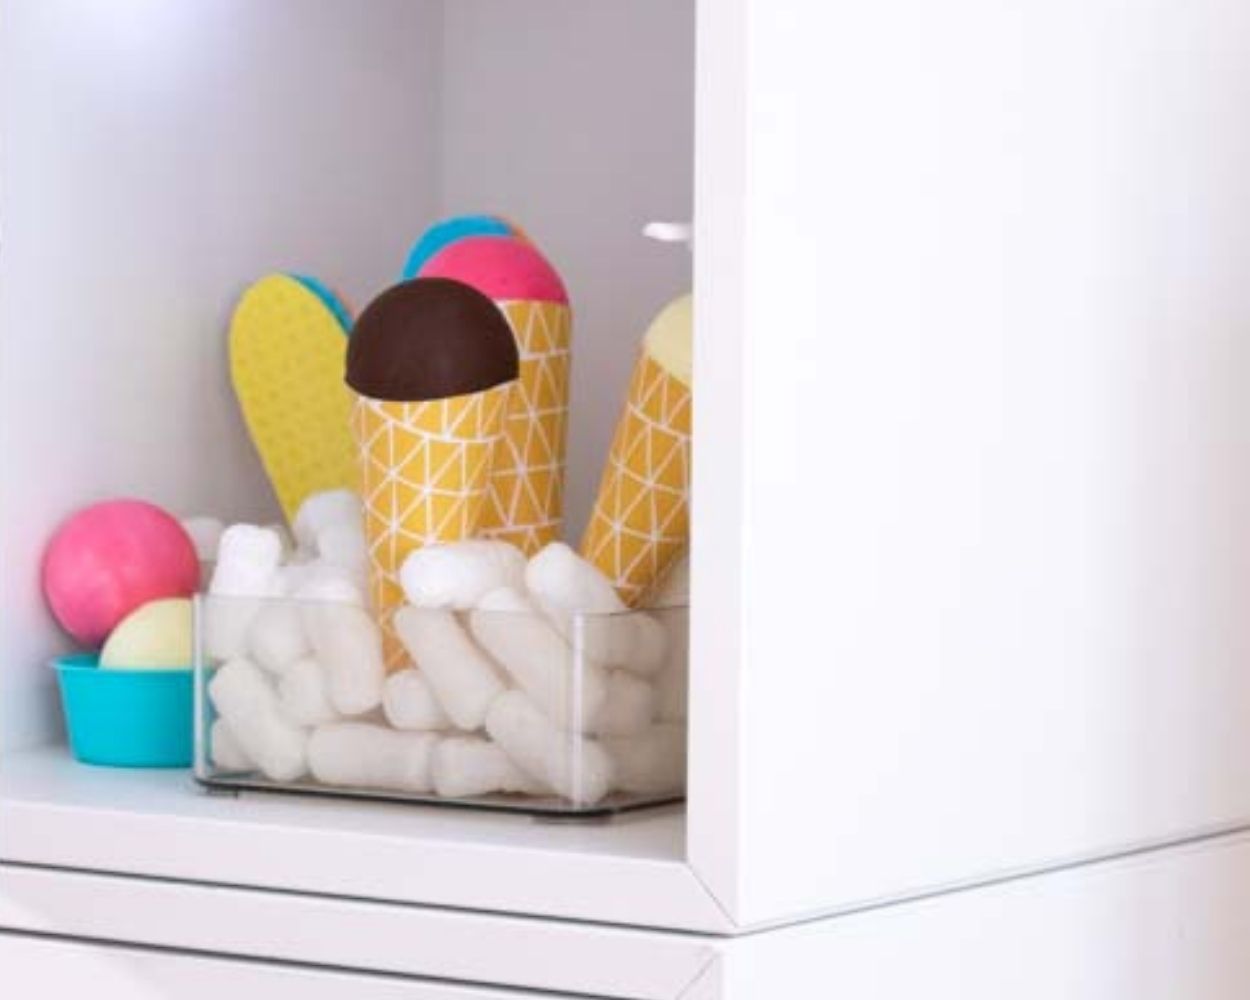
Here’s what you’ll need for the ice cream ball in a cone
- : polystyrene balls from a craft shop
- ; a paintbrush and paint of your choice
- ; our free craft template for the ice cream cone: Ice Cream Toy Craft Template
- ; scissors and glue
- First, download our craft template for the ice cream cone: Ice Cream Toy Craft Template. We recommend printing the template on sturdy paper.
- Now cut out the template and stick the ice cream cones together along one side.
- Now grab the polystyrene balls and paint them in your favourite colour.
- Once the paint on the balls has dried, simply pop them into the waffle cone. Use a bit of glue to make sure the balls stay in the cone and don’t fall out. And there you have it – your DIY ice cream is ready!
2. Upcycling: Popsicles made from sponges
And for anyone who’d rather treat themselves to a delicious popsicle, we’ve of course got some really simple ideas ready for you too. We’ve prepared two versions for your DIY ice lollies: making them from sponges or sewing them from fabric offcuts. Let’s start with the super-quick sponge version.
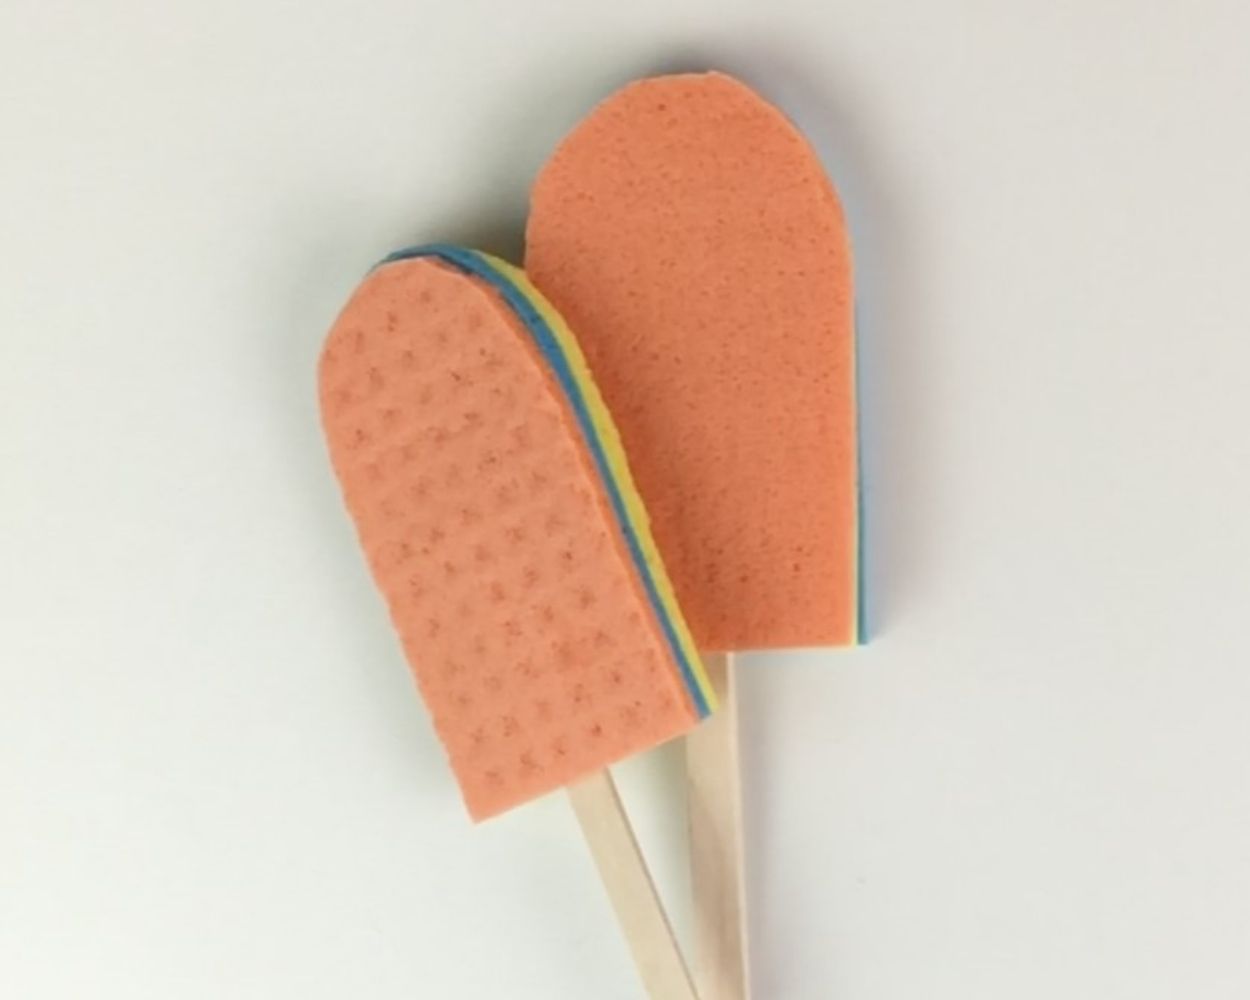
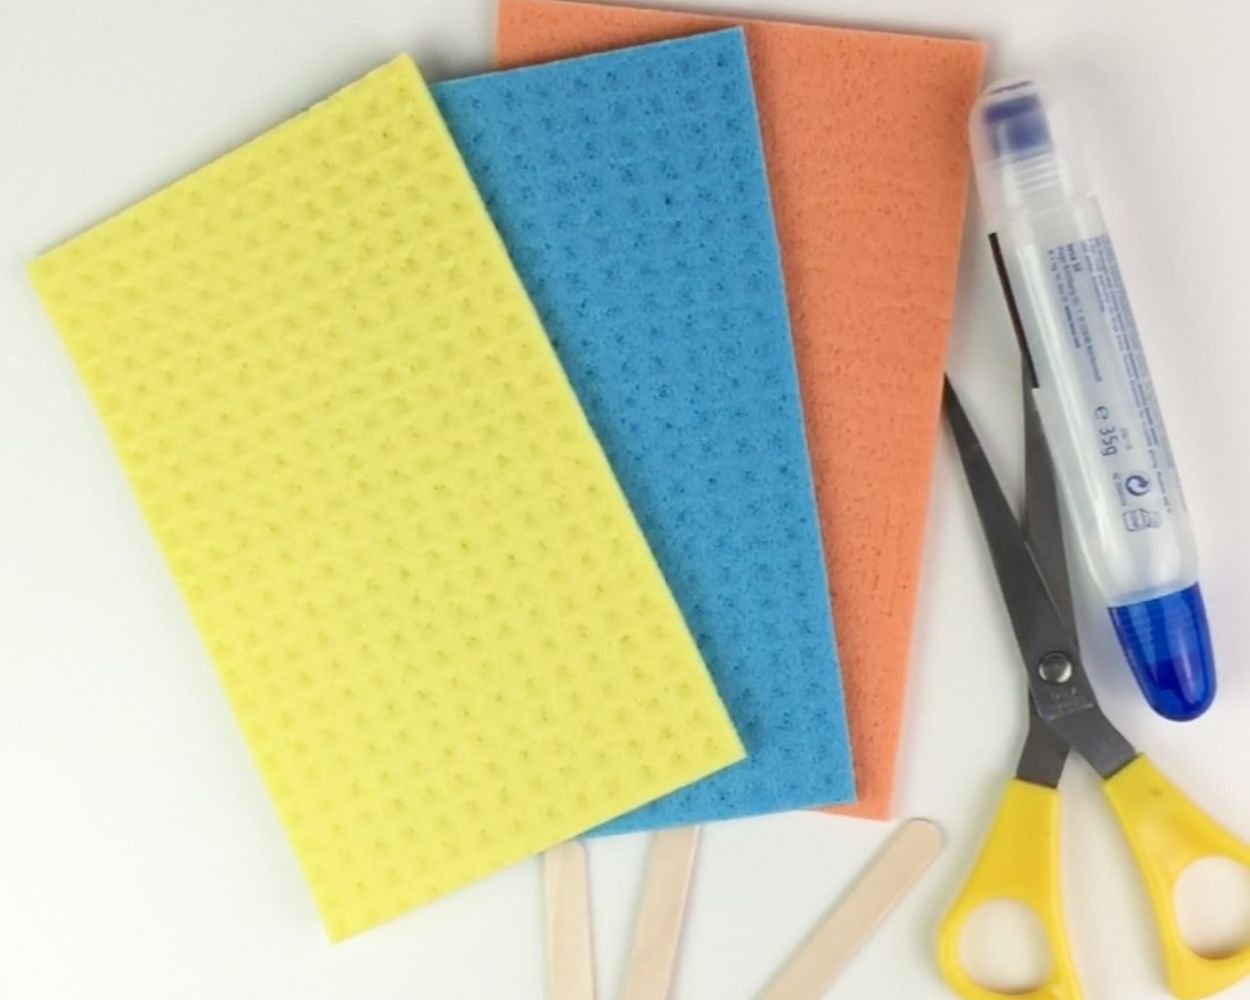
Here’s what you’ll need to make these quick ice lollies
- three kitchen sponges in your favourite colour
- a pencil
- scissors and glue
- ice lolly sticks from a craft shop
- First, draw an ice lolly mould onto the kitchen sponges.
- Then cut it out and use it as a template for the other two sponges.
- Now stick the three pieces of sponge together. Note: Don’t forget the ice lolly stick. Simply place it between the sponges.
3. Sewing an ice lolly for the ‘ play shop’
If you enjoy sewing, you’re sure to love our next idea: making your own fabric ice lolly toys. Your fabric offcuts are perfect for making the ice lollies.
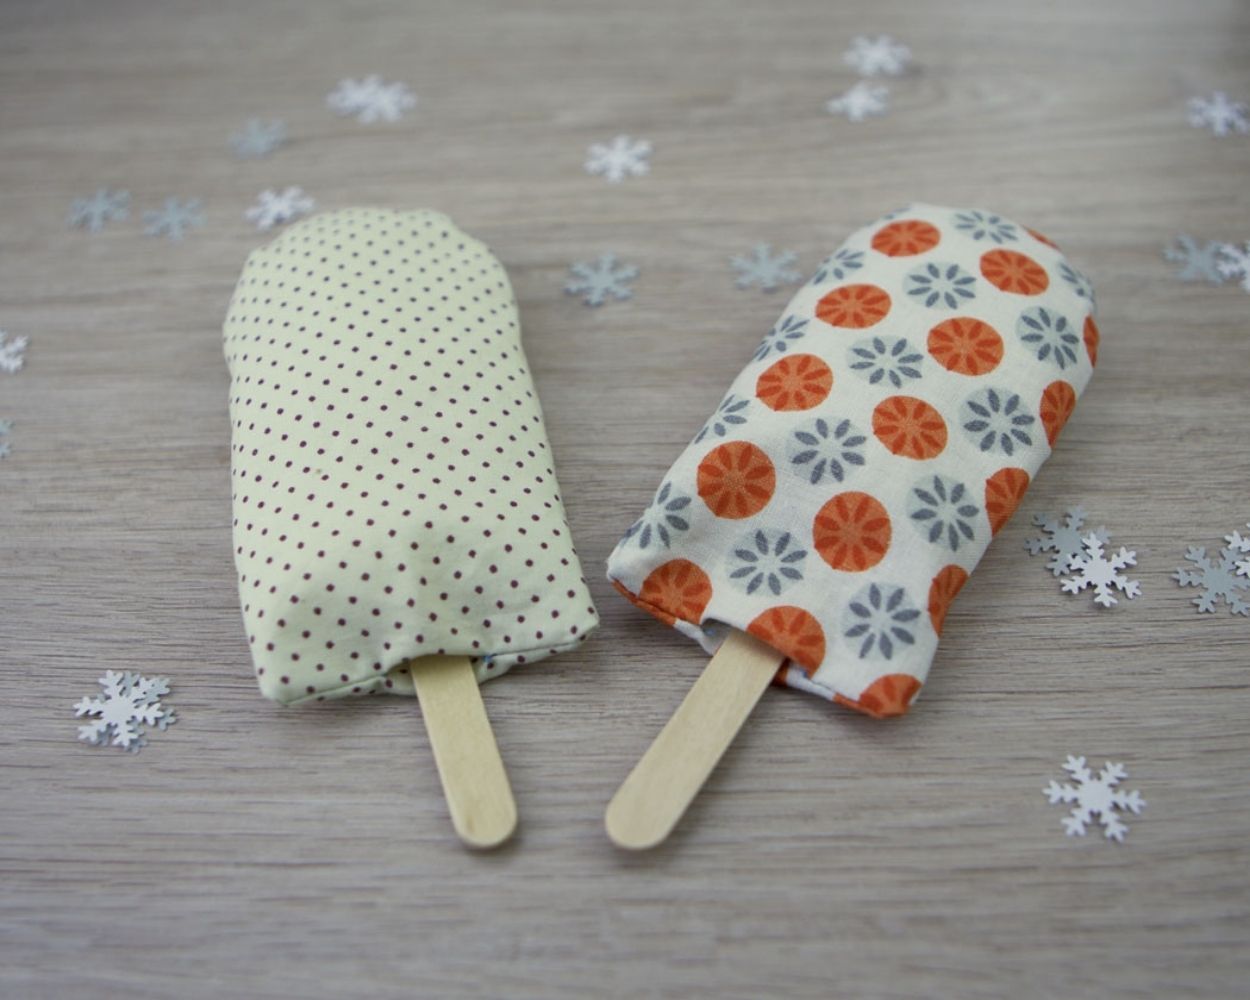
Here’s what you’ll need to make the fabric ice lollies
- Pencil and paper
- Fabric scissors
- Sewing thread
- Pins
- Stuffing
- Ice lolly sticks
- Colourful cotton fabric
How to make your own ice toys – Here’s how:
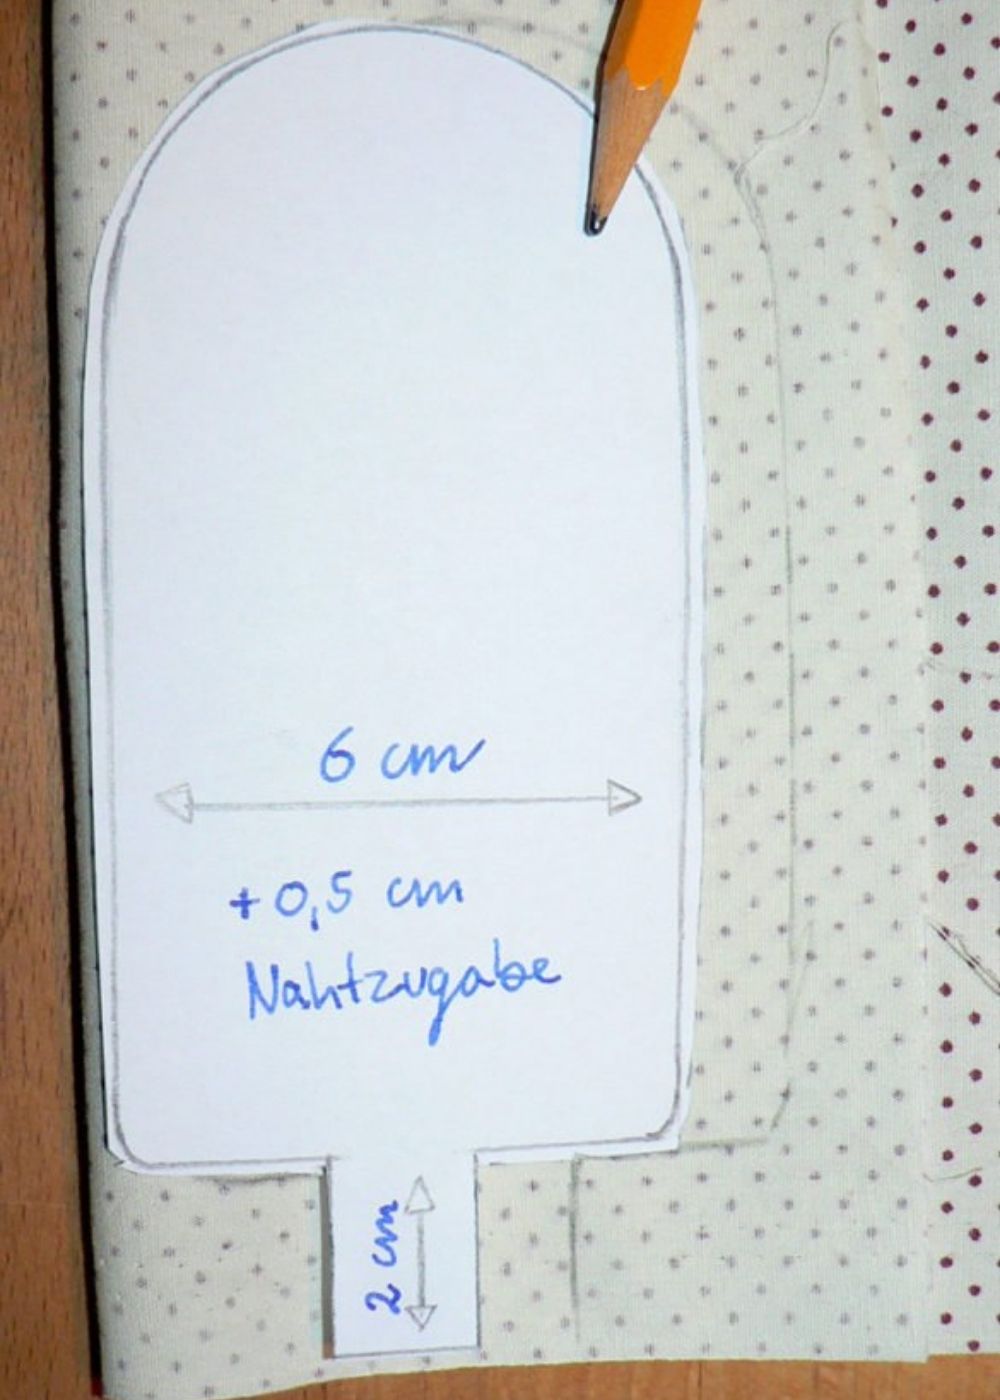
First, draw the template for the ice cream. Then fold the chosen fabric in half and trace the outer outline using the template. Please note: Make sure to leave enough seam allowance.
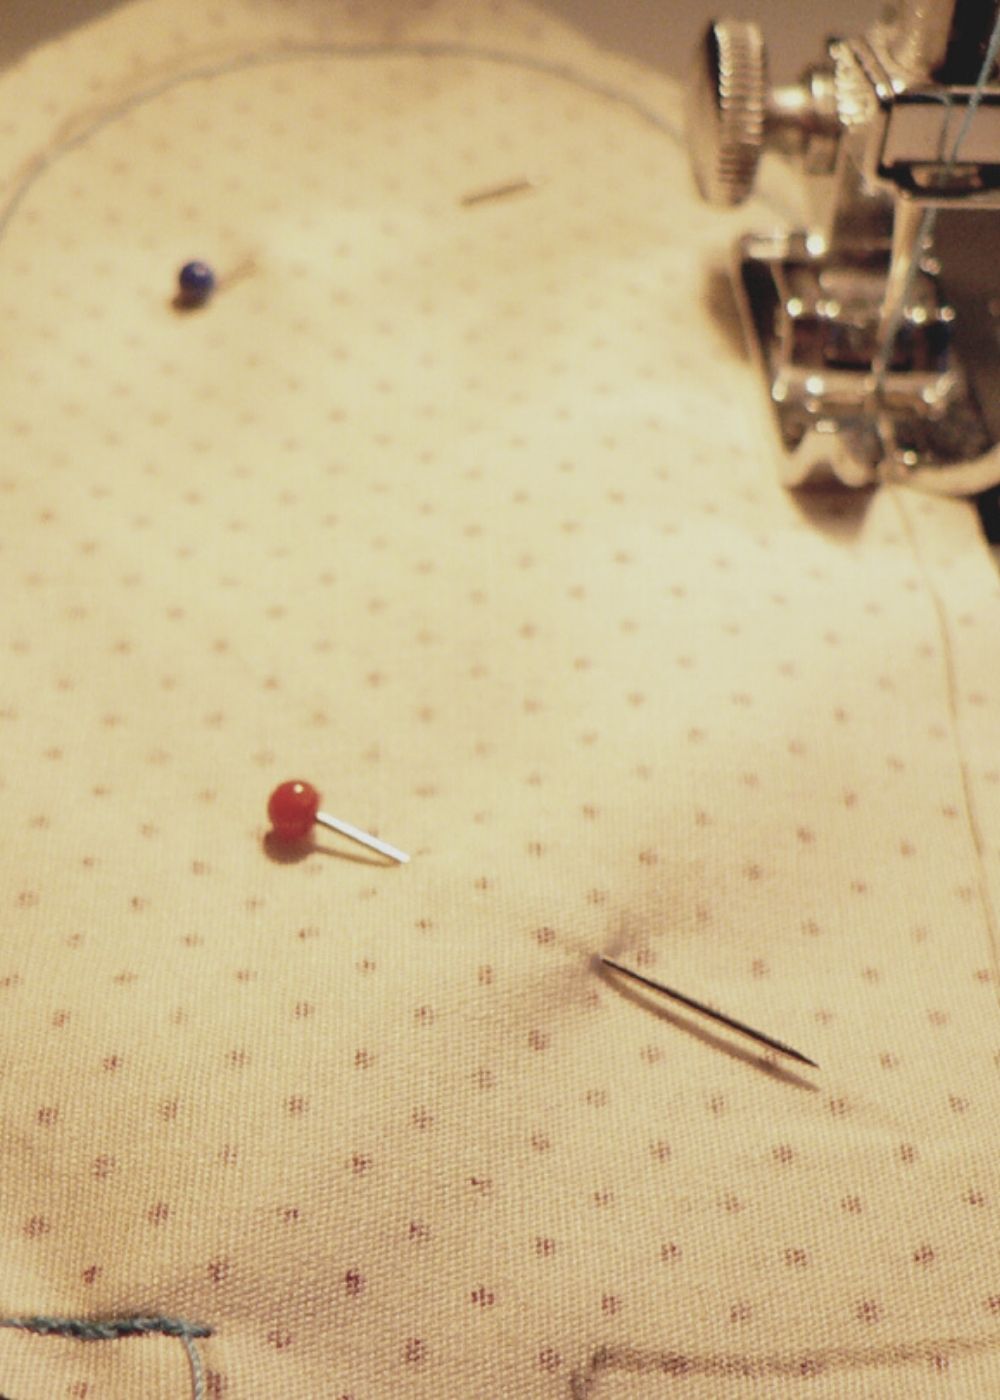
Now cut out the ice cream using fabric scissors and place the two pieces of fabric so that the right sides are facing each other. Then pin them in place. Next, sew around the edges of the fabric pieces. Note: Leave the opening for the stick open – you’ll be stuffing it with wadding later!
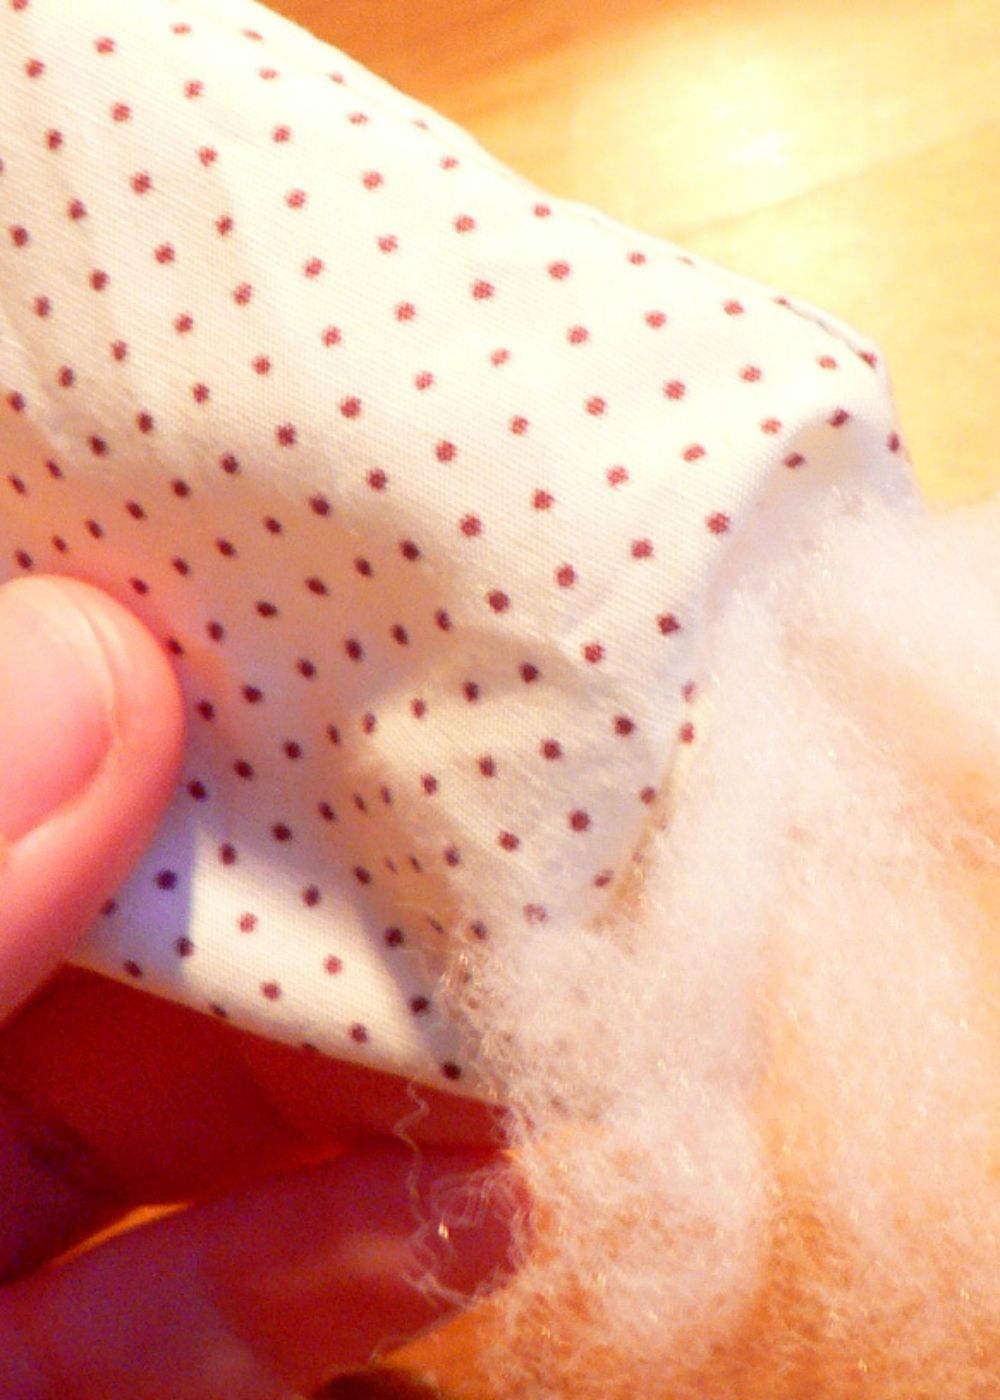
Using the pencil, pull the inside of the ice lolly out through the stick hole and press the edges out firmly. Now fill the ice lolly wrapper with the filling wadding (about a handful). Finally, fold the two fabric flaps of the stick inwards. Now apply some liquid glue to one end of the wooden stick, insert it into the opening, press it in firmly and, if necessary, seal the remaining part of the opening with glue. Done!
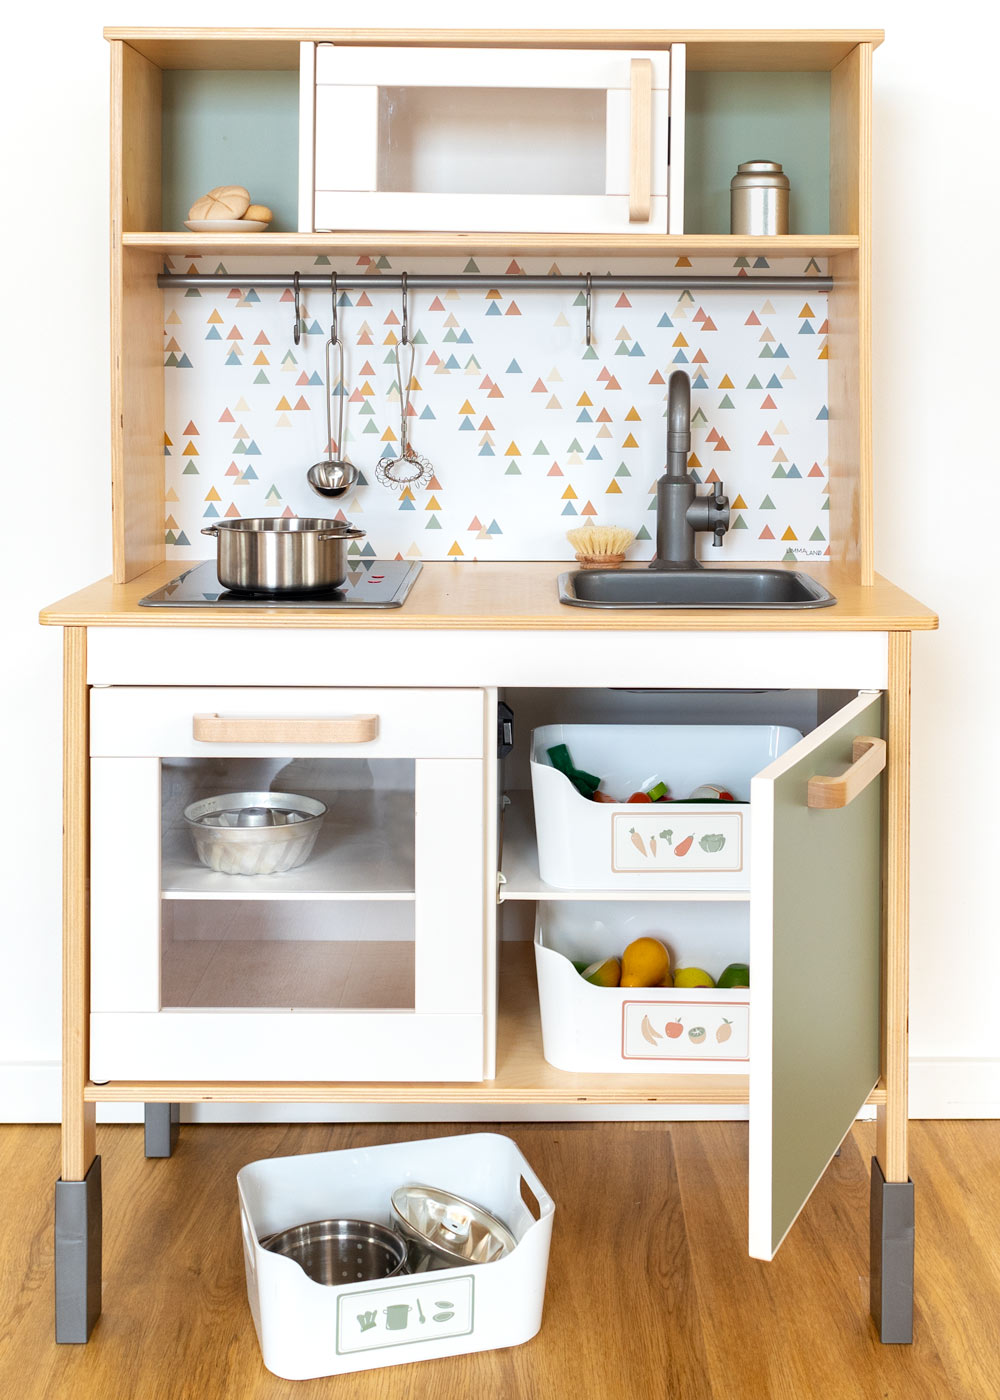
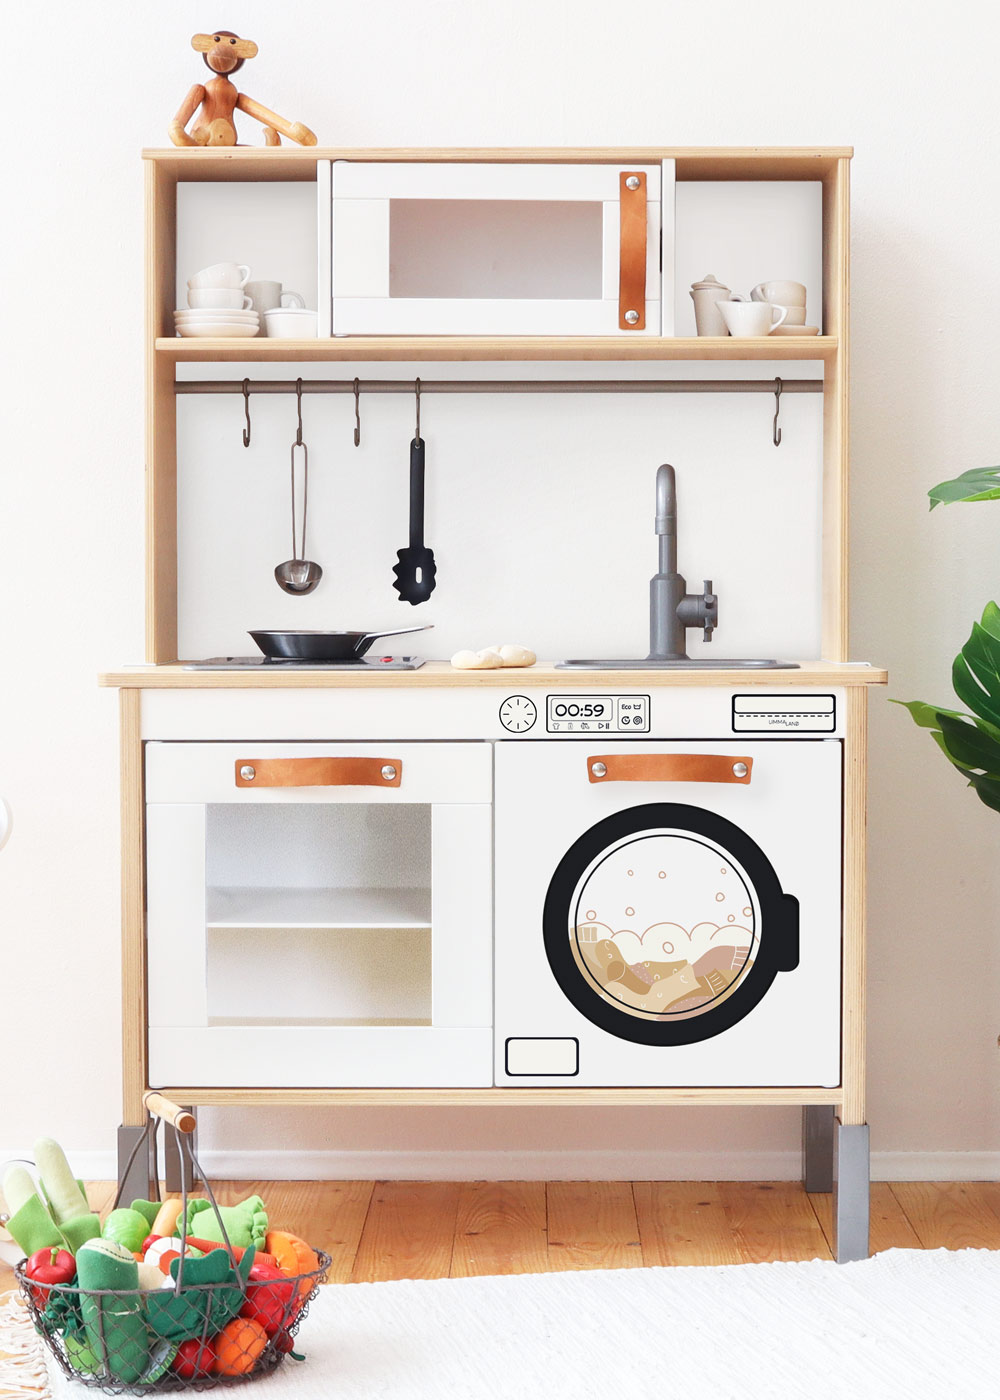
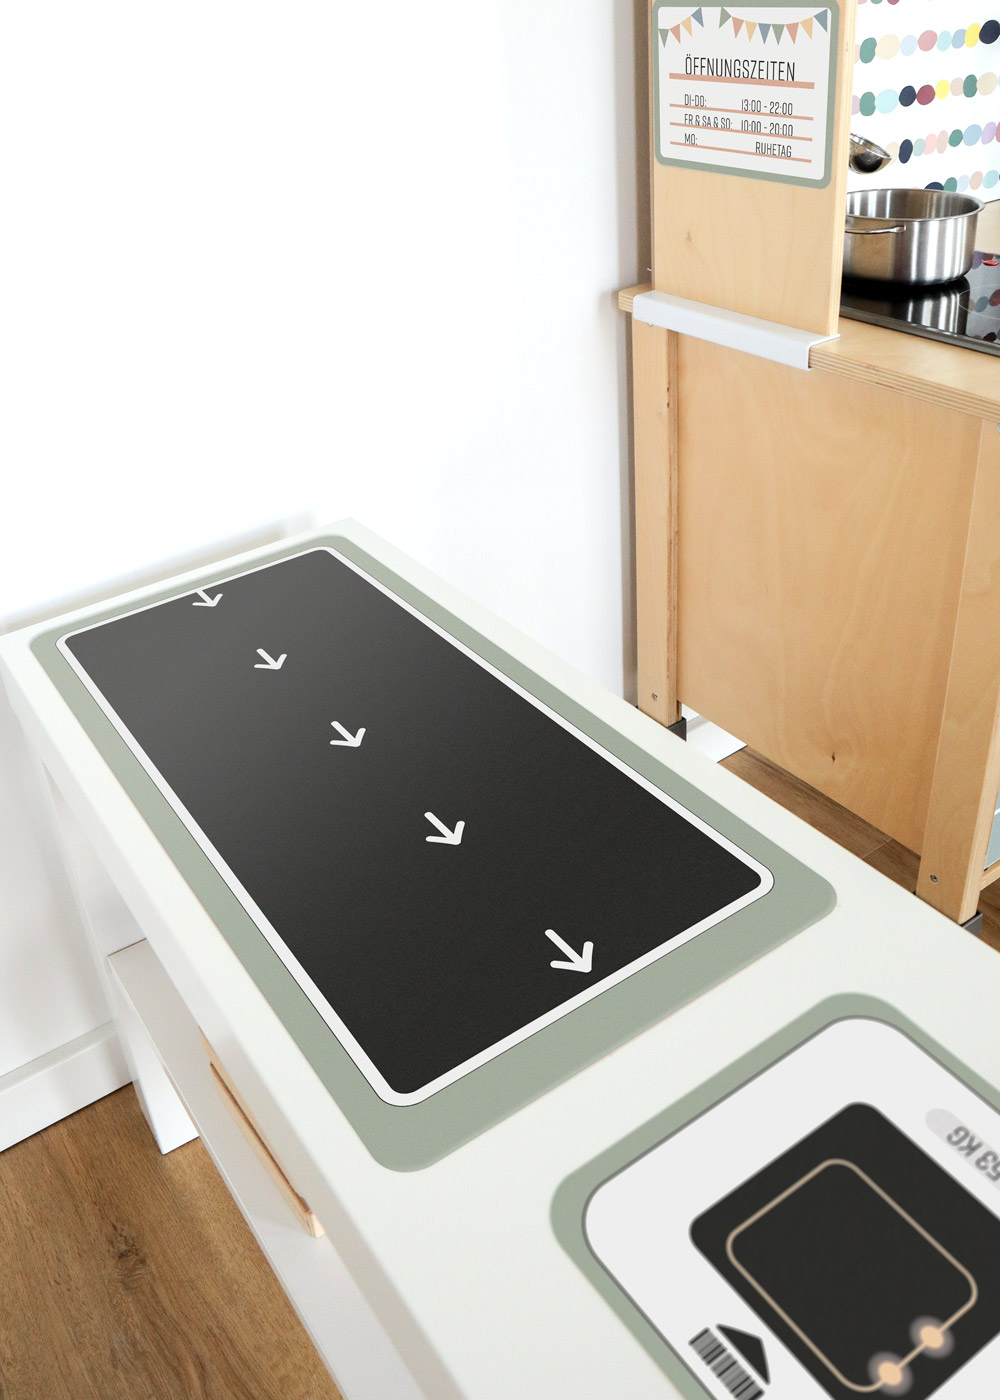
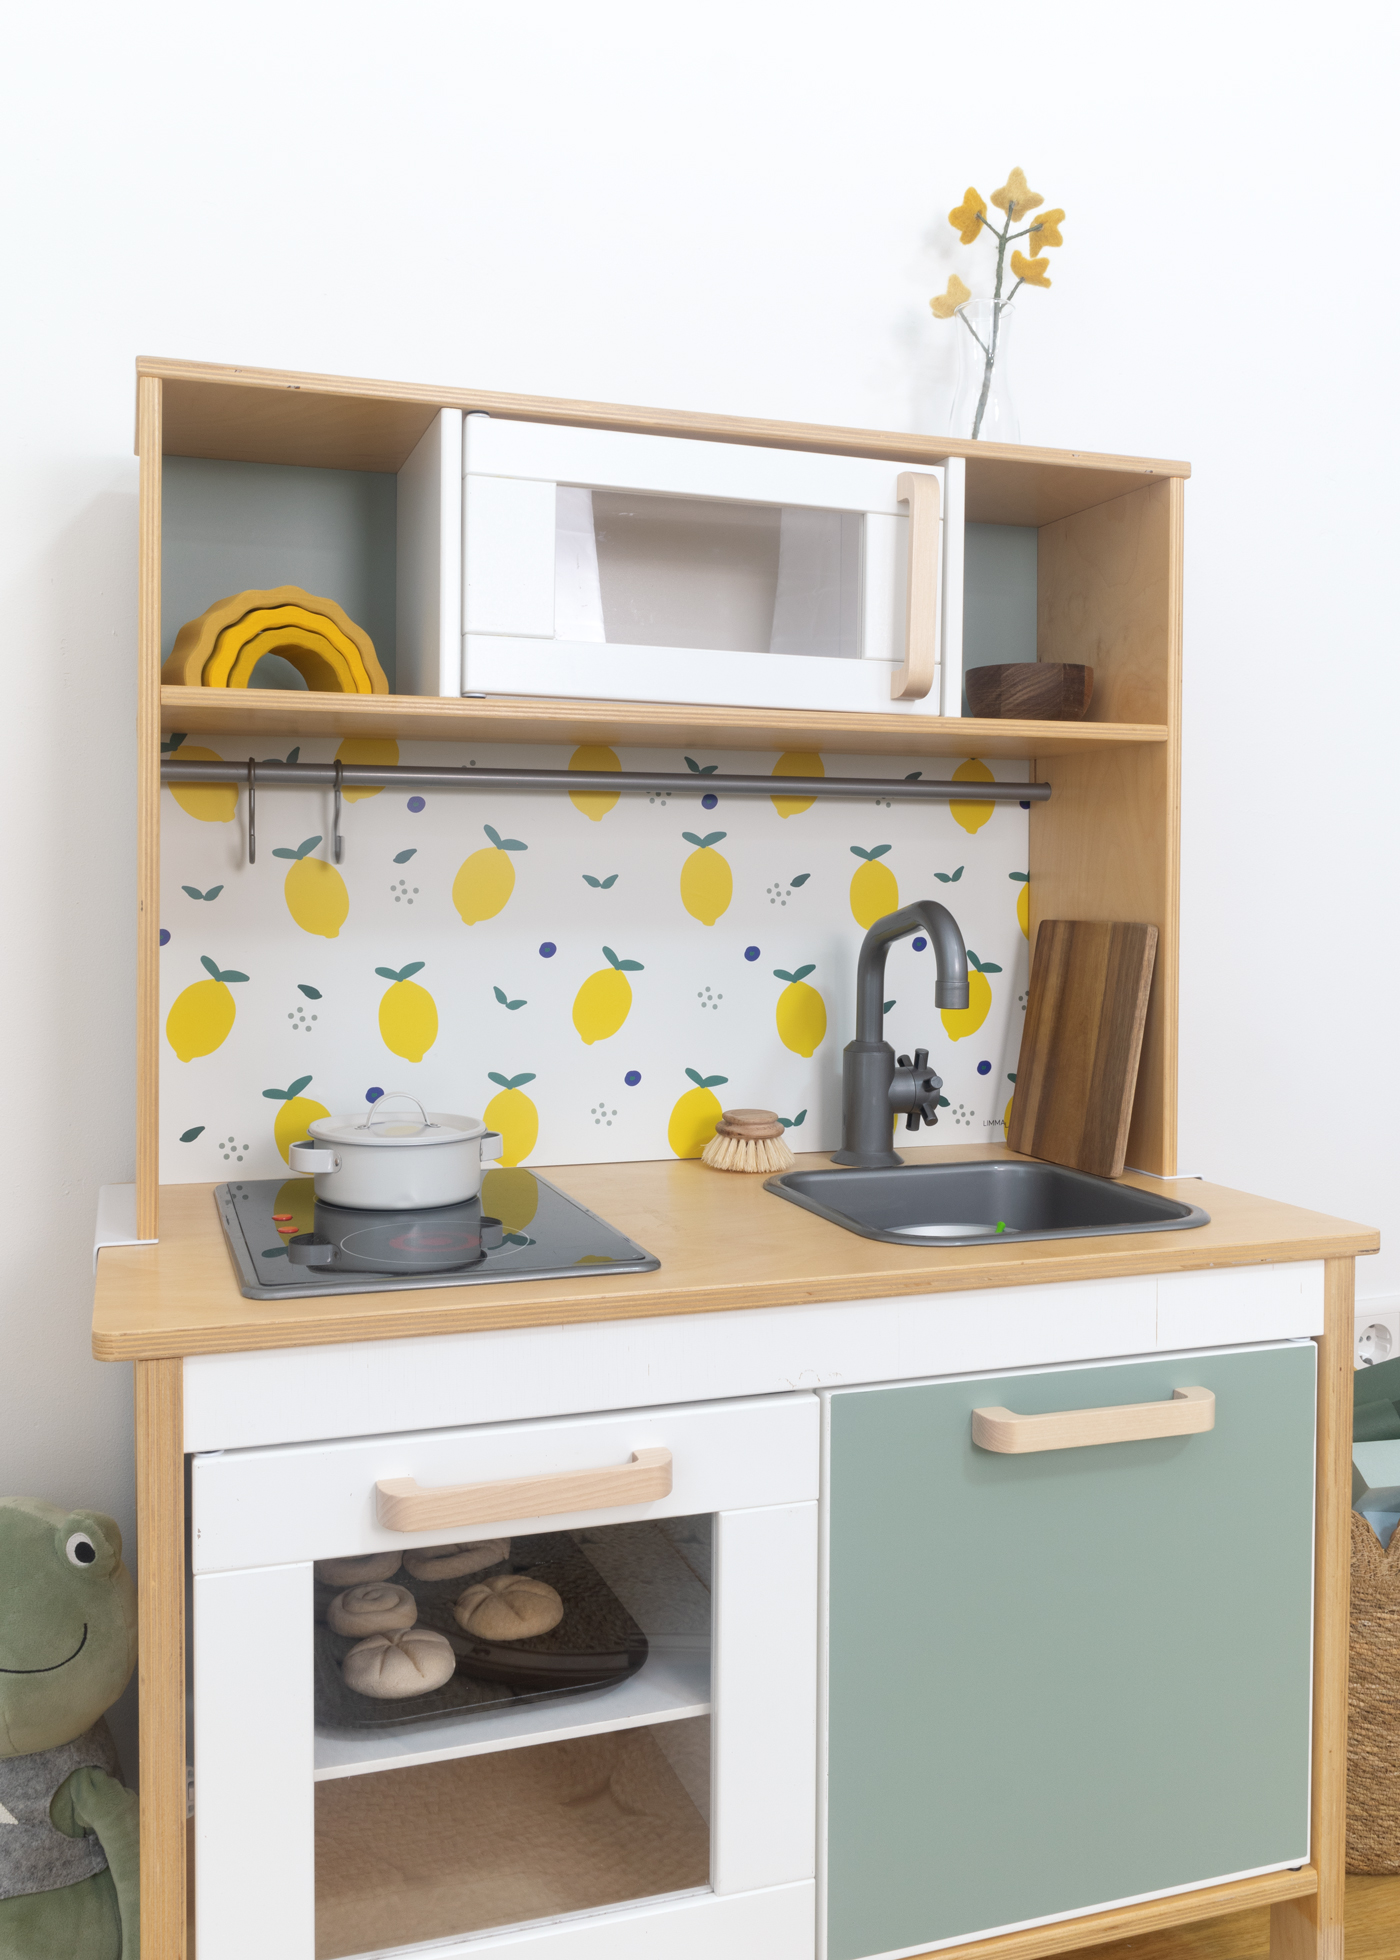
This is where your ice cream sells best





Comment area

Weitere Beiträge
-
 Creative Kids’ Birthday Party Ideas – Crafts, Decorations & Fun GamesLooking for kids’ birthday party inspiration? Find easy DIY decorations, craft ideas and fun games to make the party special – creative, playful and stress-free!Mehr lesen
 -
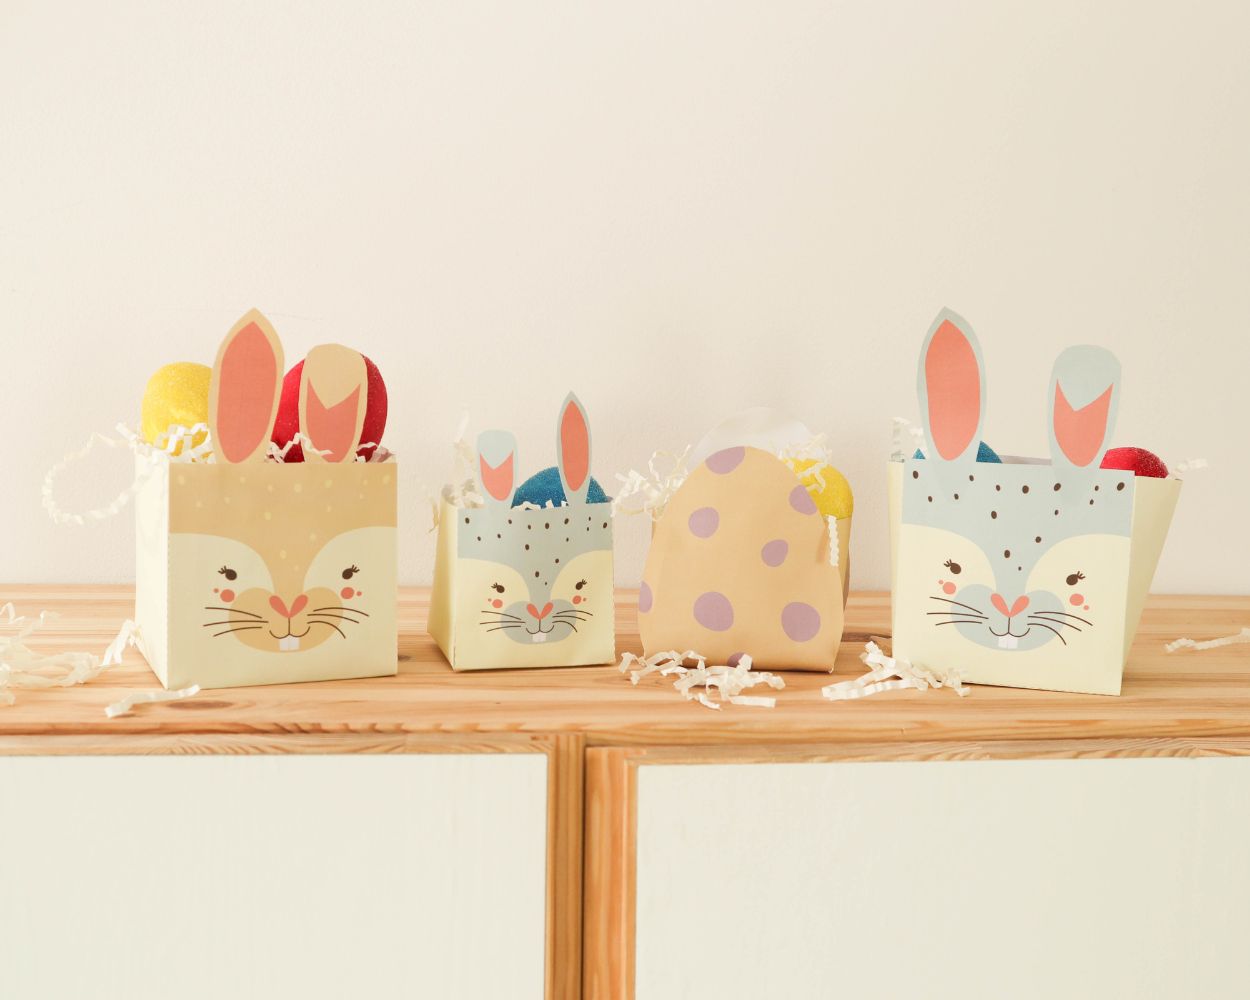
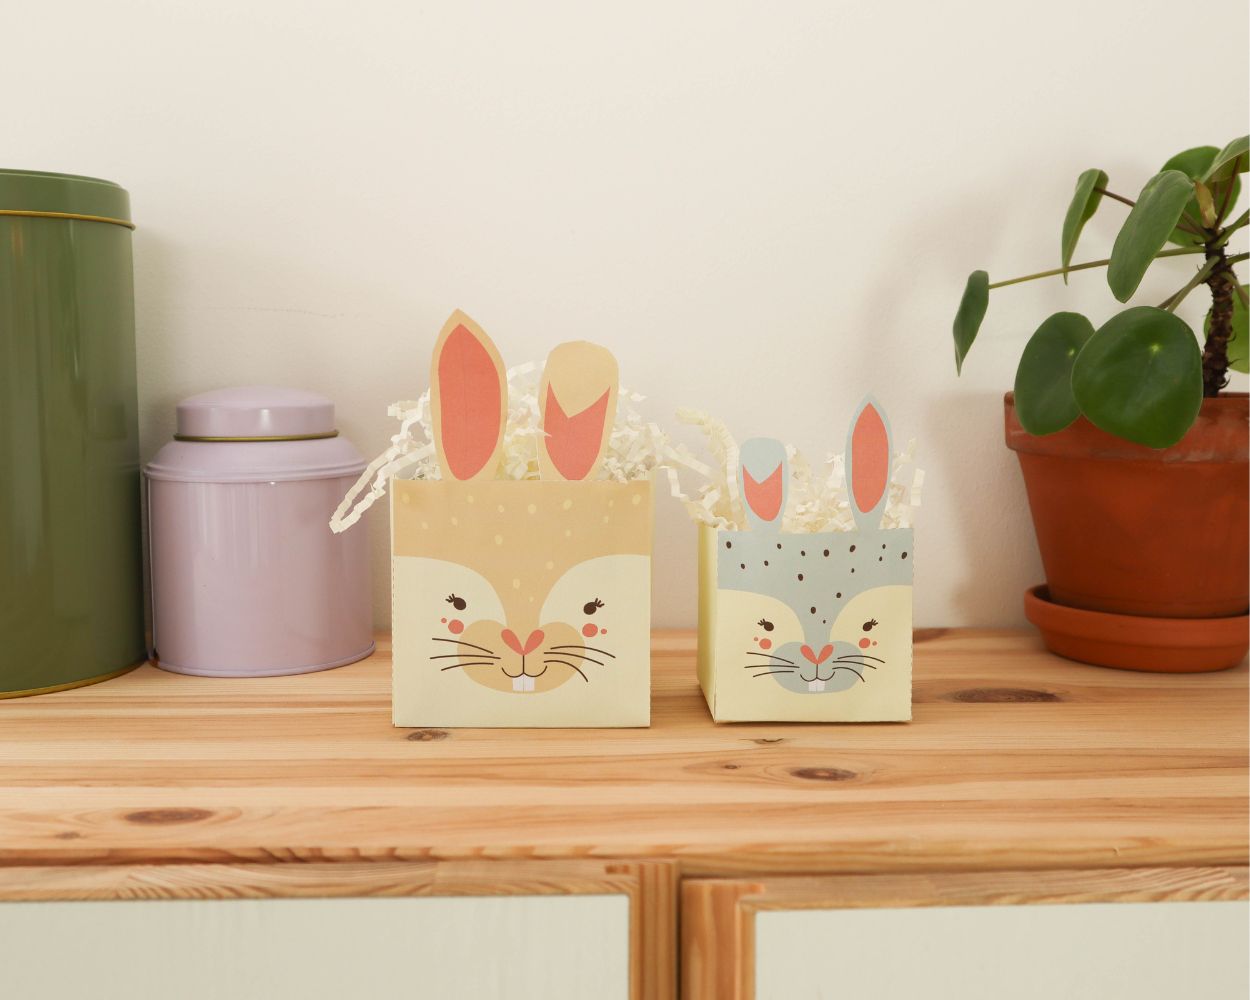 Crafting for Easter: the most beautiful decoration ideasDiscover lots of easy craft ideas for Easter.Mehr lesen
 -
-
-
-
-
 Creative craft ideas for the Christmas seasonGet into the Christmas spirit with creative crafting sessions with your loved ones.Mehr lesen
 -
 Making gingerbread men - sweet decorations for the Christmas seasonMake decorative gingerbread men out of paper.Mehr lesen