Build your own slide car
Build your own slide car
An IKEA hack for children

Spring has finally arrived and our little ones can run around and play outside again. It's especially fun to whizz around on their own little pedal car. Especially when you can't walk as fast as the grown-ups. We'll show you how you can easily build your own ride-on car for your little racers using just a few materials. Quite simply from IKEA products.

What you need:
- an IKEA MAGASIN* chopping board (20 x 30 x 2 cm)
- one IKEA TROFAST* box (20 x 30 x 10 cm)
- one packet of IKEA RILL* rolls
- a colourful cord
- 20 screws
- the SLEEPY EYES stickers for the face of the slide car (Psst...: You get them as a small gift with every order)
Building your own ride-on car made easy
A DIY pedal car looks great and is something completely different. And it's not difficult at all to build such a great IKEA ride-on car yourself. We'll show you step by step how to do it.
Step-by-step instructions

Step 1
First drill two holes through the bottom of the box. Then pull the cord through the two holes and knot it on the inside of the box. In addition, screw a hole in all four corners to connect the box to the board later.

Step 2
Now screw the castors onto the wooden board using four thick (max. 2 cm long) screws. Tip: Attach the castors as close to the outer edge of the board as possible so that the DIY children's car has sufficient stability.

Step 3
In the next step, place the box on the wooden board with castors and screw it in place at the pre-drilled points. For our DIY idea, it's really practical that the box and the cutting board have exactly the same dimensions. In addition, the screw heads are well hidden by the recess in the plastic box so that you can't injure yourself while playing.
Embellish the DIY ride-on car
Now you can decorate the pedal car to your heart's content. We have decided to stick on SLEEPY EYESto give our DIY children's car a friendly face. However, there are no limits to your imagination. You can also make it completely colourful laminate or decorate it with numbers and the names of your minis.
DIY VW bus from the IKEA Trofast
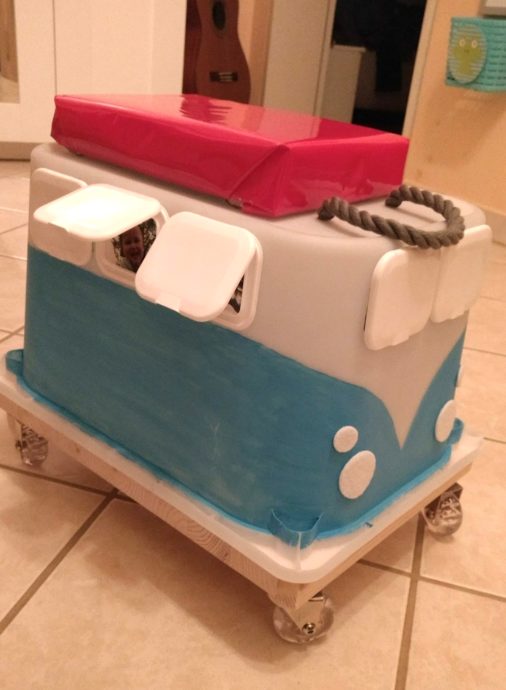
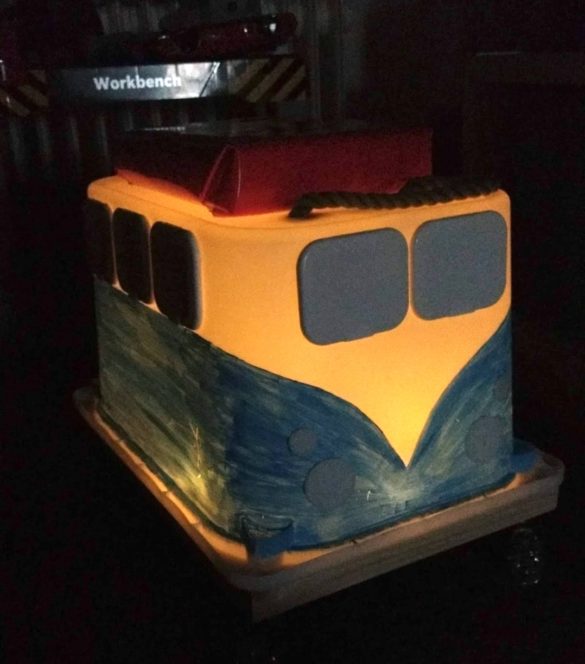
The lovely Katharina has already rebuilt and customised our hack. The result is a super cool blue VW bus. If you don't feel like painting, you can also use our yard goodsfor laminate. She used the lids of wet wipes for the fold-out windows. Behind them are photos of the family. Totally ingenious, isn't it? And the best highlight: Katharina has also built in a light. So the pram can also be used as a night light.
IKEA hacks for little racers
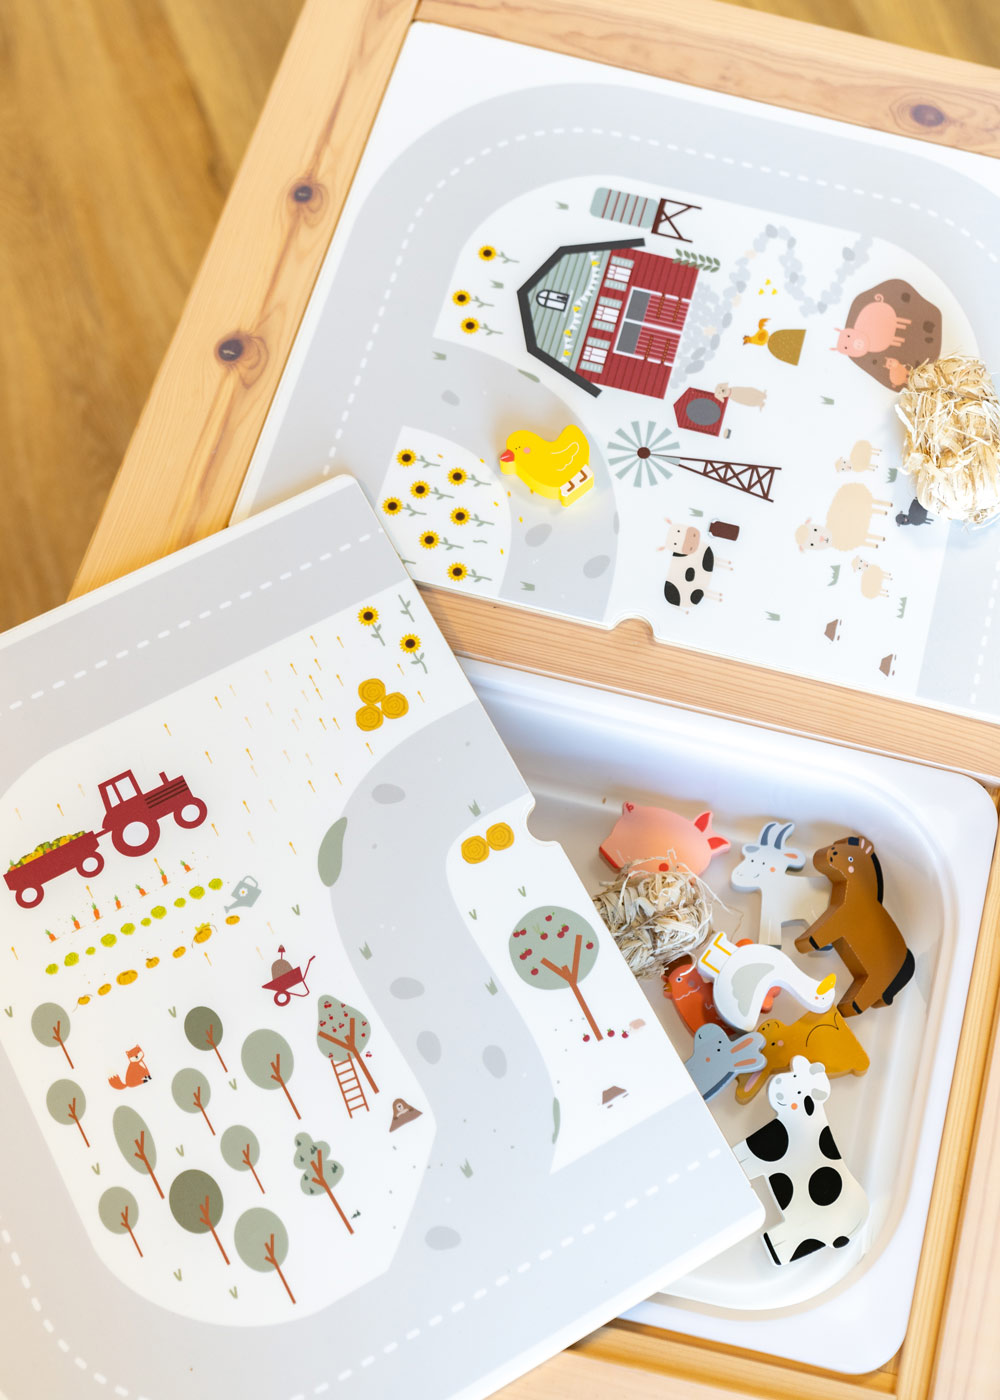
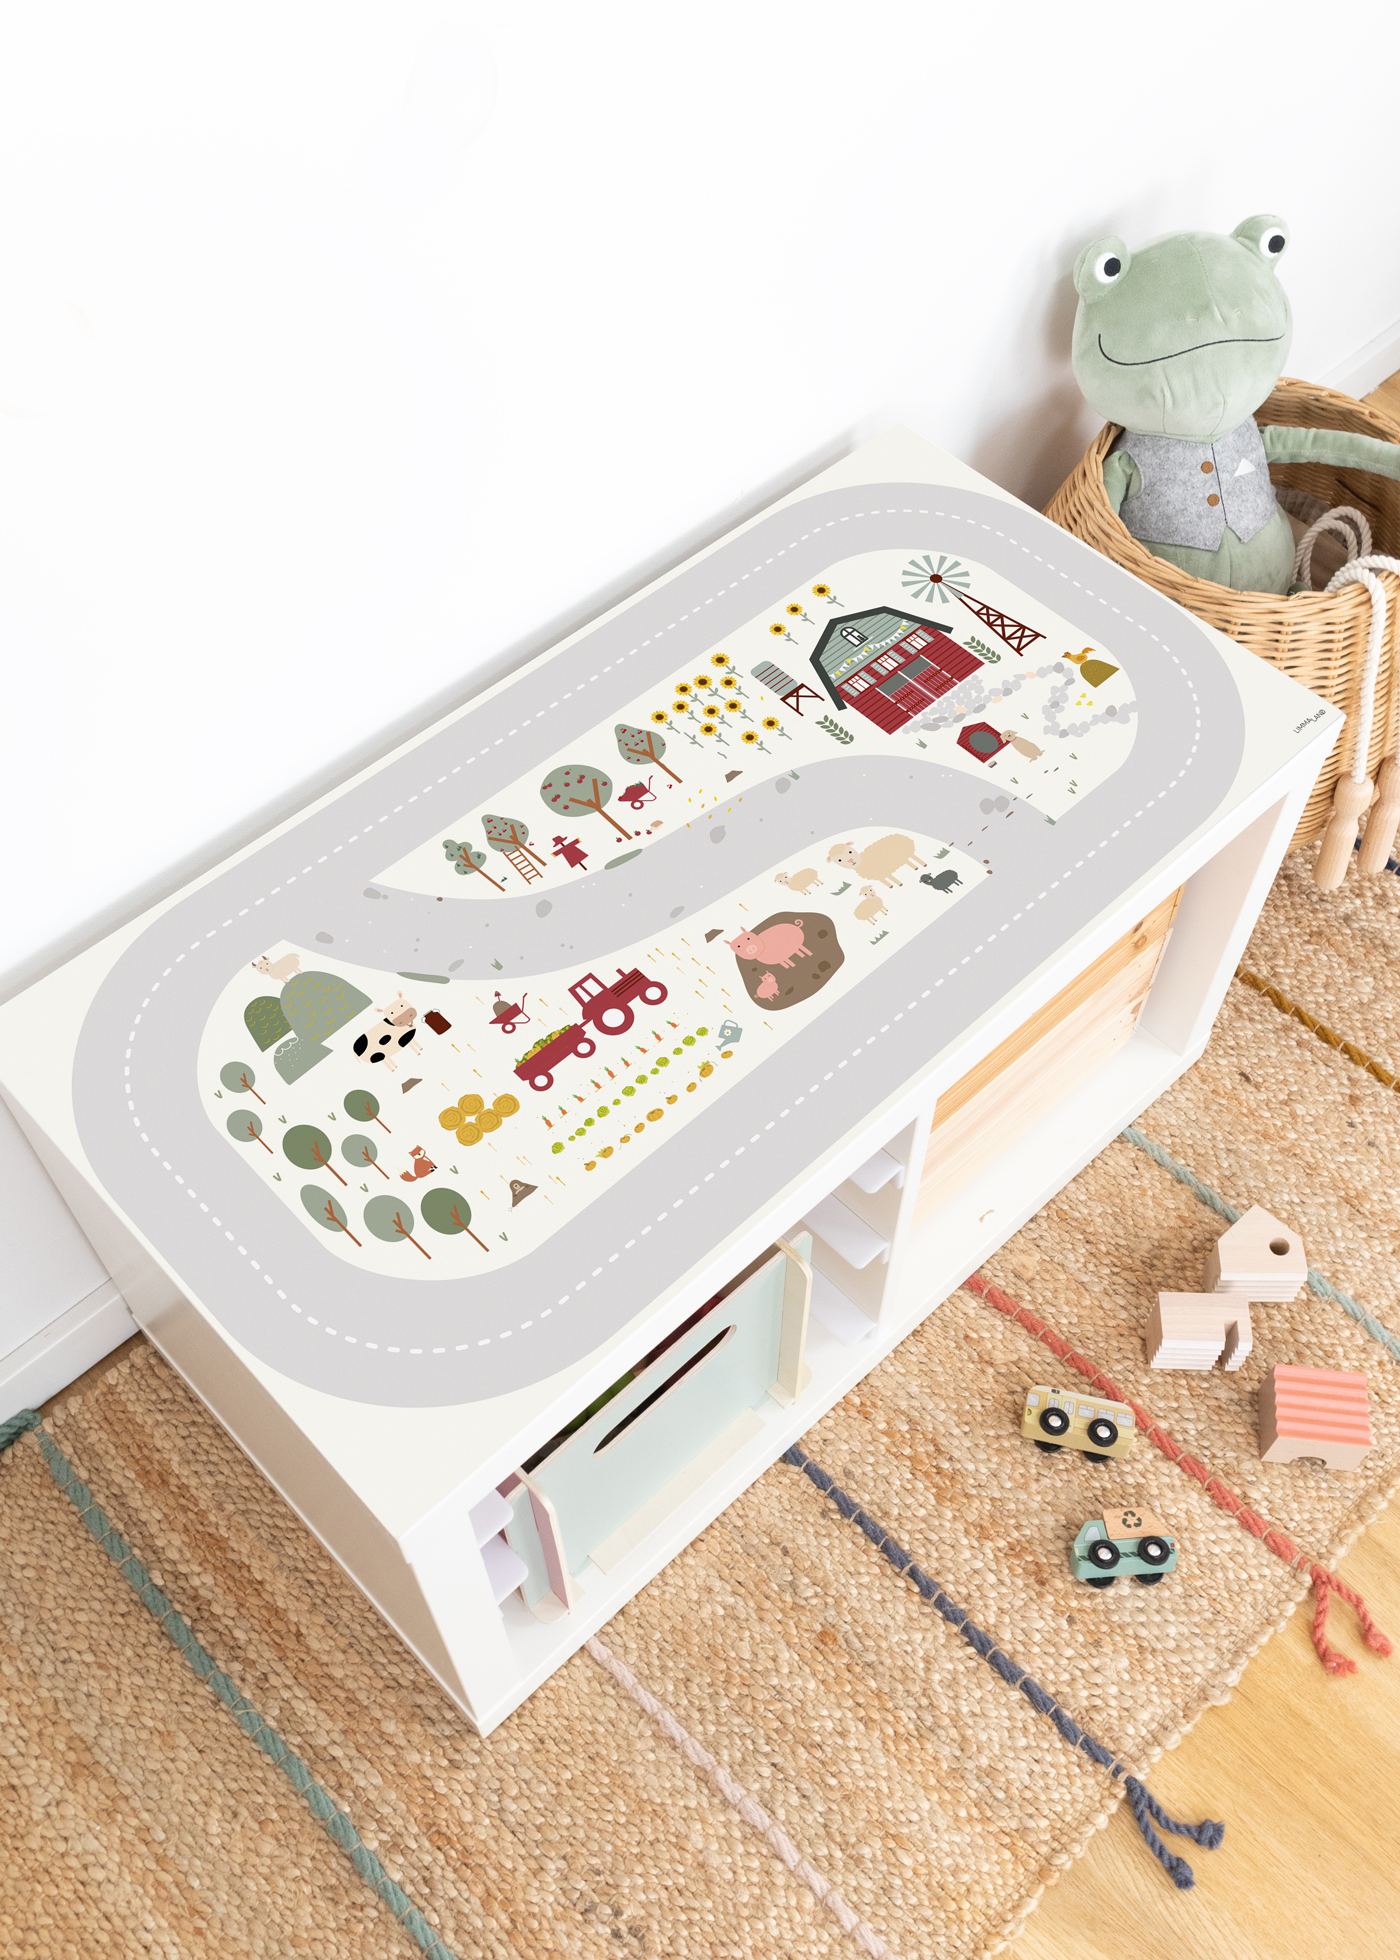
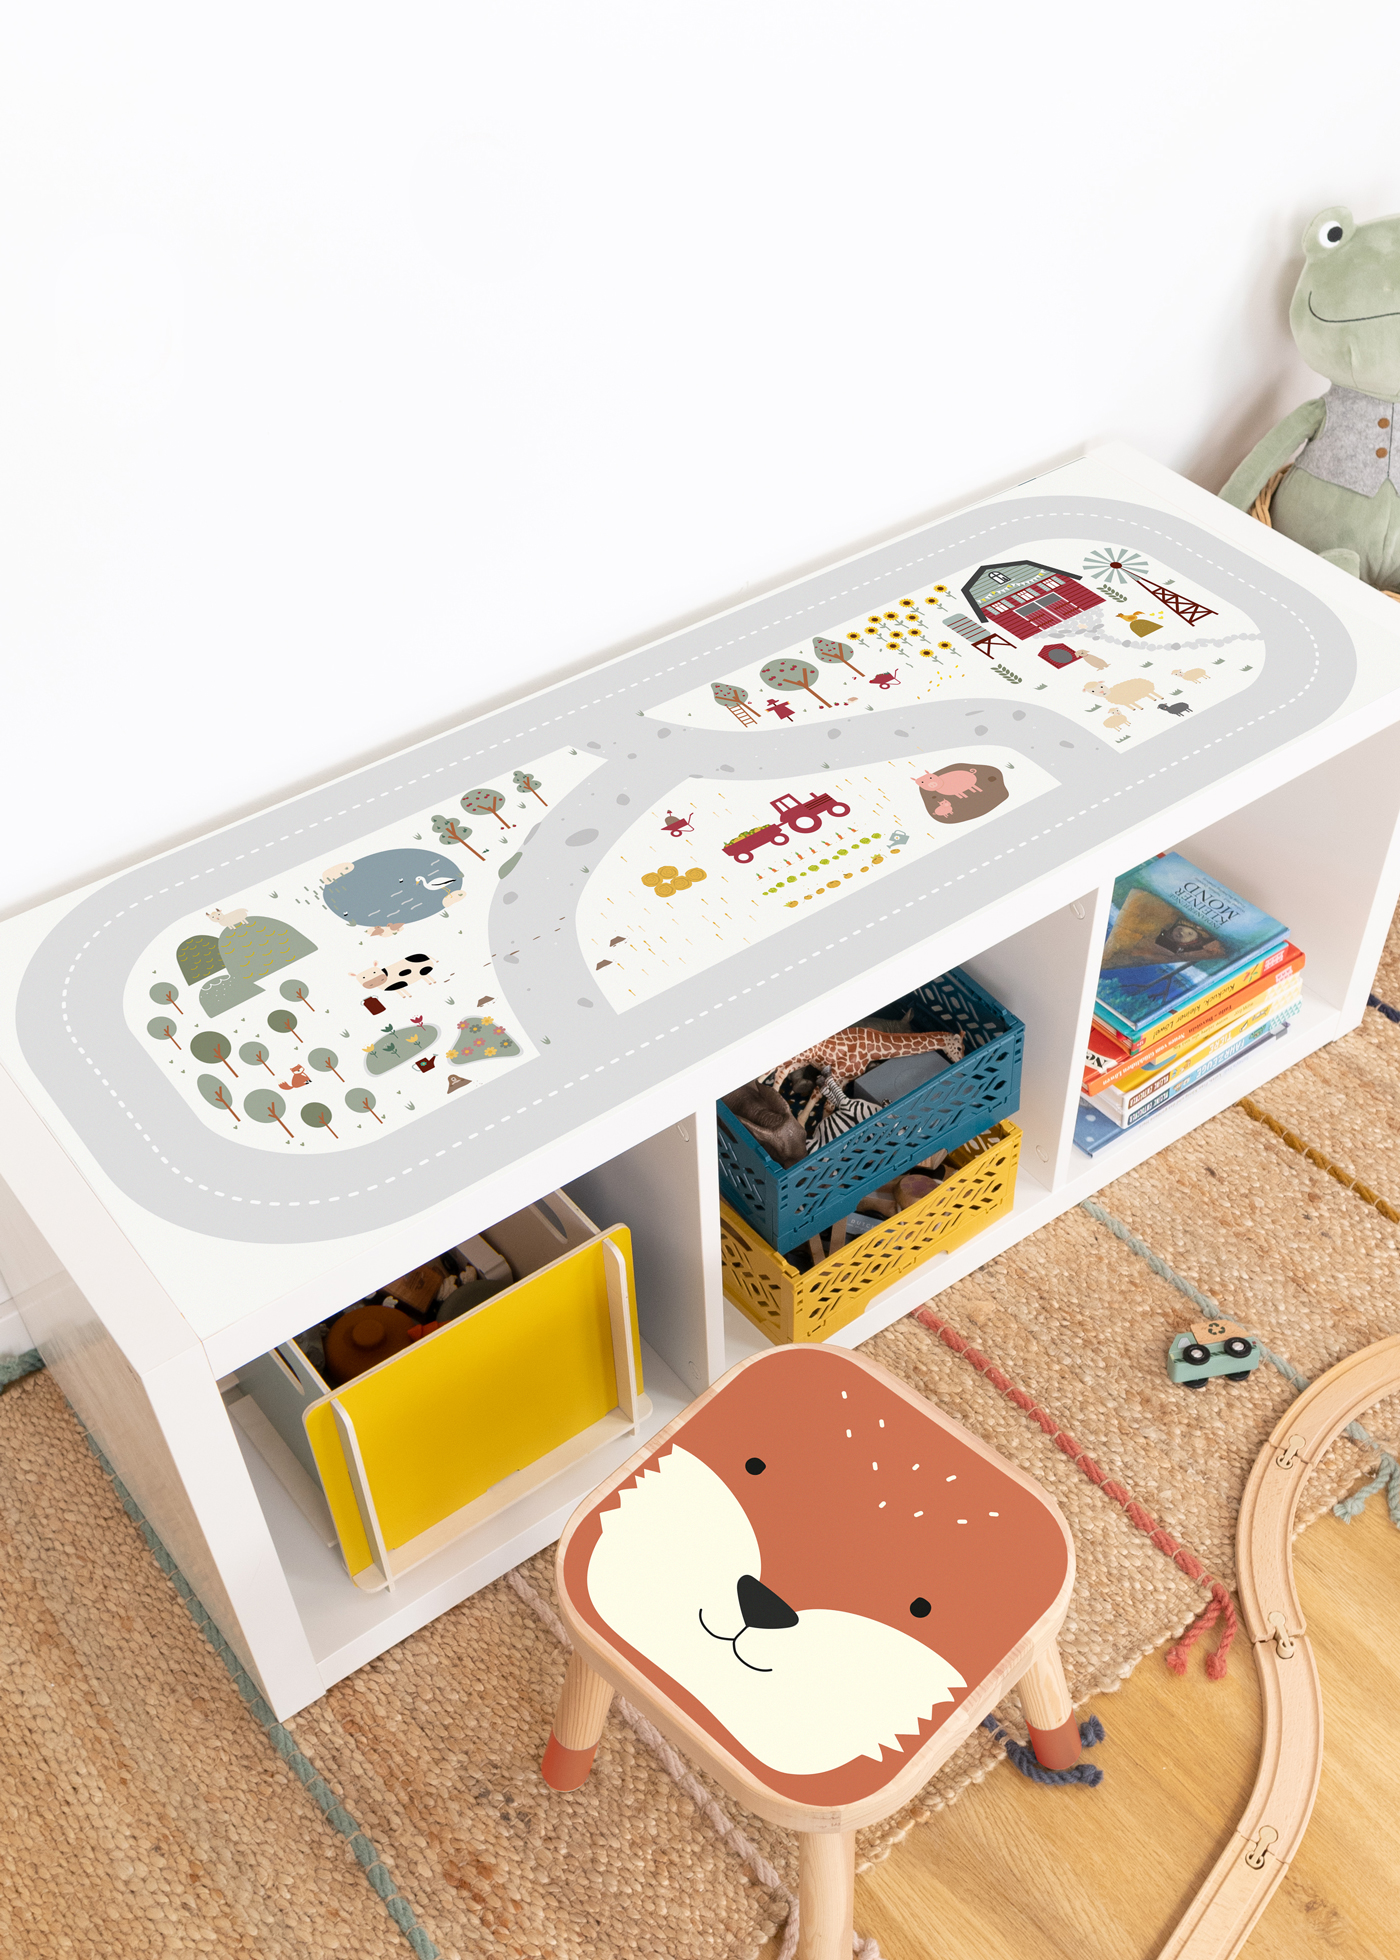
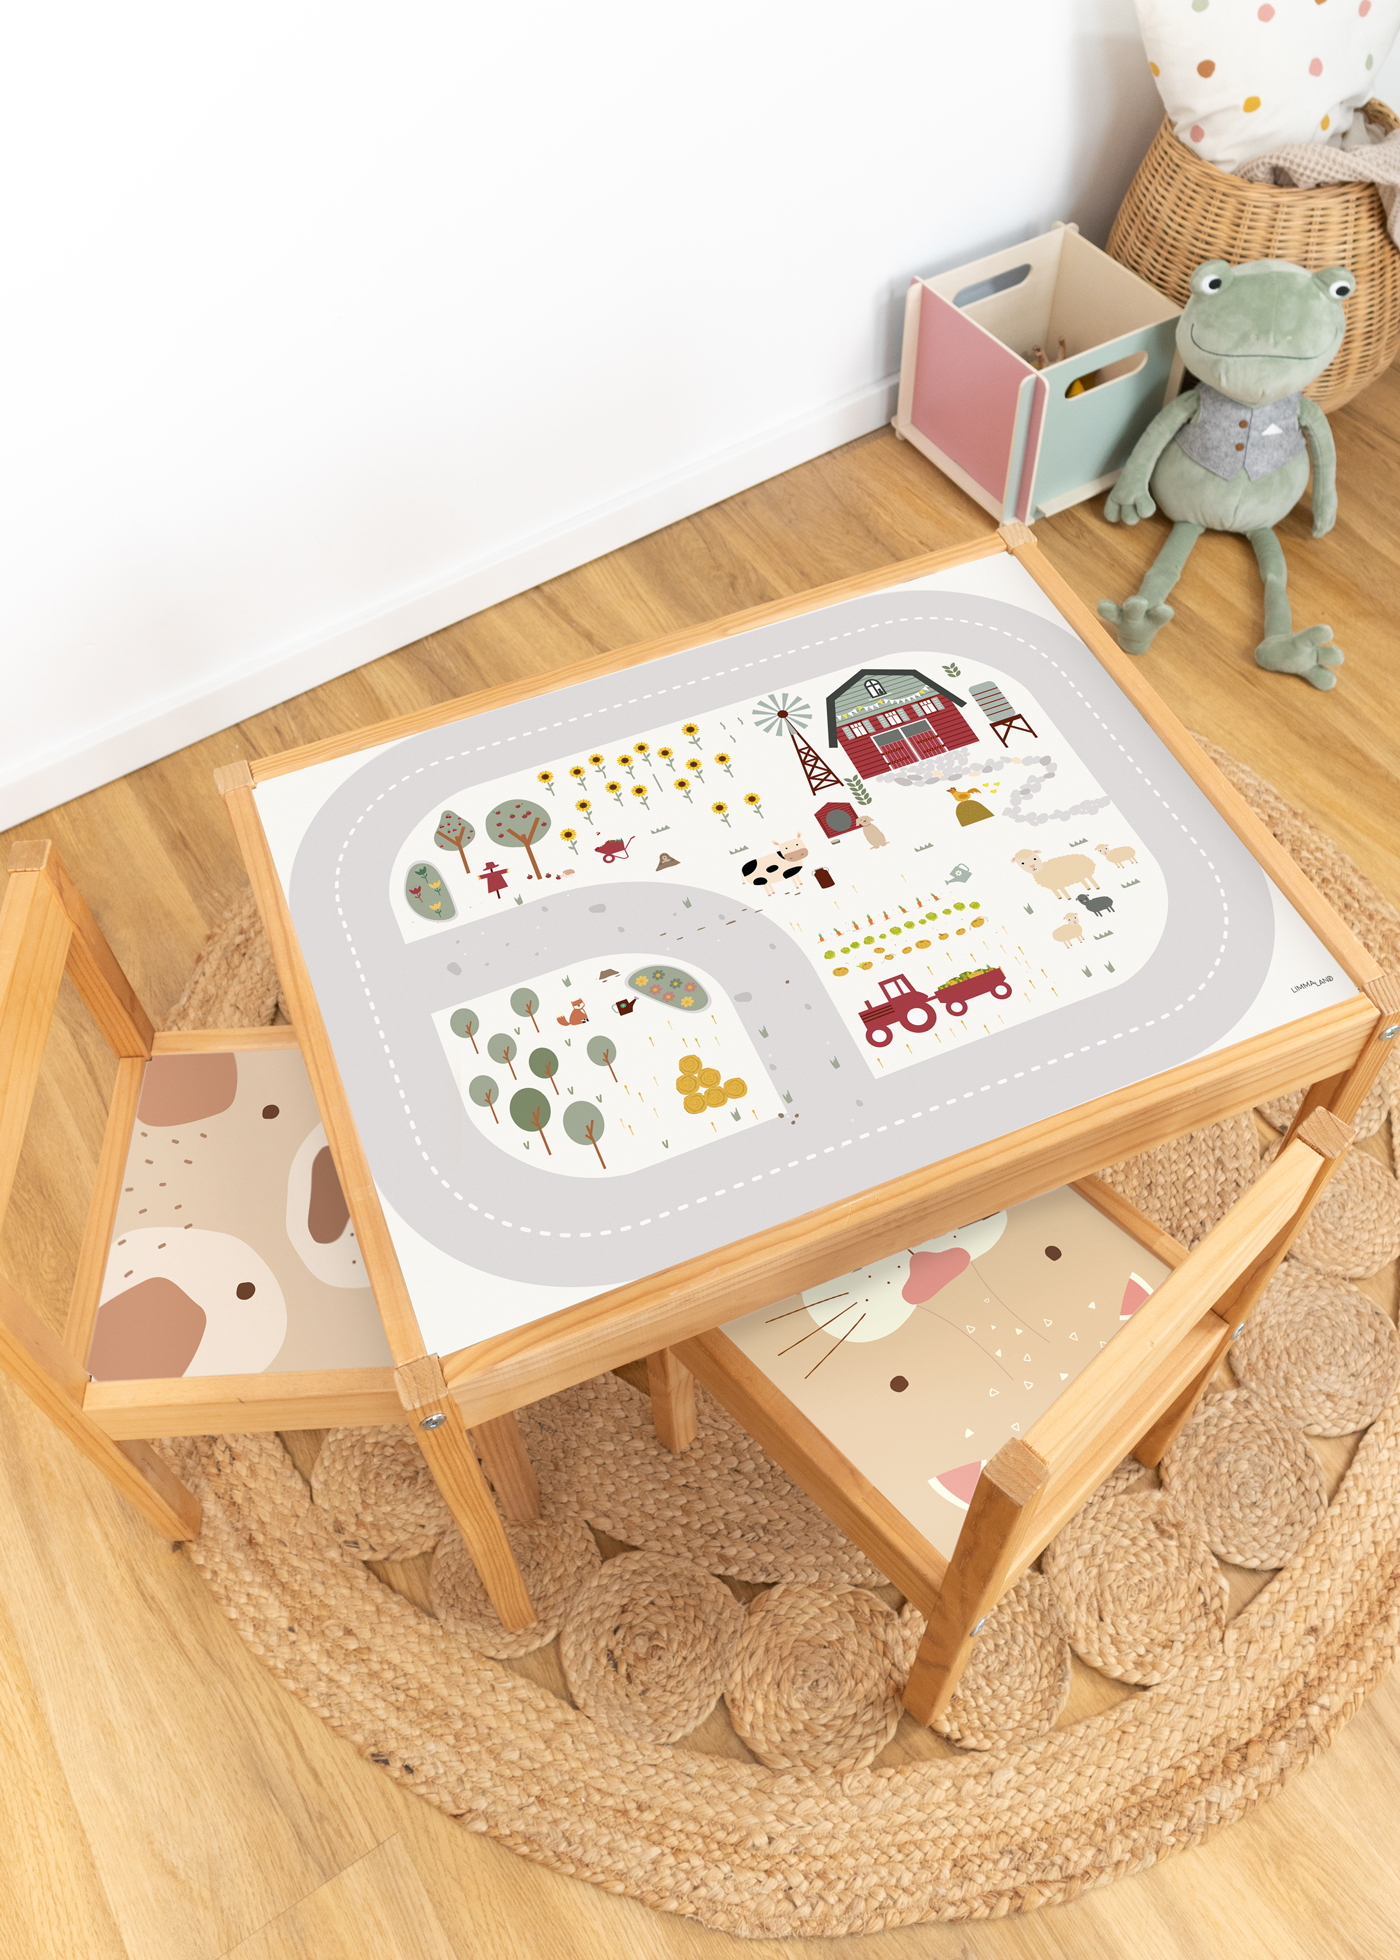
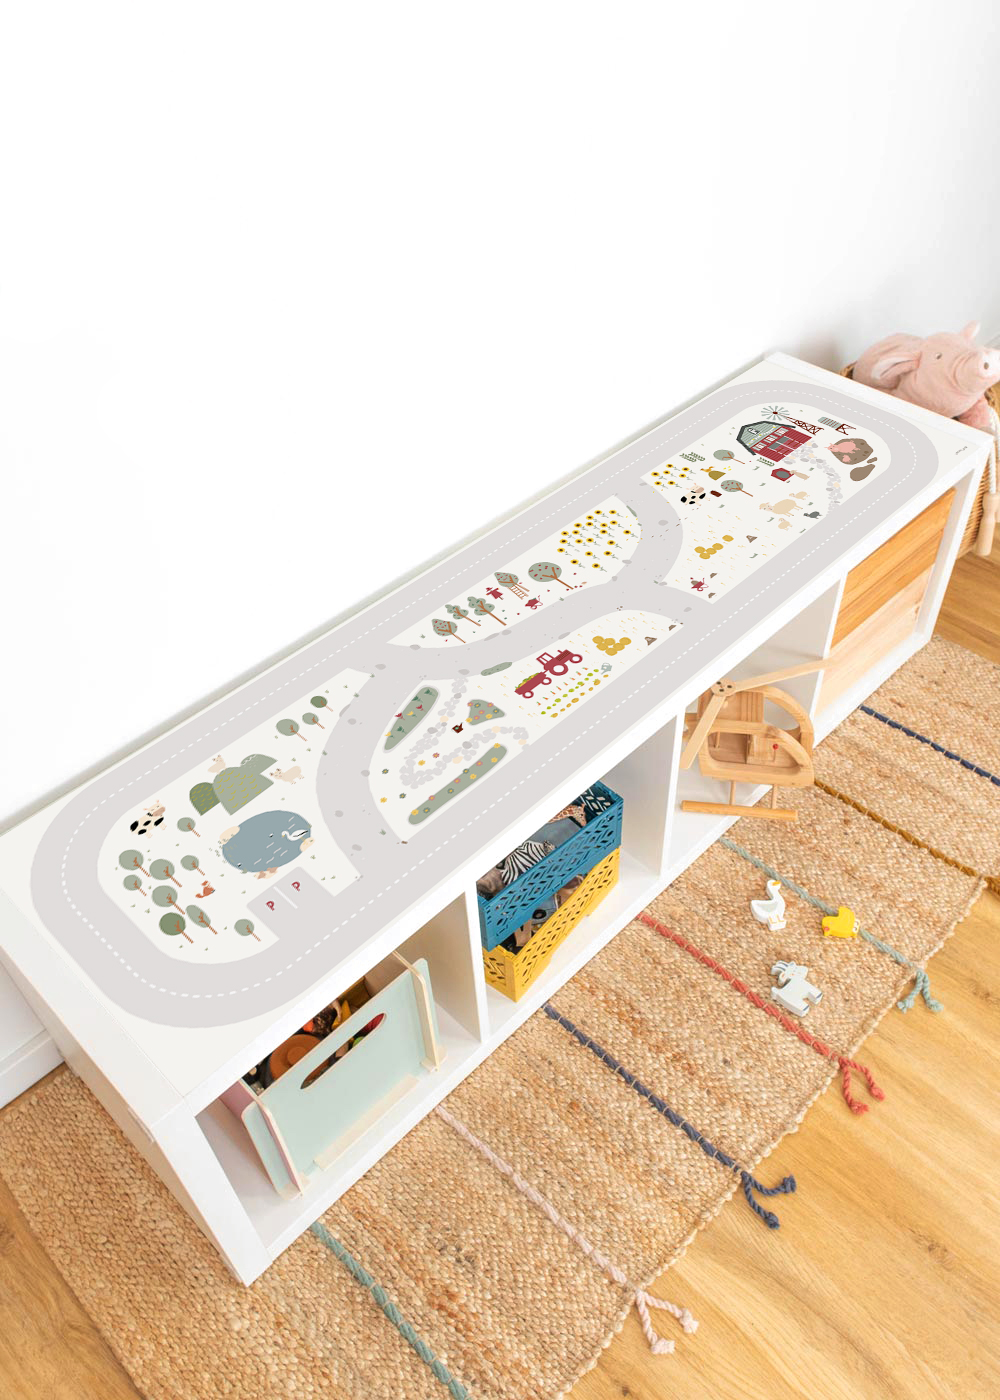
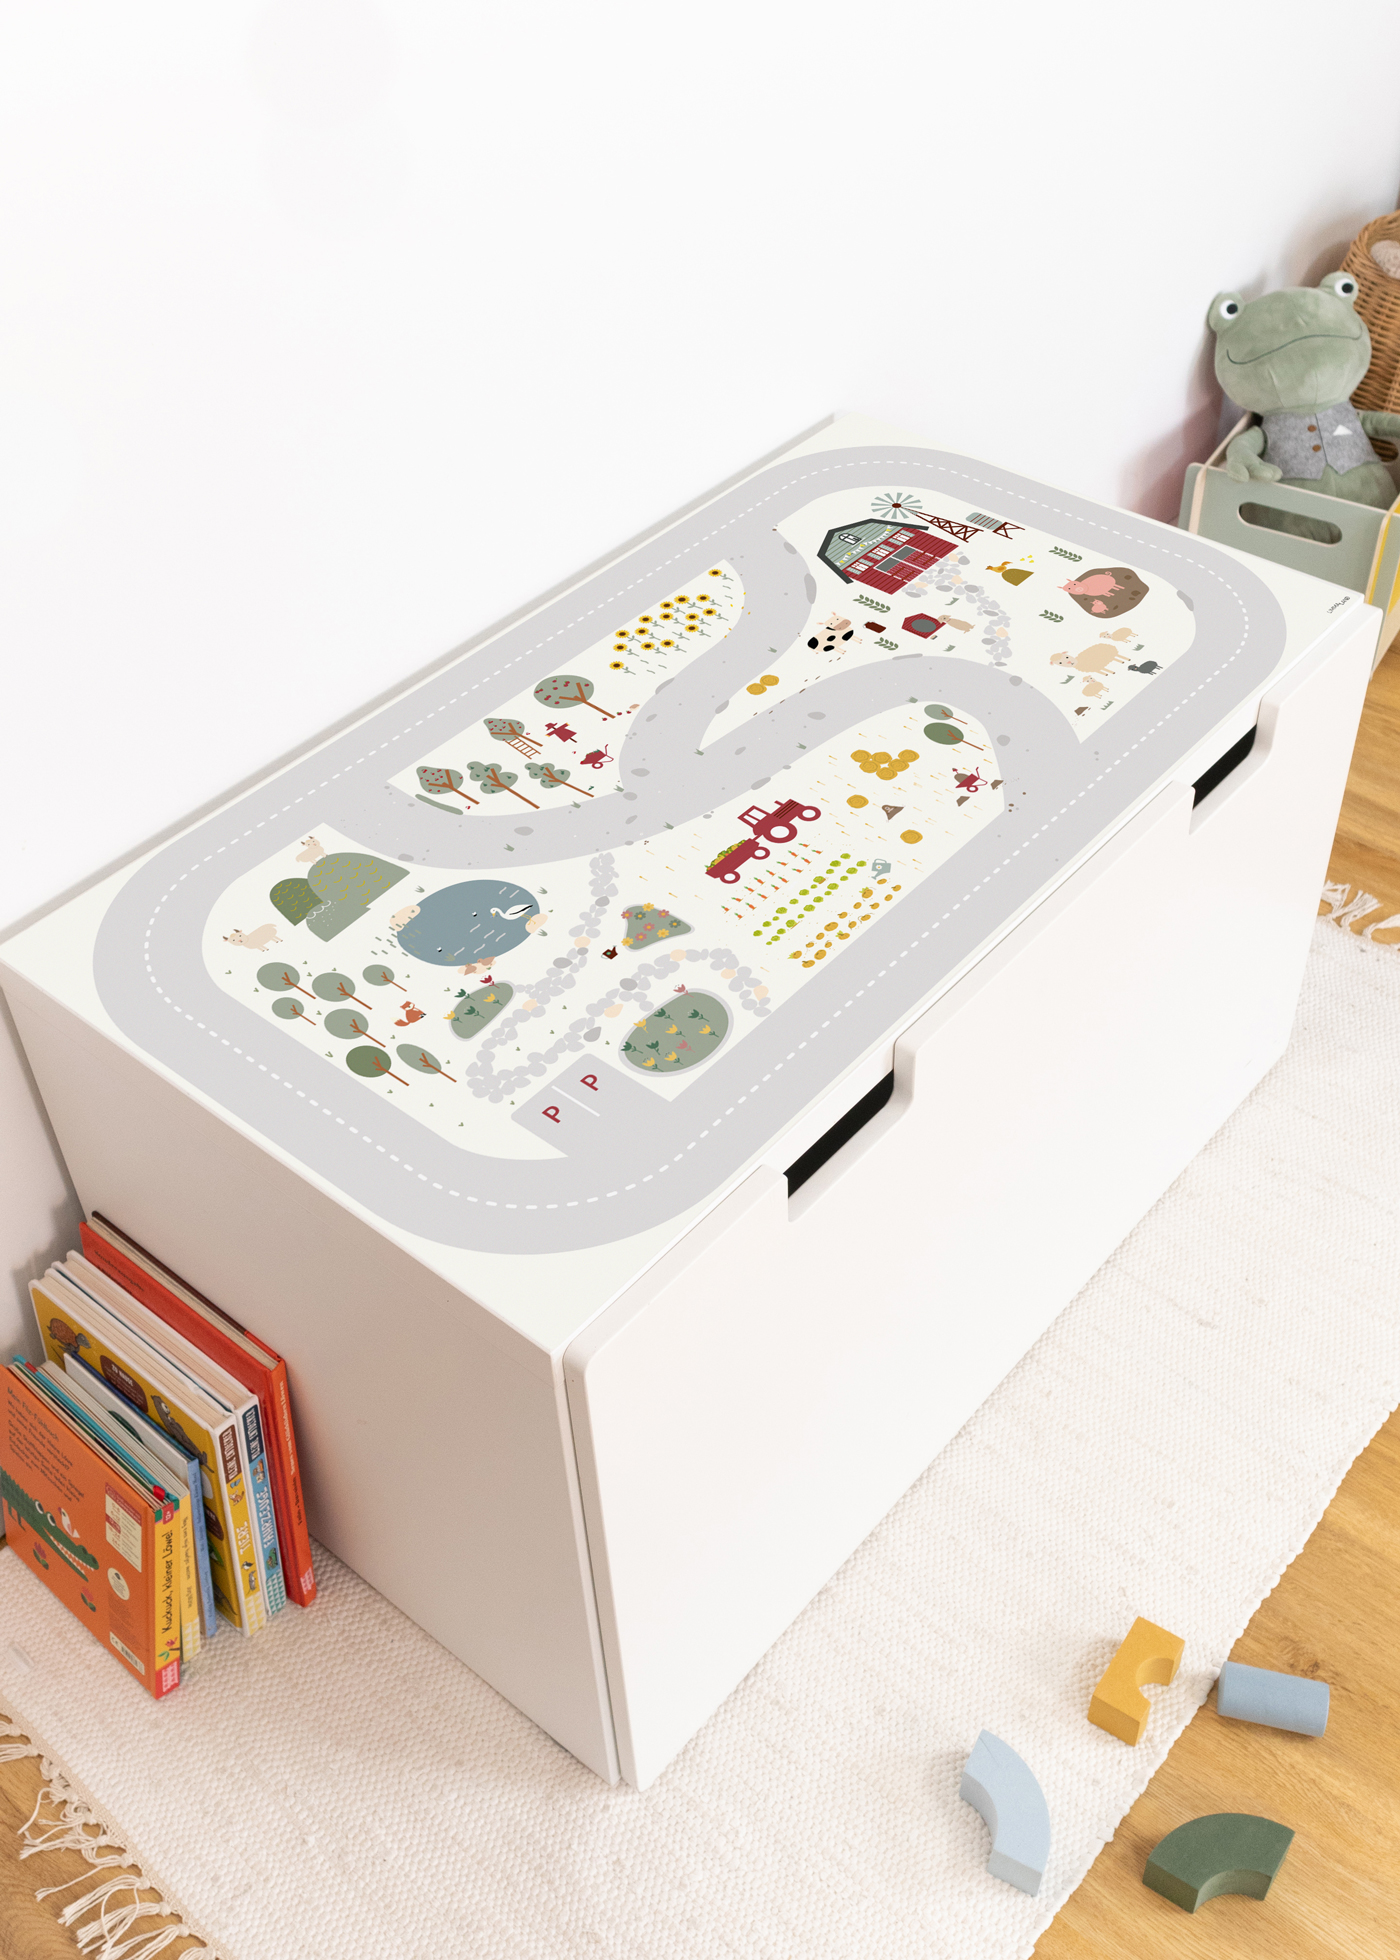
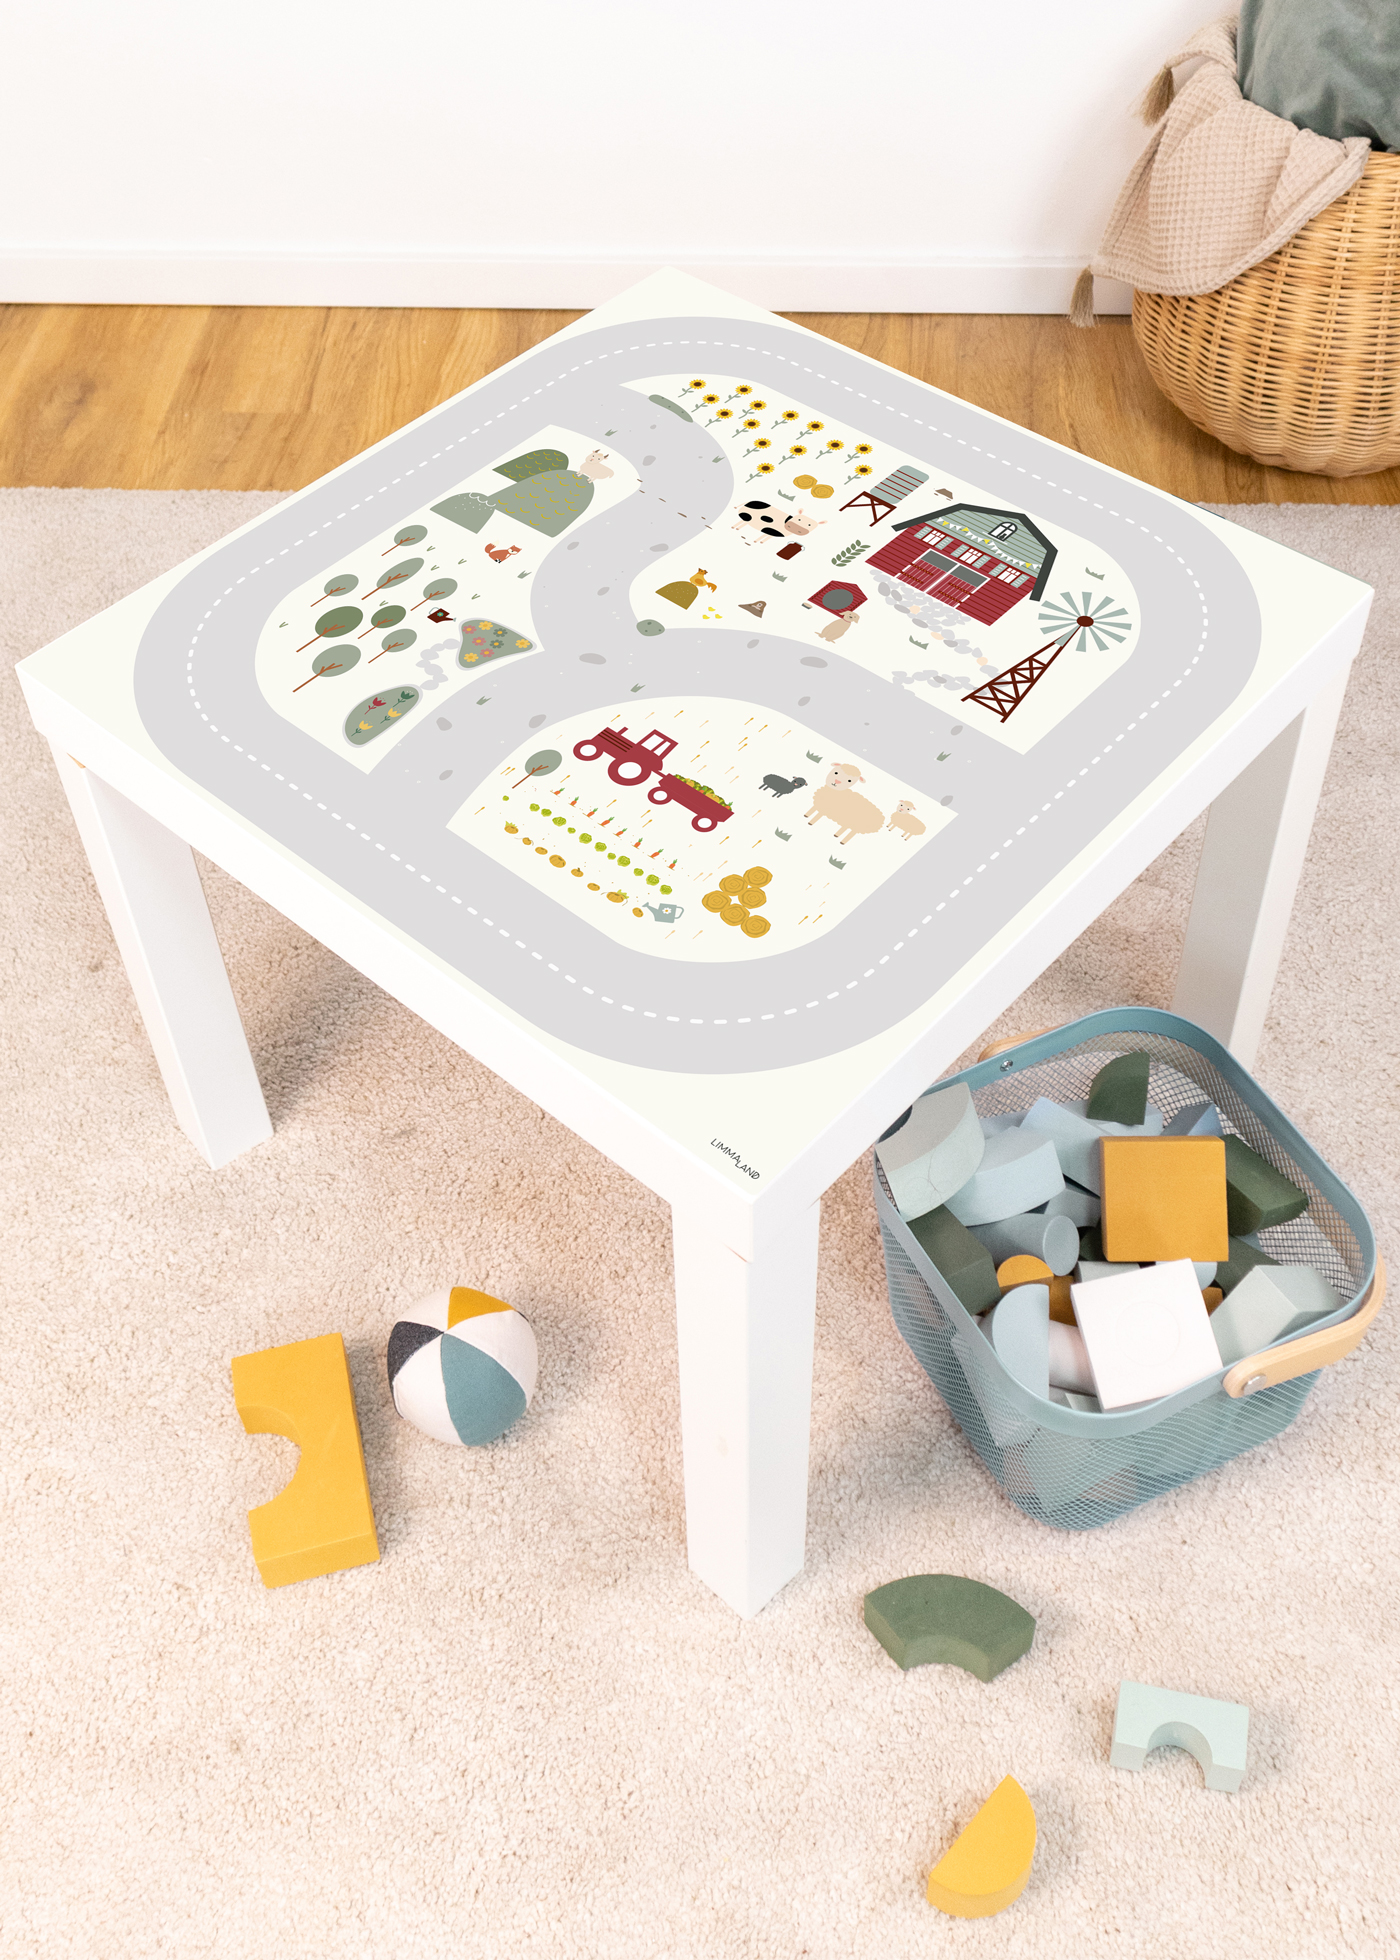
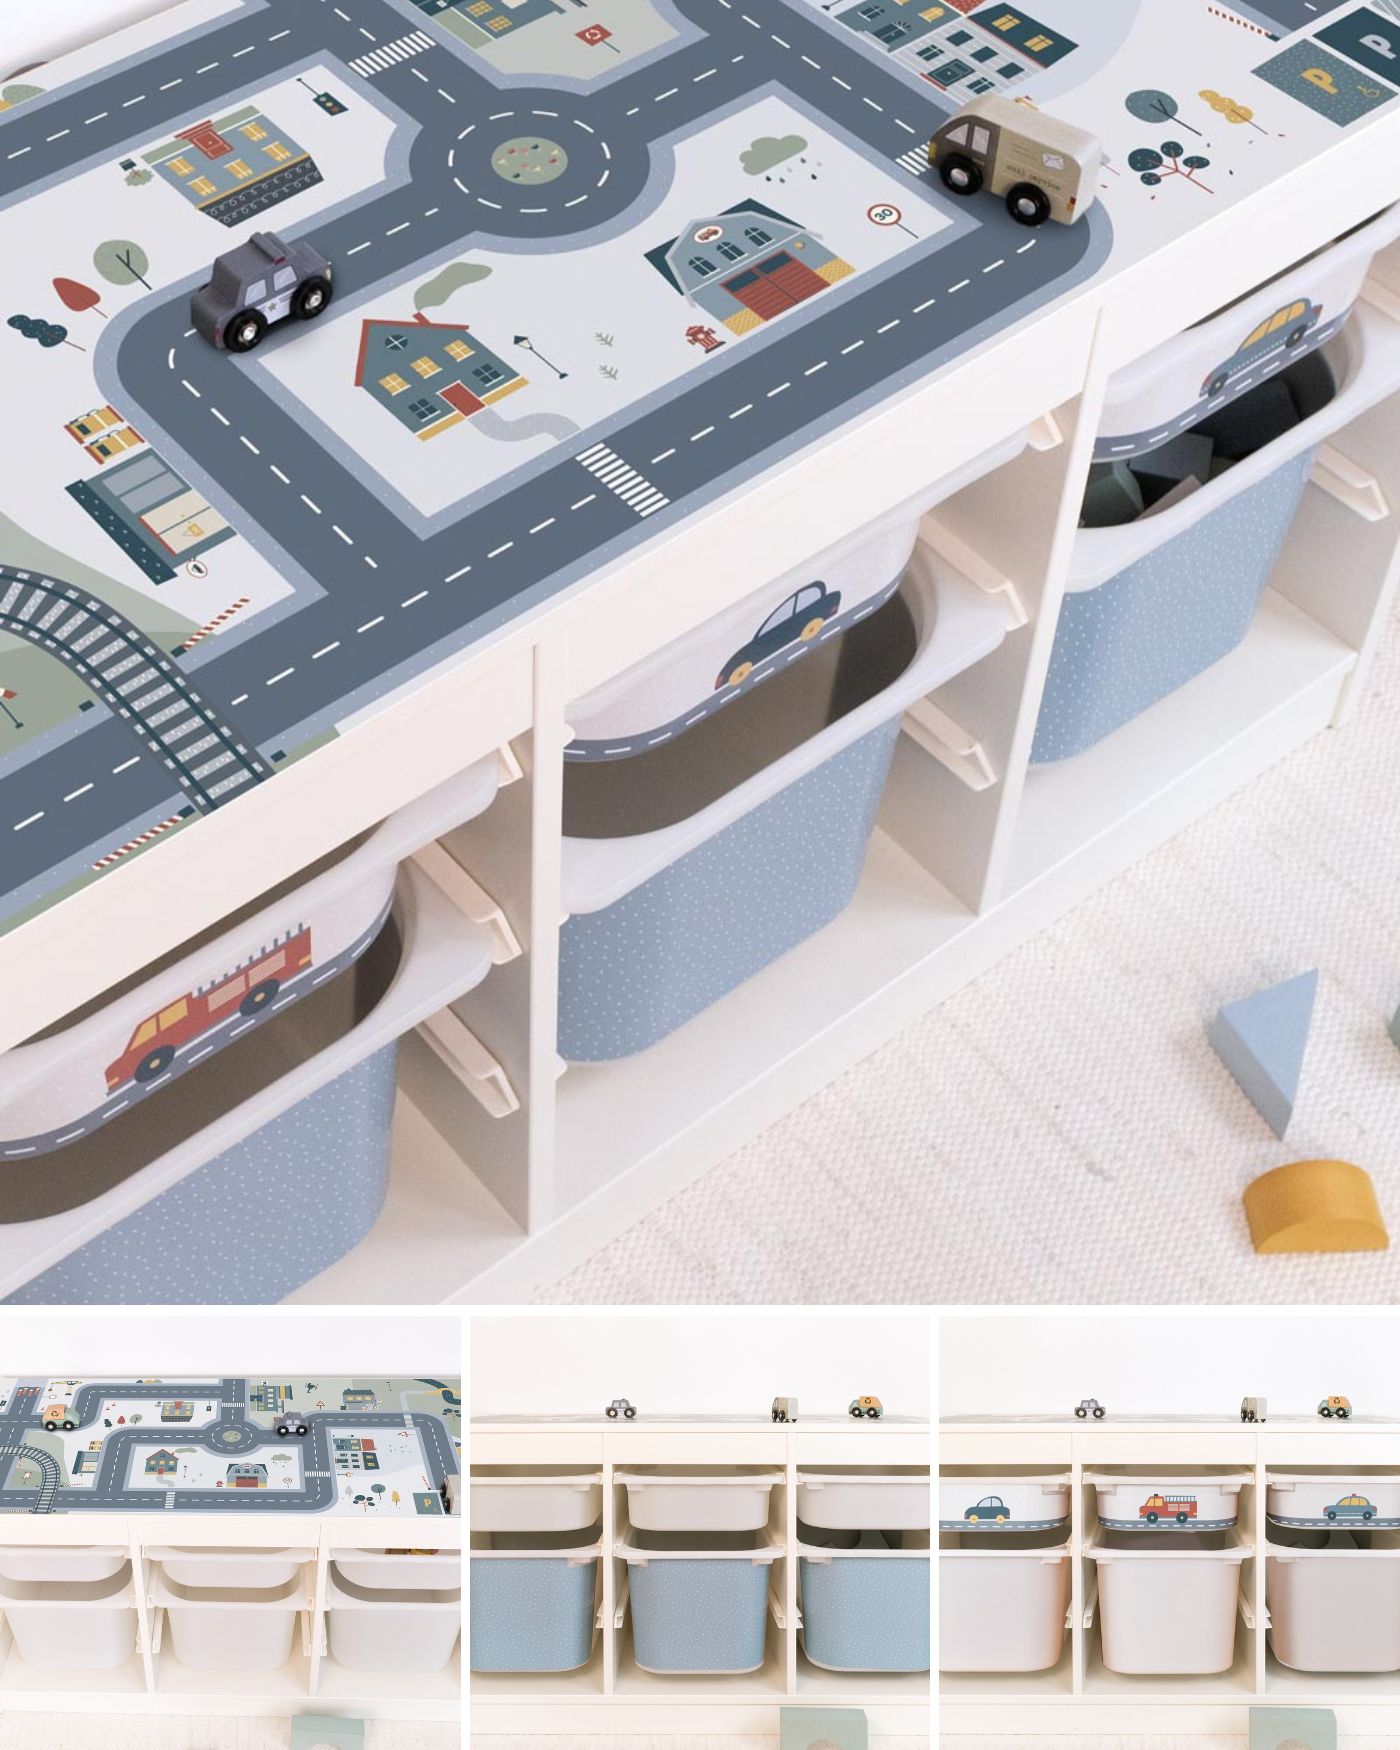
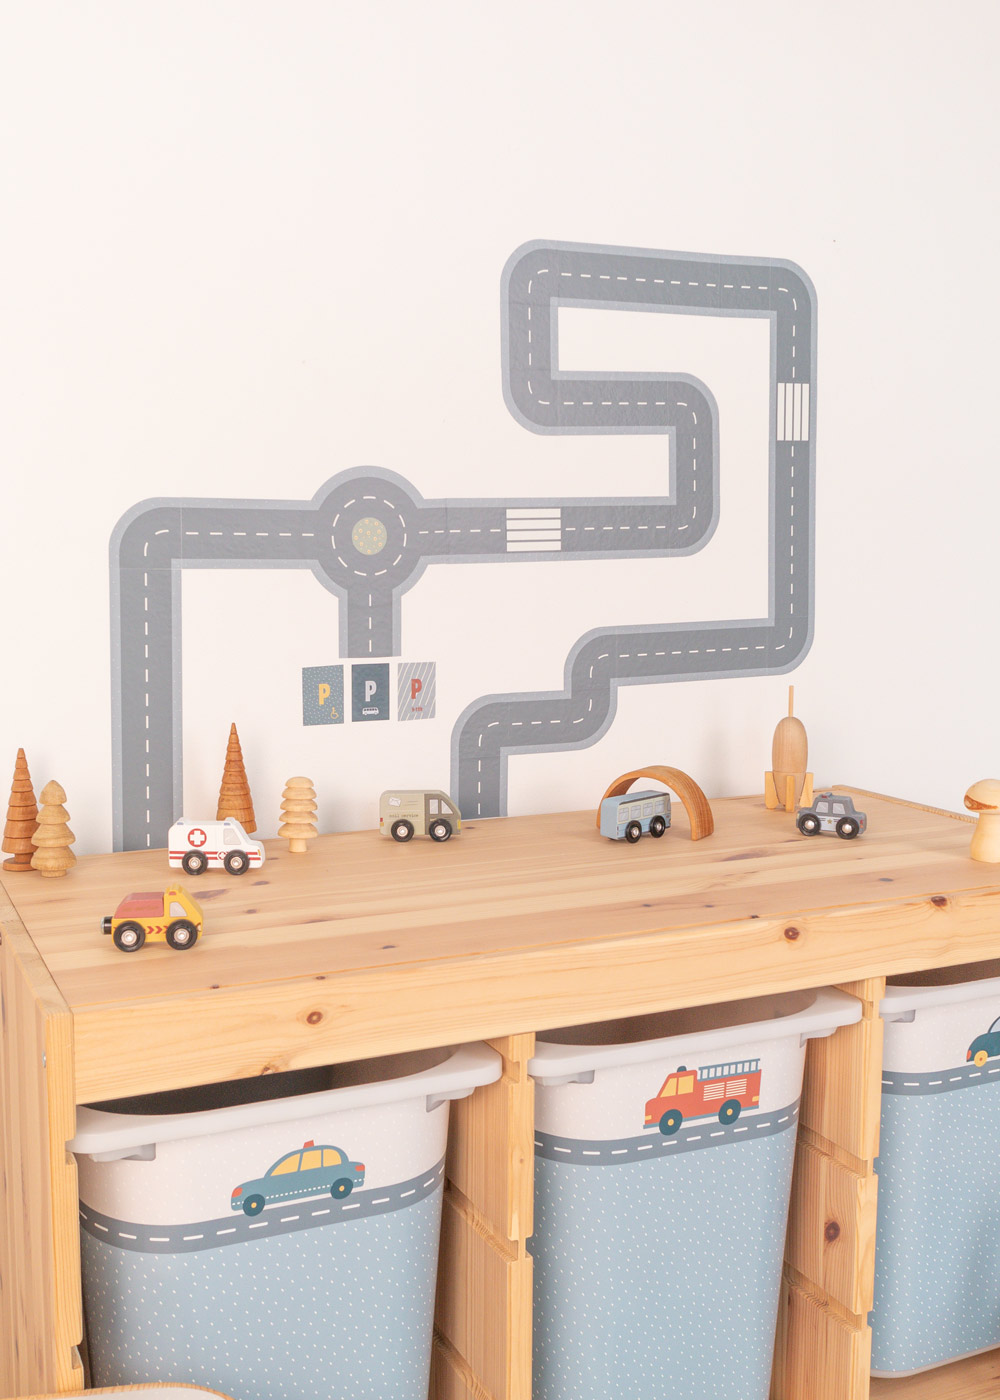
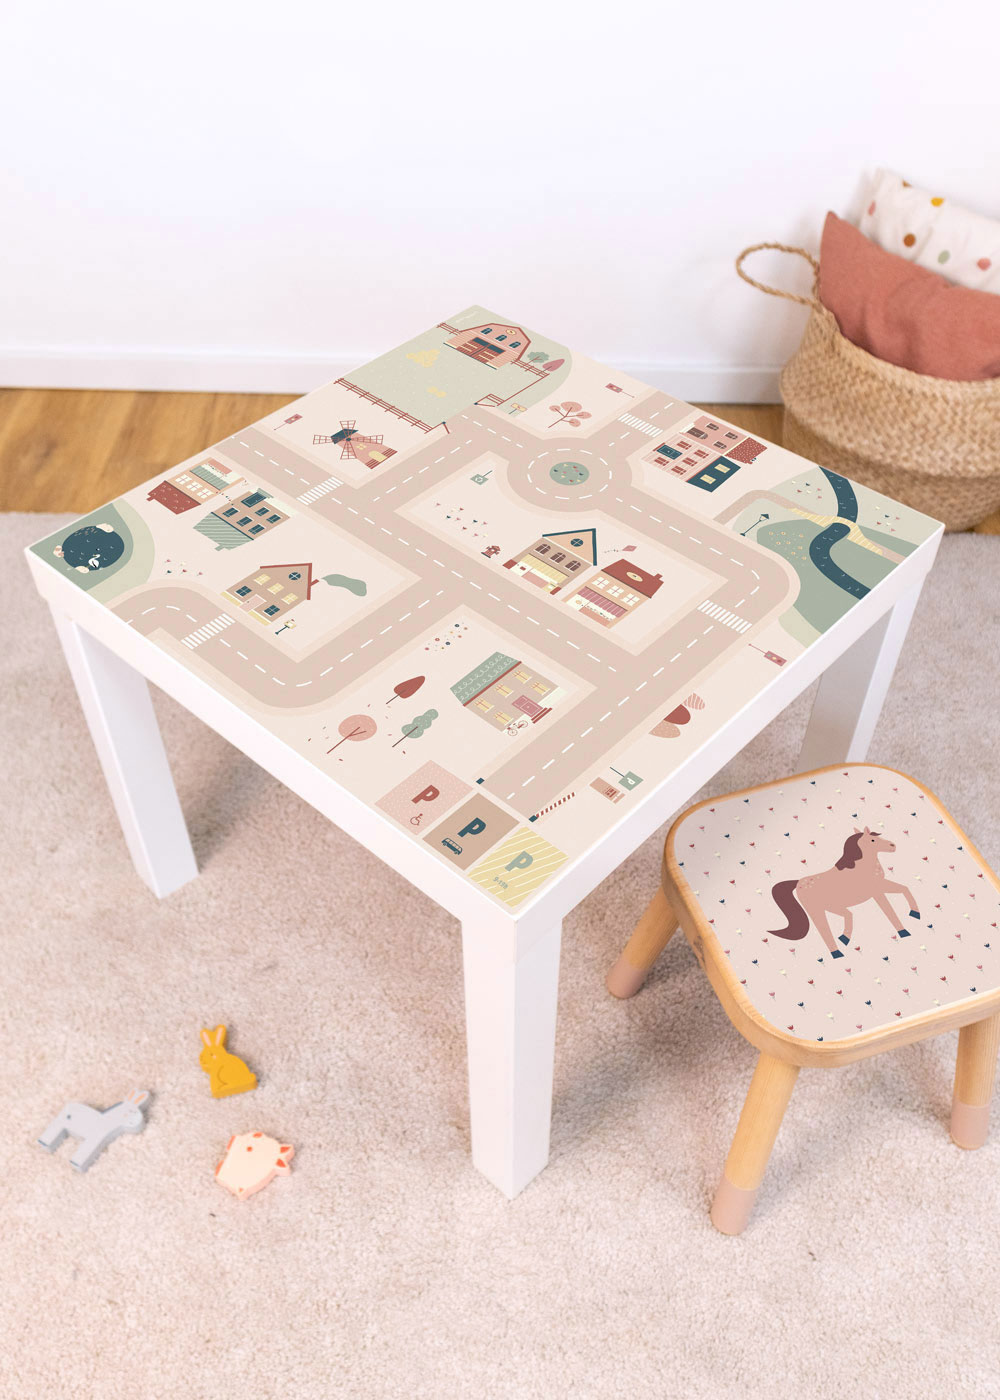
A slide car is really great fun, but real racing drivers also want to play at driving in rainy weather. We at Limmaland have a very simple yet ingenious solution for you. With the Smastraat furniture film, you can transform your children's table into a play object. From lacquer to Dundra - the Limmaland foils are available for almost all table sizes.
Comment area
Weitere Beiträge

