
Creating storage space in the children's room
Creating storage space in the children's room
A lot often accumulates in the rooms of our favourite little people. The favourite cuddly toys, the most exciting books and all the beautiful toys are great companions for our little ones. But they also take up a lot of space. And if the children's room is also small, the challenge of creating enough storage space is particularly great
Storage space, organisation and fun in the children's room
You probably don't just want more storage space for space-saving reasons. More space automatically means more organisation in the children's room. The IKEA TROFAST shelves* are a great way to do this. You can store a wide variety of things on the many drawer shelves. With our furniture stickers, you can also drawer laminate and see at a glance what is stored in which drawer.
But watch out! That's not all. The TROFAST shelves can also be used as a play area. With our versatile adhesive foils, you can turn the simple shelf into a farm and many other motifs in no time at all LANDEBAHNa farm and many other motifs. Fun is guaranteed!

Creating storage space under the bed
for more storage space in small children's rooms, we found a great IKEA hack on Instagram at dottie.dk, Henriette's account. Henriette has simply added a bed construction to the TROFAST organisation system from IKEA.
Image source: dottie.dk


What you need for the bed with storage space
- two IKEA TROFAST systems
- four squared timbers for the bed frame (4×4 cm): 2slats 200 cm 2slats 82 cm 12 wooden slats for the slatted frame (90 cm)
- one chipboard as fall protection (approx. 120 x 35 cm)
- some screws
- a cordless screwdriver
- several brackets for fastening
Step by step instructions
Step 1: It is best to start by assembling the TROFAST systems. With the IKEA instructions, it's quick and easy.
Step 2: Are the boxes assembled? Then it's straight on. Now build a bed frame from simple wooden slats from the DIY store. We have opted for a bed size of 200 x 90 cm. Of course, you can vary the size of the bed as you wish. Simply screw the squared timbers together to form a frame. This is also done quickly with the cordless drill.
Step 3: As soon as the bed frame is finished, screw the slightly wider slats onto the frame at regular intervals to form the slatted frame. To ensure that everything sits firmly and nobody can injure themselves, it is best to fix the bed frame to the wall with brackets and also to the front with brackets using the TROFAST systems. Looks really good, doesn't it? That's how quickly you can build your own children's bed and create hidden storage space!
Step 4: Little dreamers are sometimes quite active at night. To ensure that no one falls out of the DIY bed, we now build a kind of "fall-out-of-bed protection". To do this, have a simple chipboard panel from the DIY store sawn to size. The easiest way to do this is to round off the sides of the board and sand it down properly so that there is no risk of splinters. And then attach the board to the front edge of the bed at the height of the headboard again using brackets. Feel free to embellish it in the colour of your choice! Now all you have to do is slide the TROFAST boxes into the shelf. The new tidy sleeping system is DONE! We wish you lots of fun creating storage space!
The IKEA KURA bunk bed is a real space saver
Creating storage space in the children's room also works really well with the good old bunk bed. Not only is it fun for children to climb up there, it also fits so much underneath! The matching decal for the IKEA KURA even makes this practical piece of furniture really pretty.


-
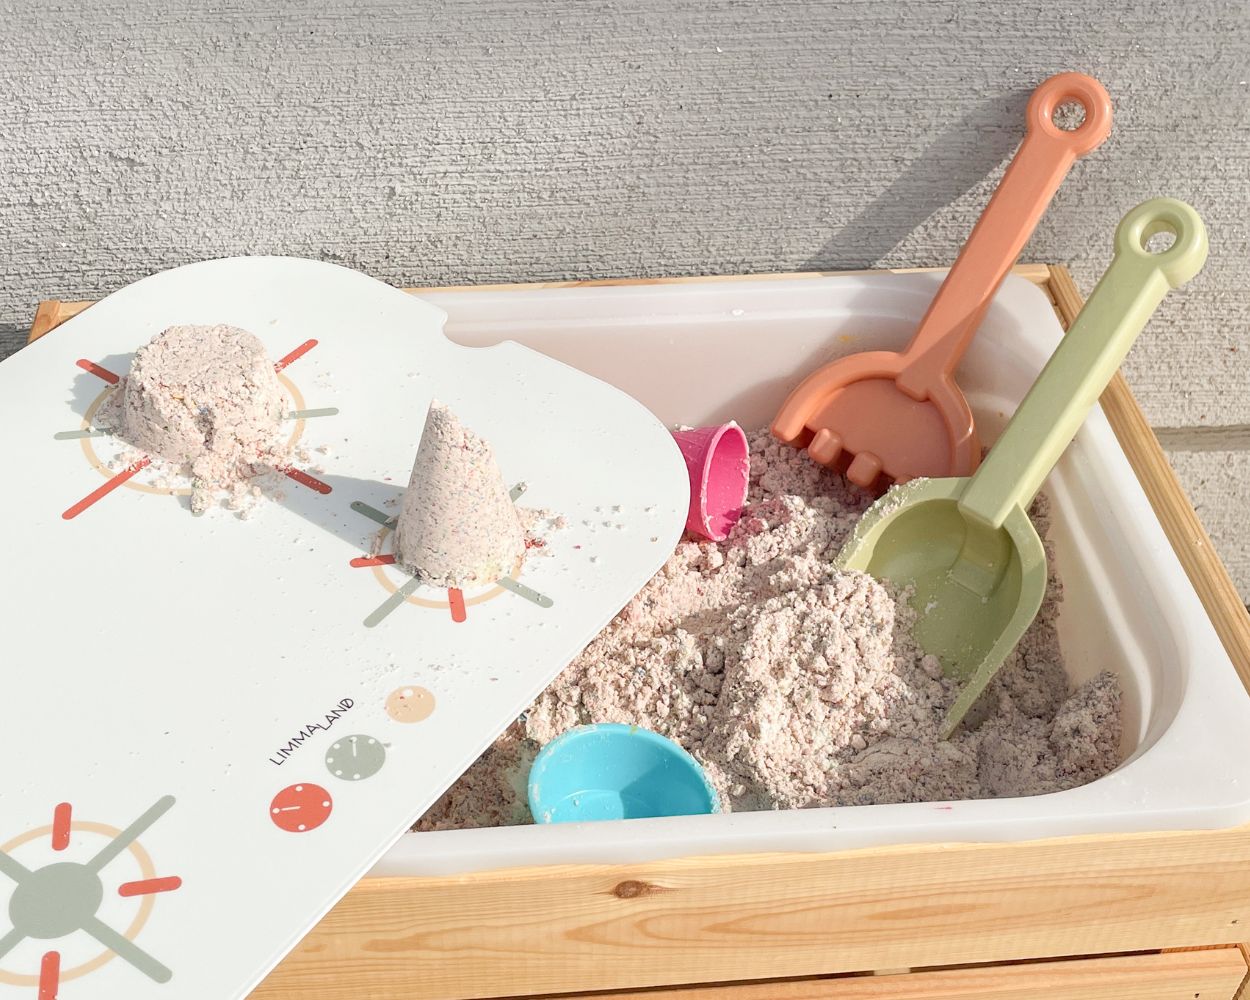 Make your own kinetic sand - DIY recipe for creative playDiscover our recipe for do-it-yourself magic sand! With just 3 ingredients, you can create sensory fun for children in no time at all. Try it out now!Mehr lesen
 -
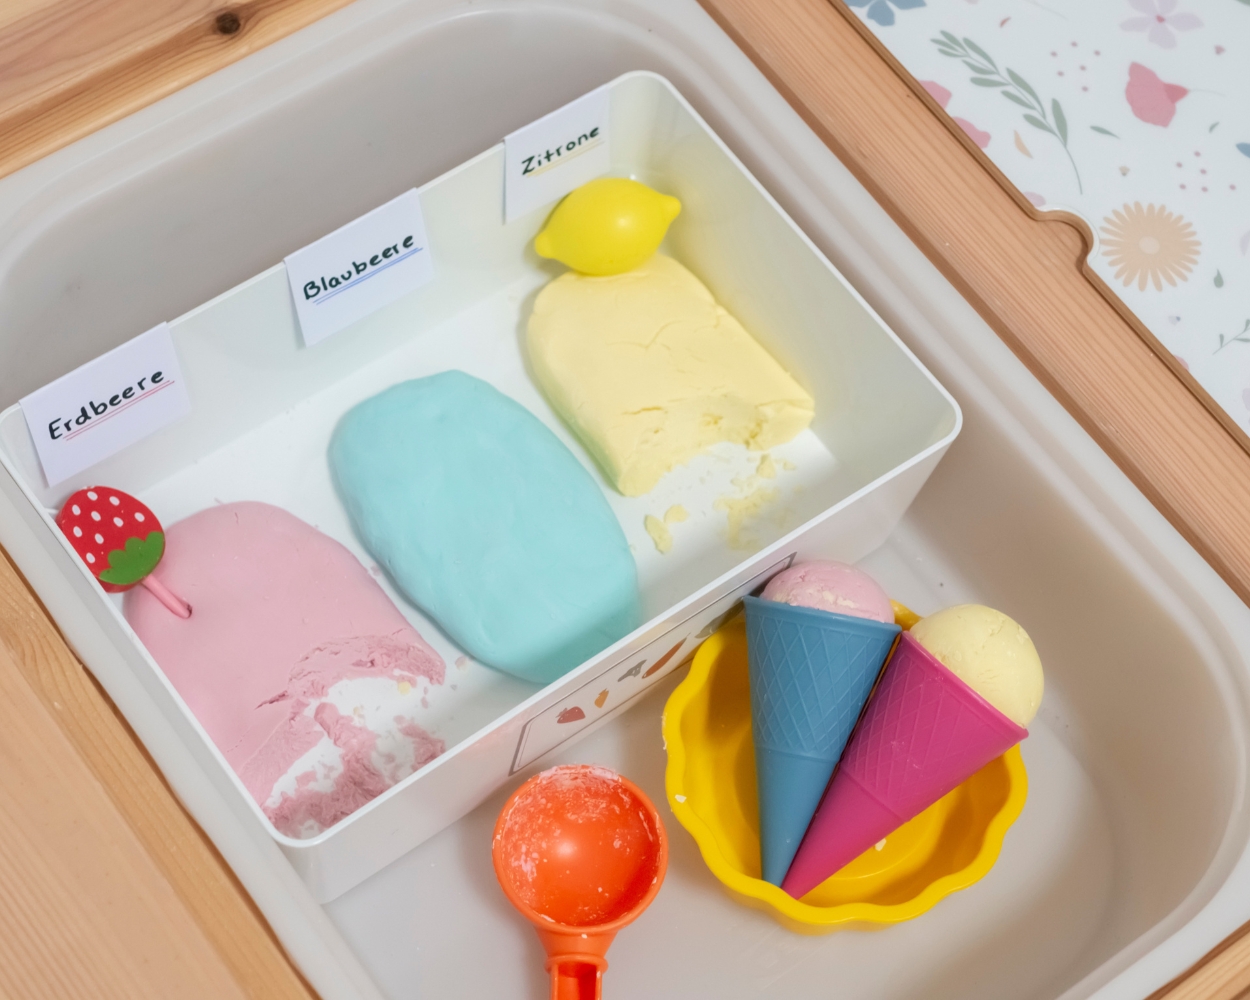 DIY Cloud Dough – Easy Recipe for KidsMake your own fluffy cloud slime with just two ingredients! A simple DIY for sensory play and creative fun – perfect for kids of all ages.Mehr lesen
 -
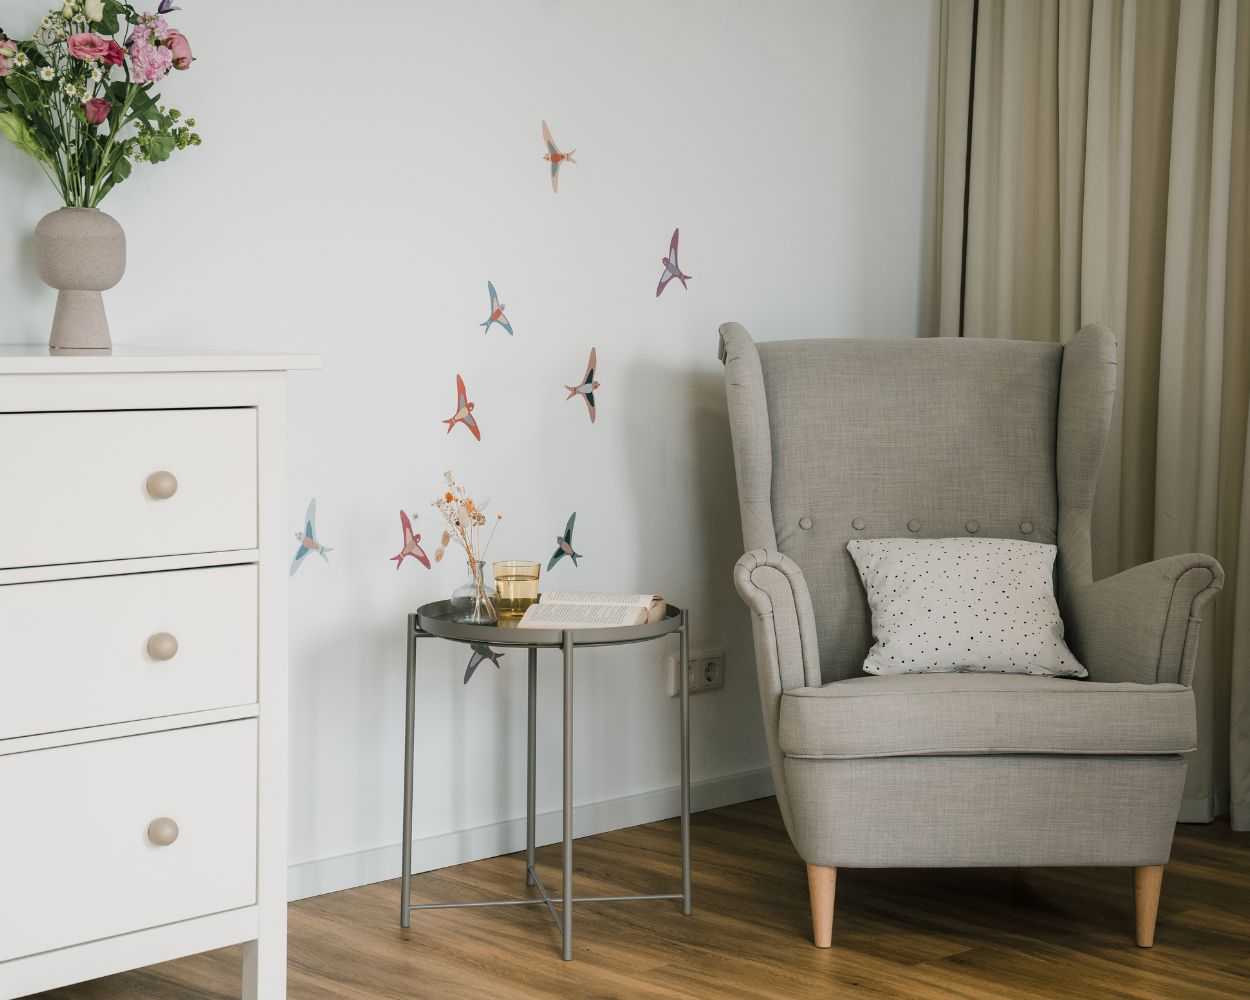 The Perfect Wall Colour for the Nursery – Tips & IdeasDiscover calming and stylish nursery colour ideas. Learn how wall colours affect your baby’s wellbeing and how to create a soothing, beautiful environment.Mehr lesen
 -
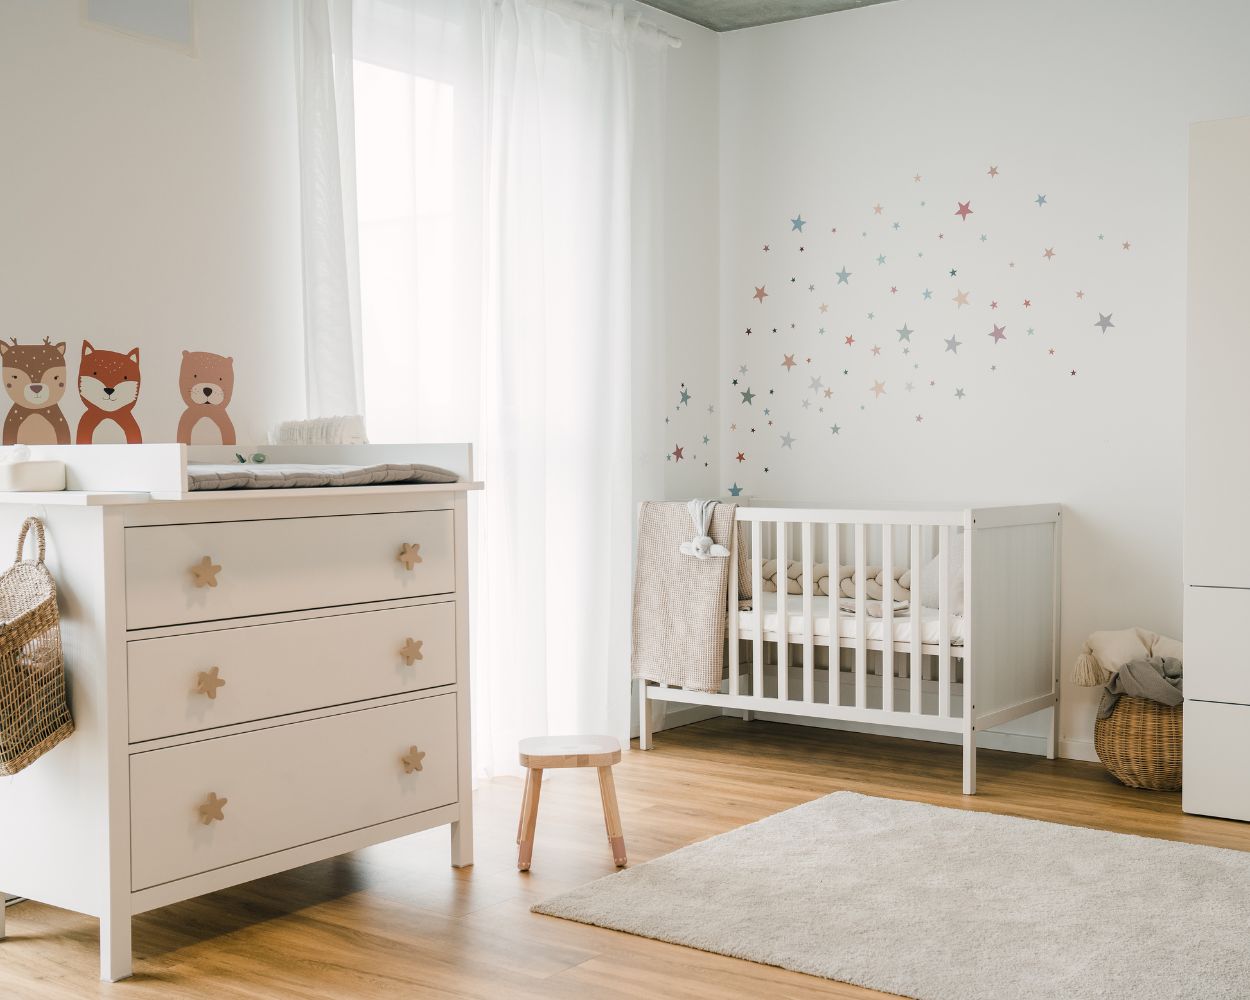
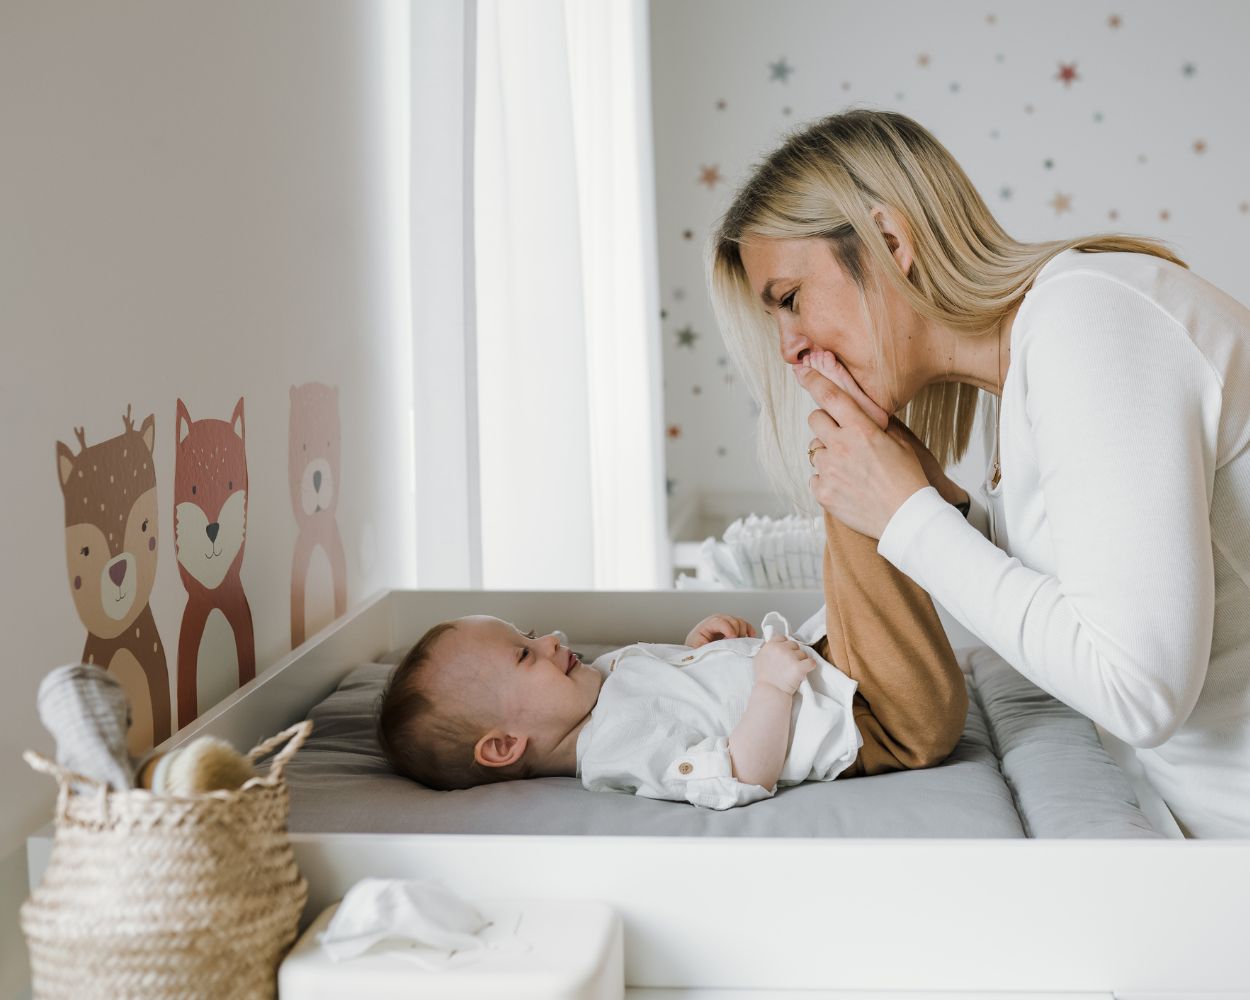
 Midwife Meike’s Tips for Your Changing AreaMidwife Meike shares clever tips for setting up a safe, cozy, and practical changing area – for relaxed and happy moments with your baby.Mehr lesen
 -
 IKEA baby room: Stylish, functional and affordableMake your baby room feel good with IKEA furniture: functional and decorative ➡️ Discover the best tips!Mehr lesen
 -
 Baby room design for boysAre you expecting a baby boy and planning to furnish his room? Discover clever tips for designing the perfect baby room here!Mehr lesen
 -
 Designing a baby room for girls - here's how!Design the perfect baby room for your little girl, functional ✔️ decorative ✔️ personalised ✔️. Discover 4 clever tips for a lovely interior now! 🤩Mehr lesen
 -
Cute baby room decoration - with attention to detailDiscover creative decorating ideas for the baby room: from the right wall colour to cool furniture foils. And design the perfect room for your baby!Mehr lesen
-
 When can my baby sit in a highchair? How to recognise if your little one is ready!We love our favourite little people! Nevertheless, we are happy when we can finally put them in the highchair - because the highchair means relief for mum and dad.Mehr lesen
 -
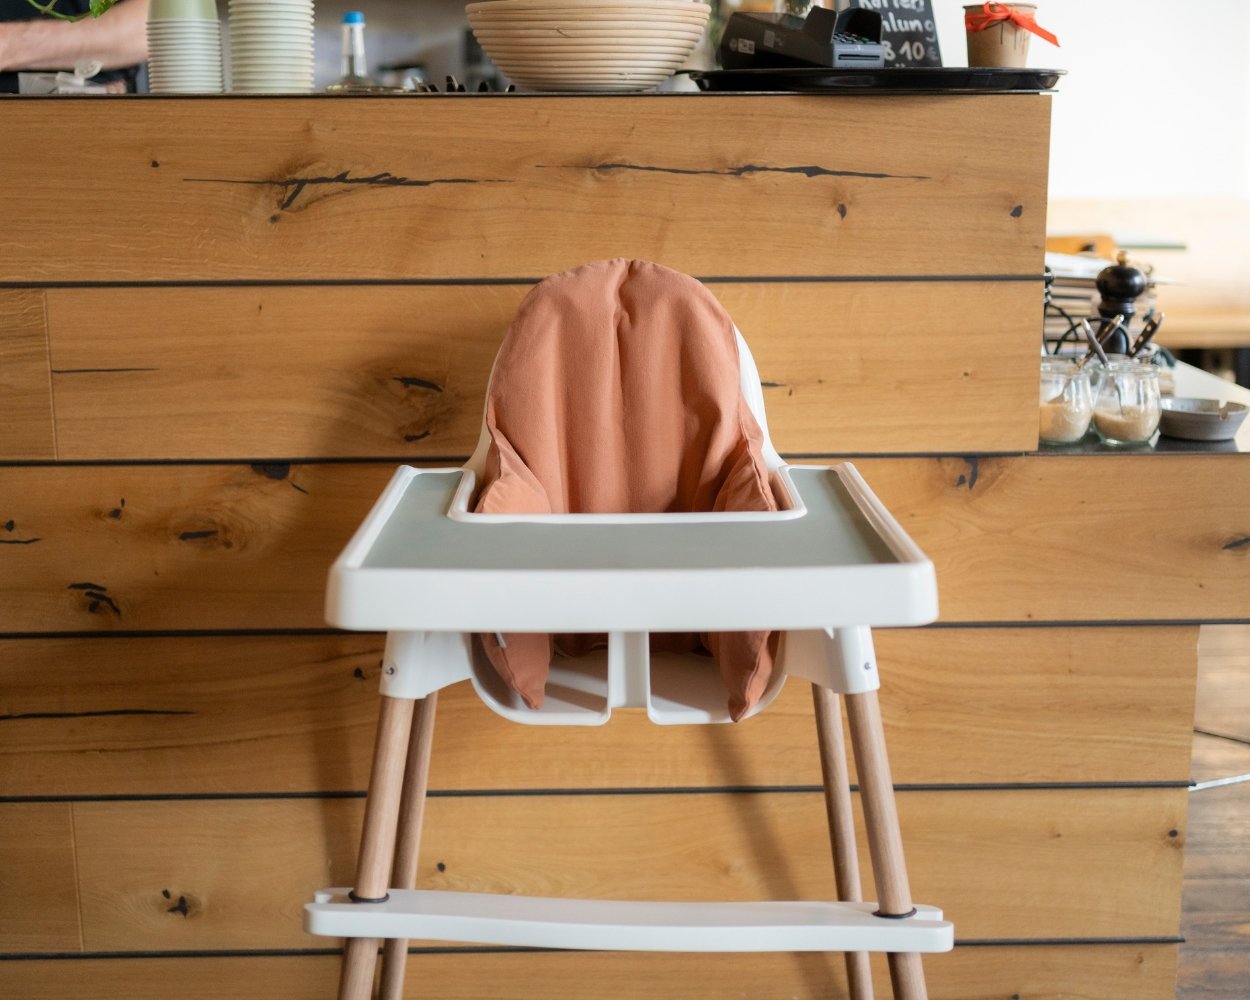 Highchair comparison: IKEA Antilop vs. Stokke Tripp Trapp vs. Hauck highchairFind the best highchair for your child!Mehr lesen
 -
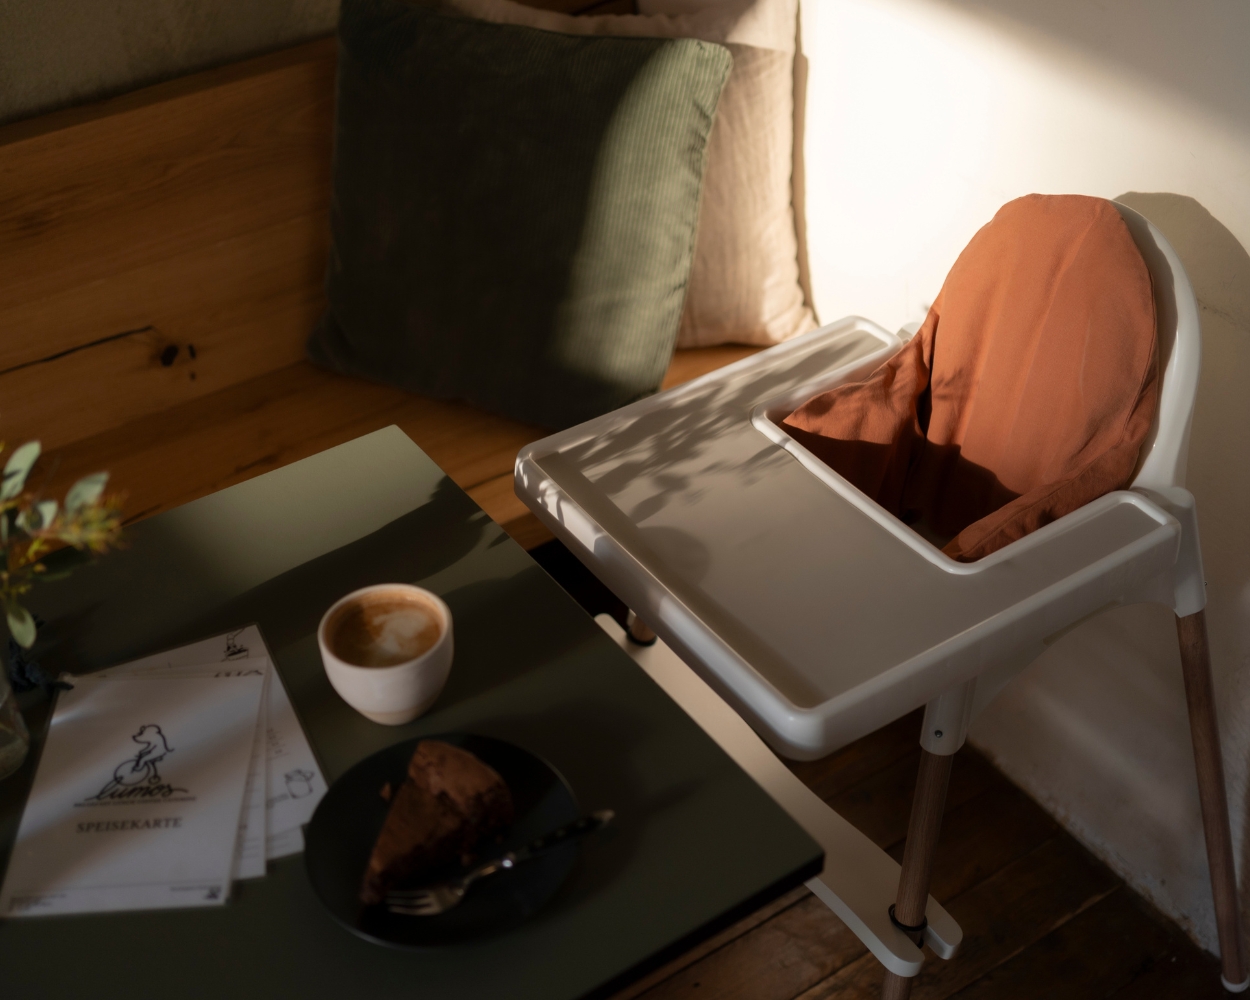 Eating with Toddlers – 5 High Chair Tips for Peaceful MealtimesDiscover 5 simple strategies for stress-free meals with your toddler. High chair routines, tips and tools for happy family mealtimes.Mehr lesen
 -
 9 IKEA Outdoor Hacks – Fun & Creative DIYs for Spring and SummerGet inspired by smart IKEA hacks for garden, patio or balcony – perfect for kids and sunny days. Creative outdoor fun made easy with DIY ideas!Mehr lesen